25 October 2025

Spellbinders | Fountain Wishes

Hello there, as mentioned yesterday, I am back to share another card using the Spellbinders Happier Hour collection. Today's card uses the Fountain Wishes set. This can be used as a sundae, like I have, or as a milkshake. I didn't use them on my card but the set also includes a straw (for the milkshake) and a bird with a balloon and party hat. 

PLEASE NOTE: This post contains affiliate links. Please see below for my full disclosure.


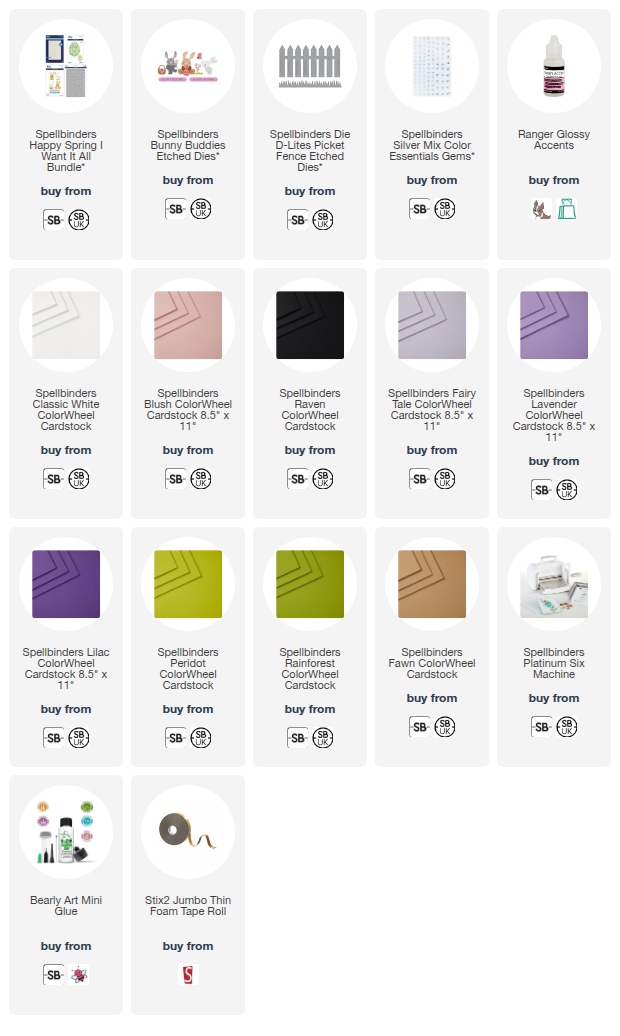
I started off my card by die cutting the glass from the Spellbinders Fountain Wishes Etched Dies from Spellbinders Classic White ColorWheel Cardstock. I die cut the ice cream from Spellbinders Blush and Tutu ColorWheel Cardstock and the chocolate sauce from Spellbinders Truffle ColorWheel Cardstock


I adhered the pieces together using Bearly Art Glue, popping the top part of the ice cream behind the rim of the glass. I die cut the wafer from Spellbinders Fawn ColorWheel Cardstock and adhered the two layers together before adhering behind the ice cream. The cherry was die cut from Spellbinders Poppy and Peridot ColorWheel Cardstock and adhered to the top of the ice cream. 


I die cut the base of the candle from Spellbinders Classic White ColorWheel Cardstock, the stripes from Chiffon, and the flame from Beeswax ColorWheel Cardstock. They were adhered together first and then adhered behind the ice cream. The glass was then adhered to an A2 sized black card base using thin foam tape. 


I hot foiled the sentiment from Spellbinders Fountain Wishes Sentiments BetterPress Plate & Die Set onto white cardstock using Spellbinders Opaque Black Foil and the Glimmer Hot Foil System. It was die cut out using the coordinating die and I also cut the die again from white cardstock and adhered that layer behind the foiled one for dimension. It was adhered to the card with foam squares. To finish, I embellished with Spellbinders Pink Color Essentials Gems

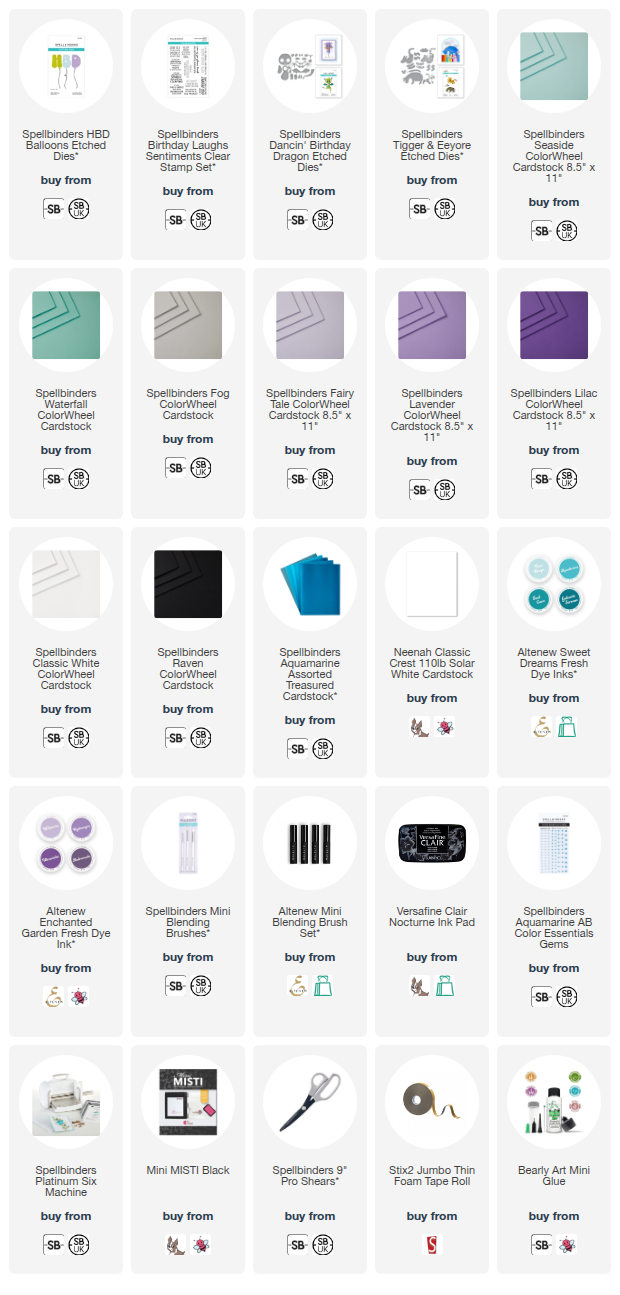
SUPPLIES:


Here are the links to what I have used on the project. Affiliate links are used on some products. This means that if you make a purchase after clicking on my link, I receive a small commission with no extra cost to you. I truly appreciate your support when using these links. Please click on the logo below the product to shop at your favourite store. All products were personally purchased except marked with an asterisk (*) which were kindly sent to me to use. You can read my full disclosure here.


This is such a fun collection and I love that you can use the sets for lots of different occasions! Thank you so much for stopping by today, I very much appreciate it. I hope you have a wonderful weekend! 

24 October 2025

Spellbinders | A Special Toast

Hello there, today I have a card to share using the Happier Hour collection from Spellbinders. You may remember Spellbinders released the Happy Hour collection last year (you can see my cards here), well they are now back with Happier Hour! I have one card to share today and will share another tomorrow. 

PLEASE NOTE: This post contains affiliate links. Please see below for my full disclosure.


I started off my card by die cutting the glass from the Spellbinders Special Toast Etched Dies from Spellbinders Classic White ColorWheel Cardstock. I cut the drink part from Spellbinders Chiffon (for the back layer) and Alabaster (for the top layer) ColorWheel Cardstock. The drink part was adhered to the glass and then the glass adhered to a black A2 sized card base with thin foam tape. 


I die cut the flowers in the set from Spellbinders Seaside, Waterfall and Teal Topaz ColorWheel Cardstock with the flower centres cut from Classic White. I die cut the leaves and stems from Spellbinders Peridot and Rainforest ColorWheel Cardstock. 


The foliage was adhered to the card first, using Bearly Art Glue. The flowers were assembled and adhered to the card with foam squares. I hot foiled the sentiment from the Spellbinders A Special Toast Sentiments BetterPress Plate & Die Set onto white cardstock using Spellbinder Opaque Black Foil and the Glimmer Hot Foil System


It was die cut out using the coordinating die and the die cut again from white cardstock and adhered to the back of the foiled one. I then adhered the sentiment to the card using foam squares. To finish, I embellished with Spellbinders Teal Color Essentials Gems

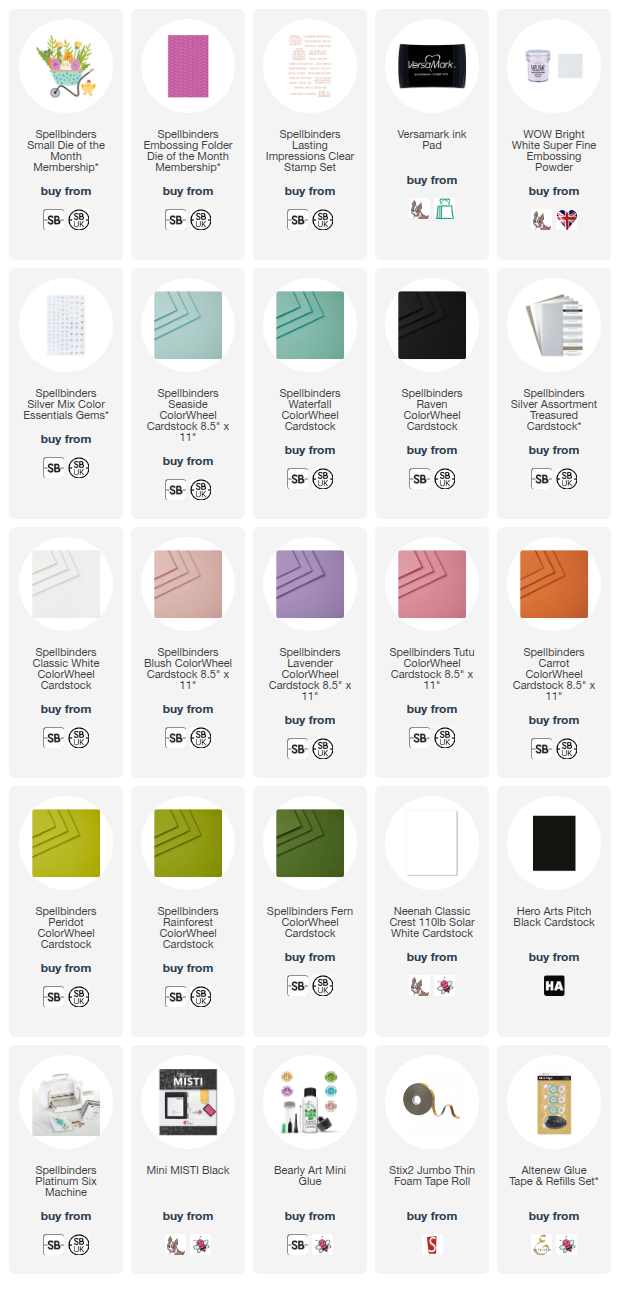
SUPPLIES:


Here are the links to what I have used on the project. Affiliate links are used on some products. This means that if you make a purchase after clicking on my link, I receive a small commission with no extra cost to you. I truly appreciate your support when using these links. Please click on the logo below the product to shop at your favourite store. All products were personally purchased except marked with an asterisk (*) which were kindly sent to me to use. You can read my full disclosure here.


The set mainly has a love/wedding theme to it. There are bow ties, shoes, a ring plus lots more but I decided to go with a generic celebration theme for my card. Thank you so much for stopping by today, I really do appreciate it. I hope you have a great day! 

23 October 2025

Pinkfresh Studio | Thanks Friend

Hello there, I am delighted to be joining Pinkfresh Studio today to celebrate the new Flourish & Glow release with a fun Instagram Hop. Whilst the fun for the hop is happening over on Instagram, I still wanted to share my card here. 

PLEASE NOTE: This post contains affiliate links. Please see below for my full disclosure.


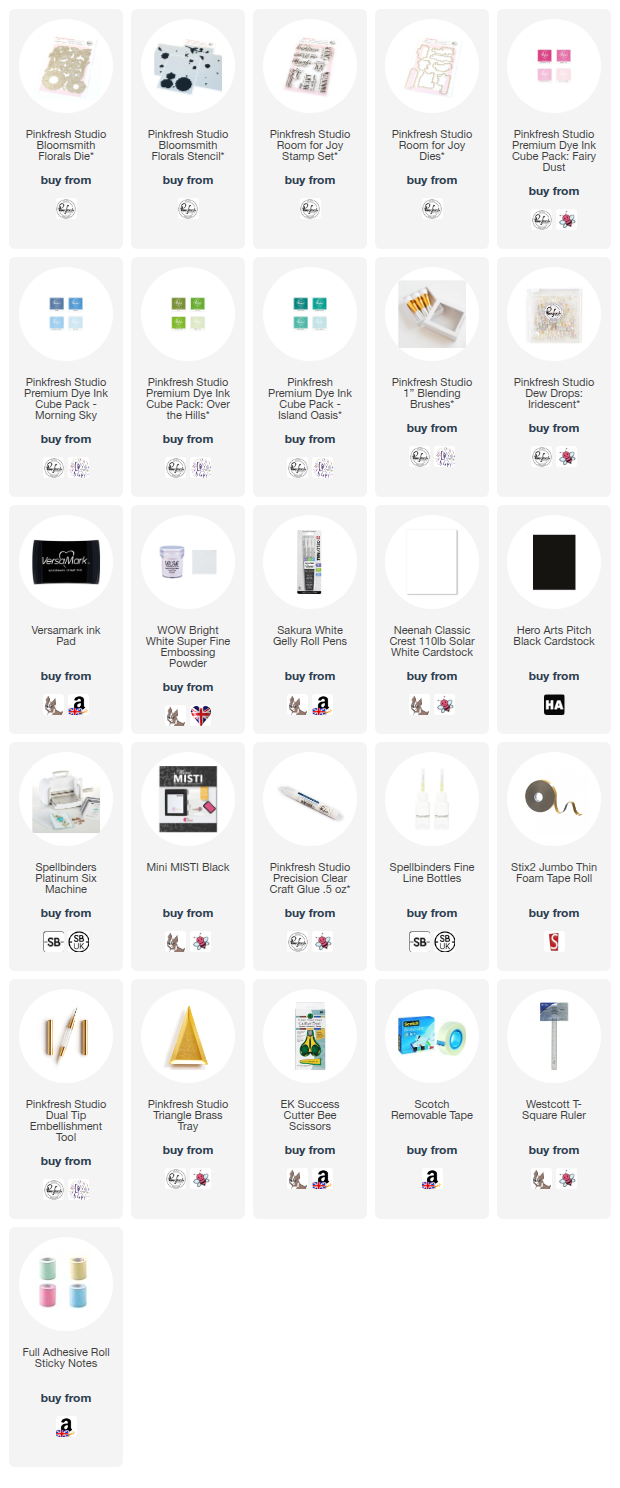
I started off my card by stamping the two floral images from the Pinkfresh Studio Cozy Blooms Stamp Set onto white cardstock using Pinkfresh Studio Detail Black Hybrid Ink. I then used the Pinkfresh Studio Cozy Blooms Stencils to colour the images in using ink blending. 


I used Pinkfresh Studio Slumber and Blue Jay for the leaves, Sparkling Rose and Bubble Gum for the pink flowers, and Hydrangea and Opulence for the purple flowers. I then die cut them out using the Pinkfresh Studio Cozy Blooms Dies


I die cut the 'thanks' from Pinkfresh Studio Bloom of Thanks Dies from white cardstock five times. I adhered the layers one on top of each other so that each letter was 5 layers high. I adhered the flowers first onto a white A2 sized card base, using Pinkfresh Studio Precision Clear Craft Glue


The letters were then adhered on top. I stamped the sentiment from the Pinkfresh Studio Cozy Blooms Stamp Set onto white cardstock using Pinkfresh Studio Detail Black Hybrid Ink. It was die cut out using the coordinating die and the 'friend' word cut apart from the 'hello' word before adhering to the card. To finish, I embellished with Pinkfresh Studio Iridescent Dew Drops

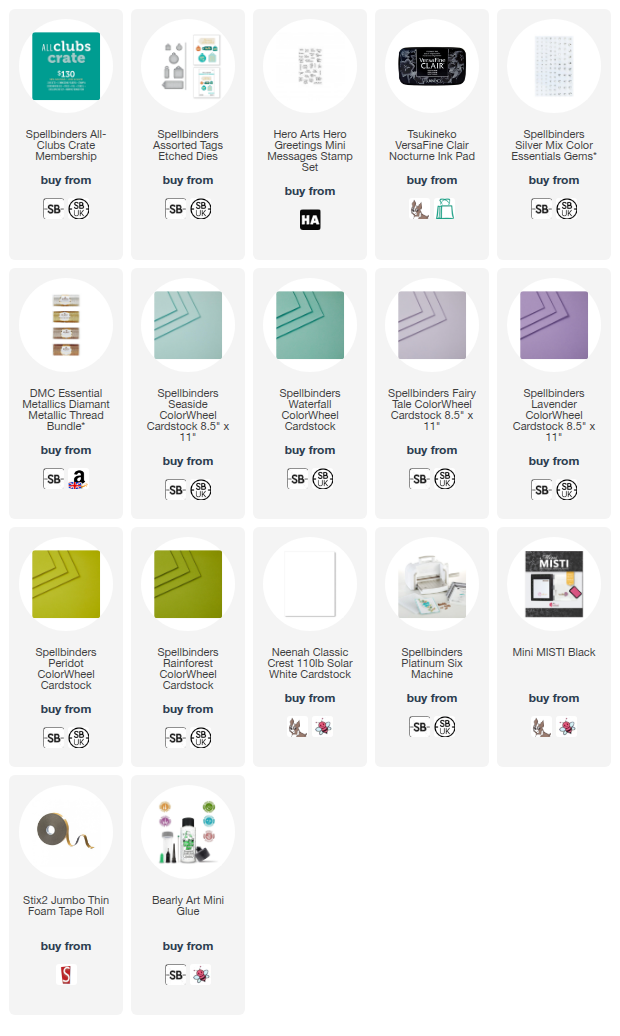
SUPPLIES:


Here are the links to what I have used on the project. Affiliate links are used on some products. This means that if you make a purchase after clicking on my link, I receive a small commission with no extra cost to you. I truly appreciate your support when using these links. Please click on the logo below the product to shop at your favourite store. All products were personally purchased except marked with an asterisk (*) which were kindly sent to me to use. You can read my full disclosure here.


As mentioned, this card is part of a fun Instagram Hop. For the hop, please head over to my Instagram page HERE and Pinkfresh Studios' HERE. Thank you so much for stopping by today, I really do appreciate it. Wishing you a great rest of the day! 

22 October 2025

Pinkfresh Studio | Flourish & Glow October 2025 Release Blog Hop + Giveaway

Hello there, I am delighted to be joining Pinkfresh Studio today to celebrate the Flourish & Glow release, which is out now! I have a card and tag to share today and I also have another card to share tomorrow too! This is such a beautiful release, filled with wonderful florals. 

PLEASE NOTE: This post contains affiliate links. Please see below for my full disclosure.


I started off my card by hot foiling the Pinkfresh Studio Moonlit Blooms Press Plate (if foiling or pressing  is not your thing, there is stamp set too!) onto white cardstock using Spellbinders Silver Foil and the Glimmer Hot Foil System. I placed the Pinkfresh Studio Moonlit Blooms Stencils over the top and used them to colour the images using ink blending. 


Using Pinkfresh Studio 1" Blending Brushes, I blended Pinkfresh Studio Inks in Slumber, Blue Jay and Sapphire for the leaves and stems, and Wisteria, Hydrangea and Sparkling Rose for the flowers. They were then die cut out using the Pinkfresh Studio Moonlit Blooms Dies


I die cut the Pinkfresh Studio Octagon Grid Coverplate Die from white cardstock. I popped out three of the frame pieces and adhered them to a white A2 sized card base. One of the flower images was then adhered on top using thin foam tape, cutting off the excess from the sides with scissors. 


I stamped the sentiment from the Pinkfresh Studio Freesia Flourish Stamp Set onto white cardstock using Pinkfresh Studio Detail Black Hybrid Ink. It was die cut out using the coordinating die. I cut the die another two times from white cardstock and adhered them behind the stamped one before adhering onto the card. To finish, I embellished with Pinkfresh Studio Ice Clear Drops


I didn't want to waste the other flower that I foiled and stencilled, so I thought I would use it on a tag. I die cut the tag from the Pinkfresh Studio Shaker Tag Book Die Set from white cardstock and adhered the floral on top with thin foam tape. 


I cut the excess off the bottom and left side, but kept the right side overlapping. I stamped a sentiment from the Pinkfresh Studio Peony Glow Stamp Set onto white cardstock using Pinkfresh Studio Detail Black Hybrid Ink


It was cut into a strip and adhered to the tag with thin foam tape. To finish, I added black twine through the hole at the top and tied in bow, followed by embellishing with Pinkfresh Studio Ice Clear Drops.

BLOG HOP:


This blog post is part of a fun, inspirational blog hop with prizes. Please click on the participants below to visit their blogs. Next on the hop is the amazing TaeEun Yoo

You are invited to the Inlinkz link party!

Click here to enter

GIVEAWAY:

Pinkfresh Studio will give away ten $50 gift cards along the hop, selected from the comments left along the hop at random. They will also give away the full release over on the Pinkfresh Studio blog and YouTube Channel. Winners will be announced on the Pinkfresh Studio Giveaway Page on 29th October 2025. Please make sure to check if you are a winner and claim your prize within two weeks. 

SUPPLIES:


Here are the links to what I have used on the projects. Affiliate links are used on some products. This means that if you make a purchase after clicking on my link, I receive a small commission with no extra cost to you. I truly appreciate your support when using these links. Please click on the logo below the product to shop at your favourite store. All products were personally purchased except marked with an asterisk (*) which were kindly sent to me to use. You can read my full disclosure here.


Thank you so much for stopping by today, I really do appreciate it. I hope you have a wonderful rest of the day! Take care! 

20 October 2025

Hero Arts | Best Gift Ever

Hello there, I am delighted to be joining Hero Arts today to celebrate the release of the new Best Gift Ever collection. The collections consists of stamps, dies, stencils and plates that all coordinate with each other to create presents/gifts. 

PLEASE NOTE: This post contains affiliate links. Please see below for my full disclosure.


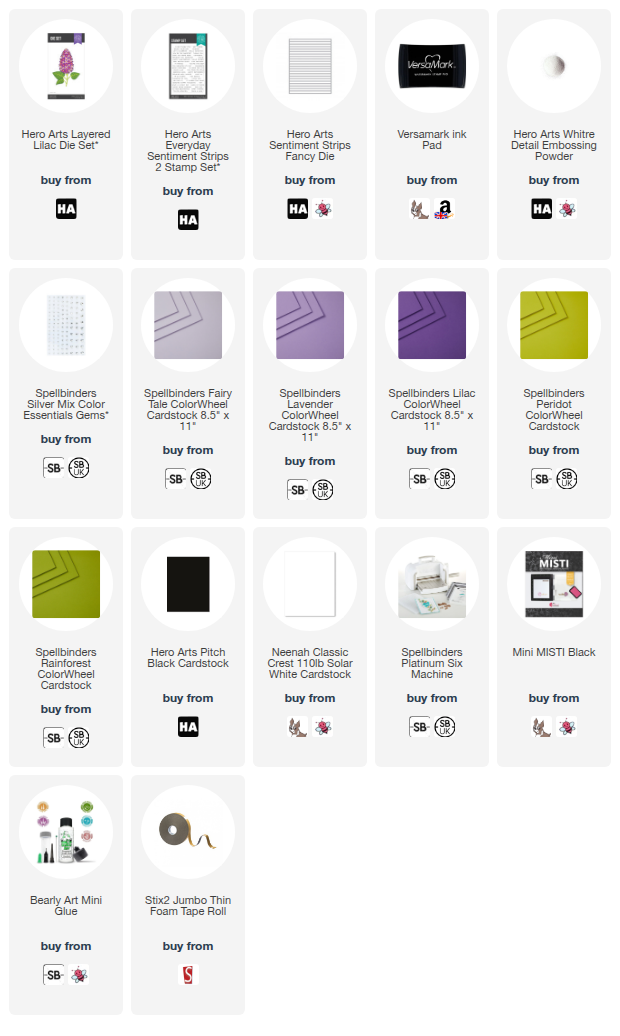
I started off my card by placing the Hero Arts Wrap It Up Letterpress + Foil Plate onto the chase of the Spellbinders BetterPress Letterpress System. I then inked it up using Spellbinders BetterPress Black Ink. I placed a panel of Spellbinders Fairy Tale ColorWheel Cardstock onto the platen and adhered in place with Best Ever Craft Tape. I placed the platen on the base and ran it through my Platinum Six to transfer the ink onto the cardstock. 


I then repeated the process with Spellbinders Lavender ColorWheel Cardstock. I die cut both out using the Hero Arts Gift Boxes Die. I adhered two of the lavender gifts and one of the fairy tale ones onto a black A2 card base made from Hero Arts Pitch Black Cardstock with thin foam tape. 


I die cut the older Hero Arts Flower Pattern Cover Plate from Spellbinders Classic White and Peridot Cardstock and adhered the foliage down first using liquid glue, followed by the flowers. I stamped the sentiment from the Hero Arts Just Because Stamp & Cut Set onto white cardstock using Hero Arts Intens-ified Black Ink


It was die cut out using the coordinating die. I also cut the die another two times from white cardstock and adhered them behind the stamped one, before adhering onto the card. To finish, I embellished with Spellbinders Prism AB Color Essentials Gems

SUPPLIES:


Here are the links to what I have used on the project. Affiliate links are used on some products. This means that if you make a purchase after clicking on my link, I receive a small commission with no extra cost to you. I truly appreciate your support when using these links. Please click on the logo below the product to shop at your favourite store. All products were personally purchased except marked with an asterisk (*) which were kindly sent to me to use. You can read my full disclosure here.


This is part of a hop happening over on Instagram. You can see my Instagram page here and Hero Art's here. Thank you so much for stopping by today, I really do appreciate it. I hope you have a wonderful day! 

19 October 2025

Spellbinders | Merry & Bright

Hello there, I am delighted to be over on the Spellbinders Blog today sharing two cards using the Pear Blossom Press One Lights. These lights are fab as both the switch and light are on the same mechanism, so really easy to use and no fiddling around with circuits! 

PLEASE NOTE: This post contains affiliate links. Please see below for my full disclosure.


The peek above shows one of the cards I made. I used the Spellbinders Essential Stars Etched Dies and cut one of the stars from a panel of white cardstock. I then added a double layer of vellum behind. The Pear Blossom Press One Light is behind that and when you press the centre of the poinsettia, the light comes on! 


The poinsettia and foliage are from the Spellbinders Christmas Foliage Etched Dies and the sentiment, from Spellbinders Merry Messages, was hot foiled. 

Please head over to the blog post to see how the card came together and to see the other one too. It is super cute if I do say so myself! :) 

SUPPLIES:


Here are the links to what I have used on the project. Affiliate links are used on some products. This means that if you make a purchase after clicking on my link, I receive a small commission with no extra cost to you. I truly appreciate your support when using these links. Please click on the logo below the product to shop at your favourite store. All products were personally purchased except marked with an asterisk (*) which were kindly sent to me to use. You can read my full disclosure here.


Thank you so much for stopping by today, I really do appreciate it. I hope you have a great rest of the weekend! 

18 October 2025

Hero Arts | For You Christmas Gift Tag

Hello there, today I have a little gift tag to share using the Hero Studio October 2025 Stamp & Cut of the Month. The set features ornaments that can be decorated with patterns, as well as foliage and accessories. They look great on cards but I decided to create a little gift tag today using the same colours that are part of the main card kit. 

PLEASE NOTE: This post contains affiliate links. Please see below for my full disclosure.


I started off by stamping the images from the Hero Studio October 2025 Stamp & Cut of the Month onto Spellbinders ColorWheel Cardstock with Hero Arts Clear Embossing & Watermark Ink. I used Waterfall cardstock for the ornament, Tutu for the bow, Blush for the poinsettias, and Peridot for the holly. 


I applied Hero Arts White Detail Embossing Powder and heat set. They were then die cut out using the coordinating dies. I added the bow and holly leaves onto the ornament flat with liquid glue, followed by the poinsettia with thin foam squares. 


I stamped the Hero Arts Christmas Sentiment Strips Stamp Set onto Hero Arts Pitch Black Cardstock and heat embossed in white. It was die cut out using the Hero Arts Sentiment Strips Fancy Die. I cut the 'for you' down to size and adhered it to the ornament with foam squares. 


To make the ornament into a gift tag, I adhered DMC White Diamant Thread to the back. I then die cut another of the ornaments (without the stamping) and adhered it to the back to cover up the thread. To finish, I embellished with Spellbinders Pink Color Essentials Gems.  

SUPPLIES:


Here are the links to what I have used on the project. Affiliate links are used on some products. This means that if you make a purchase after clicking on my link, I receive a small commission with no extra cost to you. I truly appreciate your support when using these links. Please click on the logo below the product to shop at your favourite store. All products were personally purchased except marked with an asterisk (*) which were kindly sent to me to use. You can read my full disclosure here.


I think it would be great to make a few of these to add to Christmas gifts using whatever colour combination matched the wrapping! I think they would look really pretty! Thank you so much for stopping by today, I really do appreciate it. I hope you have a wonderful day! 

15 October 2025

Spellbinders | Snow Day Friends

Hello there, I hope you are having a good week so far. Today I have a card to share using the Spellbinders October 2025 Small Die of the Month Club Kit called Snow Day Friends. The set features a snowman, a tree and two people that you can create scenes with. 

PLEASE NOTE: This post contains affiliate links. Please see below for my full disclosure.


I started off by die cutting the people from the Spellbinders October 2025 Small Die of the Month Club Kit. I cut both of their faces from Spellbinders Alabaster ColorWheel Cardstock. I cut both of the bobbles for the hats from Spellbinders Classic White ColorWheel Cardstock. I cut the clothing for the person on the right from Spellbinders Seaside, Waterfall, Teal Topaz and Cosmic Sky ColorWheel Cardstock. 


The clothing for the person on the left was cut from Spellbinders Fairy Tale, Lavender and Lilac ColorWheel Cardstock. I assembled and adhered the layers using Bearly Art Glue. I then die cut the tree base layer from Spellbinders Peridot ColorWheel Cardstock and the snow from Spellbinders Classic White ColorWheel Cardstock. The snow was adhered the tree using Bearly Art Glue. 


I die cut the snowman from Spellbinders Classic White and Raven ColorWheel Cardstock, the arms from Truffle, and the nose from Carrot. The pieces were adhered together using Bearly Art Glue. I took an A2 sized card base made from Hero Arts Pitch Black Cardstock and added the tree on first using Bearly Art Glue. 


The snowman and people were then adhered on top using thin foam tape. I hot foiled the sentiment from the Spellbinders Merry Messages Plate & Die Set onto white cardstock using Spellbinders Champagne Foil and the Glimmer Hot Foil System. I die cut it out using the coordinating die and cut another layer of the sentiment from more white cardstock and adhered it behind the foiled one before adhering to the card. To finish, I added white gel pen dots. 

SUPPLIES:


Here are the links to what I have used on the project. Affiliate links are used on some products. This means that if you make a purchase after clicking on my link, I receive a small commission with no extra cost to you. I truly appreciate your support when using these links. Please click on the logo below the product to shop at your favourite store. All products were personally purchased except marked with an asterisk (*) which were kindly sent to me to use. You can read my full disclosure here.


SPELLBINDERS CLUB KITS

To buy the kit - if you are a current subscriber to the Small Die of the Month Club Kit (or any kit), you do not need to do anything. You will be charged as normal on the 5th of the month and your kit will be shipped to you. If you are a new subscriber, you can purchase the kit from the 6th - 27th October 2025. Members can cancel their membership at any time. If you are not keen on subscribing to the kit but still want it, you can purchase it individually (without a subscription) on the 10th of the following month but the price will be higher. 


It's such a cute set and you can use the elements all separately too, which is great! Thank you so much for stopping by today, I really do appreciate it. I hope you have a great day! 

13 October 2025

Simon Says Stamp | Merry Catmas!

Hello there, today I have a card to share using the new Simon Says Stamp Christmas Cats Stamp Set from the latest Sugar & Spice release. The set, as the name suggests, features lots of cats dressed up for Christmas! 

PLEASE NOTE: This post contains affiliate links. Please see below for my full disclosure.


I started off by stamping the cat decorating the tree stamp, as well as the cat jumping with the lights from the Simon Says Stamp Christmas Cats Stamp Set onto white cardstock using Memento Tuxedo Black Ink. I then coloured them using Copic Markers (the colours that I used are listed below the supply list). I fussy cut them out using scissors, but there is a die set available. 


I stamped the sentiment from the set onto a white A2 sized card base using Versafine Clair Nocturne Ink. The images were then adhered above with thin foam squares. To finish, I added Nuvo Crystal Glaze to the star on the tree, and Ranger Star Dust Stickles to the fluffy bits on the cat's hats. 

SUPPLIES:


Here are the links to what I have used on the project. Affiliate links are used on some products. This means that if you make a purchase after clicking on my link, I receive a small commission with no extra cost to you. I truly appreciate your support when using these links. Please click on the logo below the product to shop at your favourite store. All products were personally purchased except marked with an asterisk (*) which were kindly sent to me to use. You can read my full disclosure here.


COPIC MARKERS: Cats - N7, N5, N4, N3, N2, N1, N0/R22. Hats - R89, R39, R37, R35. Tree - Y28, YG17, YG03, YG01/E59, E57, E55. Baubles/ornaments - V17, V15, V12, V01. Star and lights - Y17, Y08, Y04. 

This is such a cute set and whilst I have used it in a very CAS way, great for making scenes with too! Thank you so much for stopping by today, I really do appreciate it. I hope you have a wonderful day and a great week ahead! 

12 October 2025

Altenew | October 2025 Release Blog Hop + Giveaway

Hello there, I am delighted to be joining Altenew today to celebrate the October 2025 release. I already shared one card here and today I have two more to share using new products from the release. 

PLEASE NOTE: This post contains affiliate links. Please see below for my full disclosure.


MIX FOLIAGE + MINI SENTIMENTS


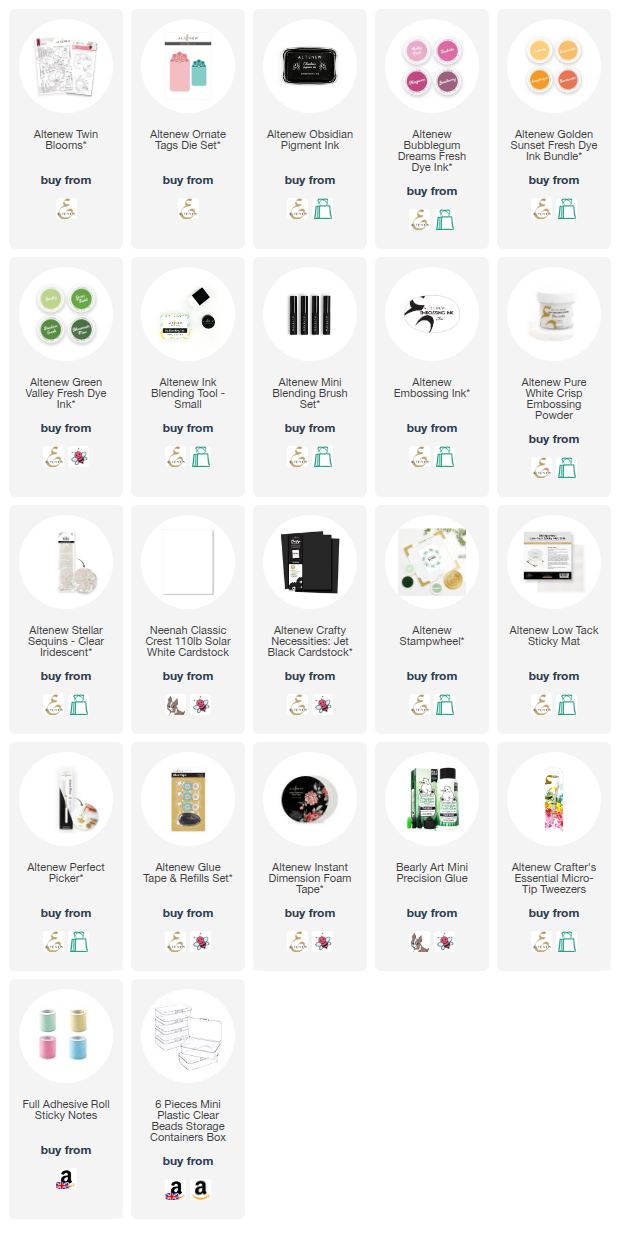
My first card uses the new Altenew Mix Foliage Layering Die Set. I die cut the large flowers and leaves from white cardstock and added ink blending on top with Altenew Mini Blending Brushes. I used Altenew Enchanted Garden Fresh Dye Inks for the petals, Golden Sunset Fresh Dye Inks for the flower centres and then for the leaves, I used Green Valley Fresh Dye Inks on some and Whispering Woodland Fresh Dye Inks on the others. 


I assembled and adhered the flowers using the keyhole system and then set them aside while I worked on my card base. I took a panel of Altenew Crafty Necessities: Jet Black Cardstock and placed it inside the Altenew Mini Sentiments 3D Embossing Folder before running it through my die cutting machine. The panel was then adhered to a black A2 sized card base with Altenew Glue Tape


The leaves and flowers were then adhered on top using liquid glue. I stamped a sentiment from Altenew Sentiment Strips 2 Stamp Set onto more Jet Black cardstock using Altenew Embossing Ink. I applied Altenew Pure White Crisp Embossing Powder and heat set. It was cut into a strip and adhered to the card with Altenew Instant Dimension Foam Tape. To finish, I embellished with Altenew Iridescent Stellar Sequins

SERENE BLOOMS


My second card uses the new Altenew Build-A-Garden: Serene Blooms. This kit features a stamp set, coordinating dies, a standalone die, stencils and a mini blending brush. I started off by stamping one of the flower stems from the set onto white cardstock using Altenew Obsidian Pigment Ink. I then used the stencils to colour the image with ink blending. 


I used Altenew Shades of Purple Fresh Dye Inks for the petals, and Altenew Green Valley Fresh Dye Inks for the leaves and stems. It was then die cut out using the coordinating die before adhering to a black A2 sized card base with Altenew Instant Dimension Foam Tape. I cut the excess off the bottom with scissors. 


I stamped the sentiment from Altenew Build-A-Garden: Serene Blooms onto white cardstock using Altenew Obsidian Pigment Ink. It was die cut out using the coodinating die and then the die cut another two times from white cardstock and adhered behind the stamped one for added dimension before adhering to the card. To finish, I embellished with Altenew Iridescent Stellar Sequins.

BLOG HOP:


This blog post is part of  a fun, inspirational blog hop with prizes. Please click on the other participants links below to visit their blogs. 

You are invited to the Inlinkz link party!

Click here to enter

GIVEAWAY:


$300 in total prizes! To celebrate this release, Altenew is giving away a $100 gift certificate to 1 lucky winner and a $50 gift certificate to 4 winners! Please leave a comment on the Altenew Blog and/or each designer’s blog post on the blog hop list below by October 19th for a chance to win. Altenew will draw 5 random winners from the comments left on each stop of this blog hop and announce the winners on the Altenew's Blog Hop Post on October 21st, 2025. The winner of the $100 gift certificate will be chosen from comments left on the Altenew blog. 

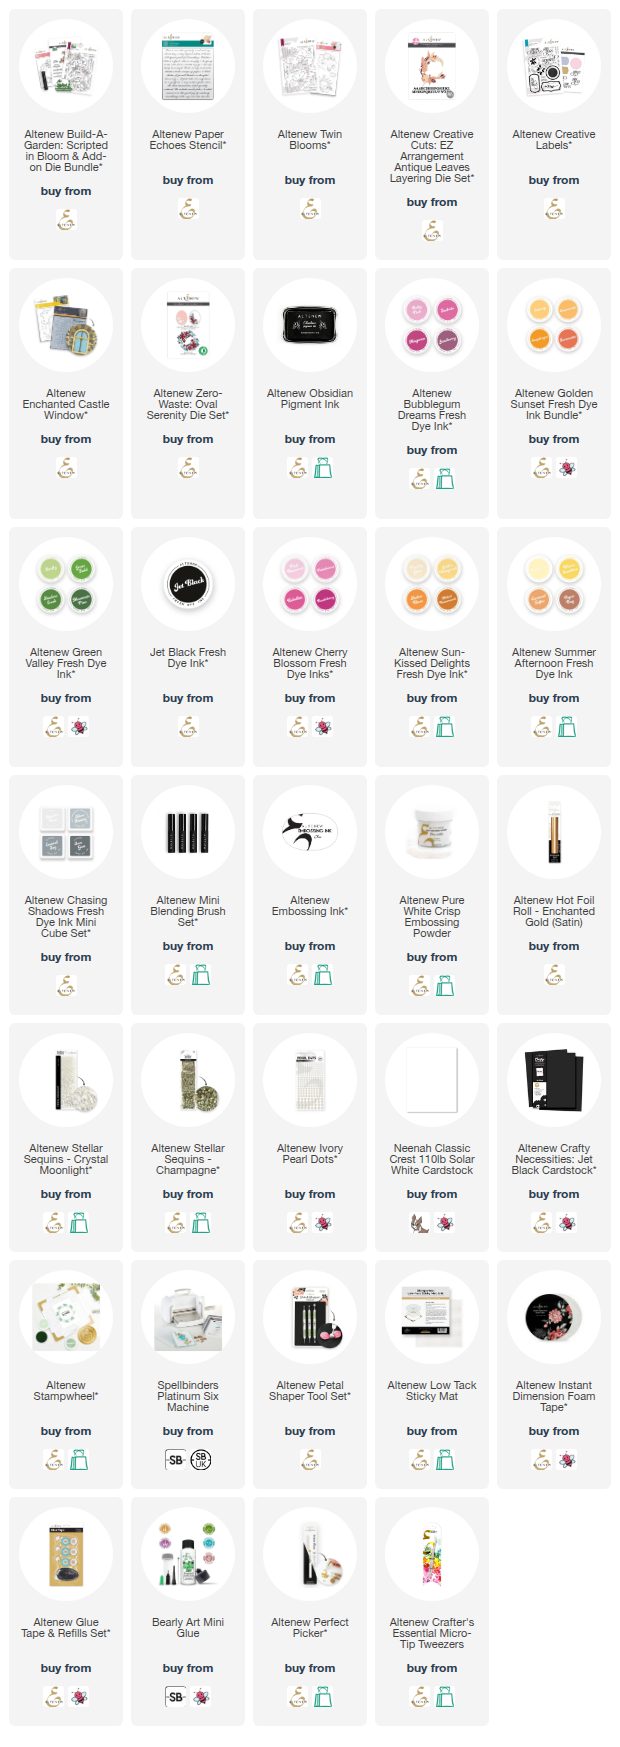
SUPPLIES:


Here are the links to what I have used on the project. Affiliate links are used on some products. This means that if you make a purchase after clicking on my link, I receive a small commission with no extra cost to you. I truly appreciate your support when using these links. Please click on the logo below the product to shop at your favourite store. All products were personally purchased except marked with an asterisk (*) which were kindly sent to me to use. You can read my full disclosure here.


Thank you so much for stopping by today, I really do appreciate it. I hope you have a great time on the rest of the hop and a wonderful day too! 
End of code