
Hello there, today I have two projects to share with you using the new Spellbinders Through the Garden Gate Collection by Susan Tierney-Cockburn. If you haven't seen Susan's collections before, these die cut flowers are like no other! They are made to be molded and shaped to look like realistic flowers. The dimension on them is beautiful and although you can use them on cards/tags and other projects, I think they would look stunning framed as a home décor piece too!
PLEASE NOTE: This post contains affiliate links. Please see below for my full disclosure.
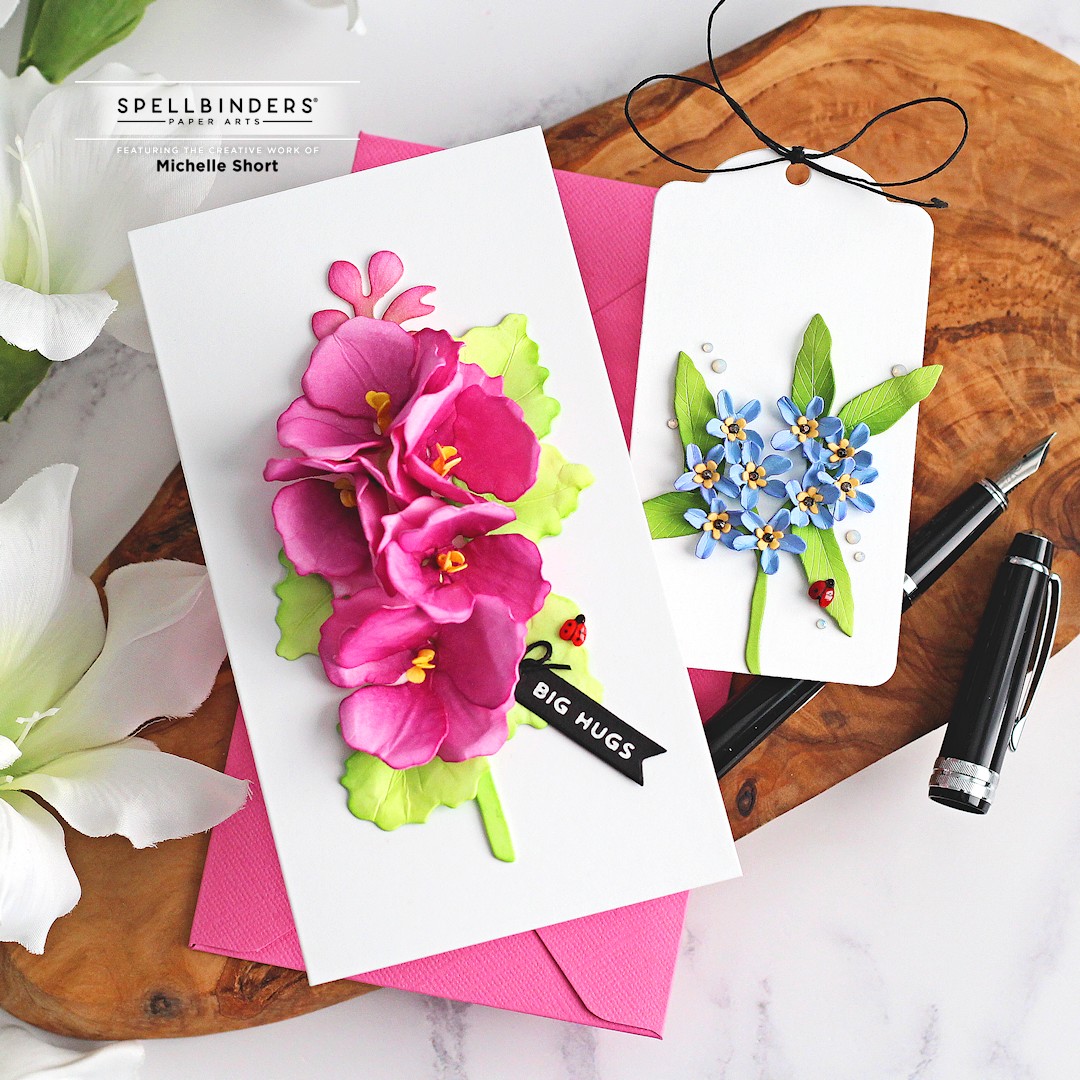
I have made a card using the Hollyhock and a tag using the Forget-Me-Nots. You can cut the layers of these flowers from coloured cardstock or from white and add colour on to them. I decided to add ink blending to the Hollyhock pieces and for the Forget-Me-Nots, use coloured cardstock.

I started off by die cutting the layers of the Spellbinders Hollyhock Etched Dies from 110lb white cardstock (80lb would have been better!). I then added ink blending to them with Tim Holtz Distress Inks. I used Picked Raspberry and Seedless Preserves on the flower petals, Mustard Seed for the stamens and Twisted Citron, Mowed Lawn and Rustic Wilderness on the leaves.

I made sure to add ink blending to both the front and back of flowers, as you will see both! I then shaped the flowers, following Susan's video tutorial. I cut two stem pieces and ink blended those too. I cut one piece smaller, so that I could extend the stem just slightly to fit the size of my card better. It was then adhered to a mini slimline card base (6.25" x 3.25") with Bearly Art Glue. The flowers and leaves were then added on top.

I took the sentiment, from Spellbinders Yana's Tiny Sentiments Glimmer Hot Foil Plate & Die Set and foiled it on to Spellbinders Onyx Cardstock with Spellbinders Silver Glimmer Hot Foil Roll. It was then die cut using the Spellbinders Swallowtail Tags Etched Dies and added to the card with thin foam tape, adding a little bow made from Spellbinders Black Twine at the top. To finish off, I added a ladybug from the Forget-Me-Not set and added Nuvo Crystal Glaze to it.

I couldn't resist creating a little tag too! I started off by die cutting the tag from the Spellbinders Create a Decorative Tag Die Set from white cardstock. I then die cut the Spellbinders Forget-Me-Nots Etched Dies from Spellbinders Cardstock in Raindrop and Beeswax. The leaves and stem were cut from Rainforest.

I added a tiny bit of Tim Holtz Wilted Violet Distress Ink to the tips of the flower petals. I then added Rustic Wilderness to the leaves. I shaped and assembled the flowers using Susan's video tutorial, adhering the layers with Bearly Art Glue. I didn't have any Prills to add to the centres (like she suggests), so I coloured Spellbinders Crystal Mix Color Essential Gems with a black Copic Marker and added them to the centres of the flowers.
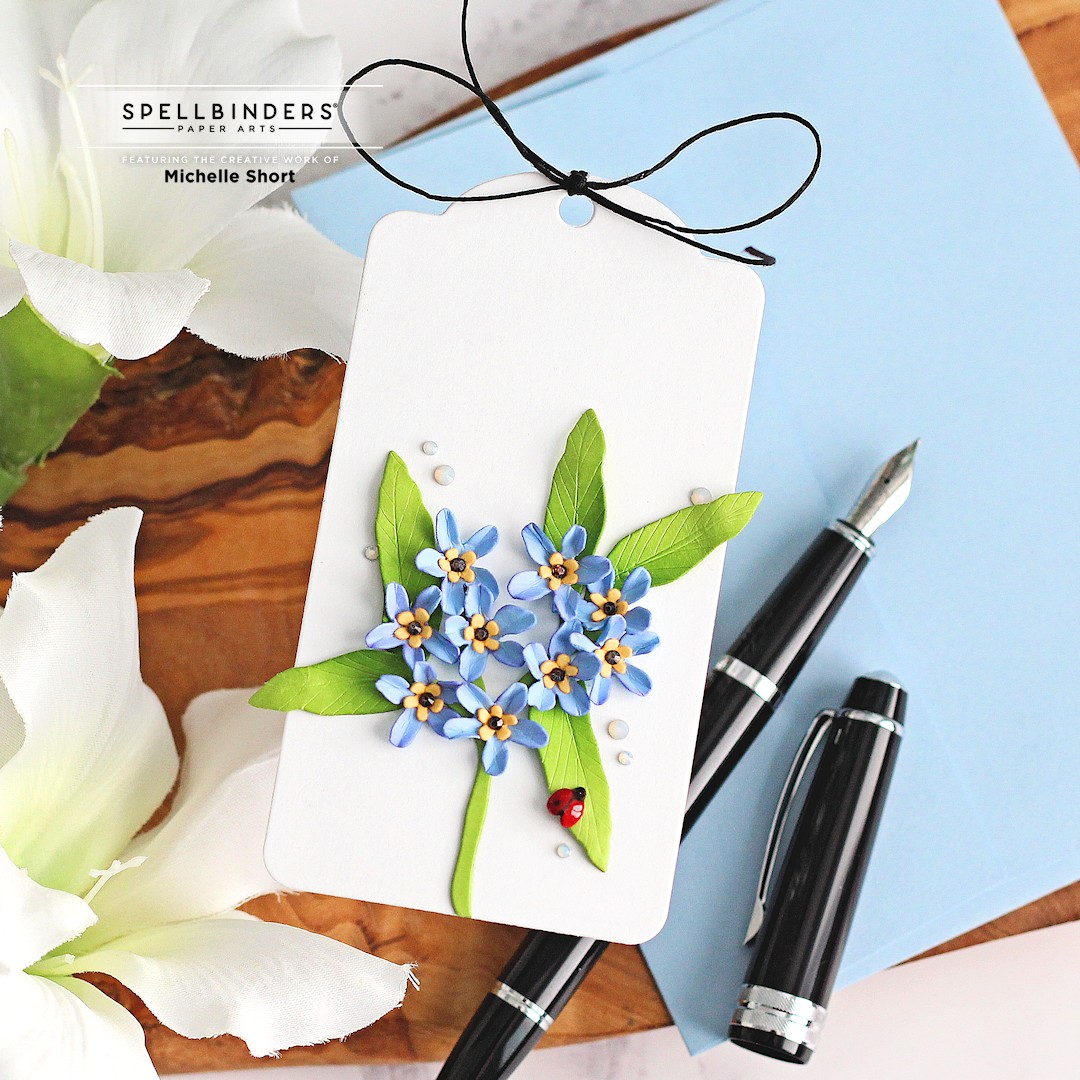
I took the ladybug from the set and added ink blending to it using Tim Holtz Festive Berries Distress Ink (as I did for the card). Using a Copic Multiliner, I then coloured the black areas black. It was added to the tag using thin foam tape and then I added Tonic Crystal Glaze on top. I tied twine through the top of the tag and then finished off with a few more gems.
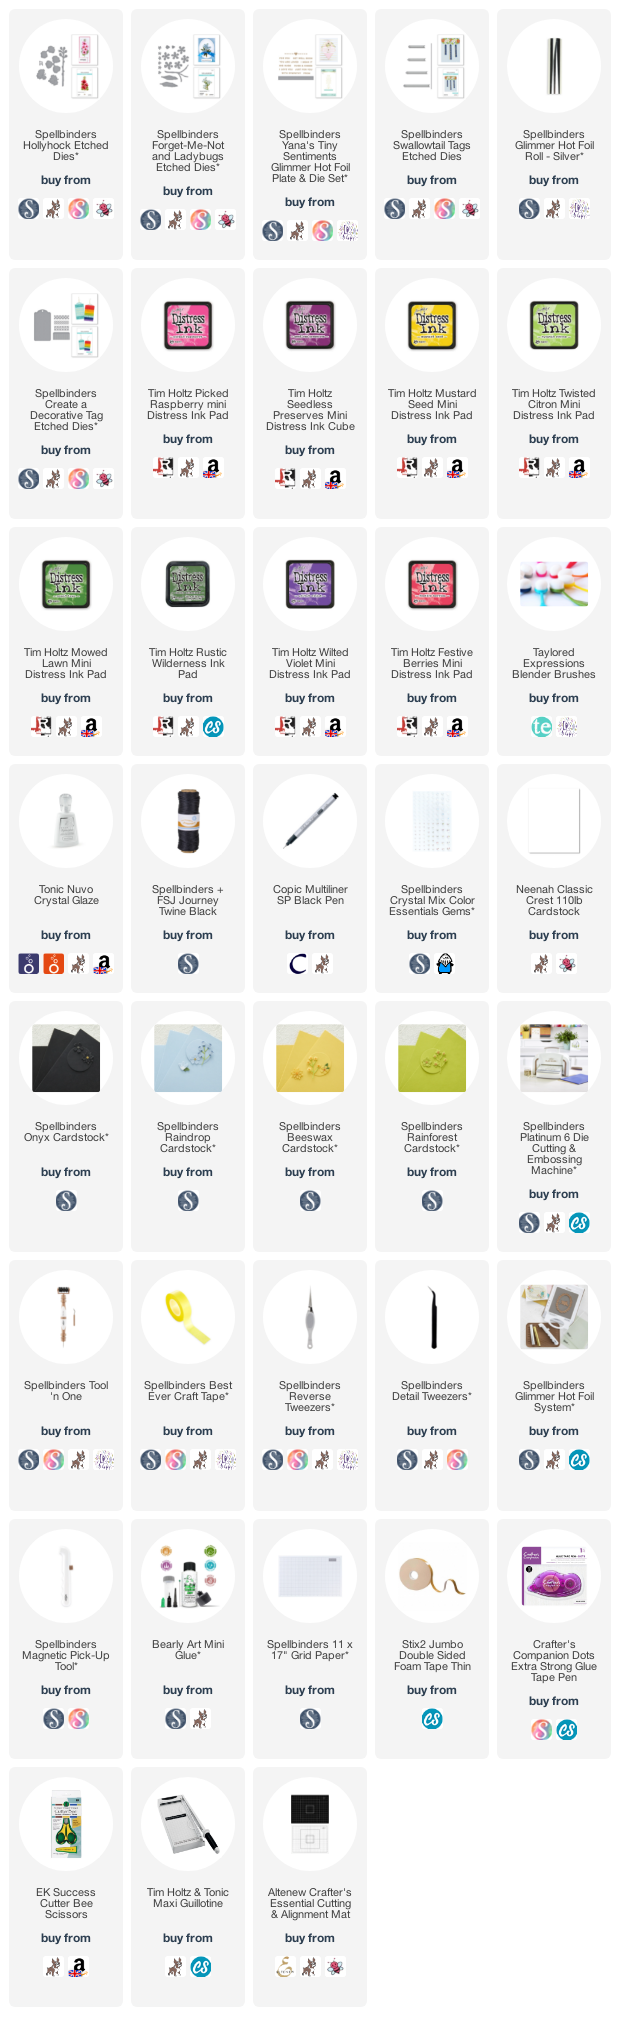
SUPPLIES:
Here are the links to what I have used on the projects. Affiliate links are used on some products. This means that if you make a purchase after clicking on my link, I receive a small commission with no extra cost to you. I truly appreciate your support when using these links. Please click on the logo below the product to shop at your favourite store. All products were personally purchased except those from Clearly Besotted, Hero Arts or those marked with an asterisk (*) which were kindly sent to me to use. You can read my full disclosure here.
I really enjoyed creating these projects. I think these flowers are so pretty! I have two cards that I made using previous collections from Susan - Oriental Lilies, which you can see here and Poinsettia, which you can see here.


Thanks so much for stopping by today, I really do appreciate it. I hope you have a wonderful day!
Wow, those are the most amazing flowers! Your card and tag are just so stunning!!
ReplyDeleteThese are both absolutely beautiful. I think whether you use cardstoc, or you inkblend onto white, both look fabulous. I love the vibrancy of the pink card and the softness of the tag. All the little details, like the ladybird, really take these cards to the next level. Just beautiful!
ReplyDeletegorgeous cards
ReplyDeleteI am beginning in the flower forming process. What weight cardstock do you find best for this. My flowers look creased and mangled.
ReplyDeleteI used 110lb cardstock for these flowers but as you say, they do look creased. I would suggest using 80lb cardstock. They will be easier to shape. Thank you for visiting my blog.
Delete