PLEASE
NOTE: This post contains affiliate links. Please see below for my full
disclosure.
THANKS BLOOMS
As mentioned above, I heated the
plate up twice on the platform and then ran it through the Platinum 6 with an added shim. It is always like magic when you remove the foil from
the cardstock to reveal the beautiful foil underneath! The panel was adhered to
an A2 white card base with tape runner.
I die cut Be Bold Blooms Etched Dies from Spellbinders Cardstock – Cosmic Sky, Raindrop, Rainforest and Peridot. They were assembled and adhered to the card with Bearly Art Glue. I die cut the thanks from Yana’s Layered Script Sentiments three times from Snowdrift cardstock and layered them one on top of another on the card. To finish off, I added Silver Mix Color Essential Gems.
FOR YOU BUTTERFLY
For my next card, I wanted to
create a different shape. I took the negative of a piece of foil that I used on
a card previously. It was foiled using Rose Gold Glimmer Hot Foil Roll using Magnolia
Glimmer Blooms Glimmer Hot Foil Plate & Die Set. I then foiled it on to
white cardstock using the Essential Glimmer Solid Rectangle Glimmer Hot Foil Plate using the same method as
above.
I took the middle size die from So Many Butterflies and die cut the panel out. I also die cut it a further
three times, from plain white cardstock, so that I could layer them up for
added dimension before adhering them to an A2 white card base.
I foiled the sentiment from Yana’s Tiny Sentiments on to Onyx Cardstock with Rose Gold Foil. It was cut into a strip and added to the card with thin foam tape. To finish off, I added a few black pearls, securing in place with Bearly Art Glue.
HAPPY BIRTHDAY PEONY
I started off by foiling the Glimmering Peony Glimmer Hot Foil Plate on to white cardstock with Matte Gold Glimmer Hot Foil Roll. I will save this image for a later card. I just needed the scrap/reverse for my card today. It was foiled on to more white cardstock using the Essential Glimmer Solid Square Glimmer Hot Foil Plate using the same method as I have been.
Using a guillotine, I cut the
image out and placed it on to a 4 ½” x 4 ¼” white card base with thin foam
tape. I foiled the sentiment from Celebrate You Glimmer Sentiments with the same foil and cut into strips. They were
added to the card with more thin foam tape. To finish off, I added Gold Mix Color Essential Gems.
SUPPLIES:
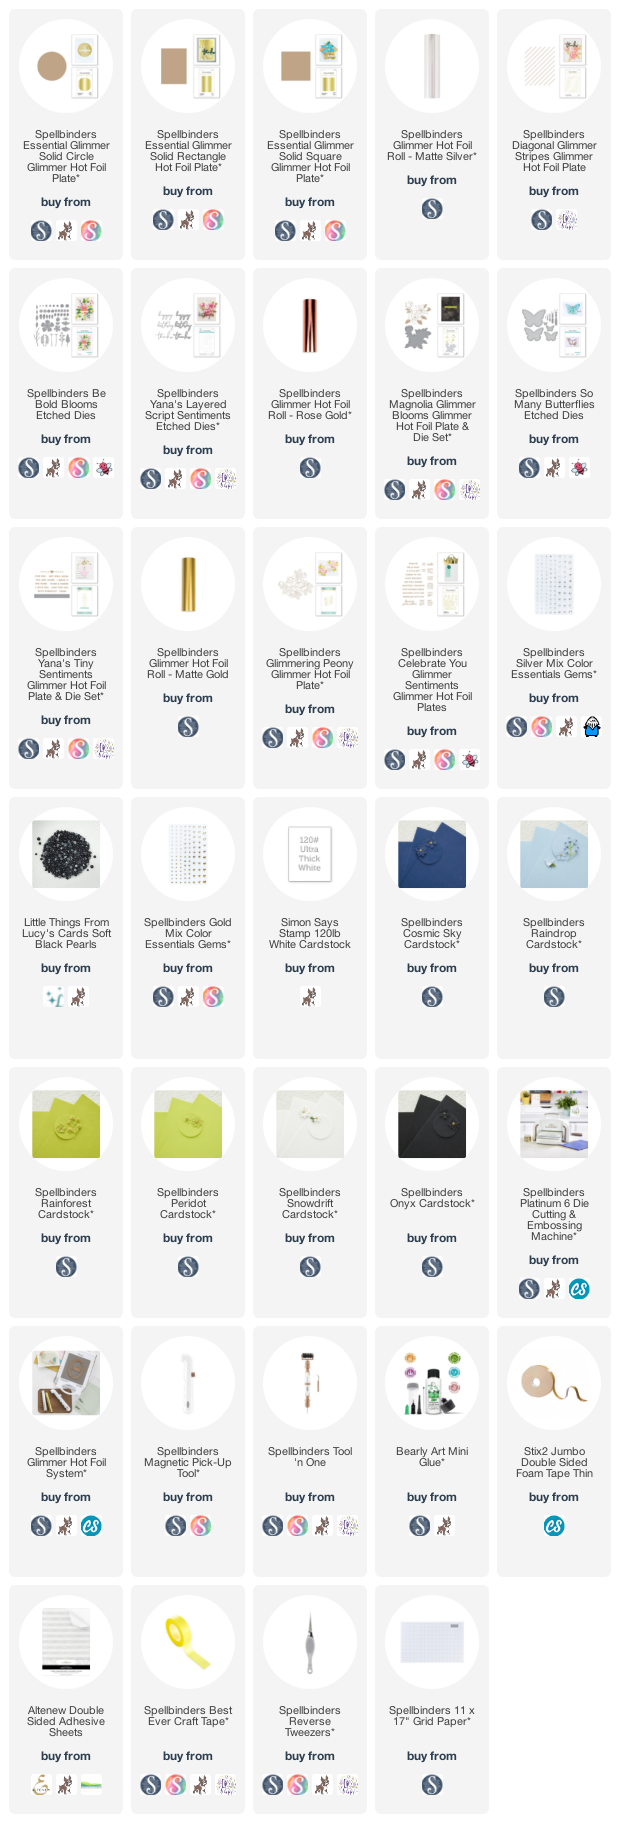
Here are the links to what I have used on the projects. Affiliate links are used on some products. This means that if you make a purchase after clicking on my link, I receive a small commission with no extra cost to you. I truly appreciate your support when using these links. Please click on the logo below the product to shop at your favourite store. All products were personally purchased except those from Clearly Besotted, Hero Arts or those marked with an asterisk (*) which were kindly sent to me to use. You can read my full disclosure here.
I hope I might have inspired you on using the Essential Glimmer Solid Shapes Collection. Thank you so much for stopping by today, I really do appreciate it. I hope you have a wonderful day!


I love all three cards Michelle. The first card with the silver and blue is gorgeous as it uses two of my favourite products - Be Bold Blooms and the diagonal stripes. Your layout is lovely with the circle focal point and the floral spray is so pretty. The second card is stunning - the detail of the flower on the butterfly shape is fabulous! I love the colour too and wonder why I haven't used Rose Gold yet. The last card is so pretty, the gold is gorgeous with the beautiful flower. Such a clever use of all three dies and three more beautiful projects ❤❤❤
ReplyDeletegorgeous cards
ReplyDelete