5 September 2026

Altenew | September 2026 Release Blog Hop + Giveaway

Hello there, I'm delighted to be joining Altenew today to celebrate the September 2026 release with a fun blog hop. I already shared one card, which you can see here and today I have two more to share. 

PLEASE NOTE: This post contains affiliate links. Please see below for my full disclosure.


As you can see, I went with the autumnal feel again. I made the leaf card first out of all my cards and loved the colour combo so much that I decided to keep it going for the others! 

TWIN LEAVES + ARCHED SENTIMENTS


I started off my card by die cutting the Altenew Twin Leaves Die Set from white cardstock. I added ink blending to the leaf clusters (I started off with two but ended up using just two of the leaves from one of them!) with Altenew Golden Honeycomb, Amber Blaze, Coral Berry and Ruby Red Fresh Dye Inks. 


I then stamped one of the sentiments from the new Altenew Arched Sentiments Stamp Set onto white cardstock using Altenew Obsidian Pigment Ink. It was then die cut out using one of the Altenew Nesting Arches Dies, trying to off-set the sentiment slightly so that more of the text was on one side of the arch than the other (I think they are supposed to just be at the top of the arch but I think it worked ok!). 


The arch was adhered to an A2 sized white card base using Altenew Instant Dimension Foam Tape. I die cut two more layers of the leaves from white cardstock and adhered them behind the inked ones for dimension before adhering to the card, cutting off the excess from the side using scissors. To finish, I added black dots using an Altenew Finer Liner Pen

WOODLAND SILHOUETTE


My next card uses the beautiful Altenew Woodland Silhouette Stamp Set. I first added ink blending to a panel of white cardstock using Altenew Golden Honeycomb, Amber Blaze, Coral Berry and Ruby Red Fresh Dye Inks using Altenew Small Blending Brushes


I set it aside to dry for a few minutes and then stamped the Altenew Woodland Silhouette Stamp on top. This looks much more solid (and better!) in real-life than in the photos! It was adhered to a white A2 sized card base using Altenew Instant Dimension Foam Tape. I die cut the 'hello' from the Altenew Warm & Cozy Sentiments Die Set three times from white cardstock, adhered them one on top of another and then onto the card. 

BLOG HOP:


As mentioned, this post is part of a fun, inspirational blog hop with prizes. Please click on the other participants below to visit their blogs. 

You are invited to the Inlinkz link party!

Click here to enter

GIVEAWAY:

$300 in total prizes! To celebrate this release, Altenew is giving away a $100 gift certificate to 1 lucky winner and a $50 gift certificate to 4 winners! Please leave a comment on the Altenew Blog and/or each designer’s blog post on the blog hop list below by September 10th for a chance to win. Altenew will draw 5 random winners from the comments left on each stop of this blog hop and announce the winners on the Altenew's Blog Hop Post on September 12th, 2026. The winner of the $100 gift certificate will be chosen from comments left on the Altenew blog. 


SUPPLIES:


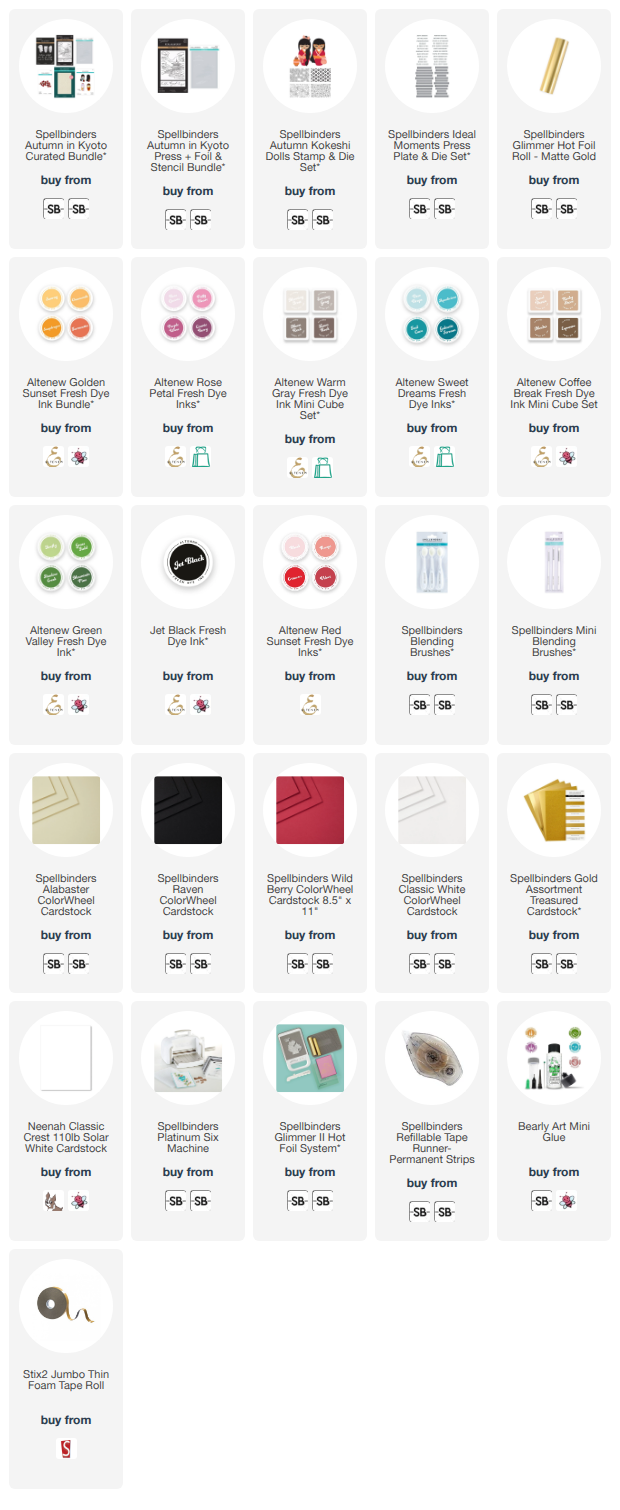
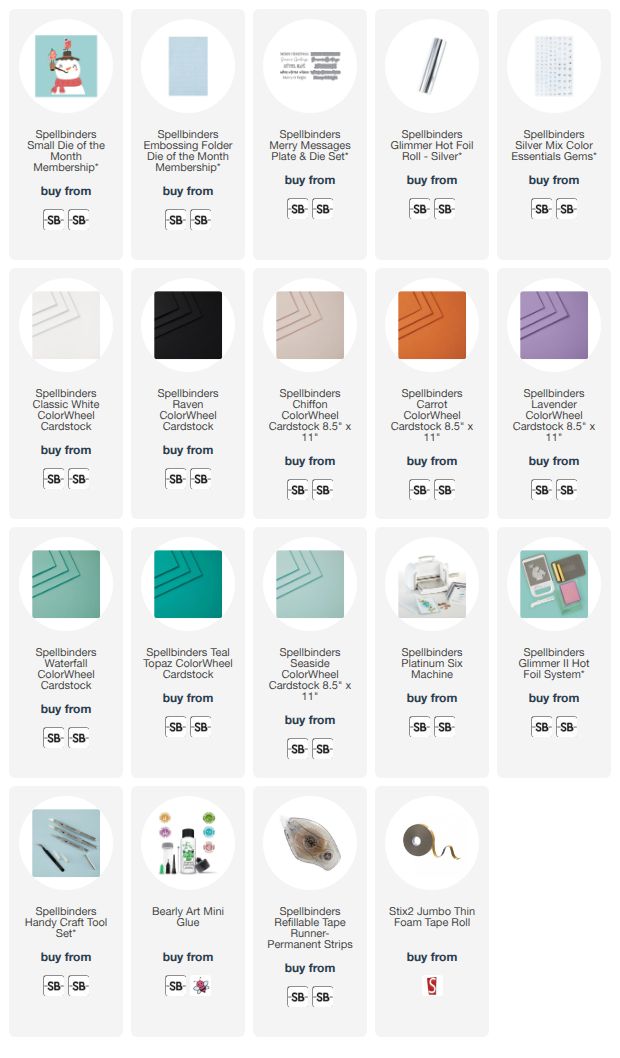
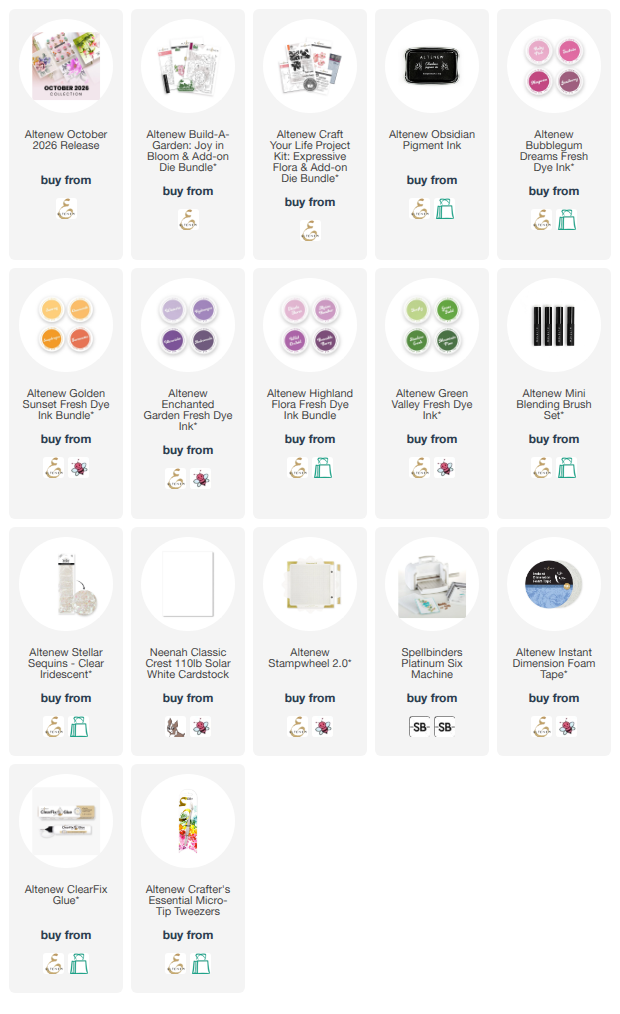
Here are the links to what I have used on the project. Affiliate links are used on some products. This means that if you make a purchase after clicking on my link, I receive a small commission with no extra cost to you. I truly appreciate your support when using these links. Please click on the logo below the product to shop at your favourite store. All products were personally purchased except marked with an asterisk (*) which were kindly sent to me to use. You can read my full disclosure here.

Thank you so much for stopping by today, I really do appreciate it. I hope you have a great time on the rest of the hop and a great weekend too! 

2 September 2026

Altenew | Mini Delight: Woodland Wisdom

Hello there, it's release day over at Altenew and there are lots of new products in the September 2026 collection - stamps, dies, embossing folders, stencils, and adhesives. I have one card to share with you today using the September 2026 Mini Delight set, and I will have another two cards to share on Saturday for the blog hop. 

PLEASE NOTE: This post contains affiliate links. Please see below for my full disclosure.


For my card, I started off by die cutting the owl and leaves from the Altenew Mini Delight: Woodland Wisdom Die Set. I die cut the leaves from white cardstock and the owl from Altenew Crafty Necessities: Sand Dunes (face), Milk Chocolate (main body), Espresso (wings), Vanilla Cream (beak), and Jet Black (feet and eyes) Cardstock. 


I added ink blending to the leaves with Altenew Honeycomb, Amber Blaze, Coral Berry and Ruby Red Fresh Dye Inks. I added ink blending to the owl using Altenew Coffee Break Fresh Dye Inks (just where the shadows are). The owl was then assembled and adhered using the new Altenew ClearFix Glue


I stamped the sentiment from the Altenew Mini Delight: Woodland Wisdom Stamp Set onto a white US A2 sized card base using Altenew Obsidian Pigment Ink. The leaves were then adhered using glue, followed by the owl with Altenew Instant Dimension Foam Tape. To finish, I embellished with Altenew Clear Iridescent Stellar Sequins


As mentioned, I will be sharing more on Saturday, but in the mean-time, you can check out the release here

SUPPLIES:


Here are the links to what I have used on the project. Affiliate links are used on some products. This means that if you make a purchase after clicking on my link, I receive a small commission with no extra cost to you. I truly appreciate your support when using these links. Please click on the logo below the product to shop at your favourite store. All products were personally purchased except marked with an asterisk (*) which were kindly sent to me to use. You can read my full disclosure here.


Thank you so much for stopping by today, I really do appreciate it. I hope you have a wonderful day! 

31 August 2026

Pinkfresh Studio | Magic of the Season

Hello there, as mentioned yesterday, I am back today to share my second card using the Pinkfresh Studio Season of Wonder release. This time it is for the Instagram Hop (more details on that below) but I wanted to share it here too. 

PLEASE NOTE: This post contains affiliate links. Please see below for my full disclosure.


I started off my card by stencilling the mistletoe image from Pinkfresh Studio Merry Mistletoe Stencils onto white cardstock using Pinkfresh Studio 1/2" Blending Brushes. I used Pinkfresh Studio Inks in Grassy Knoll, Key Lime, Mermaid Cove, Ballet Slipper and Sparkling Rose. I then stencilled the bow using Ocean Breeze and Mermaid Cove Inks. 

*Please note, I have not linked the ink pads in the supply list as some colours are now no longer available as Pinkfresh Studio transition to releasing new inks in a few months time*


The images were then die cut out using the Pinkfresh Studio Merry Mistletoe Dies. I took a panel of white cardstock and ran it through my die cutting machine inside the Spellbinders BettrPress Letterpress System with the Pinkfresh Studio Starlit Strands Press Plate, to deboss the image/pattern. The panel was then adhered to a US A2 sized white card base. 


I adhered the bow to the mistletoe first, using Pinkfresh Studio Precision Clear Craft Glue and then adhered both to the card using thin foam tape. I stamped a sentiment from the Pinkfresh Studio Ornamental Beauty Stamp Set onto white cardstock using black ink. 


It was die cut out using the coordinating die and then the die cut again two times and adhered behind the stamped one, before adhering to the card. To finish I embellished with Pinkfresh Studio Clear Drops: Ice

SUPPLIES:


Here are the links to what I have used on the project. Affiliate links are used on some products. This means that if you make a purchase after clicking on my link, I receive a small commission with no extra cost to you. I truly appreciate your support when using these links. Please click on the logo below the product to shop at your favourite store. All products were personally purchased except marked with an asterisk (*) which were kindly sent to me to use. You can read my full disclosure here.


As mentioned, this is part of a fun and inspirational Instagram hop. You can visit my Instagram page here, and Pinkfresh's here. Thank you so much for stopping by today, I really do appreciate it. I hope you have a wonderful day! 

28 August 2026

Pinkfresh Studio | Season of Wonder August 2026 Release Blog Hop

Hello there, I am delighted to be joining Pinkfresh Studio today to celebrate the Season of Wonder release with a fun blog hop. The release is perfect for Christmas/holiday projects but a lot of the suites would be good for general winter projects too. A lot of the background/coverplate products will work for everyday as well. I have a card and tag to share today, and will be sharing another card tomorrow. 

PLEASE NOTE: This post contains affiliate links. Please see below for my full disclosure.

Both card and tag use the beautiful new Seasonal Sprigs suite. There is a stamp, stencil set and die that all work together, as well as a washi tape that works with the die too. I am using the stamp, stencils and die for my projects today. 

I started off my card by stamping the two stamps from the Pinkfresh Studio Seasonal Sprigs Stamp Set onto white cardstock using Pinkfresh Detail Black Hybrid Ink. I then added ink blending to the images using the Pinkfresh Studio Seasonal Sprigs Stencils and Pinkfresh Studio 1/4" Blending Brushes

I used Pinkfresh Studio Inks in Ocean Breeze + Mermaid Cove for one set of leaves, Grassy Knoll + Key Lime for another set of leaves, and Eucalyptus Ink for the last set of leaves. I used Ballet Slipper + Sparkling Rose for the berries. 

*Please note, I have not linked the ink pads in the supply list as some colours are now no longer available as Pinkfresh Studio transition to releasing new inks in a few months time*

The images were die cut out using the Pinkfresh Studio Seasonal Sprigs Die Set. I die cut the Pinkfresh Studio The Stitch Edit: Large Spool Die from white cardstock and adhered the sprigs on top using Pinkfresh Studio Precision Clear Craft Glue. I threaded DMC Diamant Light Silver Thread through the top of the spool and adhered it to a white US A2 sized card base using thin foam tape. 

I stamped a sentiment from the Pinkfresh Studio Festive Flourish Stamp Set onto white cardstock using black ink. It was die cut out and the die cut again from white cardstock another two times. They were adhered behind the stamped one (for dimension) and then adhered to the card. To finish, I embellished with Pinkfresh Studio Clear Drops: Ice

I thought the spool looked great as a tag, and since I had some left over images that I didn't use on the card, I thought I would make a standalone tag. I die cut the Pinkfresh Studio The Stitch Edit: Large Spool Die twice from white cardstock and adhered them back to back. 

I then adhered the sprigs on top using Pinkfresh Studio Precision Clear Craft Glue. The sentiment is from the Pinkfresh Studio Seasonal Sprigs Stamp Set, again stamped onto white cardstock using black ink and die cut out. Popped up with another two layers of die cuts and adhered to the tag. 

I threaded DMC Diamant Light Silver Thread through the top of the spool and tied into a double bow. To finish, I embellished with Pinkfresh Studio Clear Drops: Ice.

BLOG HOP:

As mentioned, this post is part of a fun, inspirational blog hop with prizes. Please click on the other participant's below to visit their blogs. 

You are invited to the Inlinkz link party!

Click here to enter

GIVEAWAY:

Pinkfresh Studio will give away ten $50 gift cards along the hop, selected from the comments left along the hop at random. They will also give away the full release over on the Pinkfresh Studio blog and YouTube Channel. Winners will be announced on the Pinkfresh Studio Giveaway Page on 4th September 2026. Please make sure to check if you are a winner and claim your prize within two weeks.

SUPPLIES:


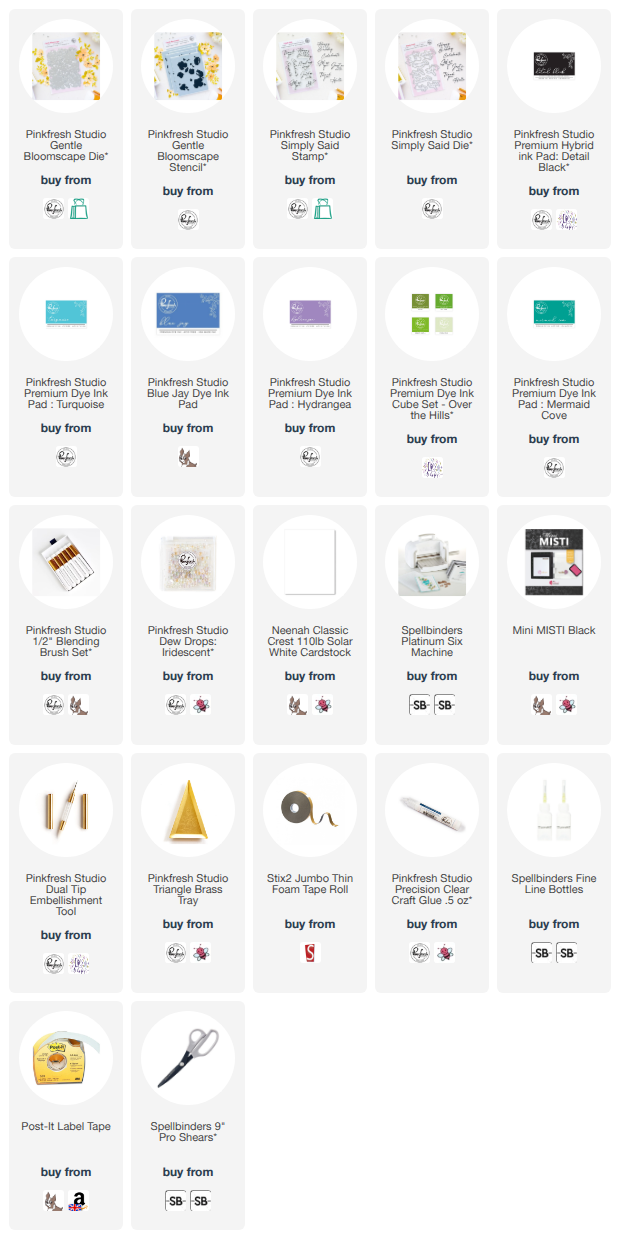
Here are the links to what I have used on the projects. Affiliate links are used on some products. This means that if you make a purchase after clicking on my link, I receive a small commission with no extra cost to you. I truly appreciate your support when using these links. Please click on the logo below the product to shop at your favourite store. All products were personally purchased except marked with an asterisk (*) which were kindly sent to me to use. You can read my full disclosure here.


Thank you so much for stopping by today, I really do appreciate it. I hope you have a wonderful time on the rest of the hop and a great day too! Take care! 

25 August 2026

Spellbinders | Mugs & Kisses

Hello there, I am delighted to be over on the Spellbinders Blog today sharing a step by step photo tutorial using the new Mugs & Kisses collection. This adorable collection features mugs (that you can turn into penguin mugs or leave just as a mug), marshmallows (that you can turn into marshmallow snowmen), accessories like snowflakes, a sentiment set, a stencil set, and a press plate. 

PLEASE NOTE: This post contains affiliate links. Please see below for my full disclosure.


My card uses the Spellbinders Mug Friends Etched Dies. As you can see, I went down the route of making the mugs into penguin mugs. The background is created using the Spellbinders Snow Joy Stencils (a pack of two) ink blended using Wilted Violet Distress Ink. The sentiment is from the Spellbinders Mugs & Kisses Sentiments Clear Stamp Set

SUPPLIES:


Here are the links to what I have used on the project. Affiliate links are used on some products. This means that if you make a purchase after clicking on my link, I receive a small commission with no extra cost to you. I truly appreciate your support when using these links. Please click on the logo below the product to shop at your favourite store. All products were personally purchased except marked with an asterisk (*) which were kindly sent to me to use. You can read my full disclosure here.


For more details on how I made the card, plus photos, please head over to the blog post. Thank you so much for stopping by today, I really do appreciate it. I hope you have a great day! 

21 August 2026

Spellbinders | Number Field Eclipse

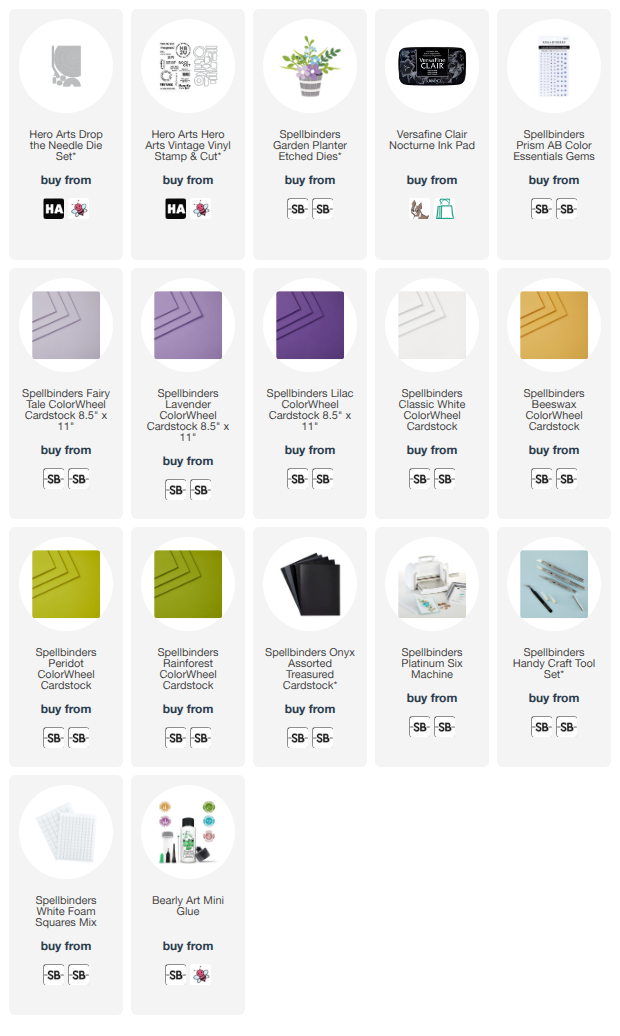
Hello there, today I have a card to share that I made for my brother for his birthday at the beginning of the month. When I saw the new Spellbinders Number Field Embossing Folder, I thought it would be great for masculine cards. I then added personalisation to the card using the eclipse technique to spell his name but I think it would look good with numbers too for the age! 

PLEASE NOTE: This post contains affiliate links. Please see below for my full disclosure.


I started off by taking a panel of 4.25" x 5.5" white cardstock and added ink blending on top using Altenew Fresh Dye Inks in (top to bottom) Aqualicious (Sweet Dreams collection), Tide Blue and Starlight (Deep Blue Seas collection) using blending brushes. 

Once the panel was dry, I die cut out the letters MARK from the panel using the Spellbinders Classic Mouse Alphabet Etched Dies. Keeping the letters in the panel, I placed it inside the Spellbinders Number Field 3D Embossing Folder and ran it through my die cutting machine. I then popped the letters out, making sure to keep hold of the inside pieces for letters and adhered the panel to a US A2 sized white card base using Bearly Art Glue. 

I die cut the letters again five times from white cardstock. I adhered the first layer of white die cuts onto the card, followed by all the inside pieces for the letters (since you want these to be the same level as the panel). I then adhered the white die cut letters one on top of another. To finish the eclipse look, I adhered the embossed and inked ones on top. 

I stamped the 'happy birthday' sentiment from the Hero Arts Everyday Sentiment Strips 2 Stamp Set onto white cardstock using Versafine Clair Nocturne Ink. It was cut into a strip and adhered to the card using a combination of liquid glue and Altenew 1/8" Foam Adhesive Strips. To finish, I embellished with Altenew Crystal Clear Enamel Dots

SUPPLIES:


Here are the links to what I have used on the project. Affiliate links are used on some products. This means that if you make a purchase after clicking on my link, I receive a small commission with no extra cost to you. I truly appreciate your support when using these links. Please click on the logo below the product to shop at your favourite store. All products were personally purchased except marked with an asterisk (*) which were kindly sent to me to use. You can read my full disclosure here.


Obviously, this embossing folder isn't just for masculine projects but I do think it works well for them! Thank you so much for stopping by today, I really do appreciate it. I hope you have a wonderful day and a great weekend! 

20 August 2026

VIDEO | Creating a Customised Ice Lolly

Hello there, today I have a tag and video to share using the Altenew Mini Delight: Sweet Popsicles Stamp & Die Set. This is such a fun set as you can really customise the ice lollies/popsicles to make them as you want to! I am creating a well known ice lolly that we have here in the UK today. It has a bottom layer of strawberry, a middle layer of vanilla, and a top layer of chocolate with sprinkles on top!

PLEASE NOTE: This post contains affiliate links. Please see below for my full disclosure.

I started off by creating the ice lolly. I die cut the main layer from the Altenew Mini Delight: Sweet Popsicle Die Set four times. I cut it from Altenew Crafty Necessities: Rubellite and Espresso Cardstock. I also cut it from Neenah Classic Crest 80lb and 110lb cardstock. I cut the Rubellite, Espresso and 80lb white using the layering dies in the set. I show in my video how I got them to line up so that each layer fits together kind of like inlay. 

They were adhered to the 110lb white layer using liquid glue. I added Altenew Double-sided Adhesive Sheet to the back of Altenew Crafty Necessities Pink Diamond, Rubellite and Buttercream Cardstock and cut the sprinkles die from them. This made it so that I didn't have to add liquid glue behind the tiny sprinkles. I then adhered them to the top chocolate layer. 

I die cut the stick twice from Altenew Crafty Necessities: Sand Dunes Cardstock. I adhered them one on top of another and then adhered it to the back of the ice lolly layer. I stamped the sentiment from the Altenew Mini Delight: Sweet Popsicles Stamp Set onto a panel of white cardstock using Altenew Obsidian Pigment Ink

It was die cut out using one of the largest Altenew Terrific Tags Dies. I then die cut another tag from white cardstock and adhered it to the back. The ice lolly/popsicle was adhered on top using foam tape. To finish, I added twine through the top of the tag and tied in a bow and then embellished with Altenew Black & White Enamel Dots (just the black ones!). 

VIDEO:

Here is the video showing how I made the tag:

If you are viewing this post via email subscription, you can watch the video HERE on YouTube. 

SUPPLIES:


Here are the links to what I have used on the project. Affiliate links are used on some products. This means that if you make a purchase after clicking on my link, I receive a small commission with no extra cost to you. I truly appreciate your support when using these links. Please click on the logo below the product to shop at your favourite store. All products were personally purchased except marked with an asterisk (*) which were kindly sent to me to use. You can read my full disclosure here.


Thank you so much for stopping by today, I really do appreciate it. I hope you have a wonderful day! 

19 August 2026

Spellbinders | Bibi's Little Blessings

Hello there, I am over on the Spellbinders Blog today sharing a step by step tutorial using Bibi's Little Blessings collection. This is such a sweet collection featuring a fun card creator (shaped card base) die, angels, a nativity scene, and sentiments. 

PLEASE NOTE: This post contains affiliate links. Please see below for my full disclosure.


I wanted to share that although I do love the Spellbinders Divine Arch Card Creator Etched Dies as is, that you can customise them to how you want to - adding as many or as few layers as you want. I kept mine pretty simple, just adding a few of the layers for the base itself, as well as the rays behind the angel from the Spellbinders Blessing Angels Etched Dies. The sentiment is from the Spellbinders Everyday Blessings & Banners Stamp & Die Set

SUPPLIES:


Here are the links to what I have used on the project. Affiliate links are used on some products. This means that if you make a purchase after clicking on my link, I receive a small commission with no extra cost to you. I truly appreciate your support when using these links. Please click on the logo below the product to shop at your favourite store. All products were personally purchased except marked with an asterisk (*) which were kindly sent to me to use. You can read my full disclosure here.


For a more detailed look on how I made the card, please head over to the blog post here. Thank you so much for stopping by today, I really do appreciate it. I hope you have a wonderful day! 

18 August 2026

Spellbinders | Summer Fergus

Hello there, do you remember Fergus? I introduced him in this post here where he was dressed up for winter. Now Sandi McIver and Spellbinders have released summer accessories for him! There are accessories for his clothes, a palm tree, and a surfboard. I will admit, I am a little late to the party with this one. Stitching like this takes me a long time and all the heatwaves (5) we have had this summer have taken it's toll on me to be honest, so I only just around to stitching him. 

PLEASE NOTE: This post contains affiliate links. Please see below for my full disclosure.


Since the other Fergus I made is winter themed, I decided to make this one everyday themed. He is supposed to be summer, but I really wanted to keep him out all year round, so I went simple with the decoration. As you can see, he is popped beside the palm tree. I'll get onto how I made the palm tree at the end of the post but for now, let's focus on Fergus. 


The Spellbinders Fergus Etched Dies were die cut from Spellbinders Merino Wool Felt and hand stitched using DMC Floss. For the body (as well as the band on his hat), I used Stormy felt from the Spellbinders Trend Felt Collection and used DMC 3808 Floss. He was stuffed with polyester filling at the top and plastic beads at the bottom (to weigh him down). The hat and jacket were die cut from Icy felt from the Spellbinders Neutral Felt Collection with DMC 3811 Floss. 


I used Peachy felt from the Spellbinders Holiday Felt Collection for the hands and nose using DMC 721 Floss. I used Snow felt from the Spellbinders Kaleidoscope Felt Collection for his beard and moustache. The moustache is from the Spellbinders Summer Embellishments Etched Dies


For the accessories, I die cut the sunglasses from the Spellbinders Summer Embellishments Etched Dies from the Pansy and Coal felt from the Spellbinders Kaleidoscope Felt Collection. The flowers were cut from Pansy and Snow from the same felt collection. The leaves were cut from Aloe felt from the Spellbinders Neutral Felt Collection, using DMC 954 Floss for the stitching. Those pieces were adhered to Fergus's hat and coat using hot glue. 


For the palm tree, I cut the dies from the Spellbinders Palm Tree Etched Dies from Caramel felt from the Spellbinders Neutral Felt Collection for the tree trunk, Mocha felt for the coconuts (from the same Neutrals pack), and Mossy felt from the Spellbinders Holiday Felt Collection for the leaves. I used DMC 905 Floss for the leaves, DMC 898 Floss for the coconuts, and DMC 780 Floss for the trunk. 


The trunk is made in the same way as Fergus's body, except there are three sides. I stuffed it with with polyester filling at the top and plastic beads at the bottom. The leaves are two layers, stitched together and then you attach them onto the tree with floss, hiding the floss under the coconuts that I adhered using hot glue. I did add two to the back of the tree as well. That is the great thing about these 3D felt decor, they really are 3D, so they are finished on back as well as the front! 

SUPPLIES:


Here are the links to what I have used on the projects. Affiliate links are used on some products. This means that if you make a purchase after clicking on my link, I receive a small commission with no extra cost to you. I truly appreciate your support when using these links. Please click on the logo below the product to shop at your favourite store. All products were personally purchased except marked with an asterisk (*) which were kindly sent to me to use. You can read my full disclosure here.


I will say that I learnt a lot sewing him for the second time. I still found the hat very difficult to sew but it was a lot neater this time. My blanket stitch on the brim of the hat was neater, and although I didn't add it to his coat this time, I was quicker at doing it on the second attempt. I'm also happy that since he is not particularly seasonally decorated, that I can have him on display all year round! Thanks so much for stopping by today, I really appreciate it. I hope you have a great day! 

16 August 2026

Spellbinders | Halloween Ghosts

Hello there, I am delighted to be over on the Spellbinders Blog sharing a step by step tutorial using the Spellbinders Halloween City Holiday Decorations Etched Dies. I already shared one card using the set/collection, which you can see here. Today I wanted to show that the decorations can be used without the house. 

PLEASE NOTE: This post contains affiliate links. Please see below for my full disclosure.


As you can see, I just used the ghosts for my card from the Spellbinders Halloween City Holiday Decorations Etched Dies because I thought they would work well for design (the bat would have worked well too). I used the Hero Arts Clouds & Grass Scenic Stencil inside an Everlasting Circle DIY stencil for the background and then simply popped the ghosts and sentiment on top. 

SUPPLIES:


Here are the links to what I have used on the project. Affiliate links are used on some products. This means that if you make a purchase after clicking on my link, I receive a small commission with no extra cost to you. I truly appreciate your support when using these links. Please click on the logo below the product to shop at your favourite store. All products were personally purchased except marked with an asterisk (*) which were kindly sent to me to use. You can read my full disclosure here.


For more information on how I made the card, please head over to the blog post here. Thank you so much for stopping by today, I really do appreciate it. I hope you have a great rest of the weekend! 
End of code