
Hello there, it's release day over at Altenew and there are lots of new products in the shop! I will have cards to share on Saturday for the blog hop, but for today, I wanted to share Jaycee's Swatching System! This is a collaboration between Altenew and Jaycee Gaspar to create and organise swatches of our products.
PLEASE
NOTE: This post contains affiliate links. Please see below for my full
disclosure.

There are large swatches, medium swatches, small swatches and slim swatches! I am using the slim swatches today but I am hoping to get my hands on some of the others too as I would love to incorporate them into my system as well!
The swatches fit inside the Altenew Swatch Book Album (A7 - Beige) which is the cutest little binder! The system support both stamping of ink and ink blending of inks and you can also use them for cardstock swatches too. There are stamps to make the swatches, stencils to make the swatches and dies! So you can mix and match what works best for you!

I started off my swatches by printing off the Altenew Swatch Page Printables onto 80lb Neenah Classic Crest Solar White Cardstock. I then cut the pages in half (you get 2 sets of 3 on each 8.5" x 11" sheet) and used the Altenew Swatch Page Die to die cut them out. It cuts three swatch sheets in one go. You simply line up the printing holes with the die holes to get perfect placement.

I then took the first stencil from the Altenew Swatch Page Alignment Template and placed on my Sticky Mat.

The swatching sheet then fits inside perfectly! You don't have to use the Sticky Mat here but it is helpful to keep everything in place!

I then placed the second stencil on top, with the openings lined up with the etching lines on the first stencil (you can also use these etching lines to line up the stamps too, if using that method). These openings line up one by one, not all four in one go.

I used the corresponding ink and a Mini Blending Brush to blend ink inside the stencil opening. I added a darker saturation of colour on the left side and faded lighter on the right, so that I know how light and dark the ink can be.
I then moved the opening down to the next set of etched lines and repeated the process with the next shade of ink, and then carried on until all four were done. Now I know exactly what each of the four shades of ink are like in that collection.

The sheets can be added to the binder as is but there are also dividers that you can create using the Altenew Swatch Page Divider & Tabs Die Set to separate the colours and products. I cut mine from white cardstock and then stamped on top using the Altenew Slim Swatches Stamp Set. I haven't been able to get all my ink swatches done yet, but of course, I had to start with my beloved purples!

As mentioned, I will be back on Saturday to share the cards that I have made for the release but until then, I hope you will check out the release.
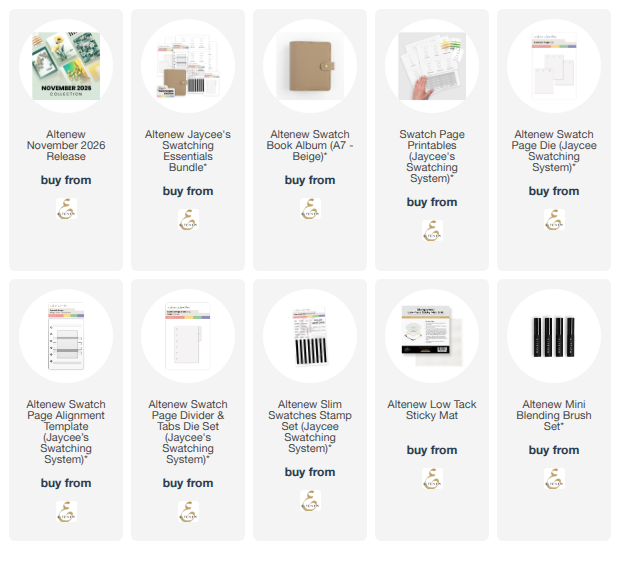
SUPPLIES:
Here are the links to
what products I used for the system Affiliate
links are used on some products. This means that if you make a purchase after
clicking on my link, I receive a small commission with no extra cost to you. I
truly appreciate your support when using these links. Please click on the logo below
the product to shop at your favourite store. All products were personally
purchased except marked with an asterisk (*) which were kindly sent to me to
use. You can read my full disclosure here.
Thank you so much for stopping by today, I really do appreciate it. I hope you have a wonderful day!

No comments:
Post a Comment
Thank you for visiting my blog today! Please feel free to leave me a comment. I really appreciate receiving them. Please note that if you comment as unknown on a hop, you will not be entered into the prize draw unless you leave your email address in the comment. Please see my Privacy Policy for details on how your data is used when leaving me a comment. Thank you so much :)