
Hello there, today I have a card to share using the new Spellbinders Autumn in Kyoto collection by Alex Syberia. This collection is an add-on to the already released Spring in Kyoto collection. The products can be mixed an matched between the different collections for more creative possibilities, for example, the new Kokeshi Dolls set has different hairstyles and clothing than the original one, but everything is the same size between the two.
PLEASE
NOTE: This post contains affiliate links. Please see below for my full
disclosure.

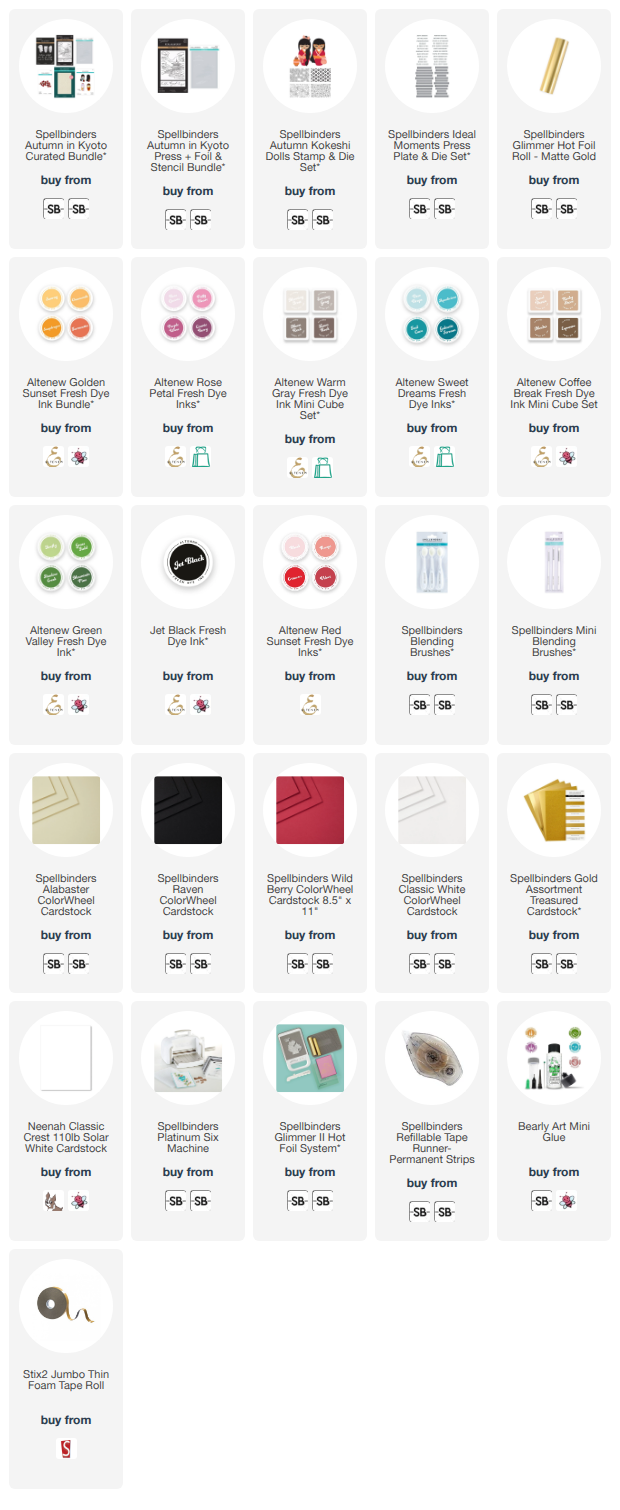
I started off my card by hot foiling the Spellbinders Scenic Kyoto Press + Foil Plate onto white cardstock (Neenah 110lb Solar White) using Spellbinders Matte Gold Glimmer Hot Foil and the Glimmer Hot Foil System. I then used the coordinating stencils to add colour to the scene using ink blending.

I used Altenew Fresh Dye Inks in Sunray, Snapdragon & Purple Wine for the trees, Firefly, Grass Field & Shadow Creek (Green Valley collection) for the hills, Morning Frost & Evening Gray (Warm Gray collection) for the ground and rocks, Aqualicious, Teal Cave & Galactic Stream (Sweet Dreams collection) for the water, Aqualicious for the clouds, Chamomile & Aqualicious for the sky, Rocky Shore & Mocha (Coffee Break collection) for the bridge, and Purple Wine, Sunray & Jet Black for the pagoda.

I die cut the doll from the Spellbinders Autumn Kokeshi Dolls Stamp & Die Set from Spellbinders Cardstock in Raven (hair and behind the eyes), Alabaster (face and neck), Classic White (collar), Wild Berry (main body, bow and lips), and Matte Metallic Treasured Gold for the trim and band. I added ink blending onto the Wild Berry die cuts with Altenew Rose Petal Fresh Dye Inks (Purple Wine & Cosmic Berry) and her face and neck with Blush Fresh Dye Ink. I then assembled and adhered her together using Bearly Art Glue.

I adhered the scene panel onto a a white US A2 sized white card base with tape runner. The doll was added on top with thin foam tape. I hot foiled the Spellbinders Ideal Moments Press Plate onto black cardstock using Spellbinders Matte Gold Glimmer Hot Foil and cut it onto a strip, before adhering it to the card with more thin foam tape.
SUPPLIES:
Here are the links to
what I have used on the project. Affiliate
links are used on some products. This means that if you make a purchase after
clicking on my link, I receive a small commission with no extra cost to you. I
truly appreciate your support when using these links. Please click on the logo below
the product to shop at your favourite store. All products were personally
purchased except marked with an asterisk (*) which were kindly sent to me to
use. You can read my full disclosure here.
The colour scheme for this one was definitely out of my comfort zone but I am happy with how it came out, however, in hindsight, I think I would have made the hills into mountains instead and eliminated the green. In the photos, the doll and parts of the pagoda are looking more red, it is a bit more dark pink in real-life! Thank you so much for stopping by today, I really do appreciate it. I hope you have a wonderful weekend!

No comments:
Post a Comment
Thank you for visiting my blog today! Please feel free to leave me a comment. I really appreciate receiving them. Please note that if you comment as unknown on a hop, you will not be entered into the prize draw unless you leave your email address in the comment. Please see my Privacy Policy for details on how your data is used when leaving me a comment. Thank you so much :)