19 October 2023

Spellbinders | Sealed for Christmas

Hello there, today I have a card to share using the Sealed Christmas Sprigs Etched Dies from the Spellbinders Sealed for Christmas release. The products released in September, but I am playing a little catch up this month from when I was off with shingles. 

PLEASE NOTE: This post contains affiliate links. Please see below for my full disclosure.

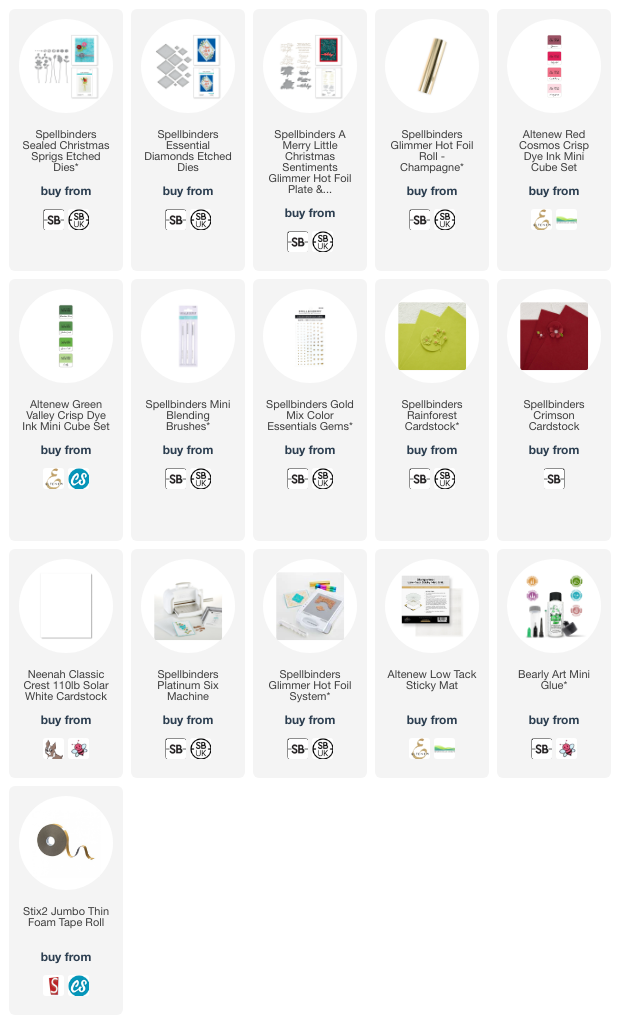
I started off my card by die cutting the Spellbinders Sealed Christmas Sprigs Etched Dies from Spellbinders Rainforest and Crimson Cardstock. I added ink blending to them using Altenew Inks and Spellbinders Mini Blending Brushes. They were assembled and adhered using Bearly Art Glue. 

I took two Spellbinders Essential Diamonds Etched Dies and die cut them twice to create two diamond frames. I adhered them on to a US A2 sized white card base stacked on top of each other, for some dimension. I then adhered the flowers on top with a combination of Bearly Art Glue and thin foam tape. 

I took the sentiment from the Spellbinders A Merry Little Christmas Glimmer Hot Foil & Die Set and foiled it onto white cardstock using Spellbinders Champagne Foil and the Spellbinders Glimmer Hot Foil System. It was die cut out using the coordinating die. I cut another for dimension, adhered it behind the foiled one and then onto the card. To finish off, I added a few Spellbinders Gold Mix Color Essentials Gems. 

SUPPLIES:


Here are the links to what I have used on the project. Affiliate links are used on some products. This means that if you make a purchase after clicking on my link, I receive a small commission with no extra cost to you. I truly appreciate your support when using these links. Please click on the logo below the product to shop at your favourite store. All products were personally purchased except those from Clearly Besotted, Hero Arts or those marked with an asterisk (*) which were kindly sent to me to use. You can read my full disclosure here.

These flowers work perfectly with wax seals but as you can see, they also work really well on their own too. Do you recognise this card? I CASEd my own design from THIS card! Thank you so much for stopping by today, I really do appreciate it. I hope you have a lovely day! 

18 October 2023

Altenew | October 2023 Marvelous Monthly Release Blog Hop + Giveaway

Hello there, I am delighted to be joining Altenew today to celebrate the release of the October 2023 Marvelous Monthly Series with a fun blog hop. There are lots of products releasing today including Build-A-Garden (which I am using today), Dynamic Duo, Craft-A-Flower and lots more including new Gradient Glitter Packs. 

PLEASE NOTE: This post contains affiliate links. Please see below for my full disclosure.


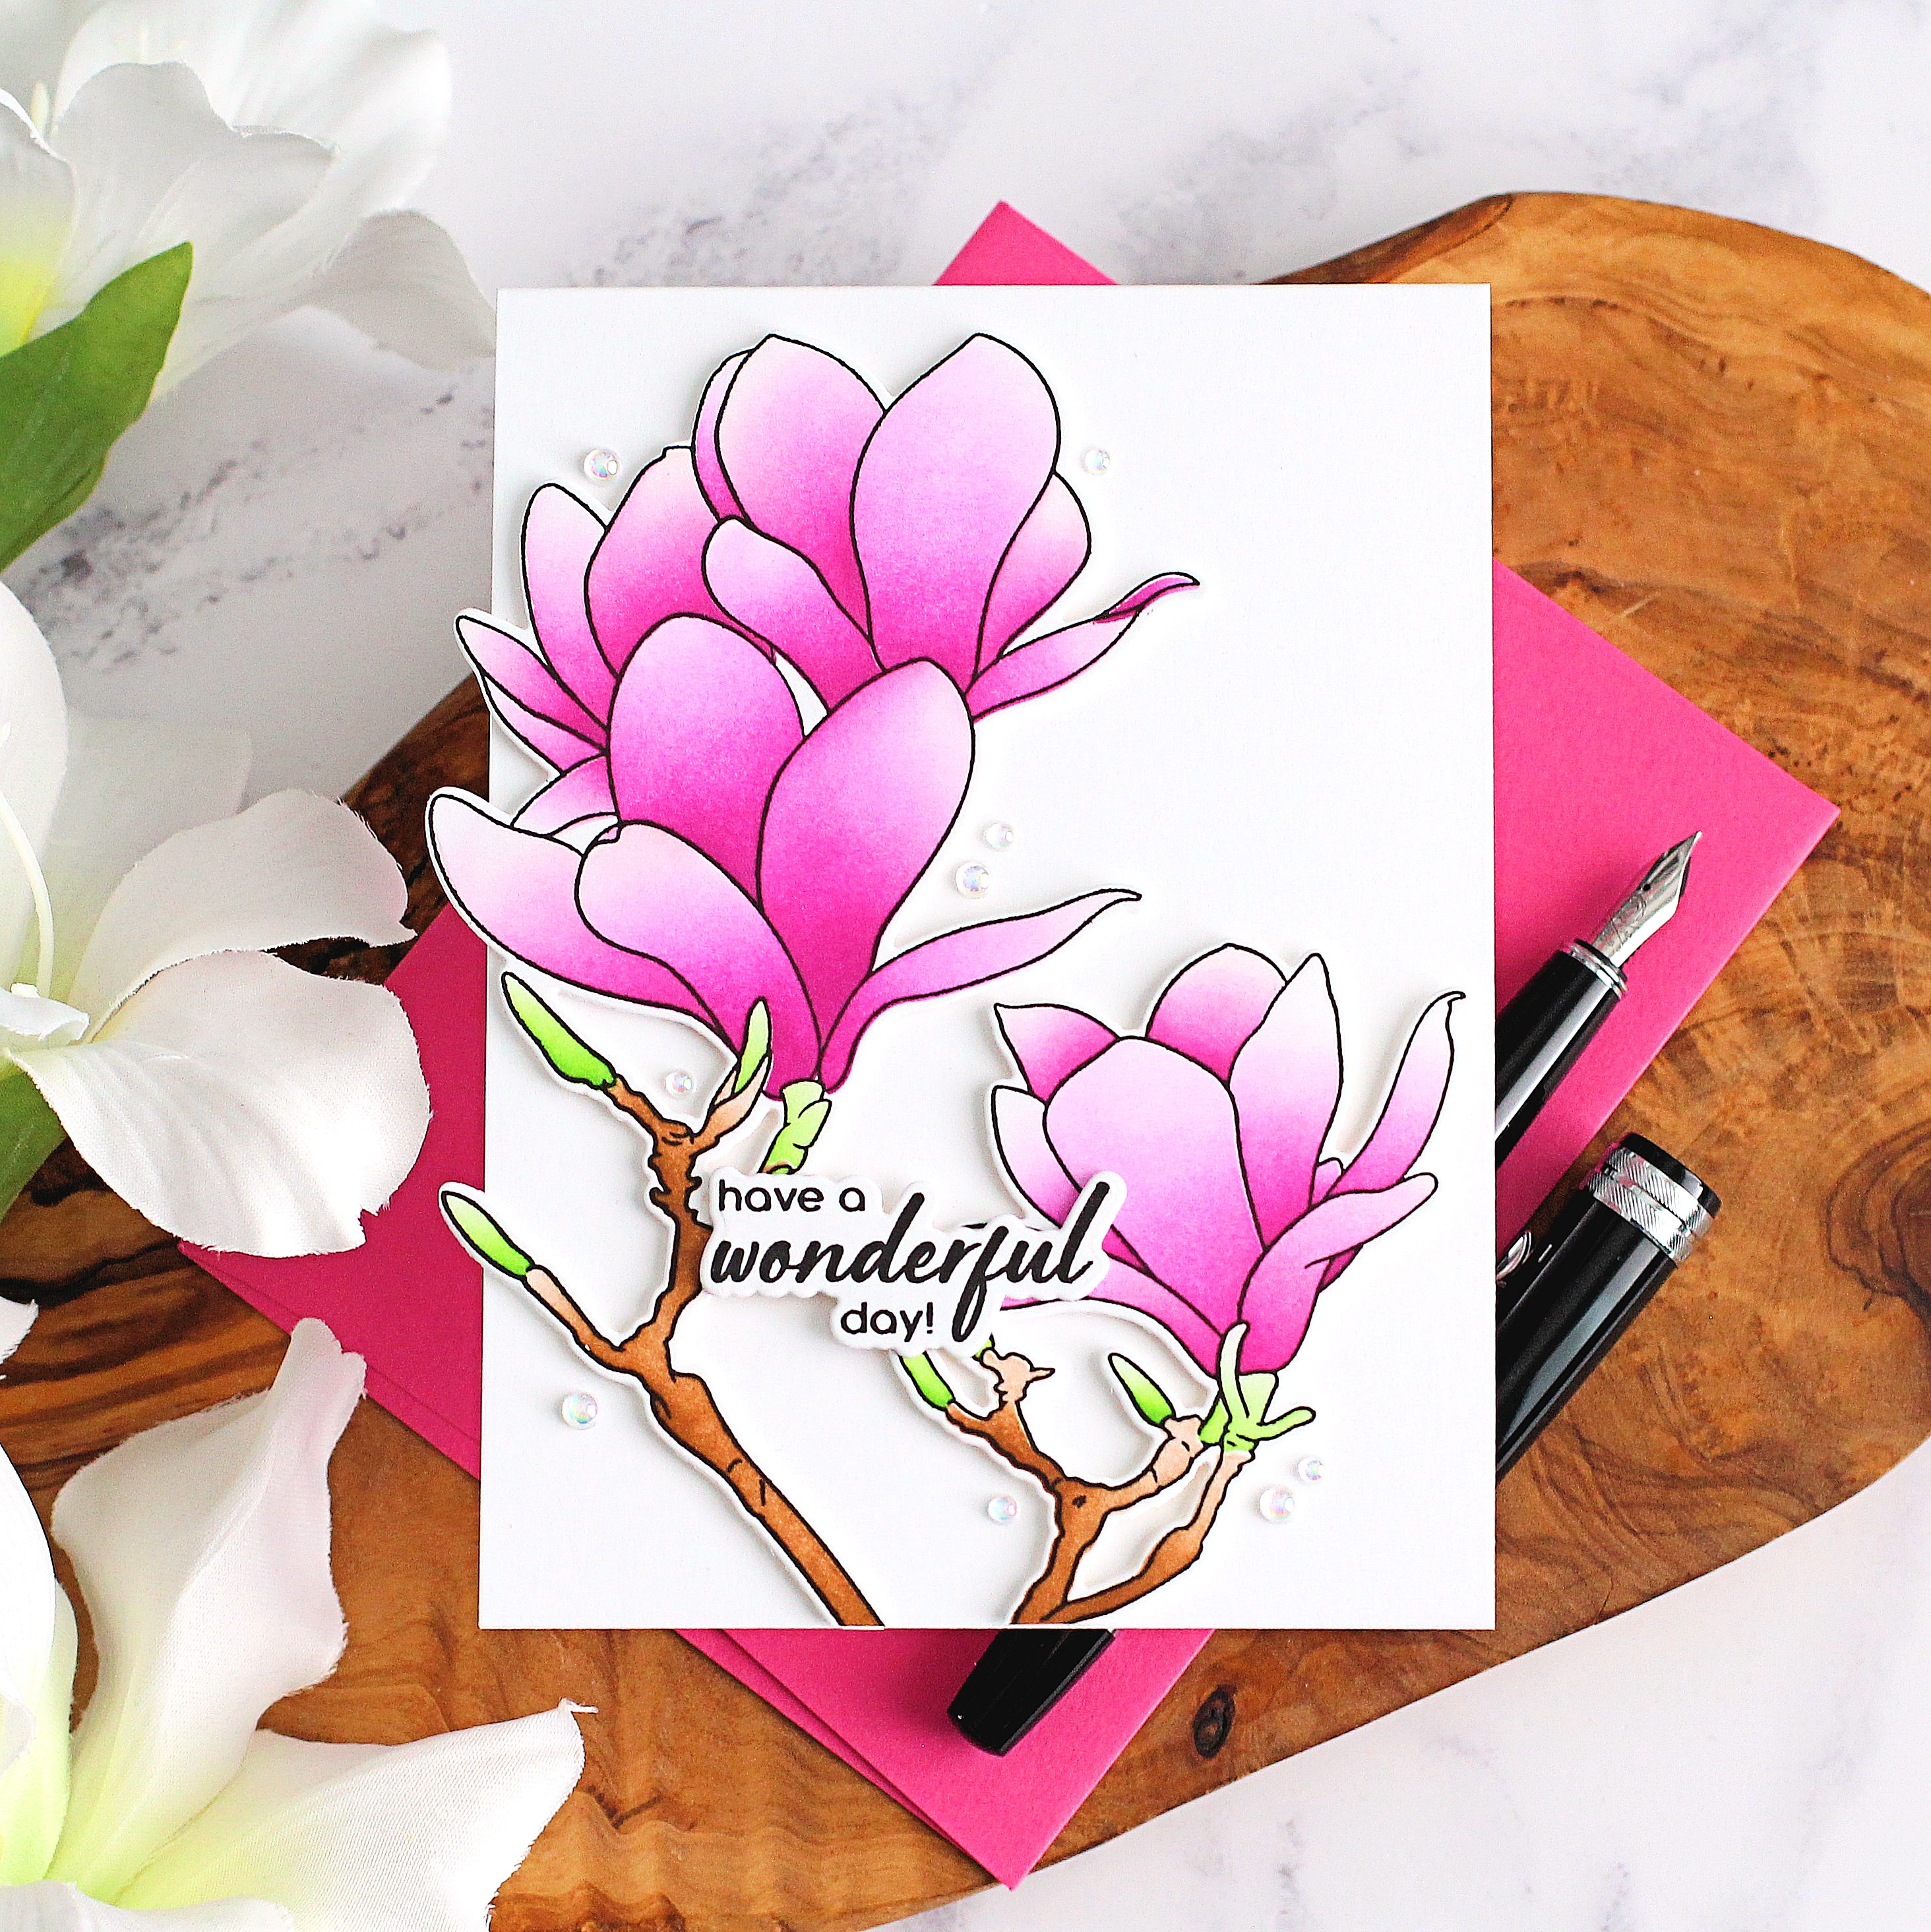
I started off my card by stamping the large magnolia image from the Altenew Build-A-Flower: Blushing Magnolia stamp set onto white cardstock using Altenew Obsidian Pigment Ink. I took the Blushing Magnolia stencils and one by one placed them on top of the image to colour it in using inks and an Altenew Mini Blending Brush. 


I used Altenew Cherry Blossom Crisp Dye Inks (Pink Diamond & Razzleberry) for the petals, Altenew Green Valley Crisp Dye Inks (Firefly & Grass Fields) for the buds and Altenew Coffee Break Crisp Dye Inks (Mocha & Espresso) for the branches. It was then die cut out using the coordinating die from the Altenew Build-A-Flower: Blushing Magnolia & Add-on Die Set Bundle. 

It was adhered on to a 4" x 5.5" white card base with Altenew Instant Dimension Foam Tape. I stamped the sentiment from the stamp set onto white cardstock using Altenew Obsidian Pigment Ink. It was cut out using the coordinating die. I die cut another from white cardstock and layered them up for added dimension before adhering to the card. To finish off, I added a few Bubbles embellishments. 

BLOG HOP:


As mentioned, this blog post is part of a fun, inspirational blog hop with prizes. Please click the links below for the other participants in the hop. 

You are invited to the Inlinkz link party!

Click here to enter

GIVEAWAY:

$300 in total prizes! To celebrate this release, Altenew is giving away a $100 gift certificate to 1 lucky winner and a $50 gift certificate to 4 winners! Please leave a comment on the Altenew Card Blog and/or each designer’s blog post on the blog hop list below by 24th October 2023 for a chance to win. Altenew will draw 5 random winners from the comments left on each stop of this blog hop and announce the winners on the Altenew Winners Page on 26th October 2023. *The winner of the $100 gift certificate will be chosen from comments left on the Altenew blog. 


SUPPLIES:


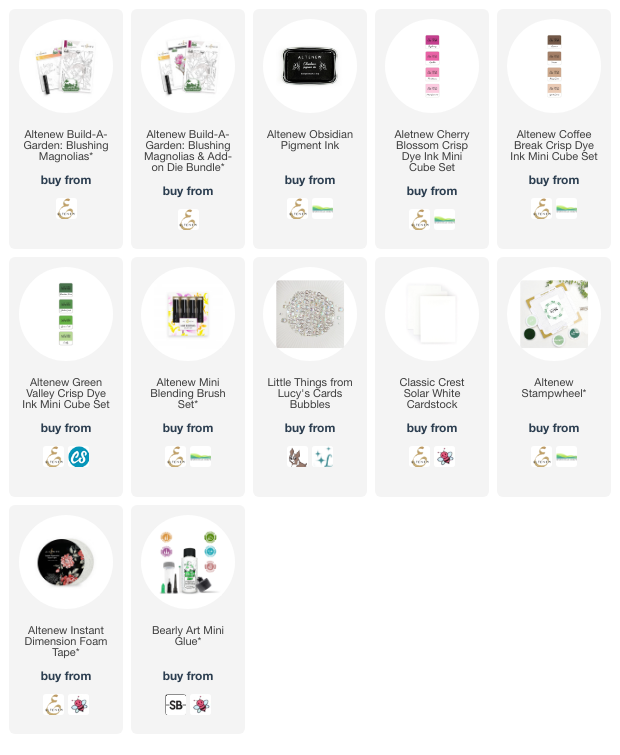
Here are the links to what I have used on the project. Affiliate links are used on some products. This means that if you make a purchase after clicking on my link, I receive a small commission with no extra cost to you. I truly appreciate your support when using these links. Please click on the logo below the product to shop at your favourite store. All products were personally purchased except those from Clearly Besotted, Hero Arts or those marked with an asterisk (*) which were kindly sent to me to use. You can read my full disclosure here.


This is such a pretty set and I am hoping to use it again soon! Thank you so much for stopping by today, I really do appreciate it. Wishing you a wonderful day! 

16 October 2023

Chibitronics Animating LED Stickers | Merry & Bright

Hello there, I am delighted to be joining Chibitronics today to celebrate the release of new Animating LED Stickers with a fun Instagram Hop. The fun is happening over on Instagram but I wanted to share the full details of how I made the card here on my blog too. 

PLEASE NOTE: This post contains affiliate links. Please see below for my full disclosure.

This is the first time I have ever used lights in cardmaking. I have seen other people use them and always thought they looked cool but had never tried them until now. Interactive cards do intimidate me, I am not going to lie, but actually, these lights were very easy to use! 


For the card, I started off by creating the front panel. I took a panel of Spellbinders Crimson Cardstock and placed the Spellbinders Merry & Bright Etched Dies on top. I then ran it through my die cutting machine to cut the letters out. I placed the panel inside the Spellbinders Peppermint Stripes Embossing Folder and ran it through my die cutting machine again. I then added ink blending around the edges using Hero Arts Crimson and Cranberry Core Inks. 


I cut the Merry & Bright die again, but this time from white cardstock. I added a thin layer of vellum behind the panel and then inlaid (and adhered) the letters on top. I added a piece of gold shimmer vellum behind the star and secured in place on the back. I die cut the 'bright' word from white cardstock and adhered that below the 'merry &'. I then got to work on the lights ...


I watched some videos by the amazing Jessica Frost-Ballas to see how to create my circuit. I kept it very simple and just used the one light but there is definitely scope to add lots depending on the card design! I took a US A2 sized white card base and on the front mapped out where I thought I need to place the light and the battery with a pencil. I wanted the light to be in the centre of the star and the battery be behind where the 'bright' die cut is. 


I first created a holding for my battery (since I wanted the light to come on when the 'bright' was pressed but did not want it to be on constantly) from a piece of cardstock folded in half like a book. I then ran the fabric conductive circuit tape from the Chibitronics Craft with Light Kit from the top of the card to the bottom - one for the negative side of the battery and one for the positive side. 


The positive side also had to go over the front of the battery holder and over the back so that when pressed, it touches the positive side of the battery to switch the light on. I added foam tape (two layers) around the battery holder and then added a little tape runner adhesive inside it and placed the battery on top. This keeps the battery secure.


For the light itself, I used the Chibitronics White Blink Animating LED Stickers. I placed it at the top of the circuit and then added small pieces of the fabric conductive circuit tape on top for added security.  I tested it multiple times at this point to make sure the light would work! Whilst this isn't pretty and could have been much neater, I was pretty happy with my first attempt!


I found that I needed to adhere my panel on top with two layers of foam tape as with just one, the battery was pressed down too much and the light would be on constantly. I added the foam tape to the back of the panel and then adhered it on top of the card base. I die cut two poinsettias from the Spellbinders Petite Blooms and Sentiments Etched Dies set from Spellbinders Crimson Cardstock. 


I cut the leaves from the same gold shimmer vellum that I used behind the star. They were adhered to the card using Bearly Art Glue. To finish off, I added a few Spellbinders Gold Mix Color Essentials Gems. 

As you can see in the last photo, when you press the word 'bright' the light flashes on and off. It is really fun! I will write a note inside the card to tell the recipient to press it and to watch what happens! To see the light flashing/blinking in action, please head over to my Instagram account. 

SUPPLIES:


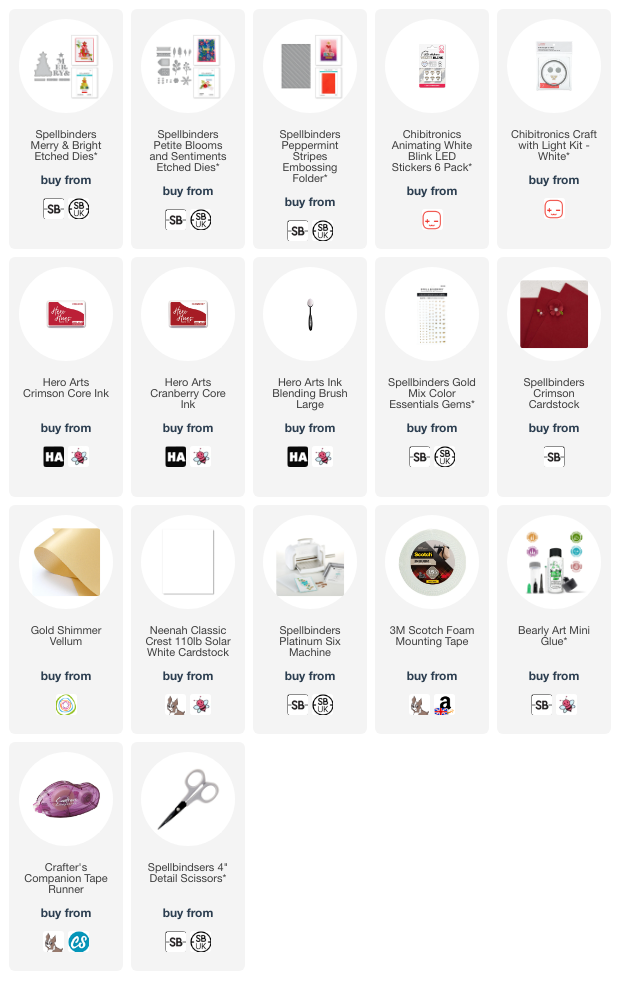
Here are the links to what I have used on the project. Affiliate links are used on some products. This means that if you make a purchase after clicking on my link, I receive a small commission with no extra cost to you. I truly appreciate your support when using these links. Please click on the logo below the product to shop at your favourite store. All products were personally purchased except those from Clearly Besotted, Hero Arts or those marked with an asterisk (*) which were kindly sent to me to use. You can read my full disclosure here.


Please do head over to Instagram for all the details on the hop and to enter to win a prize! You can find the Chibitronics Instagram account HERE. Thank you so much for stopping by today, I really do appreciate it. I hope you have a wonderful day! 

VIDEO | Hero Arts Foiled Christmas Ornament

Hello there and happy Monday to you! Today I have a card and video to share with you using Hero Arts Ornament Fancy Dies with hot foiling, ink blending and die cutting. The Ornament Fancy Dies are perfect for die-cut inlay and lots of other techniques, but I thought I would do something different today and add a hot foiled sentiment. 

PLEASE NOTE: This post contains affiliate links. Please see below for my full disclosure.


I started off my card by hot foiling the sentiment from the Hero Arts Three Holiday Messages Hot Foil Plate onto Hero Arts Nautical Cardstock using Spellbinders Champagne Foil and the Spellbinders Glimmer Hot Foil System. I then die cut it out using one of the Hero Arts Ornament Fancy Dies. I cut the topper from Hero Arts Holiday Sparkle Glitter Paper (gold). 


Whilst die cutting, I cut some foliage from Hero Arts Winter Foliage Stamp & Cut XL from Hero Arts Meadow and Pine Cardstock. I added ink blending to them using Hero Arts Pine Core Ink. I then added ink blending to the ornament using Hero Arts Nautical and Pitch Black Core Inks. I did this to the US A2 sized card base made from Nautical Cardstock too. 


I adhered the foliage to the card base with Hero Arts Precision Glue XL. I then adhered the topper to the ornament and tied DMC Gold Diamant Thread through the top and tied in a double bow. It was adhered to the card using foam tape. To finish off, I added a few gold gems. 

VIDEO:

Here is the video showing how I made the card:


If you are viewing this blog post via email subscription, you can watch the video HERE on YouTube. 

SUPPLIES:


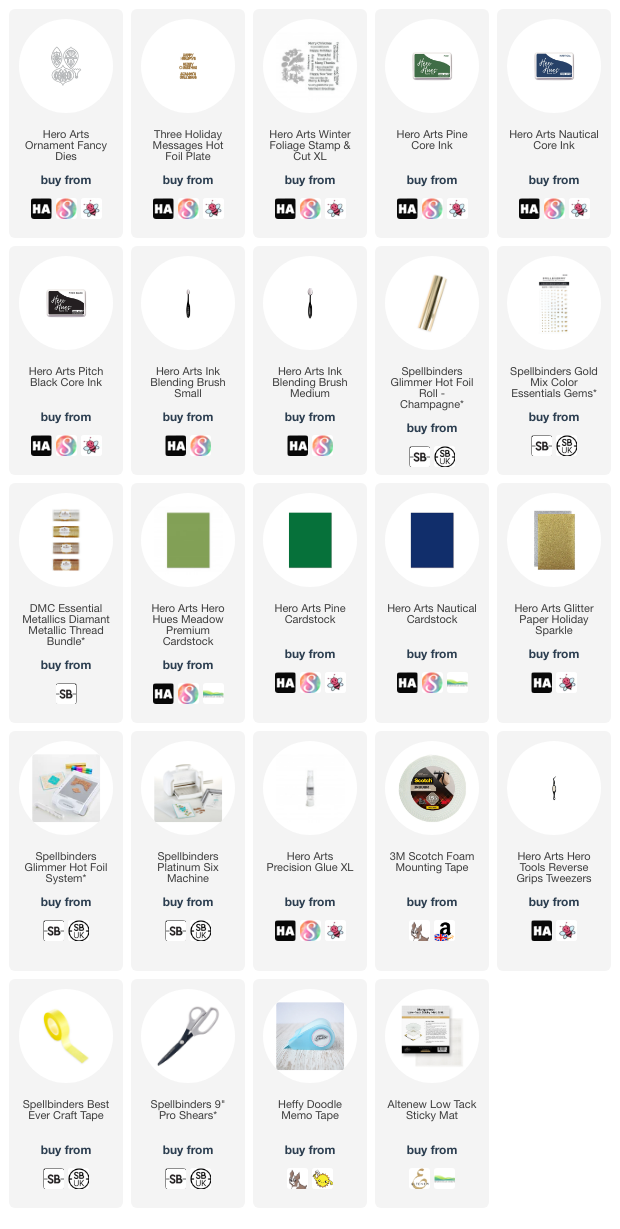
Here are the links to what I have used on the project. Affiliate links are used on some products. This means that if you make a purchase after clicking on my link, I receive a small commission with no extra cost to you. I truly appreciate your support when using these links. Please click on the logo below the product to shop at your favourite store. All products were personally purchased except those from Clearly Besotted, Hero Arts or those marked with an asterisk (*) which were kindly sent to me to use. You can read my full disclosure here.


Whilst a simple card design, I do like the colour combination. I think the blue card base adds a little drama to the card! Thank you so much for stopping by today, I really do appreciate it. I hope you have a wonderful day and a great week ahead! 

12 October 2023

VIDEO | Add Sparkle to Watercolours

Hello there, today I have a tag and video to share with you adding sparkle to watercolours. There are sparkly/iridescent watercolours available, but if you didn't want to buy them, I wanted to share a way that you can easily add sparkle with shimmer spray. 

PLEASE NOTE: This post contains affiliate links. Please see below for my full disclosure.


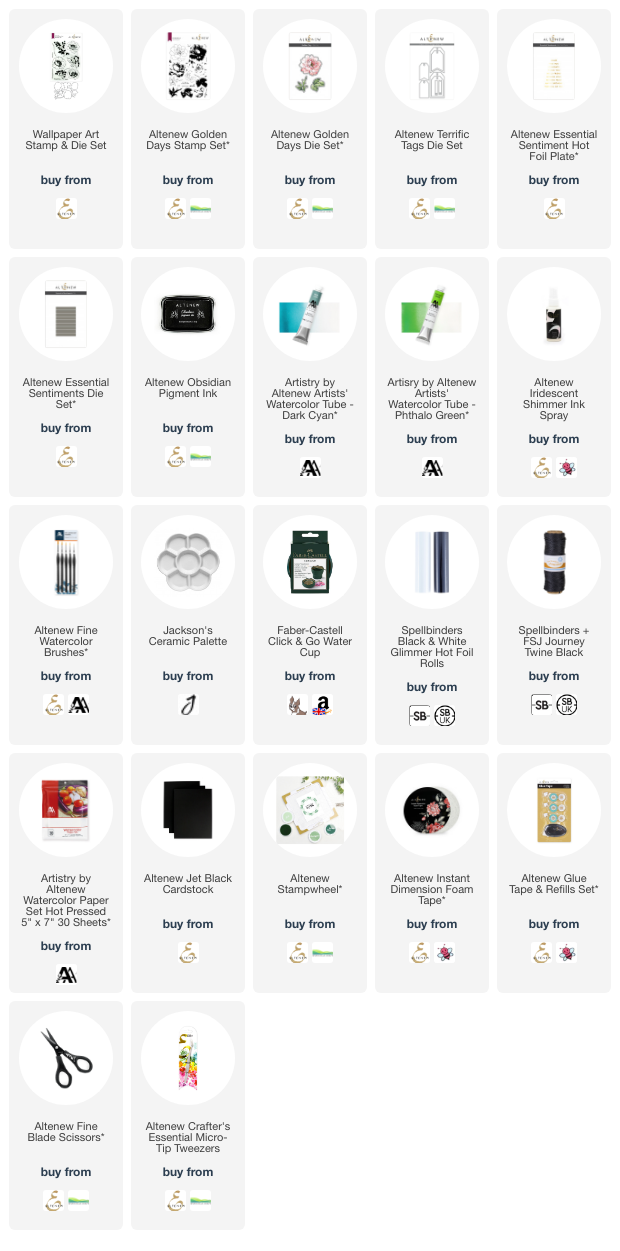
I started off my card by stamping the flower from Altenew Wallpaper Art and the leaves from Altenew Golden Days onto Artistry by Altenew Hot Pressed Watercolor Paper. I then took Altenew Watercolor Tubes in Dark Cyan and Phthalo Green and added a little to a porcelain palette. Using a watercolour brush and water, I painted the flower with the Dark Cyan and the leaves with Phthalo Green. 


I spritzed some Altenew Iridescent Shimmer Ink Spray into the palette, picked it up with a wet brush and painted it onto the flower and leaves, focussing it where the darkest colour is. If you wanted to try this yourself and you wanted it all sparkly, you could spray some of the shimmer spray directly into the paint or water. I let it sit to dry for a little while and then fussy cut the flower out with scissors and die cut the leaves out using the coordinating dies. 


I die cut an Altenew Terrific Tag Die from the same Hot Pressed Watercolor Paper and using the images as a guide, added more Dark Cyan paint to create a simple background around them. Once dry, I added another tag to the back to have somewhere clean to write a personal message. The leaves were then adhered on top with Altenew Glue Tape and the flower with Altenew Instant Dimension Foam Tape. 


I had previously hot foiled the Altenew Essential Sentiments Hot Foil Plate onto black cardstock using white foil. It was die cut using the Altenew Essential Sentiments Die. Since I had a few of the sentiments left that I had used on a previous card, I added one to the tag with more foam tape. To finish off, I added twine through the top of the tag and tied in a bow. 

VIDEO:

Here is the video showing how I made the tag:


If you are viewing this post via email subscription, you can watch the video HERE on YouTube. 

SUPPLIES:


Here are the links to what I have used on the project. Affiliate links are used on some products. This means that if you make a purchase after clicking on my link, I receive a small commission with no extra cost to you. I truly appreciate your support when using these links. Please click on the logo below the product to shop at your favourite store. All products were personally purchased except those from Clearly Besotted, Hero Arts or those marked with an asterisk (*) which were kindly sent to me to use. You can read my full disclosure here.


Unfortunately, it is really difficult to see the shimmer in the photos (you can see it a little bit in the video) but in real-life, it does look really pretty! Thank you so much for stopping by today, I really do appreciate it. I hope you have a wonderful day! 

10 October 2023

Spellbinders | Merry Mug & Circle Delights Tags

Hello there, if you have followed me for a while you will know how much I love tags. I do love creating them all year round, mainly because they are a smaller canvas to work with and I like that. I also love making tags at Christmas because I enjoy the art of gift wrapping. When I saw the Spellbinders Merry Mug & Circle Delights Collection by Nichol Spohr, I knew it would be perfect for tags! 

PLEASE NOTE: This post contains affiliate links. Please see below for my full disclosure.


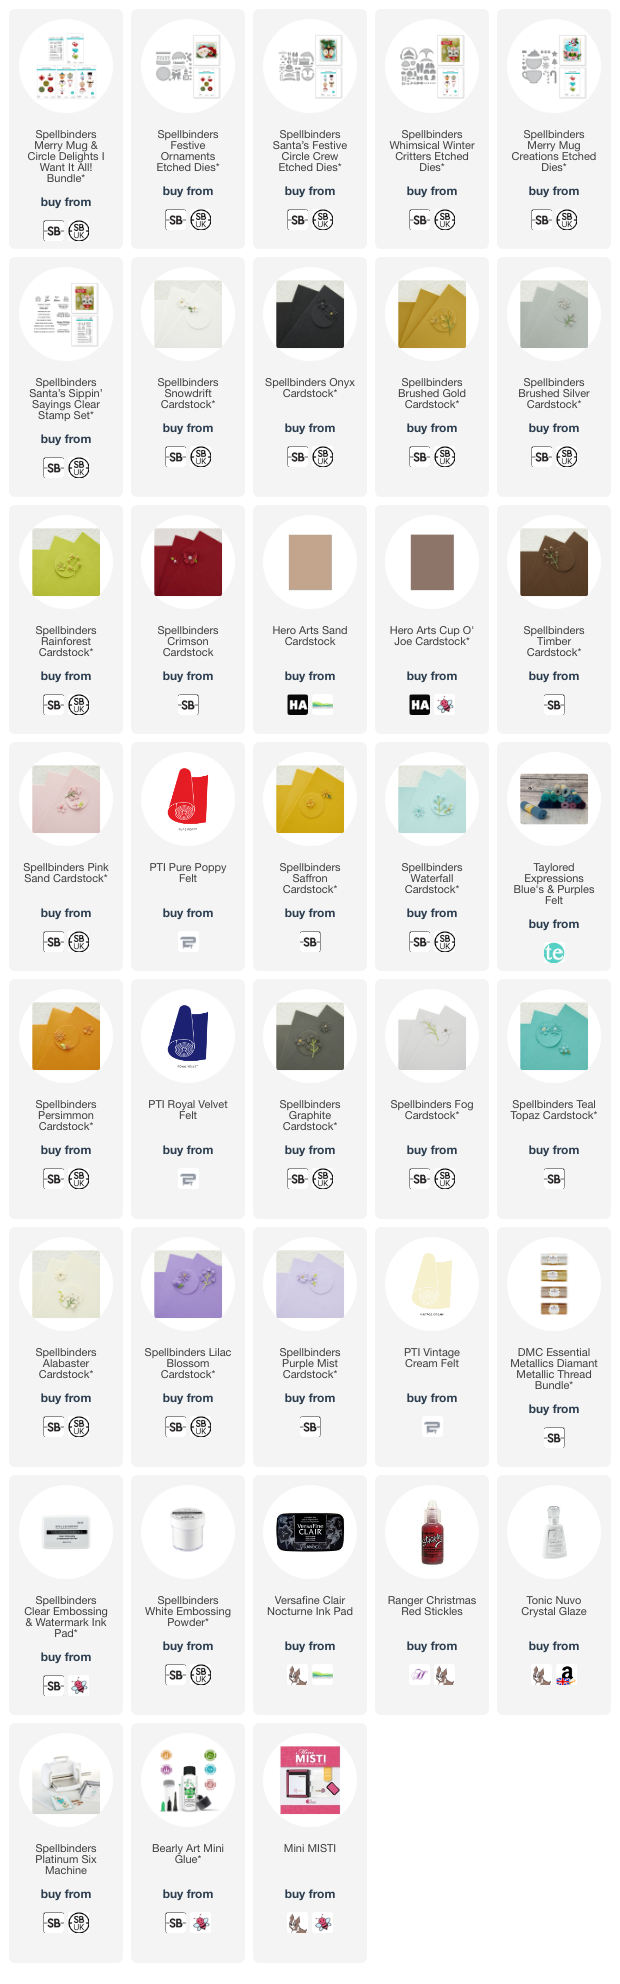
Apart from the mug tag, all my tags today use the Spellbinders Festive Ornaments Etched Dies as the base. This set can be used on it's own but paired with the others sets, there is a whole world of creative opportunities! 


The layers for the tags were cut from Spellbinders Cardstock (great for using up scraps), as well as couple of colours from Hero Arts, Spellbinders Brushed Gold and Silver Cardstock and a few shades of felt. I like having the felt layers to add some interest to the tags. All the felt layers have a cardstock backing layer to them, so they would be easier to adhere. The thread on the tags is DMC Diamant Thread. I kept the strings long, in case I wanted to hang them as ornaments. 


For the first tag, I created a reindeer. I used Spellbinders Festive Ornaments Etched Dies for the base layer and ornament topper. The reindeer layers are from Spellbinders Santa's Festive Circle Crew Etched Dies. I used Hero Arts Sand, Hero Arts Cup O' Joe, Spellbinders Timber, Spellbinders Onyx, Spellbinders Crimson, Spellbinders Pink Sand and Spellbinders Brushed Gold Cardstock. His nose was cut from Papertrey Ink Pure Poppy Felt. 


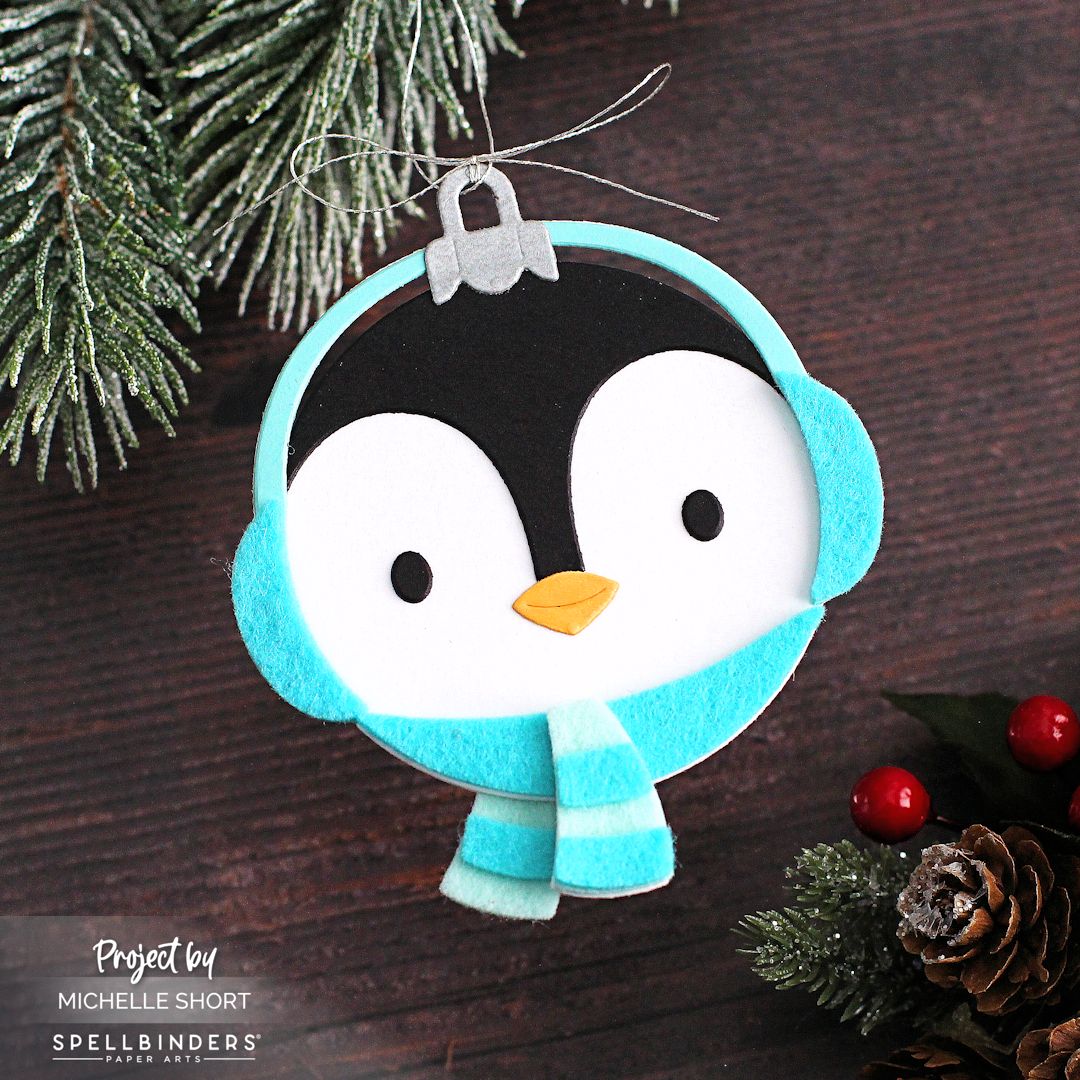
For the second tag, I created a penguin. I used the Spellbinders Festive Ornaments Etched Dies for the base layer and ornament topper. The penguin layers are from the Spellbinders Whimsical Winter Critters Etched Dies. I used Spellbinders Snowdrift, Spellbinders Onyx, Spellbinders Saffron, Spellbinders Waterfall and Spellbinders Brushed Silver Cardstock. His earmuffs and scarf are cut from Taylored Expressions Robin's Egg and Aqua Mist Felt. I used Crystal Glaze on the beak. 


For the third tag, I created a snowman. I used Spellbinders Festive Ornaments Etched Dies for the base layer, holly and leaves. The snowman layers are from Spellbinders Santa's Festive Circle Crew Etched Dies. I used Spellbinders Snowdrift, Spellbinders Onyx, Spellbinders Persimmon, Spellbinders Rainforest and Spellbinders Crimson Cardstock. The band on his hat was cut from Papertrey Ink Royal Velvet Felt and the bowtie from Hobbycraft Black Glitter Felt. I used Ranger Red Stickles on the berries. 


For the fourth tag, I created a raccoon (but I think with these dies, you could also create a sloth!). I used Spellbinders Festive Ornaments Etched Dies for the base layer, holly and leaves. The raccoon layers are from the Spellbinders Whimsical Winter Critters Etched Dies. I used Spellbinders Graphite, Spellbinders Fog, Spellbinders Onyx, Spellbinders Teal Topaz, Spellbinders Rainforest and Spellbinders Crimson Cardstock. I cut the hat band from Hobbycraft White Glitter Felt. I used Ranger Red Stickles on the berries and Crystal Glaze on the nose. 


For the fifth tag, I created a Santa. I used Spellbinders Festive Ornaments Etched Dies for the base layer, ornament topper, holly and leaves. The Santa layers are from Spellbinders Santa's Festive Circle Crew Etched Dies. I used Spellbinders Alabaster, Spellbinders Snowdrift, Spellbinders Onyx, Spellbinders Crimson, Spellbinders Rainforest and Spellbinders Brushed Gold Cardstock. I cut the trim on the hat from Hobbycraft White Glitter Felt. I added Ranger Red Stickles to the berries. 


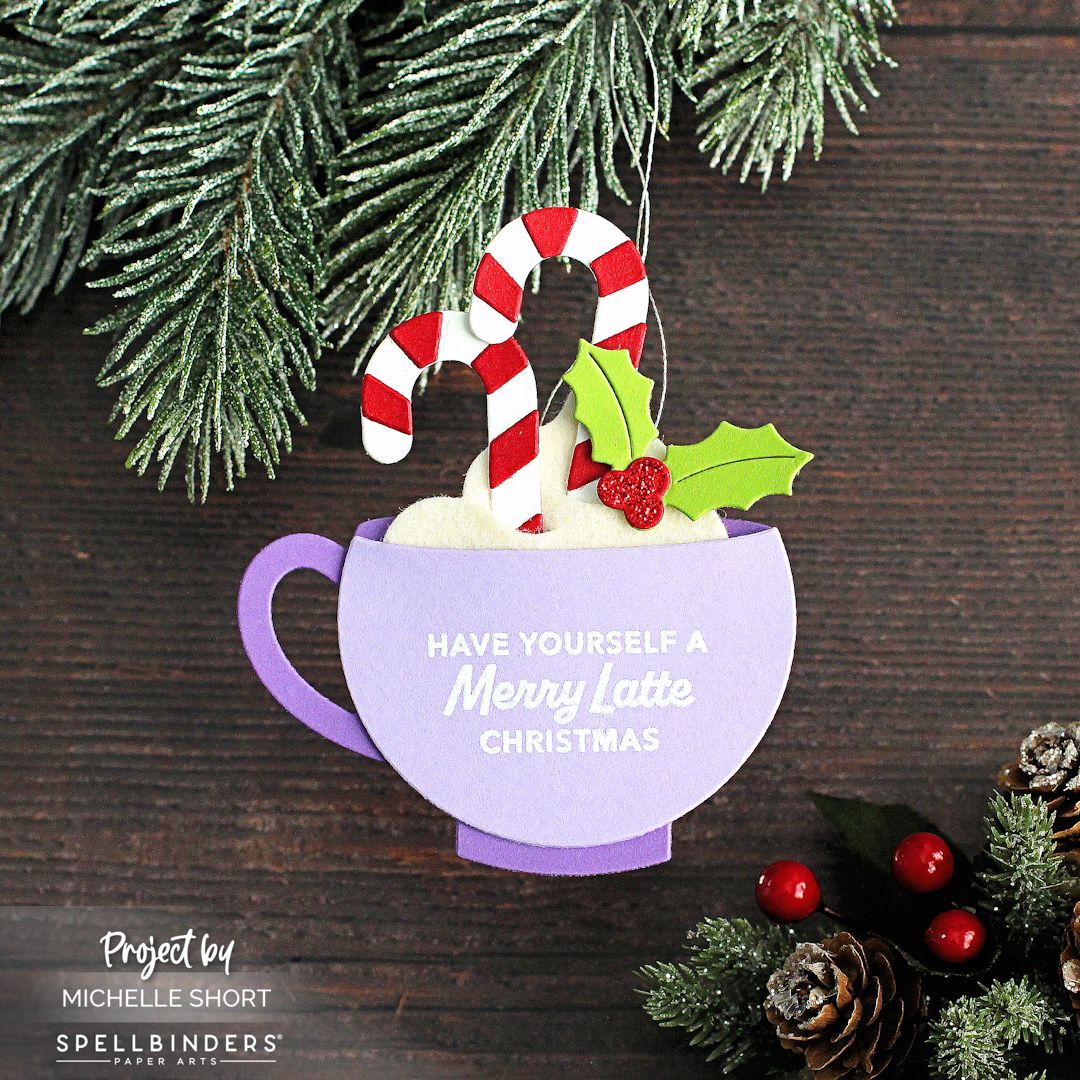
For the last tag, I made a little mug that could be added to a gift card. I used Spellbinders Merry Mug Creations Etched Dies, as well as the Spellbinders Festive Ornaments Etched Dies for the holly and berries. The sentiment is stamped and heat embossed from the Spellbinders Santa's Sippin' Sayings Clear Stamp Set. I used Spellbinders Lilac Blossom, Spellbinders Purple Mist, Spellbinders Snowdrift, Spellbinders Crimson and Spellbinders Rainforest Cardstock. I cut the whip cream from Papertrey Ink Vintage Cream Felt. I added Ranger Red Stickles to the berries.


The backs of the tags were finished with another of the base layer circle shape, as well as a few other layers (to hide adhesive and finish them off nicely). I stamped the sentiments from the Spellbinders Santa's Sippin' Sayings Clear Stamp Set using Versafine Clair Nocturne Ink. 

SUPPLIES:


Here are the links to what I have used on the projects. Affiliate links are used on some products. This means that if you make a purchase after clicking on my link, I receive a small commission with no extra cost to you. I truly appreciate your support when using these links. Please click on the logo below the product to shop at your favourite store. All products were personally purchased except those from Clearly Besotted, Hero Arts or those marked with an asterisk (*) which were kindly sent to me to use. You can read my full disclosure here.


I had so much fun making these. Which is your favourite? I think mine might be the penguin, but I love them all! They would look great on cards too, or as ornaments. Thank you so much for stopping by today, I really do appreciate it. I hope you have a wonderful day! 

9 October 2023

Spellbinders | Christmas Boutique

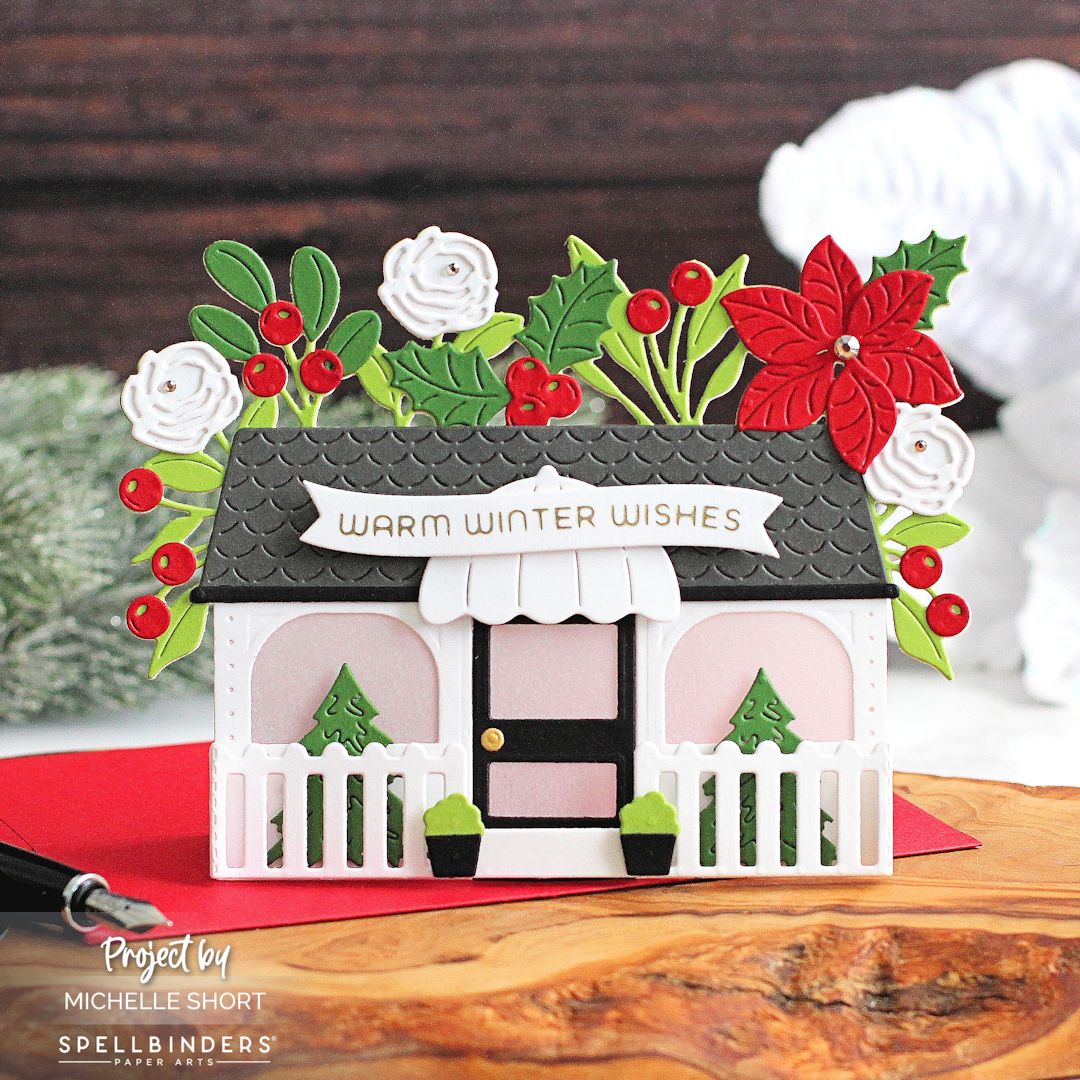
Hello there, I hope you are well. Today I have a card to share using the Spellbinders October 2023 Large Die of the Month Club Kit. This month is called "Christmas Boutique" and It is one that you can use in a few different ways - make the boutique into a house, add it to a card or make the the boutique the card itself (like I have done today). 

PLEASE NOTE: This post contains affiliate links. Please see below for my full disclosure.


I started off my card by die cutting the base layer die from the Spellbinders October 2023 Large Die of the Month Club Kit three times - twice from white cardstock and once from Spellbinders Rainforest Cardstock. I then cut the door and windows from one of the white layers so that I could add vellum to the back for the glass part. I cut the top part off of the Rainforest background layer (across so that it is hidden behind the roof) and adhered it on top. 

I cut the roof from Spellbinders Graphite Cardstock and the trim piece from Spellbinders Onyx Cardstock. I cut the door from Onyx too. They were adhered to the boutique with Bearly Art Glue. The awning piece was cut from white cardstock and adhered on top with thin foam tape. The leaves were cut from Spellbinders Fern Cardstock and the berries and poinsettia from Spellbinders Pomegranate Cardstock. The flowers were cut from white cardstock and the pieces adhered on top of the base layer using Bearly Art Glue. 

I die cut the trees from Spellbinders Fern Cardstock and adhered them to the front of the boutique using more thin foam tape. The fence was then die cut from white and adhered by folding behind the front layer of the card (so that it is popped out from the front for a 3D look). I die cut the flower pots from Spellbinders Onyx Cardstock and what should be the centre of the poinsettia from Spellbinders Rainforest Cardstock. I used them to make little topiary to add to the front of the boutique. 

The door handle, cut from Spellbinders Brushed Gold Cardstock, was adhered to the door. I then took a sentiment from the Spellbinders Comfort & Joy Glimmer Hot Foil Plate & Die Set that I had previously foiled using Spellbinders Champagne Foil and die cut out. It was adhered to the roof using thin foam tape. To finish off, I added a few Spellbinders Gold Mix Color Essentials Gems. 

The second base layer that I cut from white cardstock was scored (to create a hinge) and adhered to the back of the front panel. This created the card base. I did also add a layer to the back of the front panel to hide the vellum panel. 

SPELLBINDERS CLUB KITS

I hope that you will check out the Spellbinders Club Kits. It is a wonderful monthly subscription where you receive the kit each month. Designers like myself share inspiration using the kit at the beginning of the month to show you lots of different ways that you can use it. 

There are also lots of other club kits too, like the Small Die of the Month, Clear Stamp & Die of the Month, Embossing Folder of the Month (plus lots more!), so there is something for everyone! If you do subscribe, you will get other benefits from Spellbinders too. Please see here for more information. You can also buy older kits here too. 

To buy the kit - if you are a current subscriber to the Large Die of the Month Club Kit (or any kit), you do not need to do anything. You will be charged as normal on the 5th of the month and your kit will be shipped to you. If you are a new subscriber, you can purchase the kit from the 6th - 27th of October 2023. Members can cancel their membership at any time.


SUPPLIES:


Here are the links to what I have used on the project. Affiliate links are used on some products. This means that if you make a purchase after clicking on my link, I receive a small commission with no extra cost to you. I truly appreciate your support when using these links. Please click on the logo below the product to shop at your favourite store. All products were personally purchased except those from Clearly Besotted, Hero Arts or those marked with an asterisk (*) which were kindly sent to me to use. You can read my full disclosure here.


This was so much fun to put together! There are so many different colour combinations that can be used and you can use some elements and not others, there is even ornaments in the set if you want to decorate the trees! Thank you so much for stopping by today, I really do appreciate it. Wishing you a wonderful week ahead! 

6 October 2023

VIDEO | Sweet Honey Bear

Hello there, I am over on the My Favorite Things YouTube channel today, sharing a super sweet card (if I do say so myself!) using the Sweet Honey Bear set.

PLEASE NOTE: This post contains affiliate links. Please see below for my full disclosure.


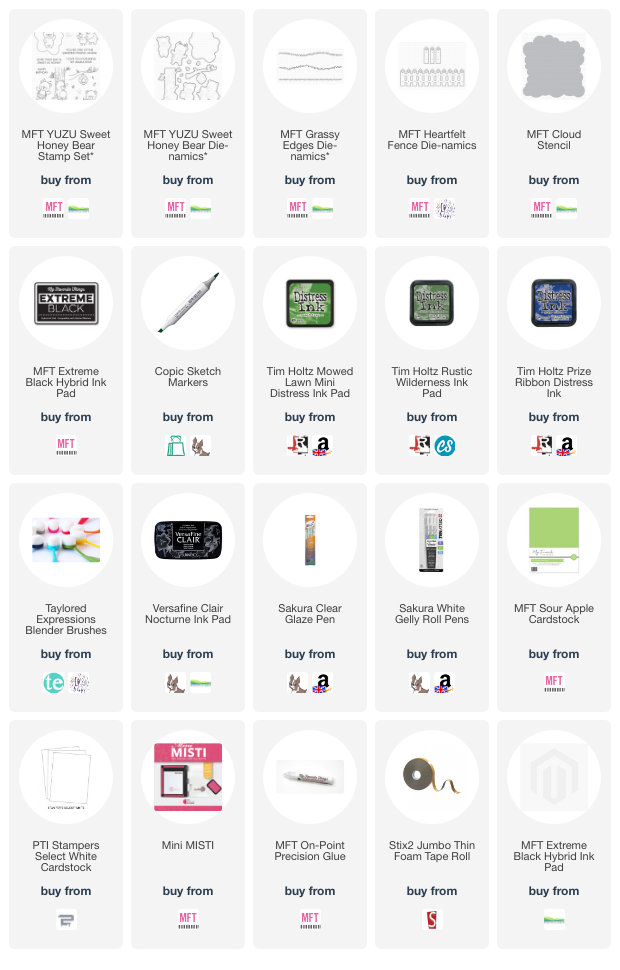
I started off my card by stamping the bear, branch and bees from the MFT Sweet Honey Bear Stamp Set onto white cardstock using MFT Extreme Black Ink. I then coloured them using Copic Markers (the colours that I used are listed below the supplies area). They were die cut out using the MFT Sweet Honey Bear Die-namics. 


I took a 3 1/2" x 4 3/4" panel of white cardstock and placed the MFT Cloud Stencil on top. Using Tim Holtz Prize Ribbon Distress Ink and a blending brush, I blended ink on to create a cloudy background, moving the stencil down as I went to cover the panel. I die cut a piece of MFT Sour Apple Cardstock using the MFT Grassy Edges Die-namics and then added ink blending to that with Tim Holtz Mowed Lawn and Rustic Wilderness Distress Inks. 


I stamped a sentiment from the MFT Sweet Honey Bear Stamp Set on to the panel using Versafine Clair Nocturne Ink and then started creating my scene. I die cut the MFT Heartfelt Fence Die-namics from white cardstock and adhered that to the bottom of the panel, followed by the grass. The bear, branch and bees were adhered on top with thin foam tape. The panel was then adhered to a US A2 sized white card base with more thin foam tape. To finish off, I added a few white gel pen highlights to the images and clear glaze pen to the bear's nose. 

VIDEO:

Here is the video showing how I made the card:


If you are viewing this blog post via email subscription, you can watch the video HERE on YouTube. 

SUPPLIES:


Here are the links to what I have used on the project. Affiliate links are used on some products. This means that if you make a purchase after clicking on my link, I receive a small commission with no extra cost to you. I truly appreciate your support when using these links. Please click on the logo below the product to shop at your favourite store. All products were personally purchased except those from Clearly Besotted, Hero Arts or those marked with an asterisk (*) which were kindly sent to me to use. You can read my full disclosure here.


COPIC MARKERS: Branch - E29, E27, E25, E23/G29, YG17, YG23, YG01. Beehive - TR27, Y17, Y15, Y13, Y11. Bees - C10, C7/Y17, Y15, Y13/B00, B000. Bear - E59, E57, E55, E53/R12, R000. Honey pot - E37, E35, E31, E30, YR27, Y17, Y15, Y13. 

That bear is so cute! Thank you so much for stopping by today, I really appreciate it. I hope you have a wonderful day! 

5 October 2023

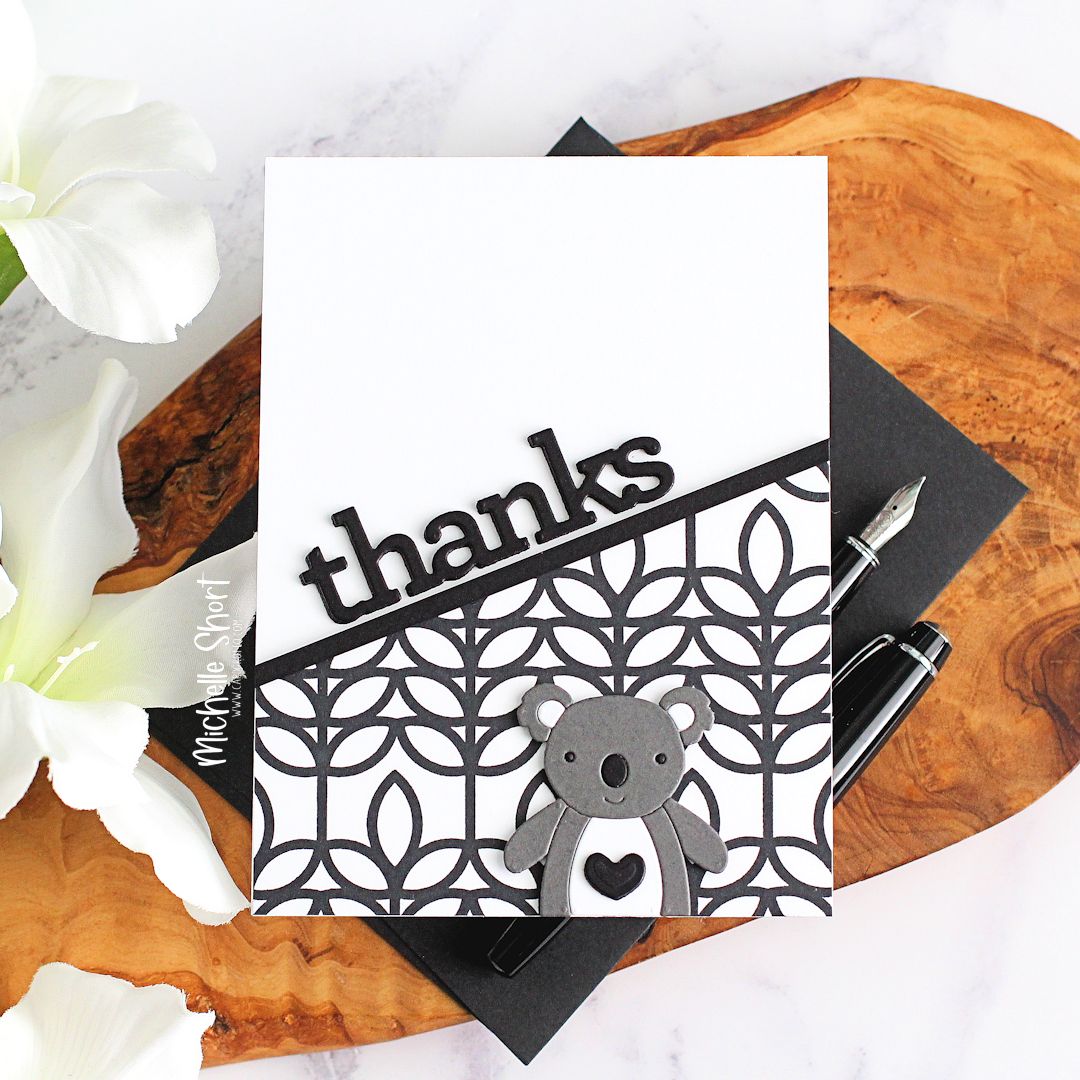
Simon Says Stamp | Koala Thanks

Hello there, today I have a card to share with you using the new Simon Says Stamp Mod Leaf Cling Stamp from the new Season of Wonder release, which is out today. The stamp is a background cling stamp and can be used in different ways but for today, I wanted to keep it simple!

PLEASE NOTE: This post contains affiliate links. Please see below for my full disclosure.


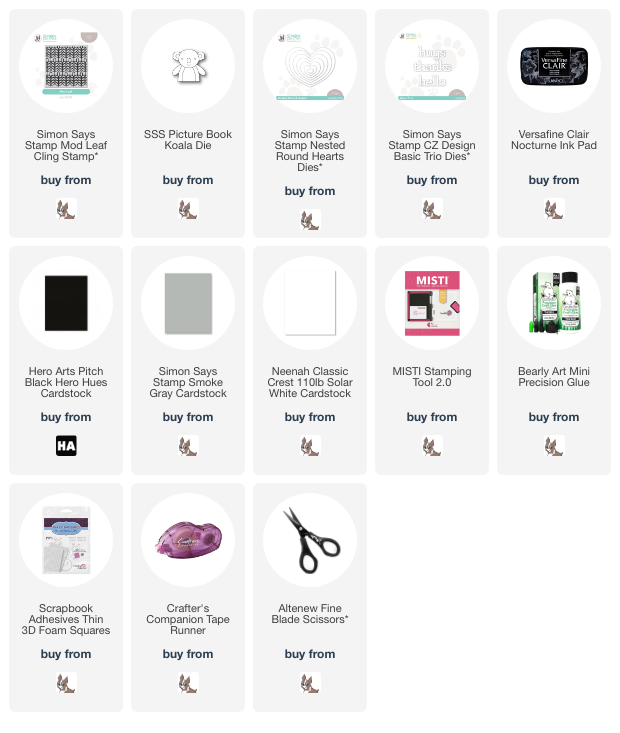
I started off by stamping the Simon Says Stamp Mod Leaf Cling Stamp onto a panel of white cardstock using Versafine Clair Nocturne Ink. I left it to dry for a while and then cut it at a diagonal. It was adhered to a US A2 sized white card base with tape runner adhesive. I then cut a strip of Hero Arts Pitch Black Cardstock and added it to the top of the panel to finish the edge. 


I die cut the Simon Says Stamp Picture Book Koala from black, white and Simon Says Stamp Smoke Gray Cardstock. I adhered them to a scrap piece of printer paper using Bearly Art Glue and then fussy cut around it using scissors. It was adhered to the card using thin foam squares. To add to the cuteness, I die cut a Simon Says Stamp Nested Round Heart Die and added it to his tummy. 


I die cut the CZ Design Basic Trio thanks die three times from black cardstock and adhered them together, one on top of another, for added dimension. It was then adhered to the card with more Bearly Art Glue. 

SUPPLIES:


Here are the links to what I have used on the project. Affiliate links are used on some products. This means that if you make a purchase after clicking on my link, I receive a small commission with no extra cost to you. I truly appreciate your support when using these links. Please click on the logo below the product to shop at your favourite store. All products were personally purchased except those from Clearly Besotted, Hero Arts or those marked with an asterisk (*) which were kindly sent to me to use. You can read my full disclosure here.


Such a simple card but a cute one, I think! Thank you so much for stopping by today, I really appreciate it. I hope you have a wonderful day! 
End of code