Hello there, I am delighted to be joining Chibitronics today to celebrate the release of new Animating LED Stickers with a fun Instagram Hop. The fun is happening over on
Instagram but I wanted to share the full details of how I made the card here on my blog too.
PLEASE
NOTE: This post contains affiliate links. Please see below for my full
disclosure.
This is the first time I have ever used lights in cardmaking. I have seen other people use them and always thought they looked cool but had never tried them until now. Interactive cards do intimidate me, I am not going to lie, but actually, these lights were very easy to use!
I cut the Merry & Bright die again, but this time from white cardstock. I added a thin layer of vellum behind the panel and then inlaid (and adhered) the letters on top. I added a piece of gold shimmer vellum behind the star and secured in place on the back. I die cut the 'bright' word from white cardstock and adhered that below the 'merry &'. I then got to work on the lights ...
I watched some videos by the amazing
Jessica Frost-Ballas to see how to create my circuit. I kept it very simple and just used the one light but there is definitely scope to add lots depending on the card design! I took a US A2 sized white card base and on the front mapped out where I thought I need to place the light and the battery with a pencil. I wanted the light to be in the centre of the star and the battery be behind where the 'bright' die cut is.
I first created a holding for my battery (since I wanted the light to come on when the 'bright' was pressed but did not want it to be on constantly) from a piece of cardstock folded in half like a book. I then ran the fabric conductive circuit tape from the
Chibitronics Craft with Light Kit from the top of the card to the bottom - one for the negative side of the battery and one for the positive side.
The positive side also had to go over the front of the battery holder and over the back so that when pressed, it touches the positive side of the battery to switch the light on. I added foam tape (two layers) around the battery holder and then added a little tape runner adhesive inside it and placed the battery on top. This keeps the battery secure.
For the light itself, I used the
Chibitronics White Blink Animating LED Stickers. I placed it at the top of the circuit and then added small pieces of the fabric conductive circuit tape on top for added security. I tested it multiple times at this point to make sure the light would work! Whilst this isn't pretty and could have been much neater, I was pretty happy with my first attempt!
As you can see in the last photo, when you press the word 'bright' the light flashes on and off. It is really fun! I will write a note inside the card to tell the recipient to press it and to watch what happens! To see the light flashing/blinking in action, please head over to my
Instagram account.
SUPPLIES:
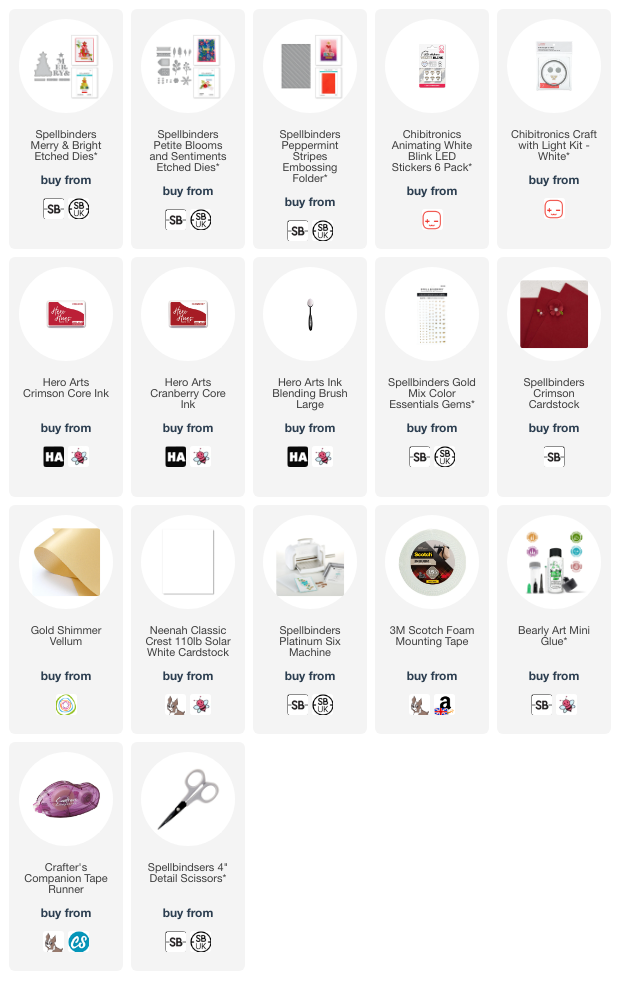
Here are the links to
what I have used on the project. Affiliate
links are used on some products. This means that if you make a purchase after
clicking on my link, I receive a small commission with no extra cost to you. I
truly appreciate your support when using these links. Please click on the logo below
the product to shop at your favourite store. All products were personally
purchased except those from Clearly Besotted, Hero Arts or those marked with an
asterisk (*) which were kindly sent to me to use. You can read my full
disclosure here.
Please do head over to Instagram for all the details on the hop and to enter to win a prize! You can find the Chibitronics Instagram account
HERE. Thank you so much for stopping by today, I really do appreciate it. I hope you have a wonderful day!


so wonderful
ReplyDeleteThis is genius! I was never that good with this kind of thing at school, but maybe if it had applied to cards, I'd have worked it out sooner. Love it!
ReplyDeleteThis is fabulous! I love how the star lights up. The lights frighten me but I'd love to give them a go at some point. The whole card is so festive and so pretty and even more special when it lights up! Amazing!
ReplyDelete