19 April 2023

Altenew | New Dual Tip Pens

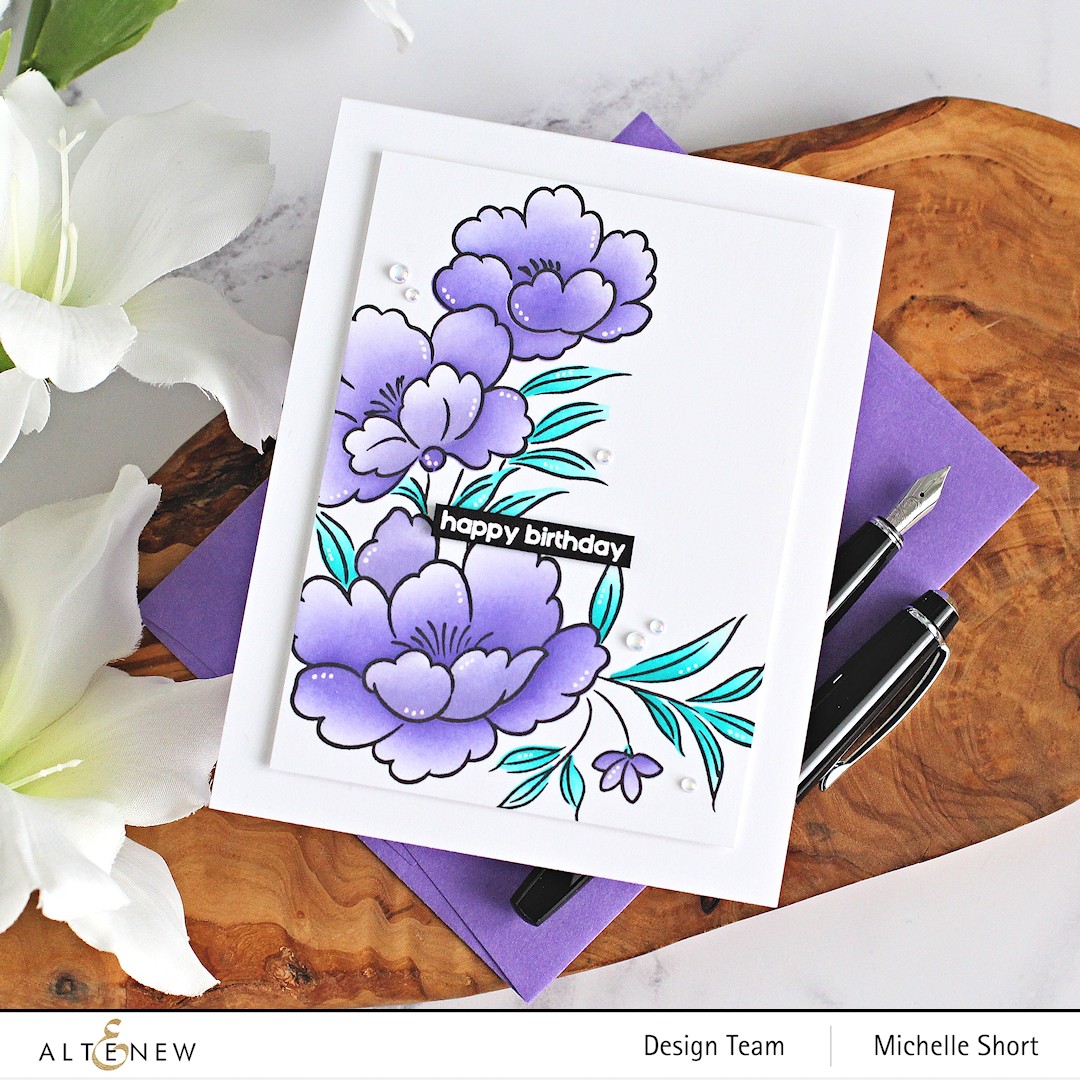
Hello there, have you seen that Altenew have released three new sets of Dual Tip Pens? These pens are water based and have a fine tip on one end and a brush tip on the other, so great for different applications. I am using the pens today to watercolour the beautiful Gracious Peonies set. 

PLEASE NOTE: This post contains affiliate links. Please see below for my full disclosure.


I started off my card by stamping the peonies image from Altenew Gracious Peonies Stamp Set on to Altenew Watercolor Paper using Altenew Embossing Ink. I applied Altenew Pure White Crisp Embossing Powder and heat set. I then coloured the image with the new pens. 
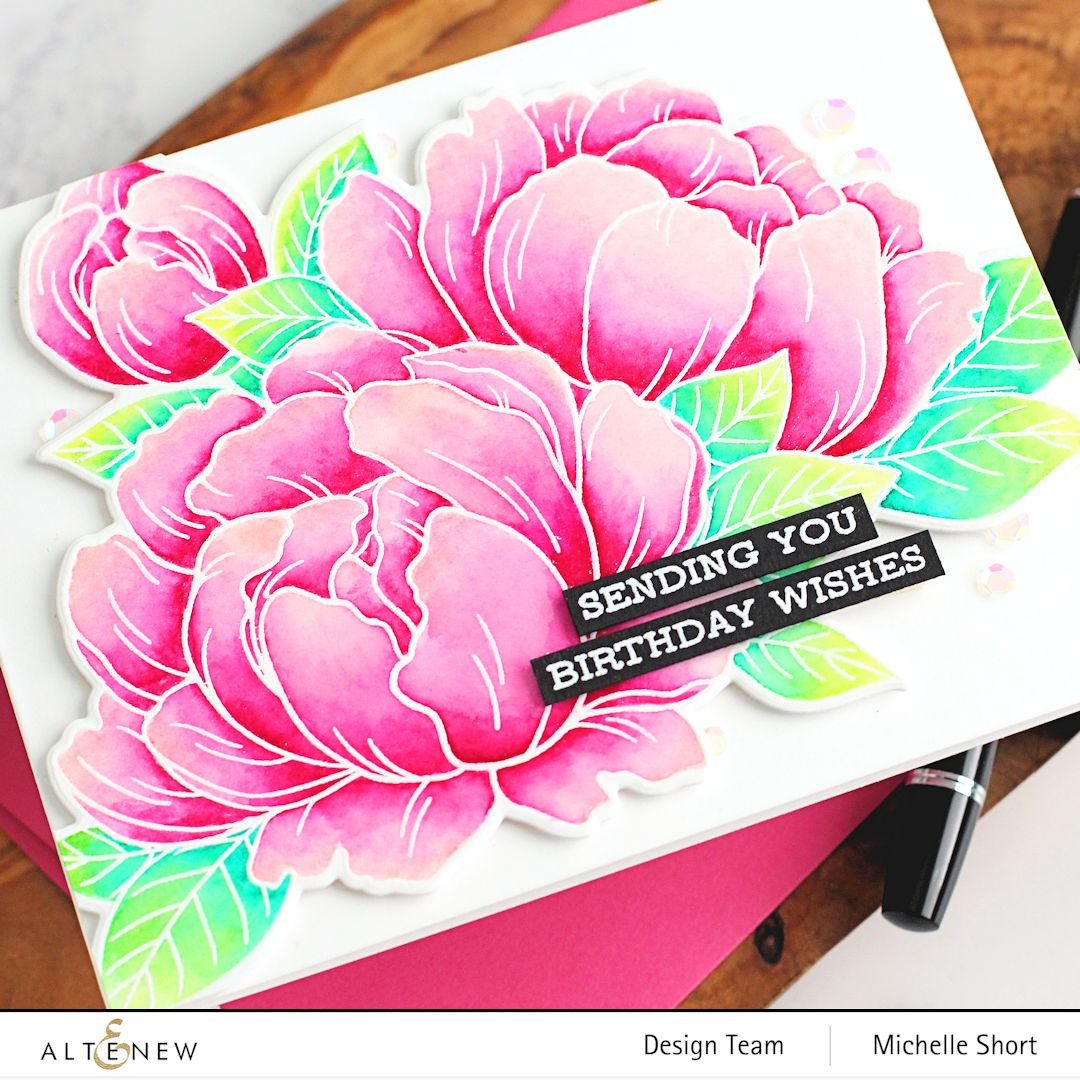

I first applied Rubellite to the flower petals from the Altenew Tahitian Terrace Dual Tip Pens Set and then using an Altenew Fine Watercolor Brush, blended the colour using water. For the other colours, I applied some of the colour from the pen onto an acrylic block and then picked it up with the paint brush to paint the image. I used Fuchsia from the Altenew Islands of Fiji Dual Tip Pens Set, Baby Pink from Altenew Zanzibar Dual Tip Pens Set and finished with Pink Pearl from the Tahitian Terrace Set. 


For the leaves, I used Emerald, Grass Field and Bamboo, all from the Altenew Islands of Fiji Dual Tip Pens Set. The image was then die cut using the Altenew Gracious Peonies Die Set and adhered to a US A2 sized white card base with Altenew Instant Dimension Foam Tape. I stamped the sentiment from the Altenew Sentiment Strips Stamp Set on to black cardstock and heat embossed in white. They were cut into a strips and adhered to the card. To finish off, I added a few (now retired, sorry) sequins. 

SUPPLIES:


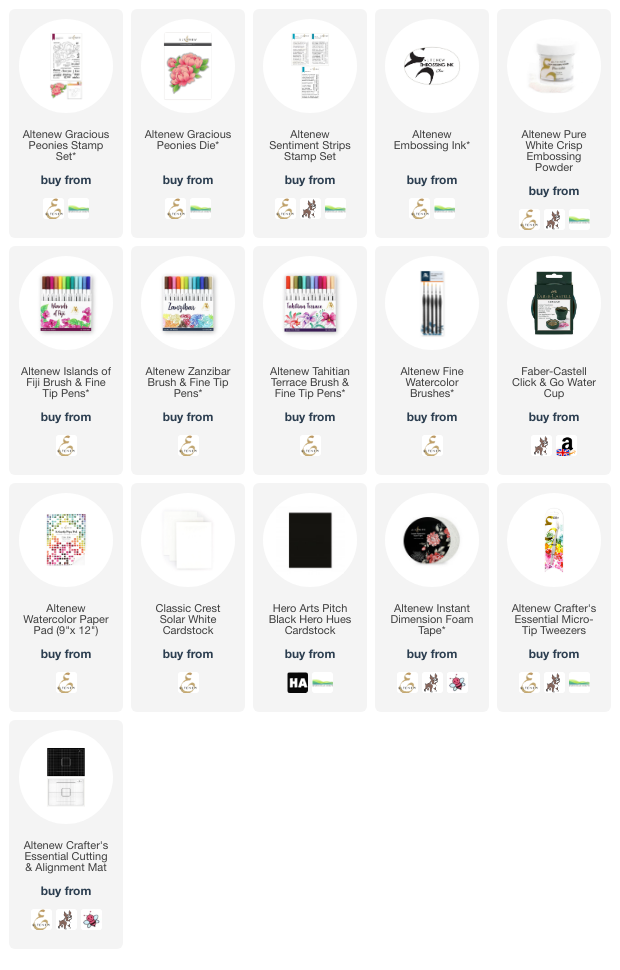
Here are the links to what I have used on the project. Affiliate links are used on some products. This means that if you make a purchase after clicking on my link, I receive a small commission with no extra cost to you. I truly appreciate your support when using these links. Please click on the logo below the product to shop at your favourite store. All products were personally purchased except those from Clearly Besotted, Hero Arts or those marked with an asterisk (*) which were kindly sent to me to use. You can read my full disclosure here.

These are really beautiful pens to use. They blend easily with water, whether you apply them directly to the paper, or use an acrylic block like I did. I love the colour selection in the sets too! Thank you so much for stopping by today, I very much appreciate it. I hope you have a great day! 

18 April 2023

VIDEO | Floral Envelope

Hello there, I am over on the My Favorite Things YouTube Channel today sharing a clean and simple die cutting card using some products from the April 2023 release. 

PLEASE NOTE: This post contains affiliate links. Please see below for my full disclosure.


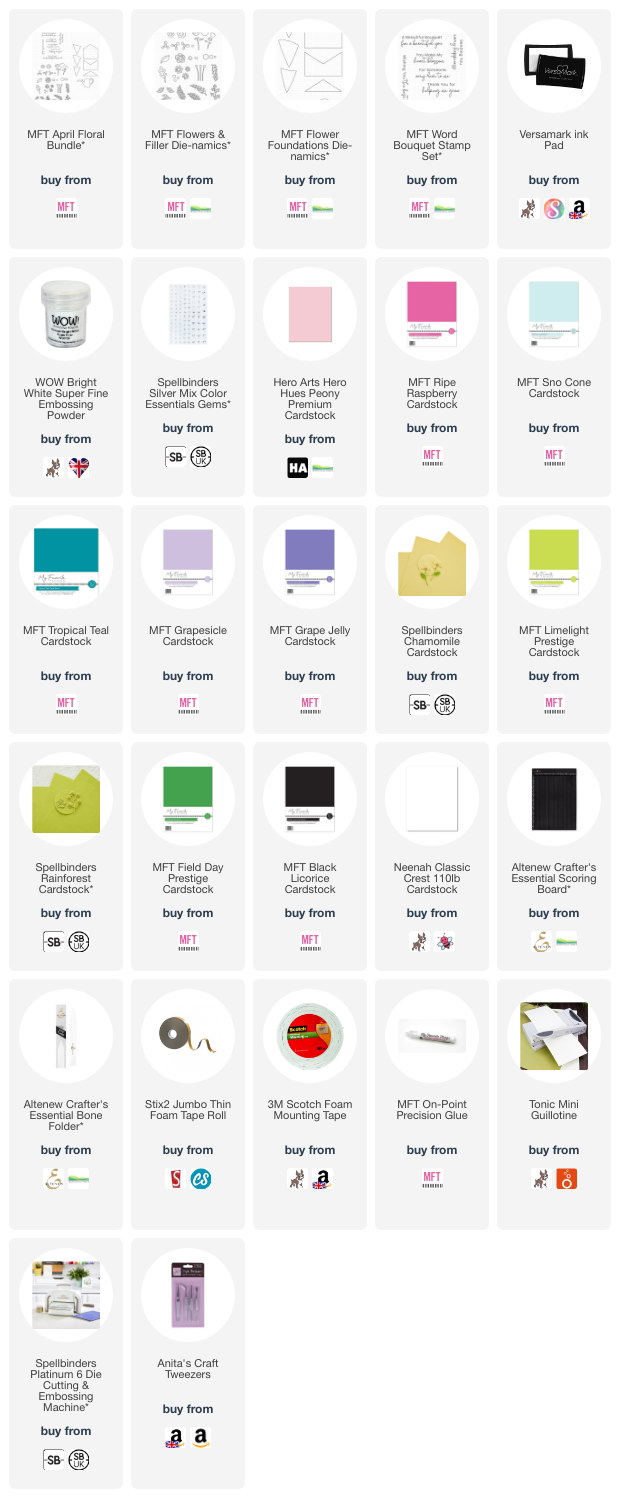
I started off my card by die cutting the MFT Flowers & Filler Die-namics from scraps of cardstock. These flowers are small, so perfect for using up those scraps! I used purples, pinks and aquas/teals for the flowers and three shades of green for the leaves/foliage. All of the colours that I used are listed in the supplies list for reference. 


Some of the flowers needed assembly, so I layered them up and adhered using MFT On-Point Precision Glue. I also die cut the envelope from MFT Flower Foundations Die-namics from white cardstock. I then got to work arranging the flowers in the envelope. I worked from the back to the front, adding some foliage first and then the flowers on top, all adhering with liquid glue. I then adhered the front pieces of the envelope on top. 


I stamped the sentiment from the MFT Word Bouquet Stamp Set on to MFT Black Licorice Cardstock using Versamark Ink. I applied white detail embossing powder and heat set. It was then cut into a strip. I took a 4" x 5.5" white card base and added scoring lines to the front with a score board and bone folder. This adds some nice subtle detail to a CAS card. 


The floral envelope was adhered on top with thin foam tape, making sure to only overlap the card base slightly, so that it would still fit in a standard sized envelope. The sentiment was adhered on top. To finish off, I added a few Spellbinders Silver Mix Color Essentials Gems. 

VIDEO:

Here is the video showing how I made the card:


If you are viewing this blog post via email subscription, you can watch the video HERE on YouTube. 

SUPPLIES:


Here are the links to what I have used on the project. Affiliate links are used on some products. This means that if you make a purchase after clicking on my link, I receive a small commission with no extra cost to you. I truly appreciate your support when using these links. Please click on the logo below the product to shop at your favourite store. All products were personally purchased except those from Clearly Besotted, Hero Arts or those marked with an asterisk (*) which were kindly sent to me to use. You can read my full disclosure here.


You can do so much with these flower dies. They are so pretty and perfect for lots of different occasions! Thank you so much for stopping by today, I really do appreciate it. I hope you have a lovely day! 
17 April 2023

VIDEO | Embossing with Stencils

Hello there, today I have another card and video to share that I made before I took some time off. I had the pleasure of guest designing with Alex Syberia Designs in February and this card was made at that time. It uses the Fantasy Flowers Die Set, which is gorgeous! 

PLEASE NOTE: This post contains affiliate links. Please see below for my full disclosure.


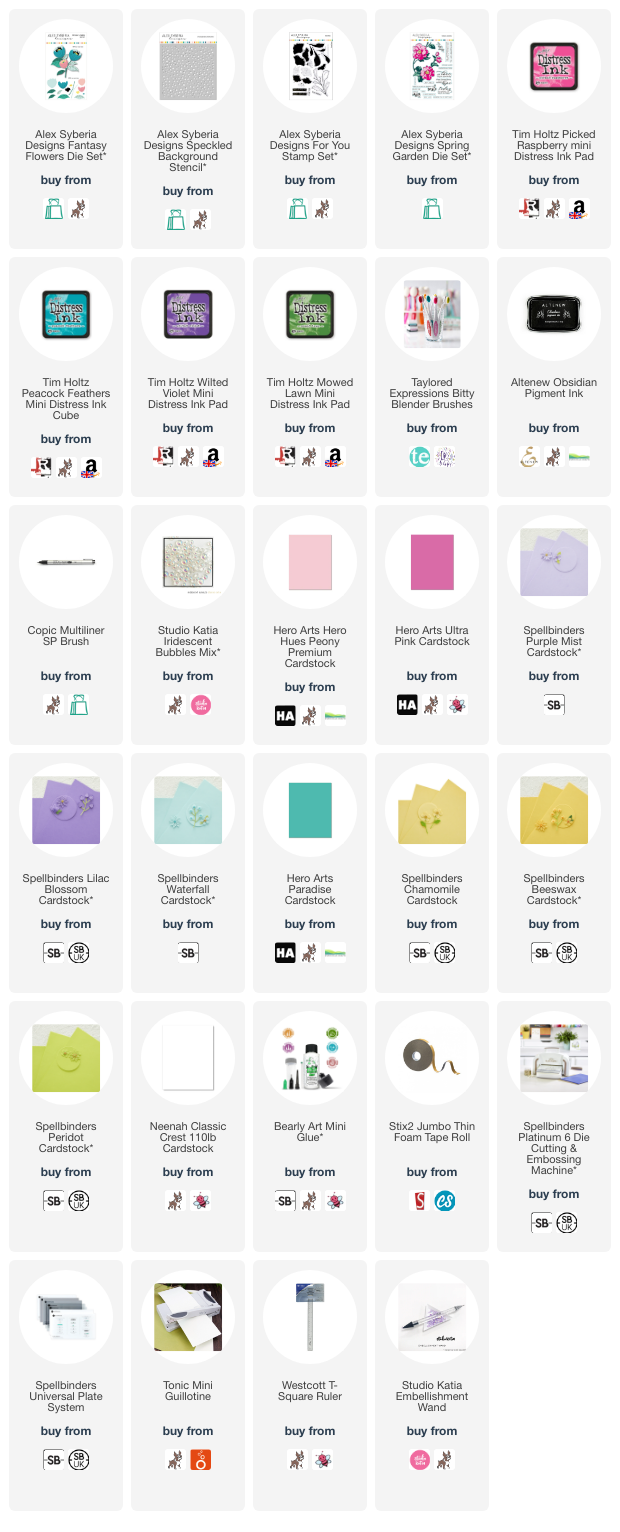
I started off my card by die cutting the Alex Syberia Designs Fantasy Flowers Die Set from cardstock. I used Hero Arts Peony and Ultra Pink for the pink flower, Spellbinders Purple Mist and Lilac Blossom for the purple flower and Spellbinders Waterfall and Hero Arts Paradise for the teal/aqua flower. The flower centres were cut from Spellbinders Chamomile and Beeswax cardstock. Finally, the leaves were die cut using Spellbinders Peridot Cardstock. 


For some added interest and to bring out the scored details on the flowers, I blended on Distress Inks to the lighter top layers of the flowers. I used Picked Raspberry, Peacock Feathers and Wilted Violet. I also blended on Mowed Lawn Distress Ink on to the leaves. The flowers were then assembled and adhered using Bearly Art Glue. 


I took a panel of white cardstock and ran it through my die cutting machine with the Alex Syberia Designs Speckled Background Stencil to emboss it. I love doing this with stencils. Although the embossing is not as pronounced as an embossing folder, it works perfectly for subtle backgrounds. It was adhered to a US A2 sized white card base with thin foam tape. 


I then adhered the leaves and flowers on top. The flowers were adhered with thin foam tape and the leaves with more liquid glue. For the sentiment, I stamped 'happy birthday' from the Alex Syberia Designs For You Stamp Set on to white cardstock using Altenew Obsidian Pigment Ink. It was then die cut out using a sentiment strip from the Alex Syberia Designs Spring Garden Die Set. It was adhered to the card with more thin foam tape and then the card embellished with Studio Katia Iridescent Bubbles. 

VIDEO:

Here is the video showing how I made the card:


If you are viewing this blog post via email subscription, you can watch the video HERE on YouTube. 

SUPPLIES:


Here are the links to what I have used on the project. Affiliate links are used on some products. This means that if you make a purchase after clicking on my link, I receive a small commission with no extra cost to you. I truly appreciate your support when using these links. Please click on the logo below the product to shop at your favourite store. All products were personally purchased except those from Clearly Besotted, Hero Arts or those marked with an asterisk (*) which were kindly sent to me to use. You can read my full disclosure here.


These flowers are so pretty and I am looking forward to using them again soon! Thank you so much for stopping by today, I really do appreciate it. I hope you have a wonderful day and a great week ahead! 

15 April 2023

Spellbinders | Bibi's Hummingbirds

Hello there and happy Saturday! Today I have a card to share with you using Bibi's Butterflies Collection from Spellbinders. This is such a wonderful collection featuring dies, stamps and stencils. I don't know what it is about hummingbirds but I find them quite elegant and very beautiful!

PLEASE NOTE: This post contains affiliate links. Please see below for my full disclosure.


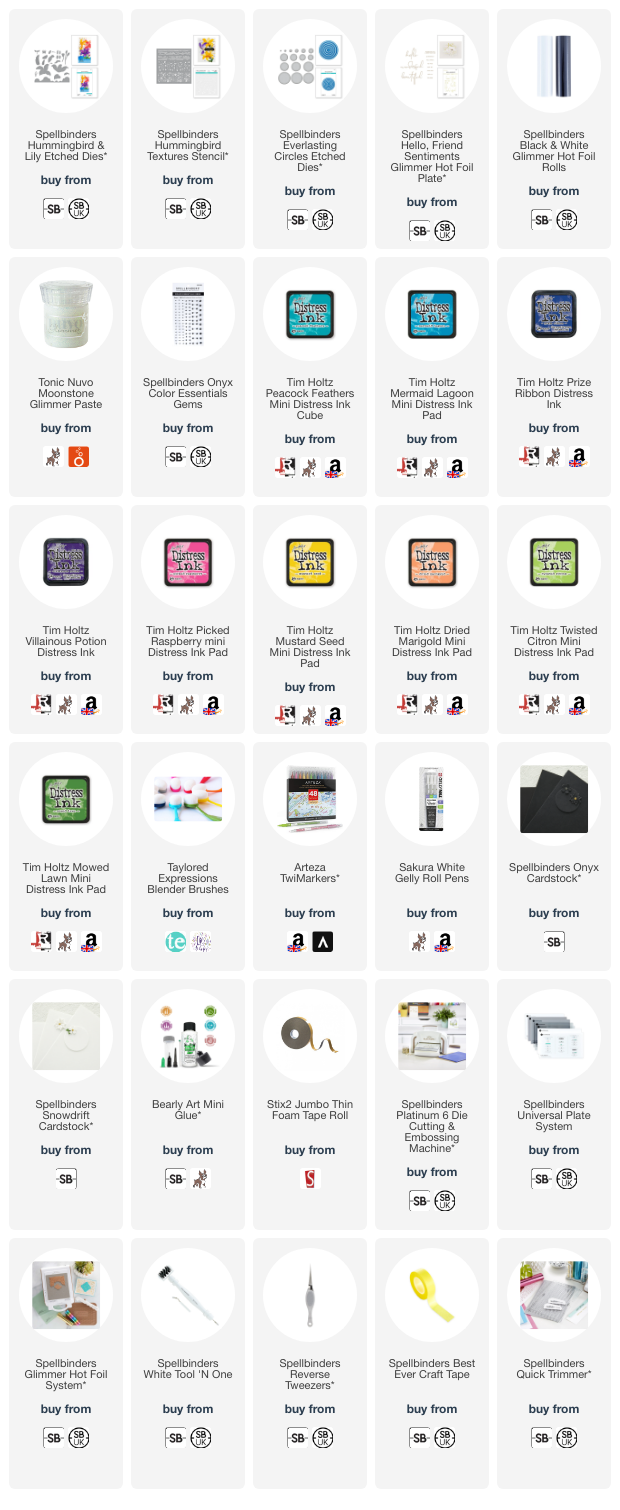
I started off by die cutting the Spellbinders Hummingbird & Lily Etched Dies from white cardstock. I then blended Tim Holtz Distress Ink to the layers/parts with blending brushes. I used Peacock Feathers, Mermaid Lagoon, Prize Ribbon and Villainous Potion for the hummingbird. I used Picked Raspberry for the flower/lily petals and Mustard Seed and Dried Marigold for the stamens. For the leaves, I used Twisted Citron and Mowed Lawn inks. I then added Arteza TwiMarker and white gel pen dots to the lily petals. 


The elements were adhered together using Bearly Art Glue. I die cut a panel of cardstock using the largest of the new Spellbinders Everlasting Circles Etched Dies. I also made a card base with this die too. I placed the Spellbinders Hummingbird Textures Stencil on to the panel and using a spatula, applied Tonic Nuvo Moonstone Glimmer Paste. 


Once dry, the panel was adhered flat to the card base. The flower was adhered using thin foam tape and the leaves popped underneath. The hummingbird was then adhered with thin foam tape also. I added a Spellbinders Onyx Color Essentials Gem for his eye. The sentiment from Spellbinders Hello, Friend Sentiments Glimmer Hot Foil Plate set was foiled on to black cardstock using Spellbinders White Foil. It was cut into a strip and added to the card with more thin foam tape. 

SUPPLIES:


Here are the links to what I have used on the project. Affiliate links are used on some products. This means that if you make a purchase after clicking on my link, I receive a small commission with no extra cost to you. I truly appreciate your support when using these links. Please click on the logo below the product to shop at your favourite store. All products were personally purchased except those from Clearly Besotted, Hero Arts or those marked with an asterisk (*) which were kindly sent to me to use. You can read my full disclosure here.


The Glimmer Paste is a little difficult to see in the photos but in real-life, it adds that little touch of sparkle. Kind of like adding embellishments to the card. Thank you so much for stopping by today, I really do appreciate it. I hope you have a wonderful weekend! Take care!

13 April 2023

VIDEO | Welcome to the World, Little One

Hello there, before I went off sick I made a card and video for My Favorite Things using the Best Friends in the Galaxy set. I never got a chance to share it, so I thought I would now!

PLEASE NOTE: This post contains affiliate links. Please see below for my full disclosure.


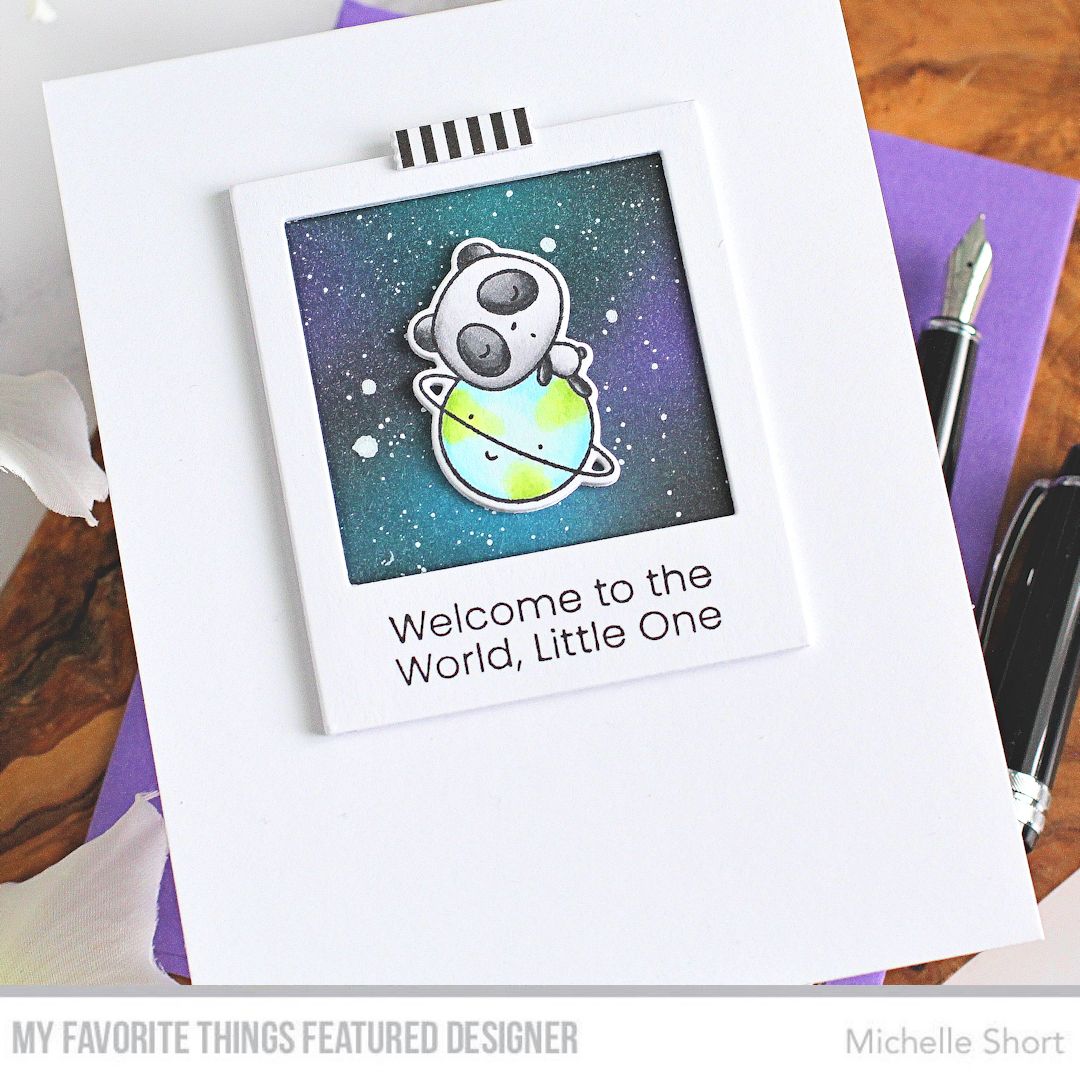
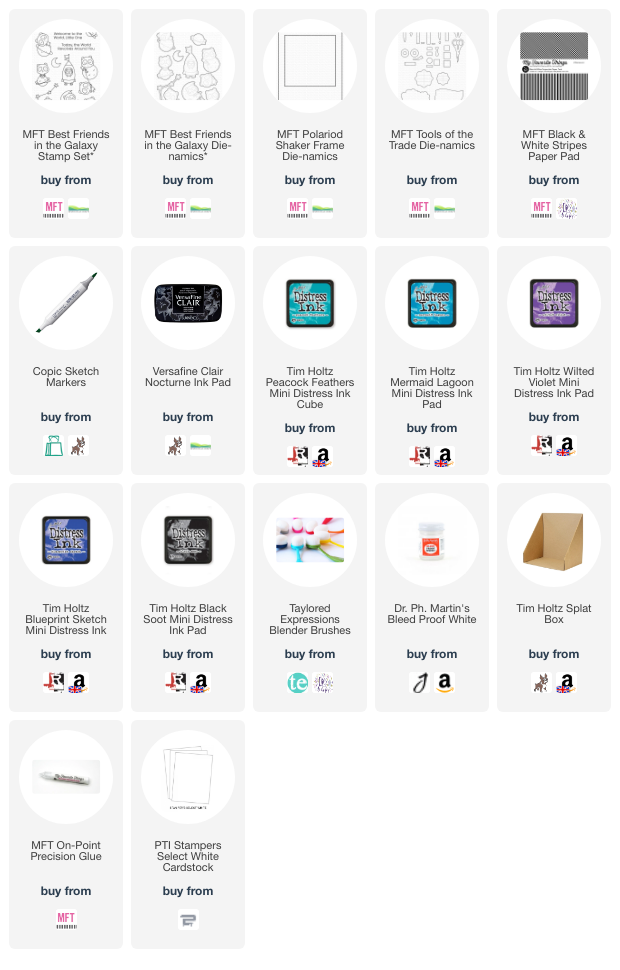
I started off by stamping the panda image from the MFT Best Friends in the Galaxy Stamp Set on to white cardstock using black ink. I then coloured it using Copic Markers (the colours that I used are listed below the supplies area for reference) before die cutting it out with the MFT Best Friends in the Galaxy Die-namics. I also cut the die another two times from white cardstock to adhere behind the image for added dimension. 


I took the MFT Polaroid Shaker Frame Die-namics and die cut it three times from white cardstock. On one, I stamped the sentiment from the MFT Best Friends in the Galaxy Stamp Set using Versafine Clair Nocturne Ink. They were then adhered together using MFT On-Point Precision Glue. For the inside piece, I created a galaxy background with Distress Inks. 


Using blending brushes, I blended on Peacock Feathers, Mermaid Lagoon and Wilted Violet. I then used Black Soot and Blueprint Sketch inks to blend them together. The piece was then splattered with Dr. Ph. Martin's Bleed Proof White Paint for the stars. Once dry, it was adhered inside the polaroid frame and the panda adhered on top. 


For some added interest, I took the washi tape die from the MFT Tools of the Trade Die-namics set and die cut it using MFT Black & White Stripes 6x6 Paper Pad. I also cut it from white cardstock to layer behind for extra stability and dimension. The polaroid frame was adhered flat to a US A2 sized white card base (4.25" x 5.5") and then the washi tape adhered at the top. 

VIDEO:

Here is the video showing how I made the card: 


If you are viewing this bog post via email subscription, you can watch the video HERE on YouTube. 

SUPPLIES:


Here are the links to what I have used on the project. Affiliate links are used on some products. This means that if you make a purchase after clicking on my link, I receive a small commission with no extra cost to you. I truly appreciate your support when using these links. Please click on the logo below the product to shop at your favourite store. All products were personally purchased except those from Clearly Besotted, Hero Arts or those marked with an asterisk (*) which were kindly sent to me to use. You can read my full disclosure here.


COPIC MARKERS: Panda - N9, N7, N5, N3, N1, N0, 0. World - YG17, YG23, YG01, B02, B00, B000. 

Although planet earth does not have a ring around it like in the image, I still thought it would be cute to colour it that way for a fun new baby card. Thank you so much for stopping by today, I hope you have a wonderful day! 
12 April 2023

Spellbinders | Hello From Me to You

Hello there, I hope everyone is well. After an extended time off due to recovering from surgery (nothing serious), I am finally back in my craft room! It will be a bit slow to start with, so I hope you will bear with me but it is nice to be back! 

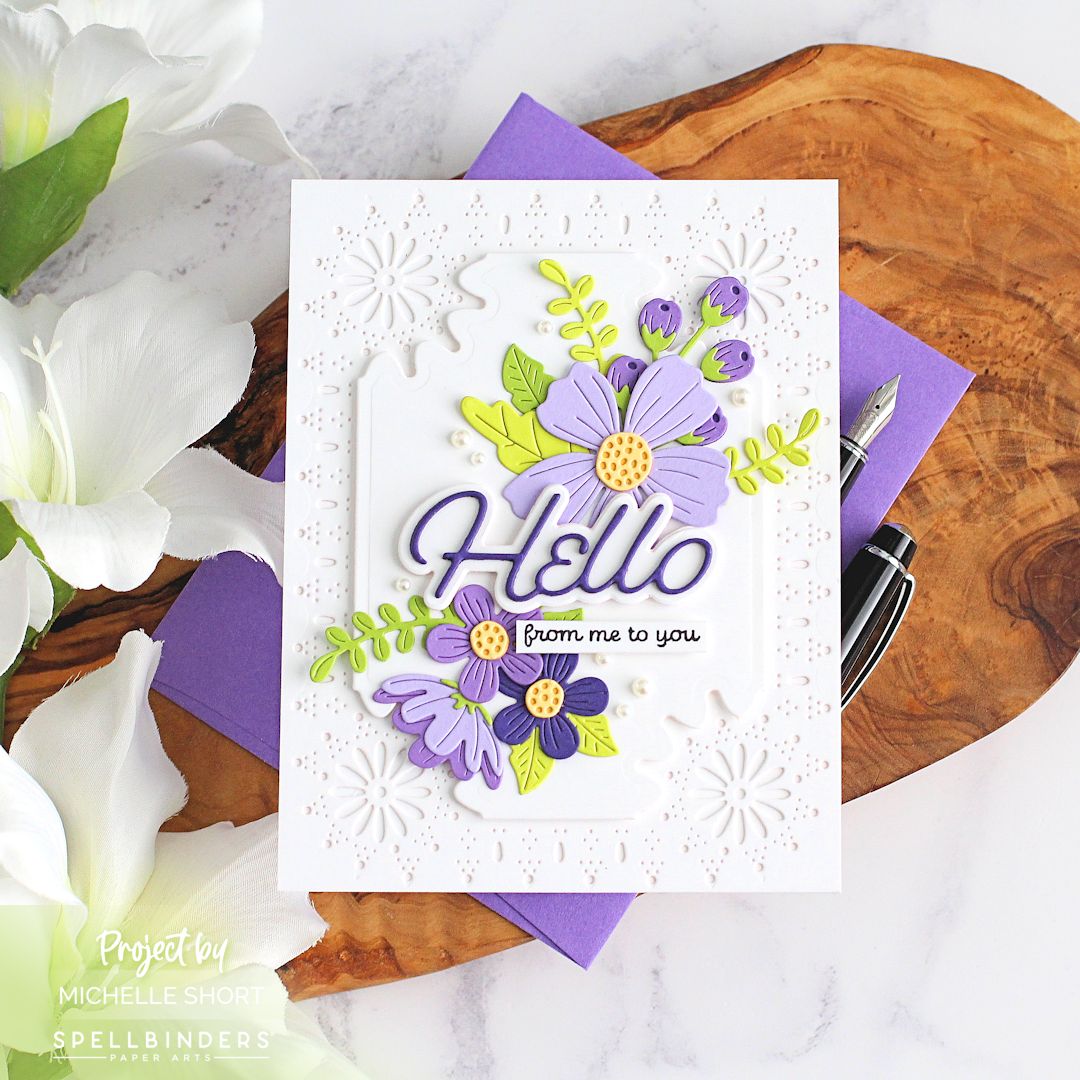
Today I have a card to share with you using the Spellbinders April 2023 Large Die of the Month Club Kit. This month is called "Punch & Pierce Frame & Sentiments" and you can see why! There are a few different layers/panels that you can use (I used two of them on my card today). There are also lots of lovely sentiments too! 
PLEASE NOTE: This post contains affiliate links. Please see below for my full disclosure.


I started off my card by die cutting the piercing frame die from the Spellbinders April 2023 Large Die of the Month Club Kit from white cardstock. I popped all the pieces out and then adhered it flat to an A2 white card base. I then die cut the smallest of the panels from white cardstock also. 


The 'hello' word was die cut three times from Spellbinders Royal Amethyst Cardstock for the word itself and the shadow cut from white twice. They were layered up, one on top of another using Bearly Art Glue, for dimension. I then stamped the 'from me to you' sentiment from the Spellbinders Sentiments For You Stamp Set on to white cardstock with Versafine Clair Nocturne Ink and cut into a strip. 


I already had some of the Spellbinders Be Bold Blooms Etched Dies cut. I like to have these cut but not assembled, so that I can assemble them when needed. I grabbed some purple flowers and green leaves and arranged them on the panel. Apart from the large flower, they were all adhered flat to the panel. The large flower was popped up slightly with thin foam tape. The sentiments were then adhered in the middle with more thin foam tape. 

The panel was adhered to the card with thin foam tape and then the card finished off with a few Spellbinders Fashion Oyster Color Essentials Pearl Dots.  

SUPPLIES:


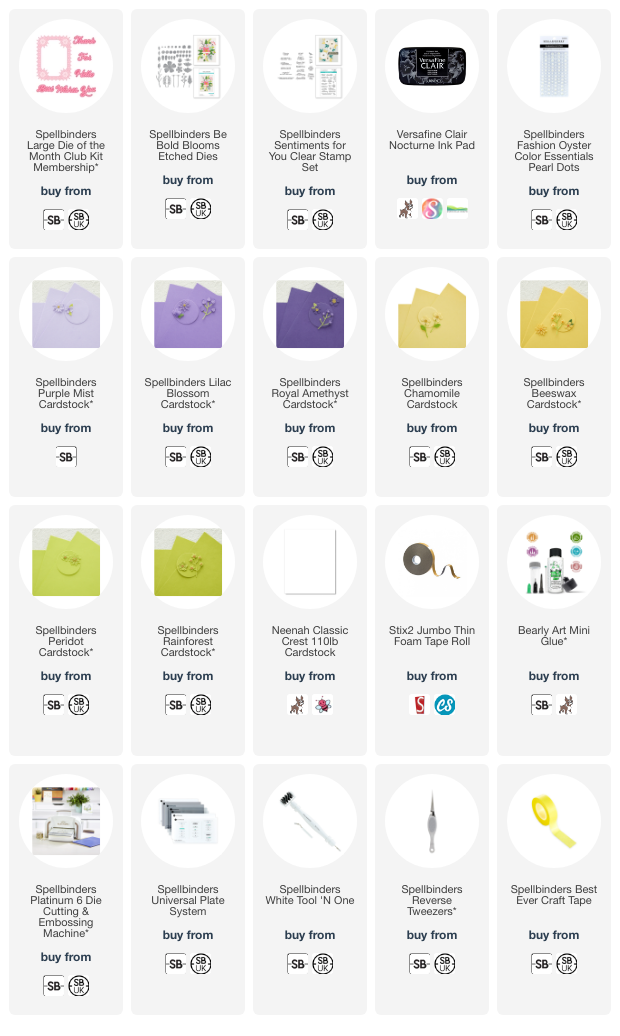
Here are the links to what I have used on the project. Affiliate links are used on some products. This means that if you make a purchase after clicking on my link, I receive a small commission with no extra cost to you. I truly appreciate your support when using these links. Please click on the logo below the product to shop at your favourite store. All products were personally purchased except those from Clearly Besotted, Hero Arts or those marked with an asterisk (*) which were kindly sent to me to use. You can read my full disclosure here.


SPELLBINDERS CLUB KITS

I hope that you will check out the Spellbinders Club Kits. It is a wonderful monthly subscription where you receive the kit each month. Designers like myself share inspiration using the kit at the beginning of the month to show you lots of different ways that you can use it. 

There are also lots of other club kits too, like the Small Die of the Month, Clear Stamp & Die of the Month, Embossing Folder of the Month (plus lots more!), so there is something for everyone! If you do subscribe, you will get other benefits from Spellbinders too. Please see here for more information. You can also buy older kits here too. 

To buy the kit - if you are a current subscriber to the Large Die of the Month Club Kit (or any kit), you do not need to do anything. You will be charged as normal on the 5th of the month and your kit will be shipped to you. If you are a new subscriber, you can purchase the kit from the 6th - 27th of April 2023. Members can cancel their membership at any time.

Although this card is a little busier than I would normally go, with the piercing detail, I still think it is pretty! Thank you so much for stopping by today and bearing with me in my absence. I hope you have a wonderful day! 

3 March 2023

Hero Arts | March 2023 My Monthly Hero Countdown to Creativity

Hello there and welcome as we countdown to the release of the Hero Arts March 2023 My Monthly Hero Kit. The Classic and Premium Kit release Monday, 6th March 2023. We are sharing inspiration today and all weekend long using both of the kits. 

PLEASE NOTE: This post contains affiliate links. Please see below for my full disclosure.


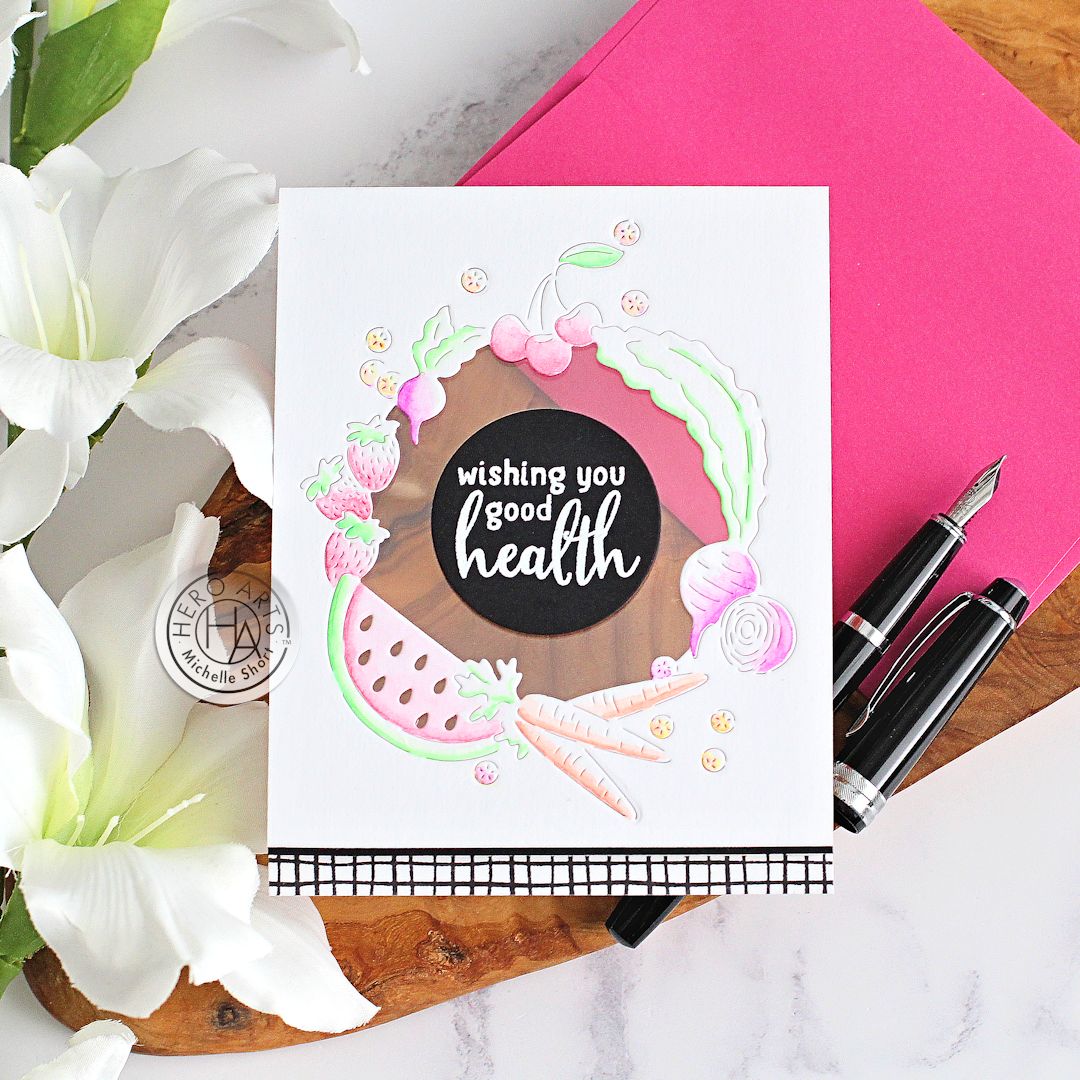
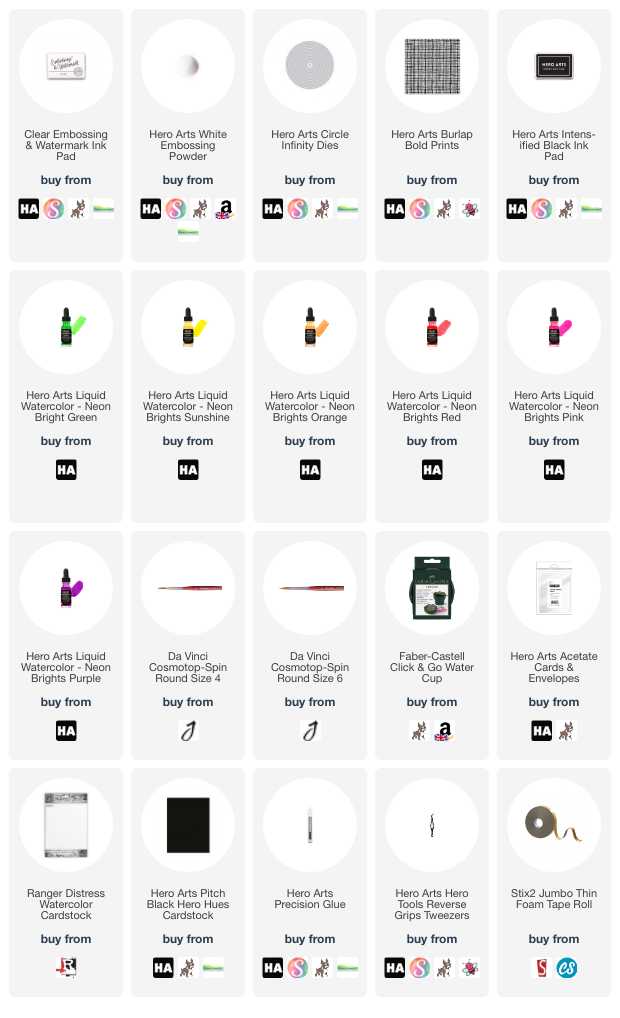
My card today uses the Premium Kit. I started off by taking a panel of watercolour paper and die cutting the window die from the Premium Kit on top. I then coloured the frame piece using Hero Arts Liquid Watercolours in the new Neon Brights colours, keeping some of the areas without colour. Orange and Green are part of the Premium Kit, but I also used Sunshine, Red, Purple and Pink. Mixing them to get some new shades. 


I then stamped the Hero Arts Burlap Bold Prints on to another piece of watercolour paper (just so that the cardstocks matched) using Hero Arts Intens-ified Black Ink. It was cut into a strip and adhered to the bottom of a Hero Arts Acetate Card Base. The die cut and watercoloured piece was then adhered on top using thin foam tape. To neaten up the bottom edge, I added a strip of Hero Arts Pitch Black Cardstock. 


I took the sentiment from the kit stamp set (in both the Classic & Premium Kit) and stamped it on to Pitch Black Cardstock using Hero Arts Embossing & Watermark Ink. I applied Hero Arts White Embossing Powder and heat set. It was die cut using Hero Arts Nesting Circle Infinity Dies before adhering to the card inside the frame window. 

I did die cut panels to go inside to card to cover up the adhesive but I really love the look of seeing through the card! Unfortunately though, the acetate and neon colours together were difficult to photograph! 

SUPPLIES:


Here are the links to what I have used on the project. Affiliate links are used on some products. This means that if you make a purchase after clicking on my link, I receive a small commission with no extra cost to you. I truly appreciate your support when using these links. Please click on the logo below the product to shop at your favourite store. All products were personally purchased except those from Clearly Besotted, Hero Arts or those marked with an asterisk (*) which were kindly sent to me to use. You can read my full disclosure here.


For more inspiration using the kit, please head over to the Hero Arts Blog. Make sure to leave a comment over there too, for a chance to win a kit. Thank you so much for stopping by today, I hope you have a great day and a wonderful weekend! 

2 March 2023

Altenew | March 2023 Release Blog Hop #1 + Giveaway

Hello there, I'm delighted to be joining Altenew today to celebrate the March 2023 release. There is lots of yumminess in this release - something for everyone I think! I have three projects to share with you using a few of the new sets. 

PLEASE NOTE: This post contains affiliate links. Please see below for my full disclosure.


For my first card, I started off by stamping the floral image from the Altenew Soft Blossoms Stamp Set on to a panel of white cardstock using Altenew Permanent Black Ink. I then coloured it in using ink blending and the Altenew Soft Blossoms Simple Coloring Stencil Set. 


I used Altenew Enchanted Garden Crisp Dye Inks for the petals and Altenew Sweet Dreams Crisp Dye Inks for the leaves. The panel was adhered to a US A2 sized white card base with Altenew Instant Dimension Foam Tape. 


I stamped a sentiment from the stamp set on to black cardstock using Altenew Embossing Ink. I applied Altenew Pure White Crisp Embossing Powder and heat set. It was cut into a strip and adhered to the card with more foam tape. To finish off, I added a few dots to the flowers and leaves using a white gel pen and then added a few iridescent drops to embellish. 


My next card uses the Altenew Sweet Blossoms Layering Die Set. I die cut the layers from white cardstock and adhered them together using Altenew 2 in 1 Precision Glue Pen. I added ink blending to the flowers using Altenew Enchanted Garden Crisp Dye Inks and Altenew Sweet Dreams Crisp Dye Inks for the leaves. 


I splattered them using white paint and then set set them aside to dry. I took a panel of white cardstock and ran it through my die cutting machine inside the Altenew Deck Planks 3D Embossing Folder. The panel was adhered to a US A2 sized white card base with Altenew Instant Dimension Foam Tape.


The leaves were adhered on top using Glue Tape and then the flowers added with thin foam tape. I stamped and heat embossed a sentiment from the Altenew Soft Blossoms Stamp Set and cut it into a strip. It was adhered to the card and then the card finished off with a few Dew Drops. 


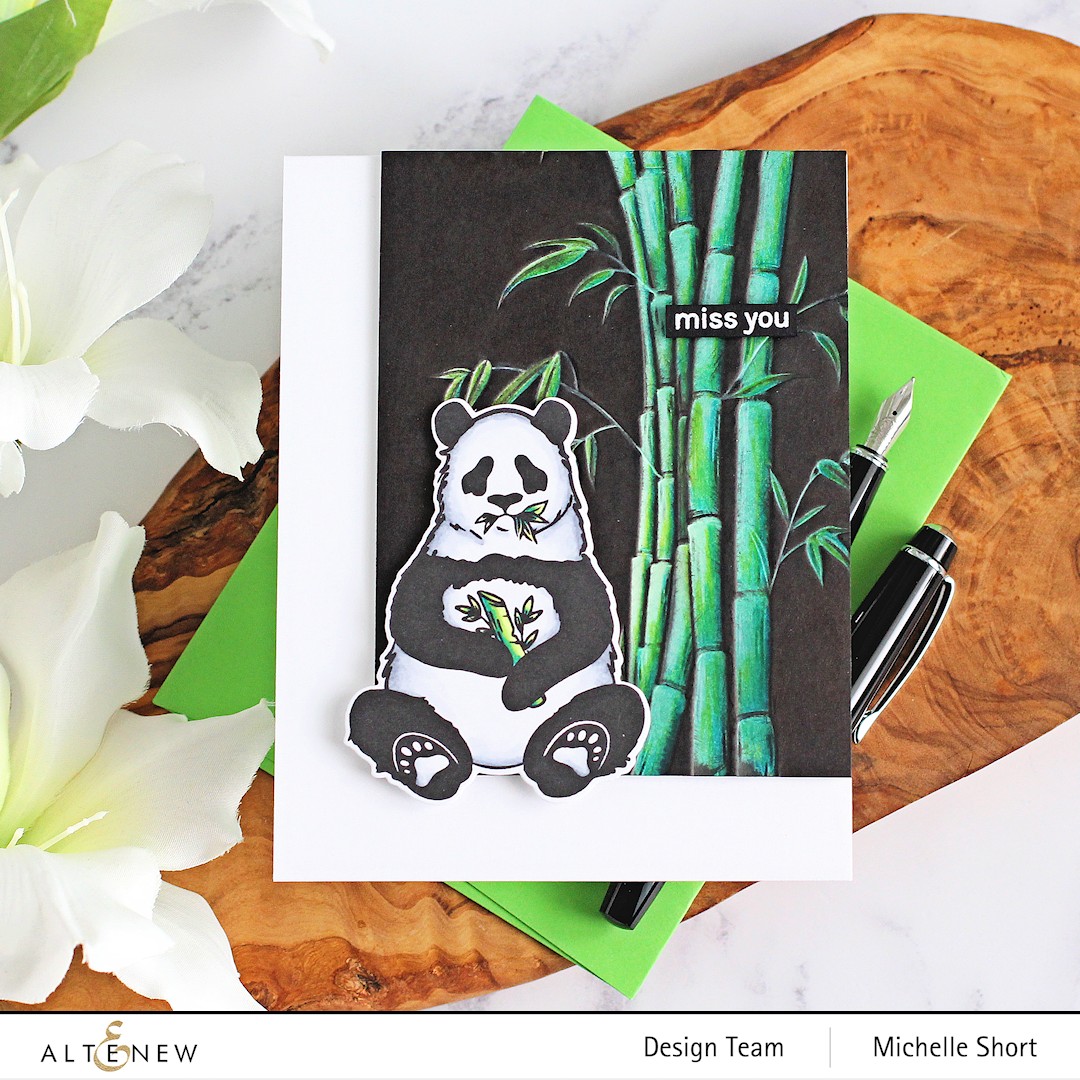
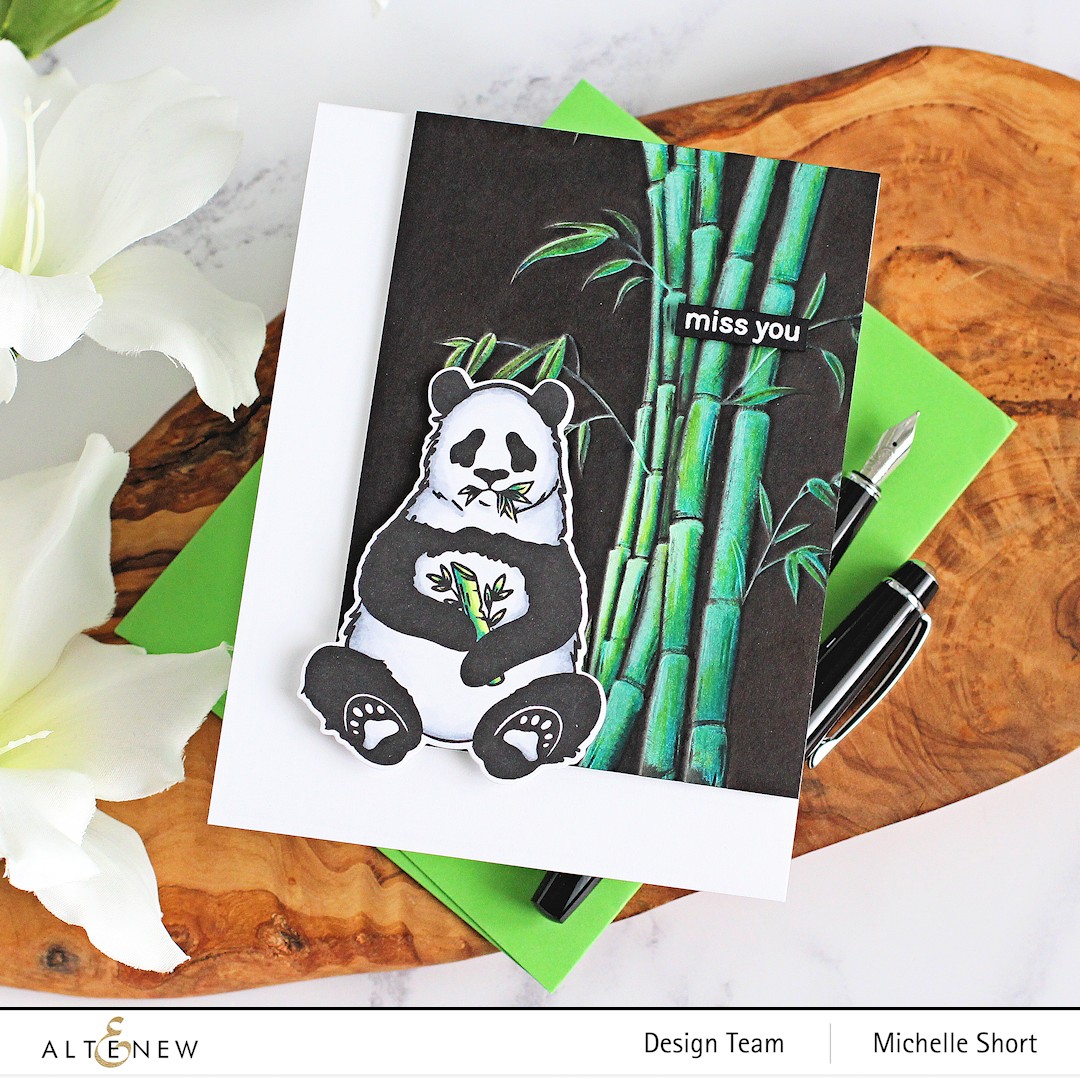
For my last card, I started off by adding Altenew Frosted Foliage Fresh Dye Inks to a panel of white cardstock using Altenew Small Ink Blending Tools. I then placed it inside of the Altenew Bamboo Branches 3D Embossing Folder flipped over (so that the ink is on the back of the panel). I ran it through my die cutting machine and then with the panel on the debossed side, swiped Altenew Permanent Black Ink over the top (this is a technique I learned from the amazing Erum Tasneem). 


To enhance the colour on the bamboo, I went over the inks using Altenew Woodless Coloring Pencils (using a little artistic licence with the colours!). The panel was adhered to a US A2 sized white card base with foam tape. I then stamped the panda from the Altenew Roaming Pandas Stamp Set on to white cardstock with Altenew Permanent Black Ink. 


I added a little colour with alcohol markers and then die cut out with the Altenew Roaming Pandas Die Set. It was adhered to the card with more foam tape. I took the sentiment from the set and stamped it on to black cardstock using Altenew Embossing Ink. I applied Pure White Crisp Embossing Powder and heat set. It was cut into a strip before adhering to the card. 

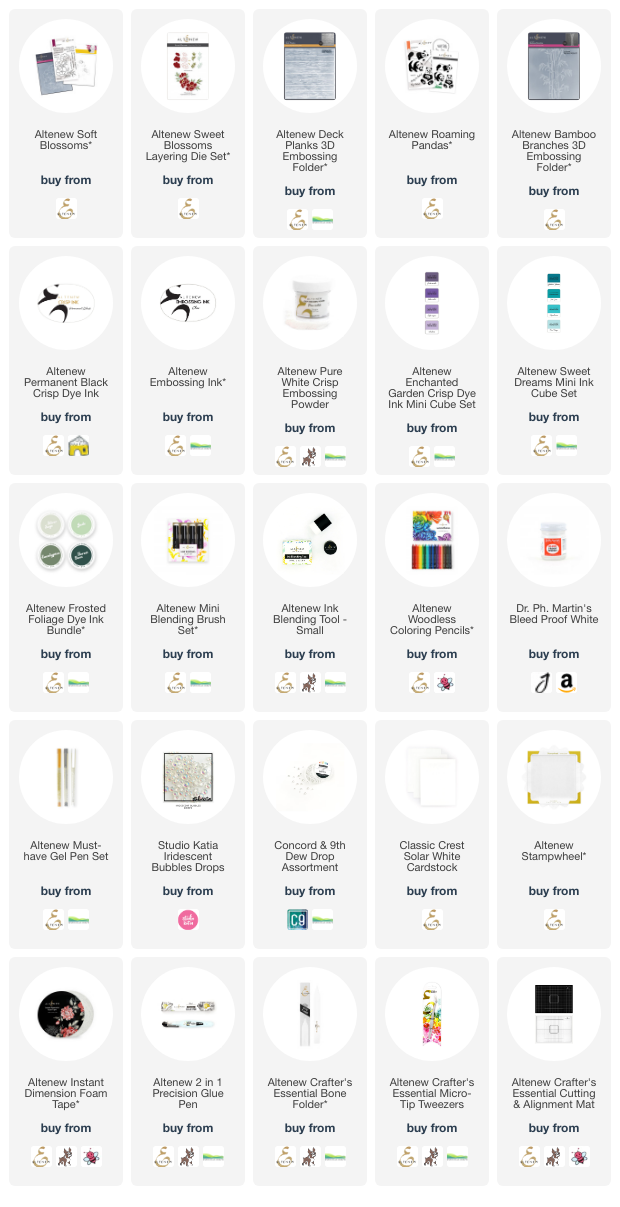
SUPPLIES:


Here are the links to what I have used on the projects. Affiliate links are used on some products. This means that if you make a purchase after clicking on my link, I receive a small commission with no extra cost to you. I truly appreciate your support when using these links. Please click on the logo below the product to shop at your favourite store. All products were personally purchased except those from Clearly Besotted, Hero Arts or those marked with an asterisk (*) which were kindly sent to me to use. You can read my full disclosure here.


BLOG HOP:


As mentioned, this post is part of a fun, inspirational blog hop with prizes. Please click the links below to see the other participants in the hop.

You are invited to the Inlinkz link party!

Click here to enter

GIVEAWAY:

$300 in total prizes! To celebrate this release, Altenew is giving away a *$100 gift certificate to 1 lucky winner and a $20 gift certificate to 10 winners! Please leave a comment on the Altenew Card Blog and/or each designer’s blog post on the blog hop list below by 7th March 2023 for a chance to win. Altenew will draw 11 random winners from the comments left on each stop of this blog hop and announce the winners on the Altenew Winners Page on 9th March 2023.


*The winner of the $100 gift certificate will be chosen from comments left on the Altenew blog. 


Thank you so much for stopping by today, I really appreciate it. I hope you have a wonderful time on the rest of the hop and a great rest of the day too! Take care!

1 March 2023

Spellbinders | Flowering Tree

Hello there, I am back today to share a card with you using the Spellbinders March 2023 Large Die of the Month Club Kit. There are lots of ways to use the kit this month. There is a collapsible card base die in the kit, as well as a tree and flowers and leaves to add to it. There is also a birthday sentiment. I wanted to do something a little different though, so I just used the tree, leaves and flowers to create a little heart shaped card. 

PLEASE NOTE: This post contains affiliate links. Please see below for my full disclosure.


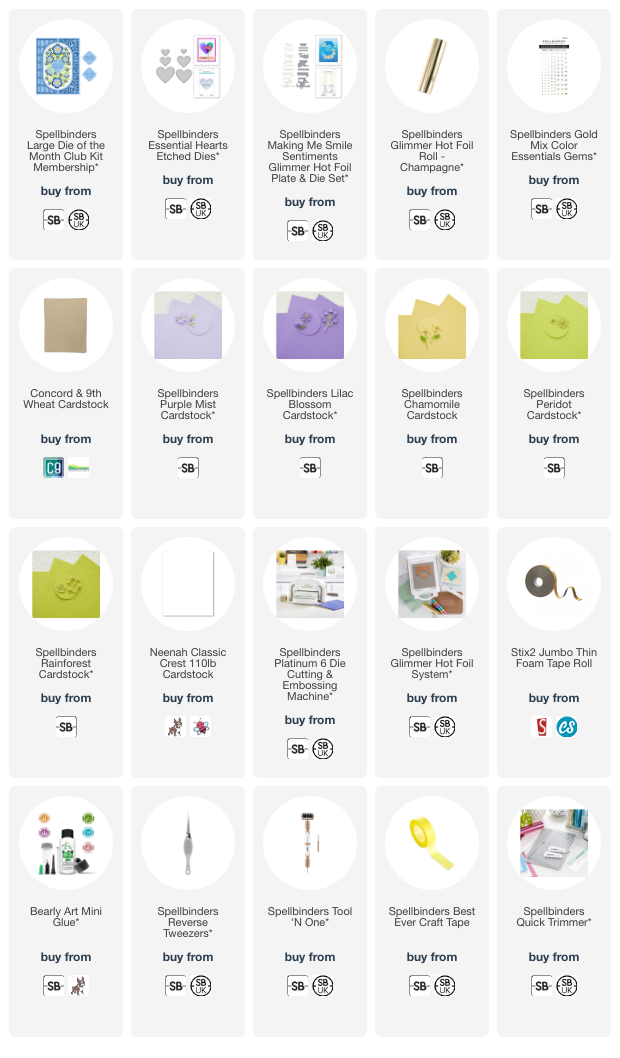
I started off by die cutting the base tree die from the Spellbinders March 2023 Large Die of the Month Club Kit first from white cardstock and then from C9 Wheat Cardstock. The Wheat one was adhered to the white one for stability. I then die cut the leaves from Spellbinders Peridot and Rainforest Cardstock, the flowers from Spellbinders Purple Mist and Lilac Blossom Cardstock and the flower centres from Spellbinders Chamomile Cardstock. 


The flowers and leaves were adhered to the tree base using Bearly Art Glue. I then die cut the largest Spellbinders Essential Hearts Etched Dies twice and created a card base with them. The tree was then adhered on top using thin foam tape. The tree trunk was extended slightly at the bottom to help the card stand up nicely. 


I foiled the sentiment from the Spellbinders Making Me Smile Sentiments Glimmer Hot Foil & Die Set on to white cardstock using Spellbinders Champagne Hot Foil Roll. It was die cut out and adhered to the card with thin foam tape. To finish off, I added a few Spellbinders Gold Mix Color Essentials Gems. 

SUPPLIES:


Here are the links to what I have used on the project. Affiliate links are used on some products. This means that if you make a purchase after clicking on my link, I receive a small commission with no extra cost to you. I truly appreciate your support when using these links. Please click on the logo below the product to shop at your favourite store. All products were personally purchased except those from Clearly Besotted, Hero Arts or those marked with an asterisk (*) which were kindly sent to me to use. You can read my full disclosure here.


SPELLBINDERS CLUB KITS

I hope that you will check out the Spellbinders Club Kits. It is a wonderful monthly subscription where you receive the kit each month. Designers like myself share inspiration using the kit at the beginning of the month to show you lots of different ways that you can use it. 

There are also lots of other club kits too, like the Small Die of the Month, Clear Stamp & Die of the Month, Embossing Folder of the Month (plus lots more!), so there is something for everyone! If you do subscribe, you will get other benefits from Spellbinders too. Please see here for more information. You can also buy older kits here too. 

To buy the kit - if you are a current subscriber to the Large Die of the Month Club Kit (or any kit), you do not need to do anything. You will be charged as normal on the 5th of the month and your kit will be shipped to you. If you are a new subscriber, you can purchase the kit from the 6th - 27th of March 2023. Members can cancel their membership at any time.

Thank you so much for stopping by today, I really do appreciate it. I hope you have a wonderful rest of the day! 

VIDEO | Clearly Besotted March 2023 Release Preview

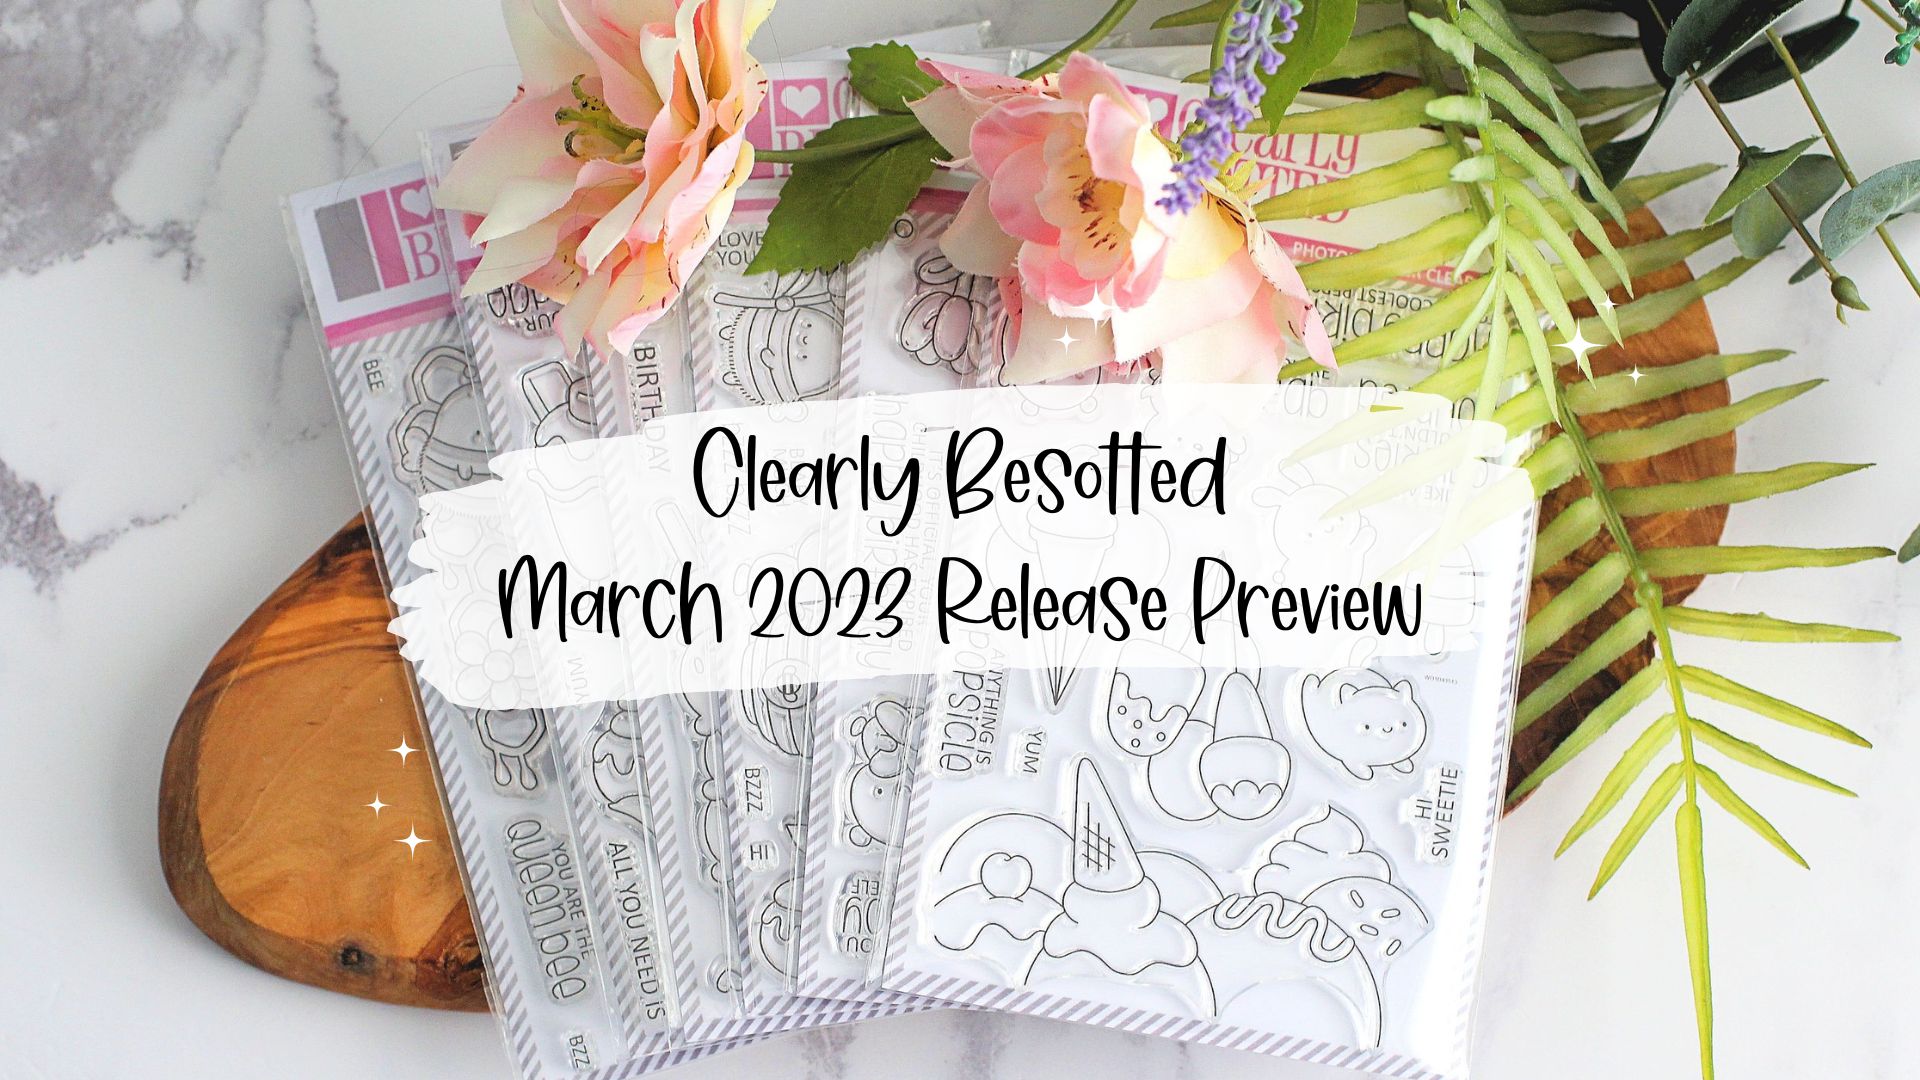
Hello there, I am back today to take a look at the March 2023 release from Clearly Besotted with you. There are six new sets releasing today. They are all really fun sets that can be used for lots of different occasions but especially great for birthday cards. 

PLEASE NOTE: This post contains affiliate links. Please see below for my full disclosure.


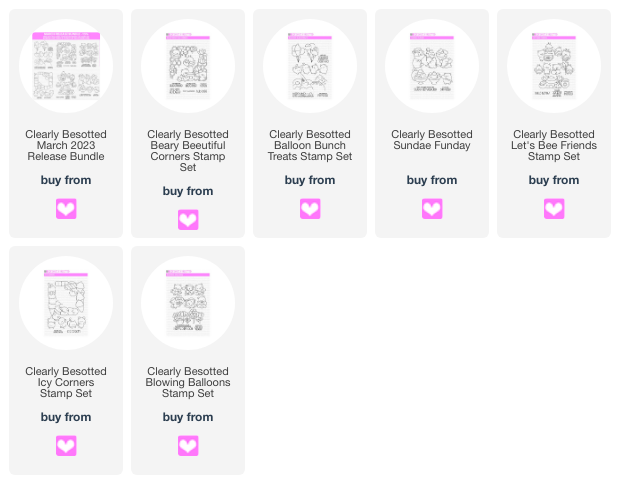
The seven new sets release tonight at 8pm GMT (UK time). You can purchase them as one big bundle, exclusively from Clearly Besotted. If you buy the bundle, you receive a 15% saving compared to purchasing the sets separately, plus free gifts of a sentiment stamp set, a stencil and 6 sheets of patterned paper.  Here is a look at the bundle:


You can also purchase the sets individually from the Clearly Besotted Shop (UK based), Simon Says Stamp (US based), Butterfly Reflections Ink (US based), Artcreatiu (based in Spain), Cloud9 Crafts (Netherlands), Card Nouveau (Belgium) and Kreativbunt (Germany). Here is a look at all of the sets up close and a recap of my projects:

VIDEO:


If you are viewing this blog post via email subscription, you can watch the video HERE on YouTube. 


SUPPLIES:


Here are the links to the new sets. Affiliate links are used on some products. This means that if you make a purchase after clicking on my link, I receive a small commission with no extra cost to you. I truly appreciate your support when using these links. Please click on the logo below the product to shop at your favourite store. All products were personally purchased except those from Clearly Besotted, Hero Arts or those marked with an asterisk (*) which were kindly sent to me to use. You can read my full disclosure here.


For more inspiration using the new sets, please head over to the Clearly Besotted Blog and my amazing teamie Keren. We also have the fabulous Kitty, Francine and Alberto joining us too, so please do check out what they have been up to as well. Thank you so much for stopping by today, I really do appreciate it. I hope you have a great rest of the week! 
End of code