
Hello there, today I have another card and video to share that I made before I took some time off. I had the pleasure of guest designing with Alex Syberia Designs in February and this card was made at that time. It uses the Fantasy Flowers Die Set, which is gorgeous!
PLEASE
NOTE: This post contains affiliate links. Please see below for my full
disclosure.

I started off my card by die cutting the Alex Syberia Designs Fantasy Flowers Die Set from cardstock. I used Hero Arts Peony and Ultra Pink for the pink flower, Spellbinders Purple Mist and Lilac Blossom for the purple flower and Spellbinders Waterfall and Hero Arts Paradise for the teal/aqua flower. The flower centres were cut from Spellbinders Chamomile and Beeswax cardstock. Finally, the leaves were die cut using Spellbinders Peridot Cardstock.

For some added interest and to bring out the scored details on the flowers, I blended on Distress Inks to the lighter top layers of the flowers. I used Picked Raspberry, Peacock Feathers and Wilted Violet. I also blended on Mowed Lawn Distress Ink on to the leaves. The flowers were then assembled and adhered using Bearly Art Glue.

I took a panel of white cardstock and ran it through my die cutting machine with the Alex Syberia Designs Speckled Background Stencil to emboss it. I love doing this with stencils. Although the embossing is not as pronounced as an embossing folder, it works perfectly for subtle backgrounds. It was adhered to a US A2 sized white card base with thin foam tape.

I then adhered the leaves and flowers on top. The flowers were adhered with thin foam tape and the leaves with more liquid glue. For the sentiment, I stamped 'happy birthday' from the Alex Syberia Designs For You Stamp Set on to white cardstock using Altenew Obsidian Pigment Ink. It was then die cut out using a sentiment strip from the Alex Syberia Designs Spring Garden Die Set. It was adhered to the card with more thin foam tape and then the card embellished with Studio Katia Iridescent Bubbles.
VIDEO:
Here is the video showing how I made the card:
If you are viewing this blog post via email subscription, you can watch the video HERE on YouTube.
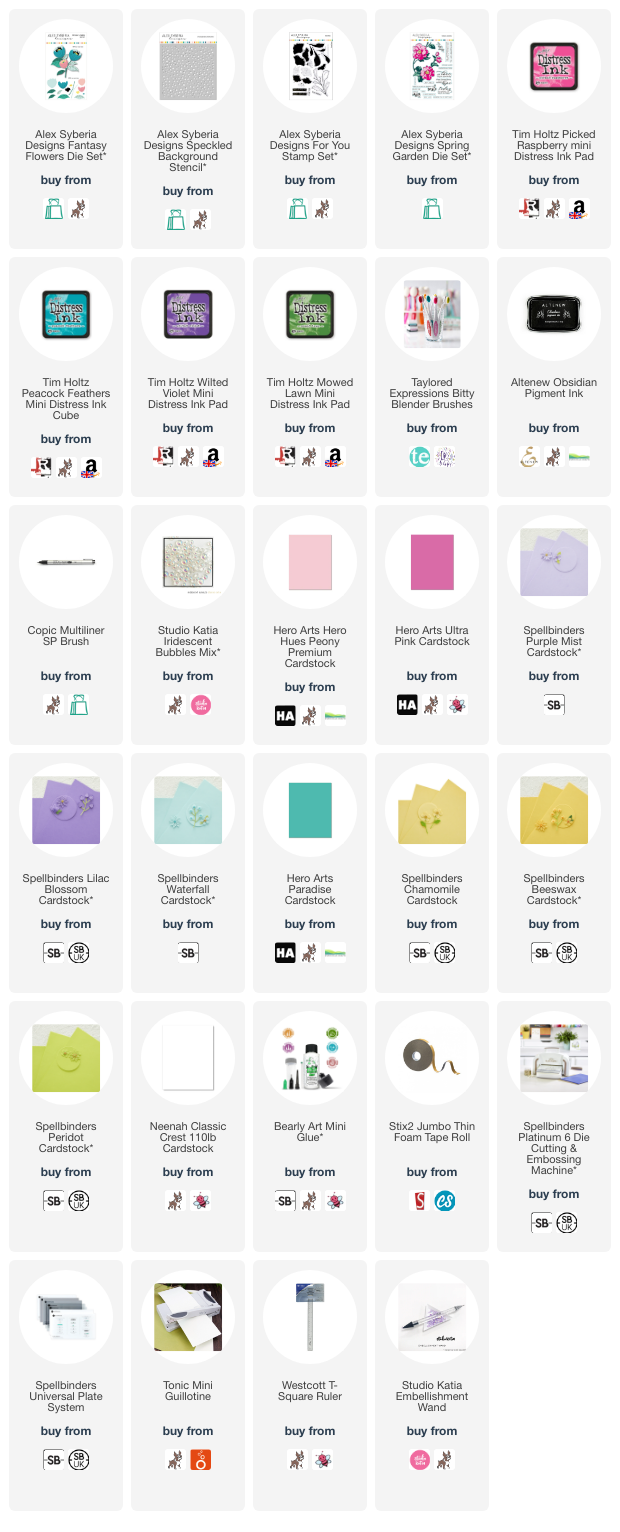
SUPPLIES:
Here are the links to
what I have used on the project. Affiliate
links are used on some products. This means that if you make a purchase after
clicking on my link, I receive a small commission with no extra cost to you. I
truly appreciate your support when using these links. Please click on the logo below
the product to shop at your favourite store. All products were personally
purchased except those from Clearly Besotted, Hero Arts or those marked with an
asterisk (*) which were kindly sent to me to use. You can read my full
disclosure here.
These flowers are so pretty and I am looking forward to using them again soon! Thank you so much for stopping by today, I really do appreciate it. I hope you have a wonderful day and a great week ahead!
Eeeeeek! So so pretty! The dry embossing with the stencil adds the perfect subtle but enhancing detail on the base! Of course, I love all the colours you chose for your flowers and the beautiful layout. Fabulous video too as always xx
ReplyDelete