28 December 2022

Clearly Besotted Teasers | Blooming Lilies

Hello there and welcome to the Clearly Besotted January 2023 Teasers. There are seven new sets releasing on 1st January 2023 and from now until then, we will be sharing teasers with you using the new sets. Today I am using the beautiful Blooming Lily Plushies. This set features a beautiful lily corner image plus lots of cute critters and fab sentiments too. 

PLEASE NOTE: This post contains affiliate links. Please see below for my full disclosure.
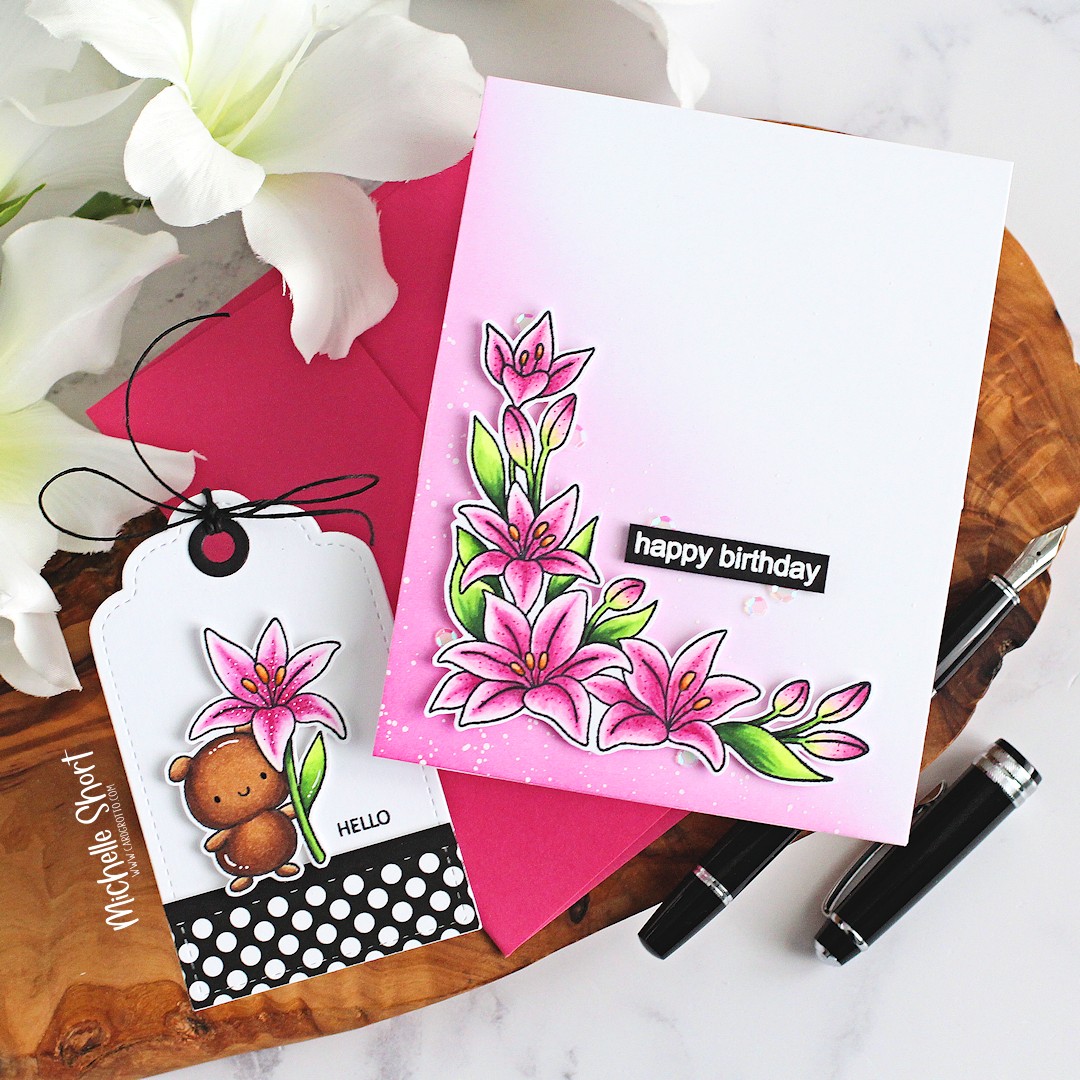


I couldn't decided which images to use for my project, so I decided to create two - a card and a tag. One with the corner image and one with one of the plushies. 


For the card, I started off by stamping the corner image from the Clearly Besotted Blooming Lily Plushies Stamp Set on to white cardstock using Memento Tuxedo Black Ink. I then coloured the lilies using Copic Markers and Polychromos Pencils, adding in dot detail with an Arteza TwiMarker. The colours that I used are listed below the supplies area. 


The lilies were fussy cut out with scissors and set aside while I worked on my background. I took a panel of white cardstock and added ink blending to the bottom left hand corner using an Ink Blending Brush and Tim Holtz Picked Raspberry Distress Ink. I splattered on Dr. Ph. Martin's Bleed Proof White Paint and then set aside to dry. 


Once dry, the panel was adhered to a US A2 sized white card base with tape runner adhesive. The lilies were adhered on top with thin foam tape. I took the sentiment from the Clearly Besotted A Little Sentimental Stamp Set and stamped it on to black cardstock with Versamark Ink. I applied white embossing powder and heat set. It was cut into a strip and adhered with thin foam tape. To finish off, I added some sequins (now sadly discontinued). 


For the tag, I stamped the bear holding the lily from the Clearly Besotted Blooming Lily Plushies Stamp Set onto white cardstock with Memento Tuxedo Black Ink. It was coloured with Copic Markers and fussy cut out. 


I die cut a Clearly Besotted Tag Along Die Collection tag from white cardstock and also from Altenew Essential Black & White Paper Pad. The paper pad tag was further cut down and adhered to the bottom of the white cardstock tag, followed by a strip of black cardstock. 


I stamped the sentiment from the set with Memento Tuxedo Black Ink and then adhered the bear on top with thin foam tape. I added twine through the top of the tag and tied in a bow and to finish, added white gel pen highlights and dots. 

SUPPLIES:


Here are the links to what I have used on the projects. Affiliate links are used on some products. This means that if you make a purchase after clicking on my link, I receive a small commission with no extra cost to you. I truly appreciate your support when using these links. Please click on the logo below the product to shop at your favourite store. All products were personally purchased except those from Clearly Besotted, Hero Arts or those marked with an asterisk (*) which were kindly sent to me to use. You can read my full disclosure here.
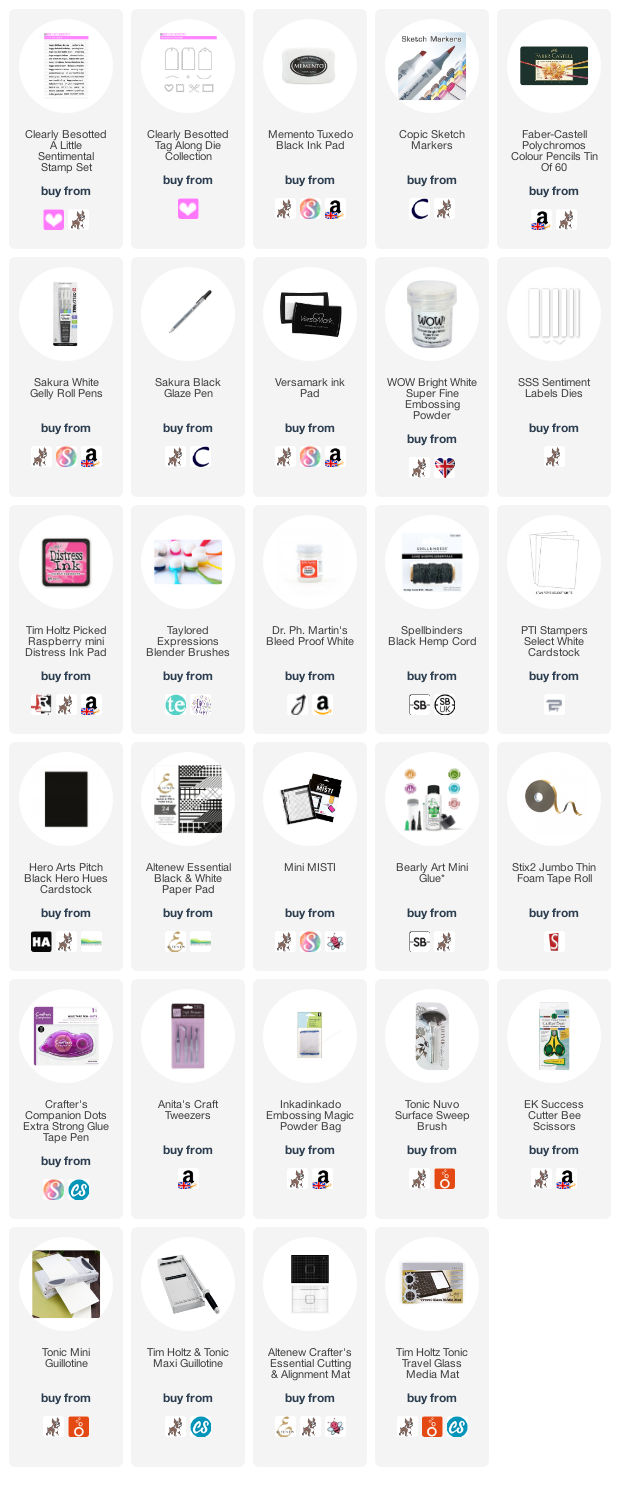

COPIC MARKERS: Lilies - RV66, RV55, RV52, YR27, YR12/G29, YG17, YG23, YG01. POLYCHROMOS PENCILS - 133, 125, 129, 283. TwiMarker - Burgundy. Bear - E59, E57, E55. 

I love lilies, they are one of my favourite flowers so I was instantly drawn to this set! For more inspiration using the new release, please head over to the Clearly Besotted Blog, my amazing teamie Keren and our fabulous guests Kitty, Francine and Alberto. Thank you so much for stopping by today, I really appreciate it. I hope you have a wonderful day! 

21 December 2022

Altenew | A Year In Review 2022 Crafters' Edition Blog Hop + Giveaway

Hello there, I am delighted to be taking part in a fun blog hop today with Altenew, where we look back at the year to see what our favourite projects are that we made. 

PLEASE NOTE: This post contains affiliate links. Please see below for my full disclosure.


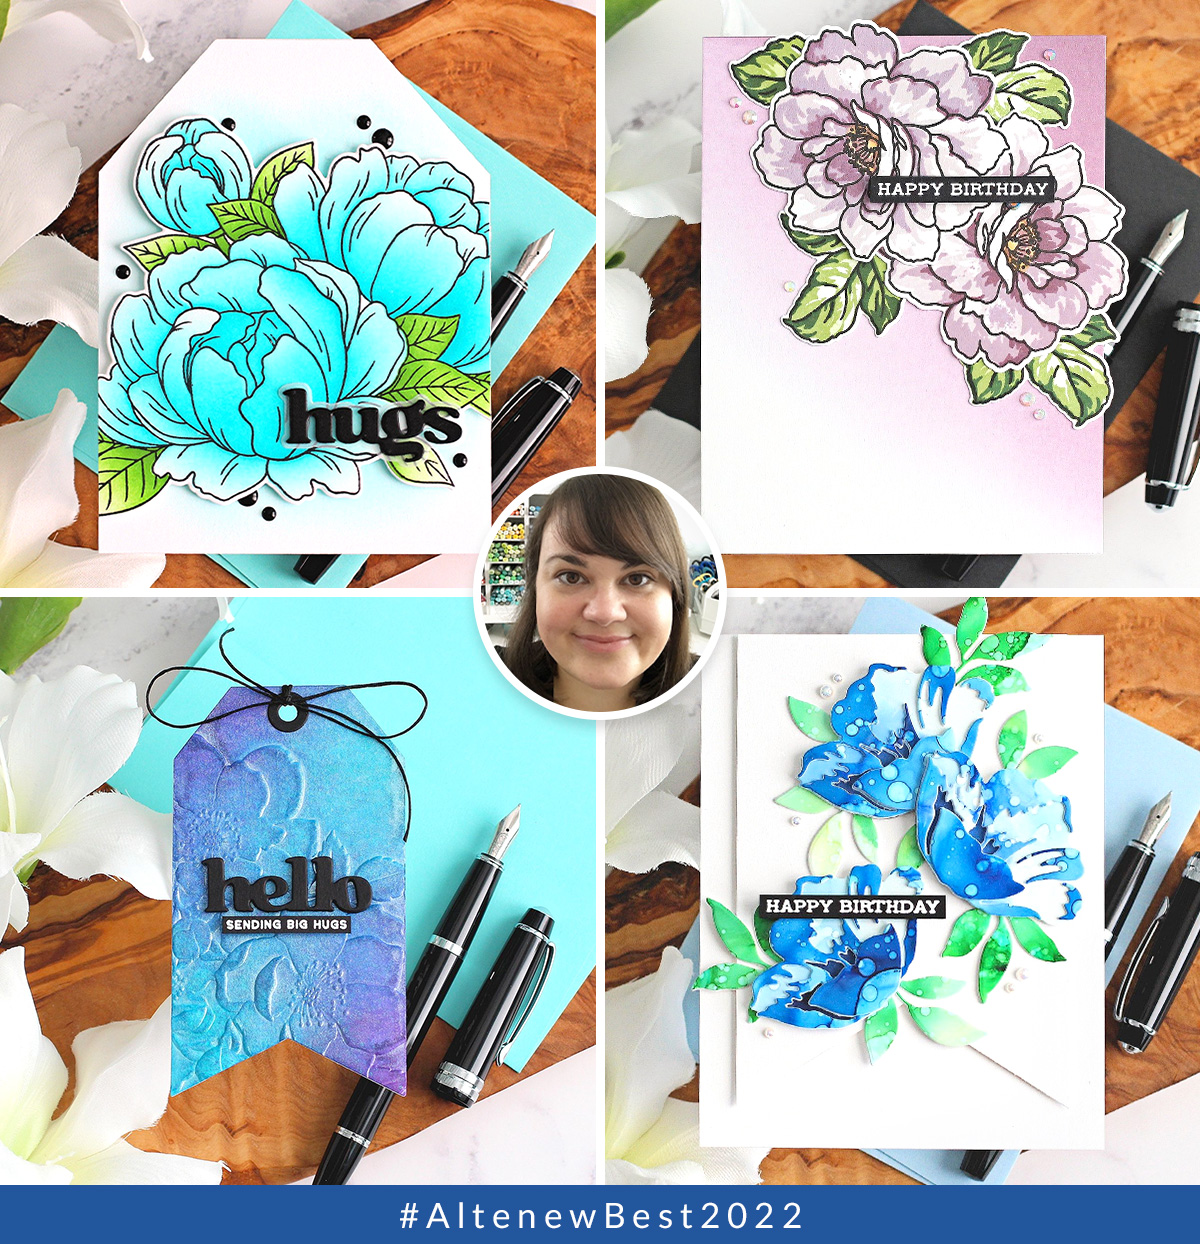
I always find it difficult to critique my own work/pick favourites but here are four projects that stood out to me when I was looking through what I have made this year. 


 PROJECT ONE


Main product used: 

This was a card that I made for my Terrific Tags with Michelle series showing how to make a tag shaped card. These peonies are gorgeous and I love the large size of them. I also love the non-traditional colours that I used. You can see my original blog posts and video HERE.

PROJECT TWO


Main products used:

This card was made as part of a blog hop celebrating alcohol inks. I had never really used alcohol inks in this way, with a layering die set, but I loved the results! These buttercup dies are beautiful and easy to layer up too. Buttercups don't have to be yellow! ;) You can see my original blog post HERE. 

PROJECT THREE


Main products used:

This tag was created as part of my Terrific Tags with Michelle series. I really love how the metallic sprays work with the embossing folder. I also love how the blue and purple sprays blended together and the Fairy Tale Floral Embossing Folder is stunning! You can see the original blog post and video HERE.

PROJECT FOUR


Main products used:

This card was made for the January 2022 release. I love these big blooms the stamp layering gives so much depth to both the flowers and leaves and although another non-traditional colour for the flowers, I love how it turned out. As you can tell, I do love blues, aquas and purples on my projects! You can see my original blog post HERE.  

BLOG HOP:


As mentioned, this post is part of a fun, inspirational blog hop with prizes. For the hop, you should have arrived here from Bobby Hagen. Next on the hop is Lorena Brougher. If you get lost along the way, or want to start the hop from the beginning, please head over to the Altenew Blog. 

GIVEAWAY:

Over $500 in total prizes! Altenew is giving away a $100 gift card to 1 lucky winner, 3 $50 gift cards, and 27 $10 gift cards. Winners will be chosen from both blog hop #1 and blog hop #2. Please leave a comment on the Altenew Card Blog by 27th December 2022 for a chance to win. 


We would also LOVE to see YOUR favorite handmade cards, layouts, home decor, etc. featuring Altenew products! Feel free to share them on social media or on your blog using the hashtag #AltenewBest2022. 


FOUR lucky crafters will each win a $15 gift certificate to our store! Winners will be announced on the Altenew Winners Page on 29th December 2022. We are looking forward to seeing your beautiful creations!


It has been so wonderful working with Altenew again this year. Lots of new, innovative and fun products released and it's been a pleasure to work with them. As you can tell from my projects, I am a huge fan of Altenew florals. I do not think my love for them will ever decrease! Thank you so much for stopping by today, I really do appreciate it. I hope you have a great day! 

20 December 2022

VIDEO | Eclipse Festive Fireworks

Hello there, I was over on the My Favorite Things YouTube channel yesterday sharing a card using the new Festive Fireworks set. This stamp set is huge and there are lots of different ways to use it. You can layer up the fireworks or use them separately. You can heat emboss them, stamp them in different colours ... the options are endless! Perfect for New Year's cards, celebration cards, any cards really! 

PLEASE NOTE: This post contains affiliate links. Please see below for my full disclosure.


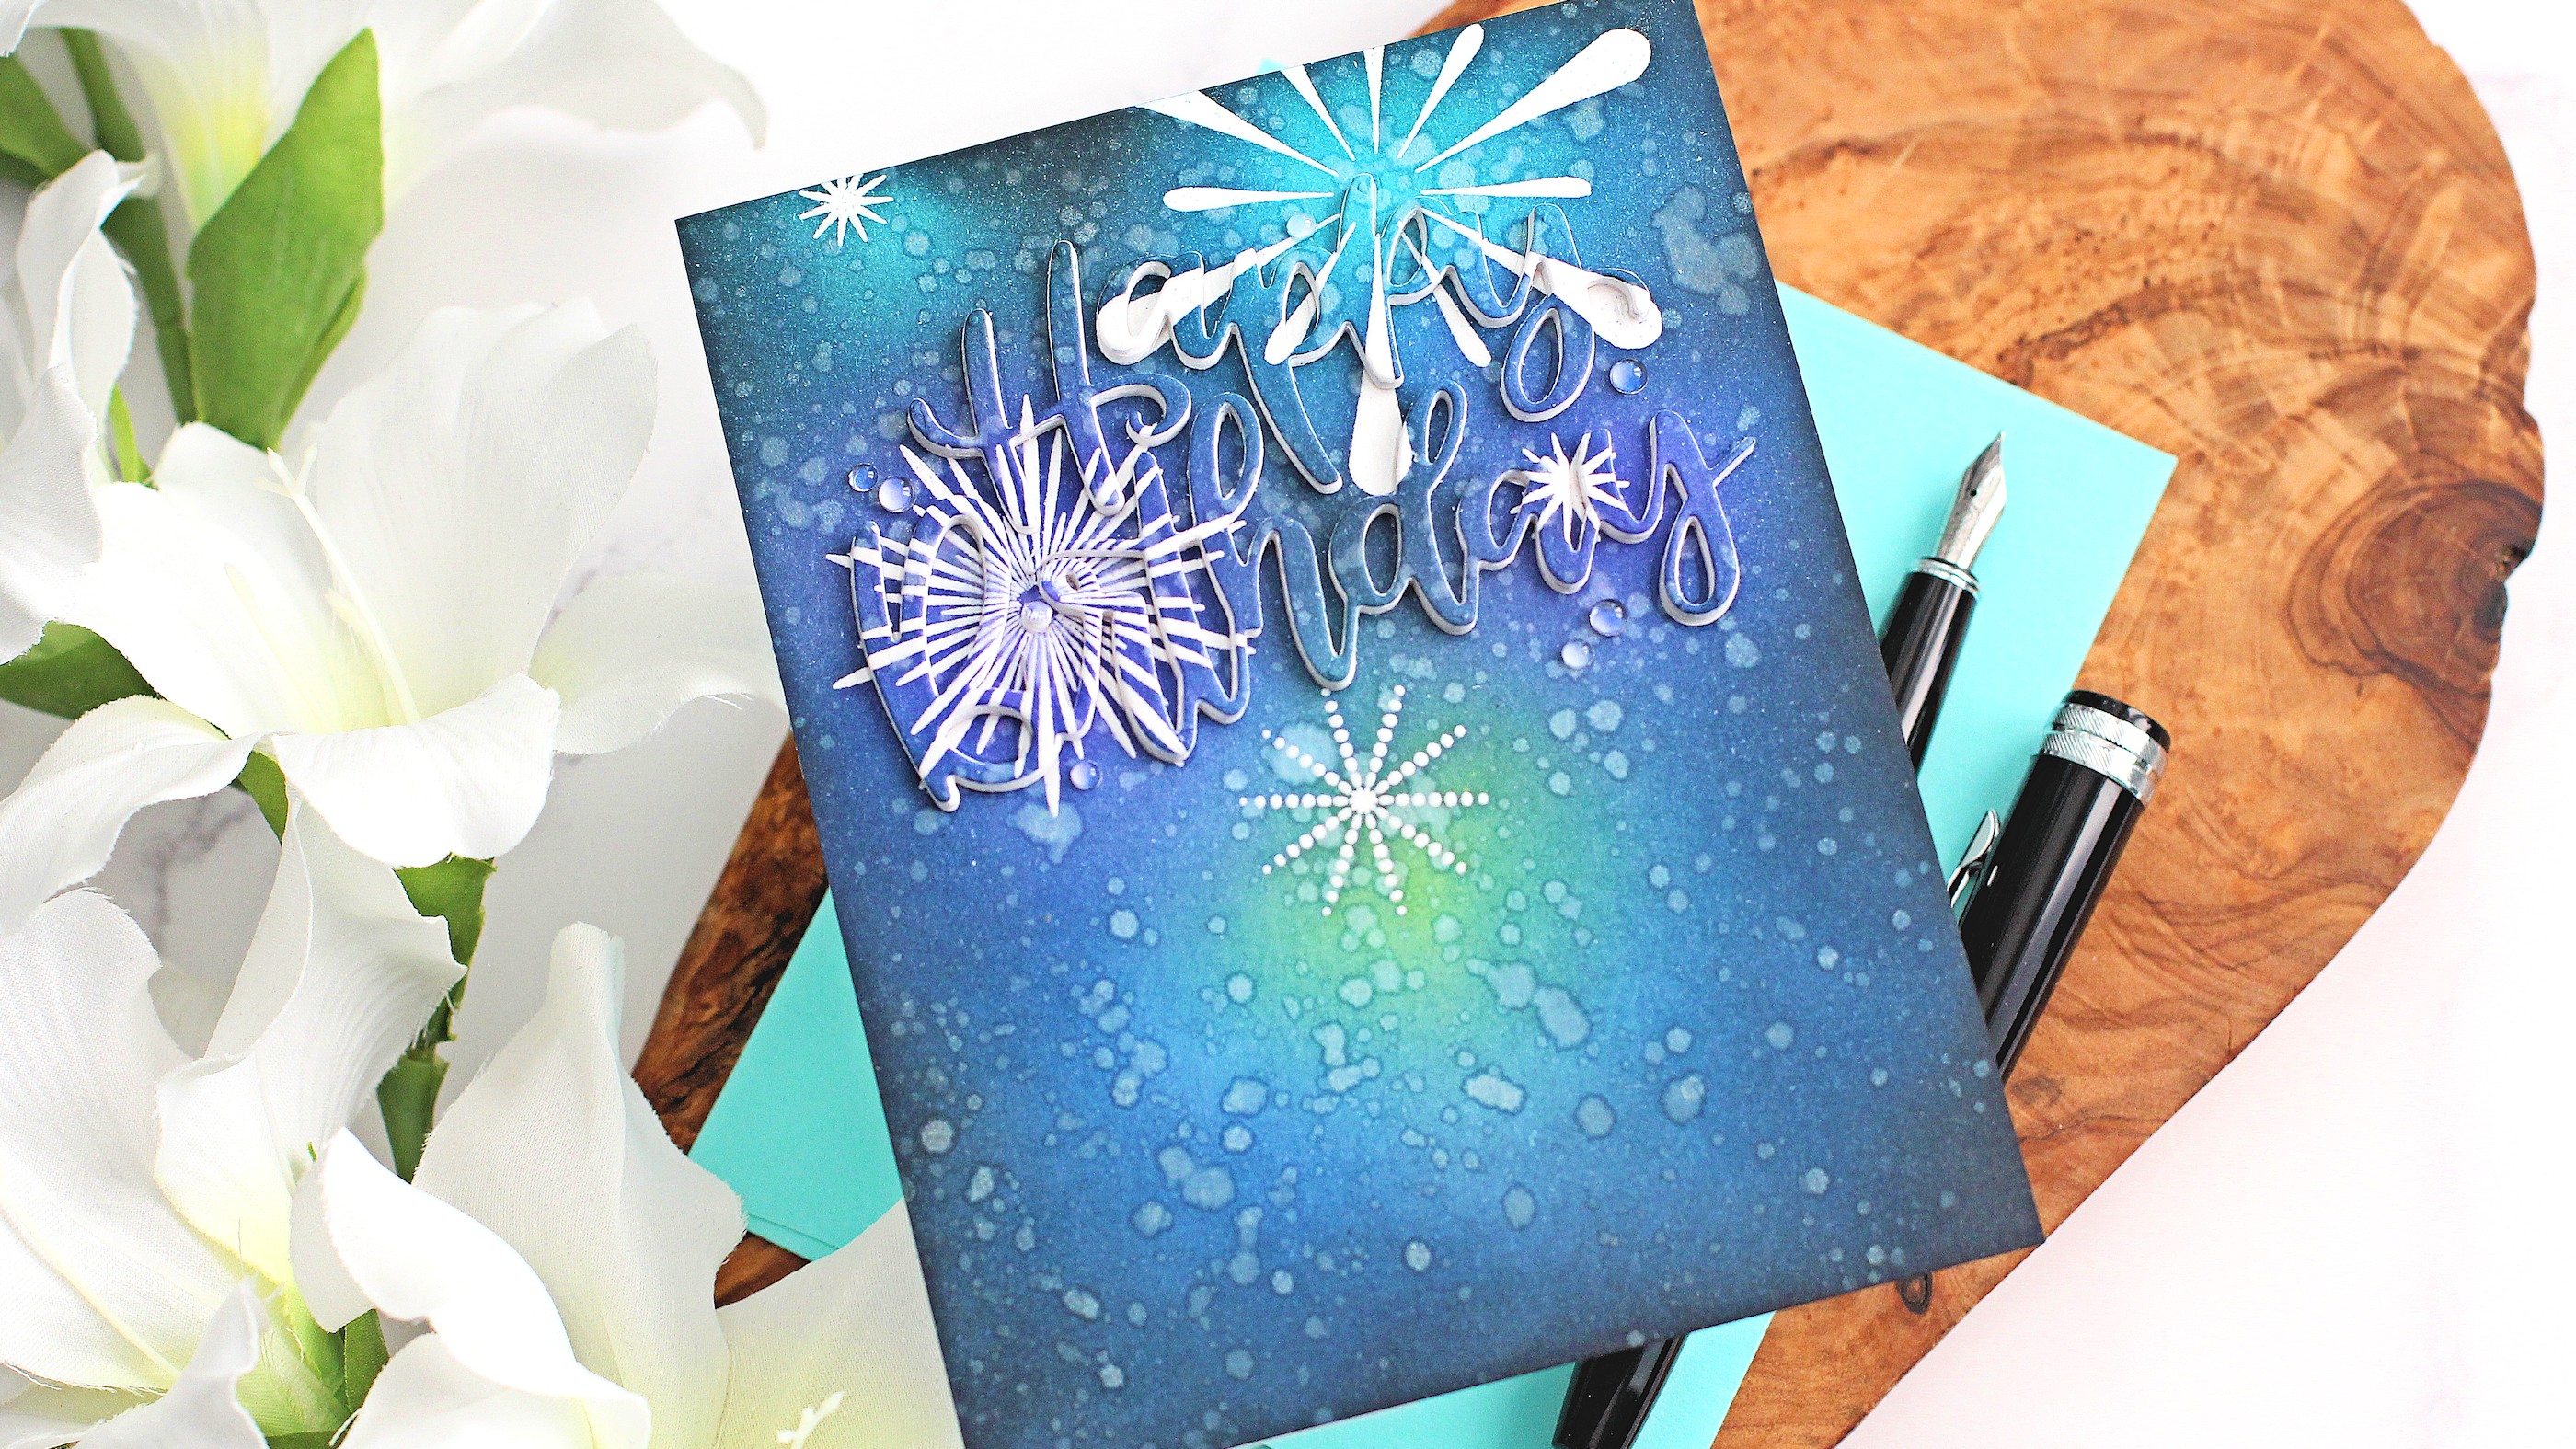
I started off by taking a panel of white cardstock and stamping five of the fireworks from the MFT Festive Fireworks Stamp Set on top using Versamark Ink. I applied Satin Pearl Embossing Powder and heat set. Using ink blending brushes, I then blended Distress Inks over the panel. 

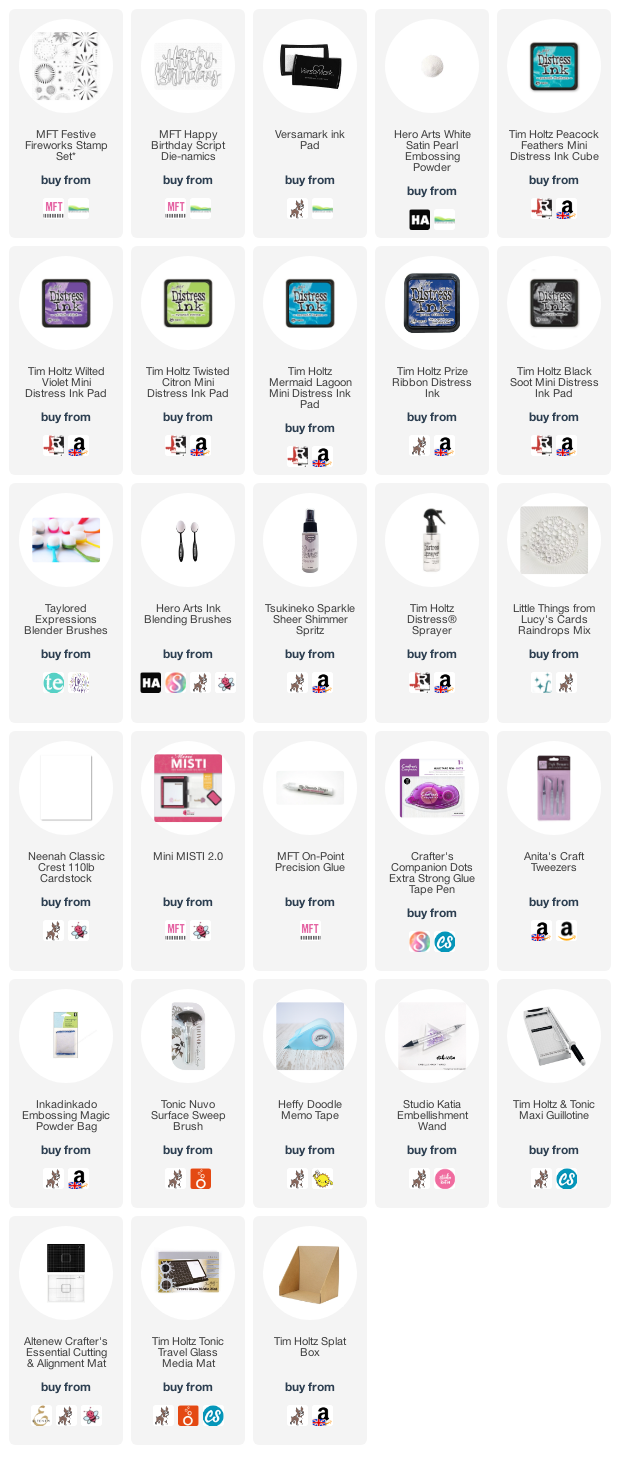
I used Peacock Feathers, Wilted Violet, Twisted Citron, Mermaid Lagoon, Prize Ribbon and Black Soot. I then splattered on water and Sheer Shimmer Spritz and heat set it to dry. 

I took the MFT Happy Birthday Script Die-namics and die cut it at the top of the panel. I also die cut it from white cardstock a further five times. I removed the words from the background piece and then adhered it flat to a US A2 sized white card base. I then inlayed one of the white cardstock die cuts and the middle parts of the letters. 

I stacked the remaining white cardstock die cuts one on top of another using MFT On-Point Precision Glue and adhered it on top.  The ink blended one was then added on top of that to create the eclipse look. I finished off with a few Raindrop embellishments. 

VIDEO:

Here is the video showing how I made the card:

If you are viewing this blog post via email subscription, you can watch the video HERE on YouTube. 

SUPPLIES:


Here are the links to what I have used on the project. Affiliate links are used on some products. This means that if you make a purchase after clicking on my link, I receive a small commission with no extra cost to you. I truly appreciate your support when using these links. Please click on the logo below the product to shop at your favourite store. All products were personally purchased except those from Clearly Besotted, Hero Arts or those marked with an asterisk (*) which were kindly sent to me to use. You can read my full disclosure here.


I really love the look of the eclipse technique. I think in this instance, with the firework background, it would have been nice to have a simpler word die, but I love that birthday one and I thought it went well with the background. It is always tricky to photograph eclipse cards and even in real-life, it is sometimes tricky to see it, but I also think it is a cool technique and makes the recipient ask "how did they do that?". 

Thank you so much for stopping by today, I really appreciate it. I hope you have a great day! 

12 December 2022

Altenew | December 2022 Marvelous Monthly Series Blog Hop + Giveaway

Hello there, I am delighted to be joining Altenew today to celebrate the release of the December 2022 My Monthly Series. Releasing today are Build-A-Garden: Rosa Gallica, Craft-A-Flower: Water Lily, Craft Your Life Project Kit: Watercolor Flowers, Mini Delight: Budding Wallpaper and Paint-A-Flower: Modern Pink Dianthus. Also releasing today is Artist Alcohol Markers Set K. 

PLEASE NOTE: This post contains affiliate links. Please see below for my full disclosure.

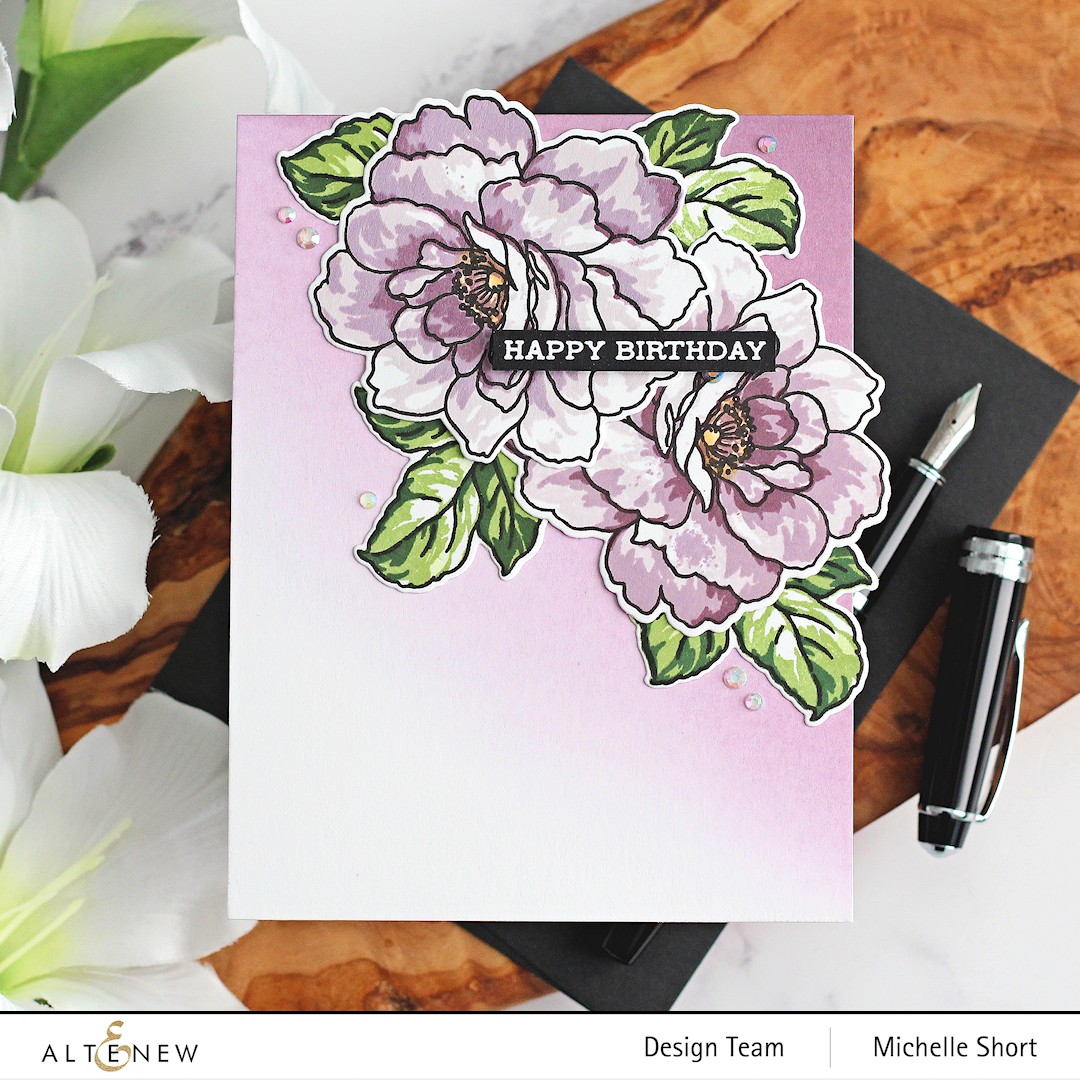
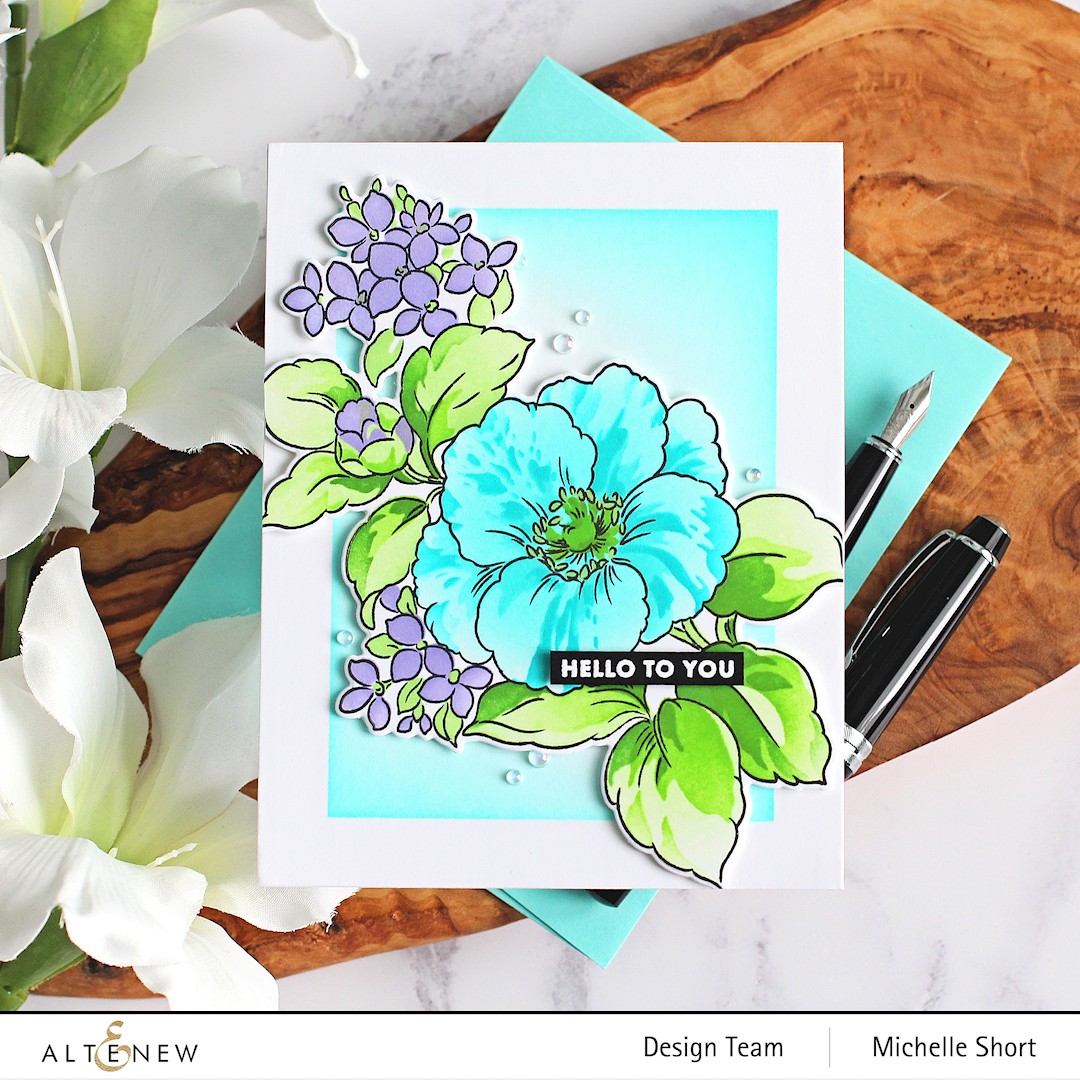
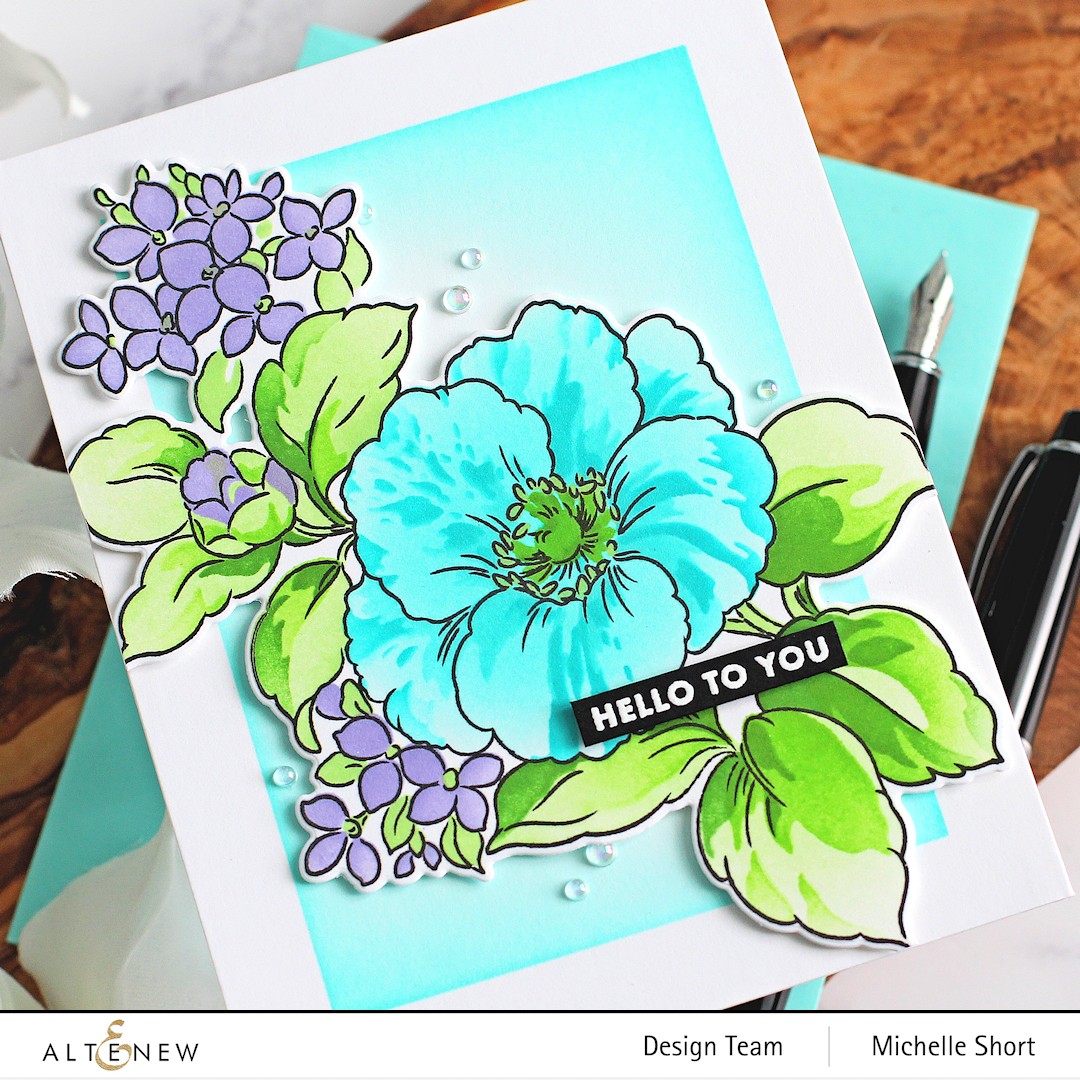
My card today uses Altenew Build-A-Garden: Rosa Gallica & Add-On Die Bundle. This includes a stamp set, stencils, a mini ink blending brush and die set (you can purchase the set without the die too). 


I started off by stamping the larger of the two images from the stamp set on to a panel of white cardstock using Altenew Permanent Black Ink. I then took the stencils and placed the first stencil on top, adding ink bending using Altenew Small Ink Blending Tools and Altenew Mini Ink Blending Brushes. I then did this for all of the stencil layers. 


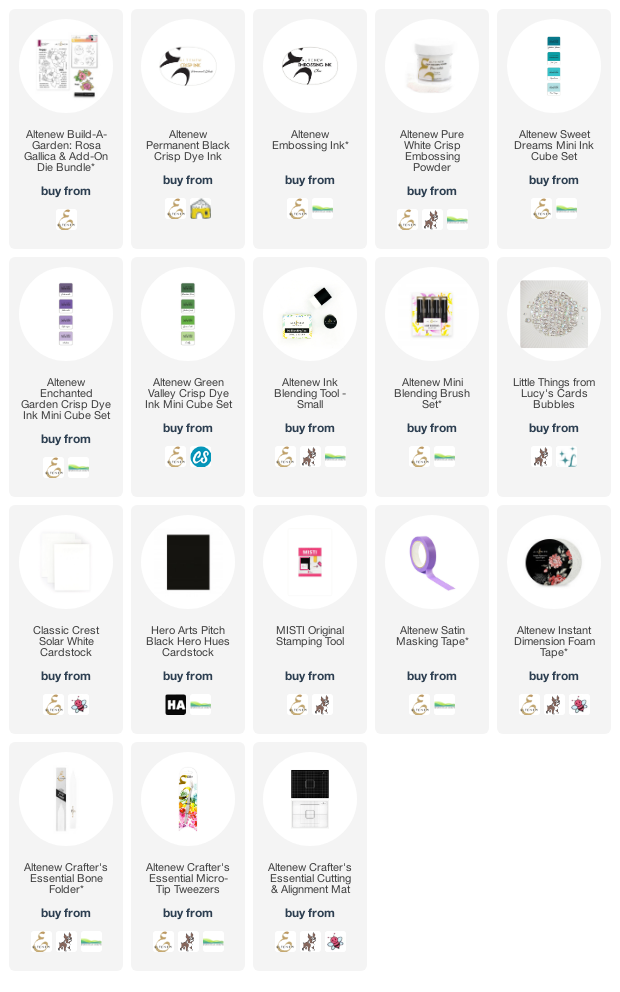
I used Altenew Sweet Dreams Crisp Dye Inks for the the main flower, Altenew Enchanted Garden Crisp Dye Inks for the smaller flowers and Altenew Green Valley Crisp Dye Inks for the leaves. It was then die cut using using coordinating die. I took a US A2 sized white card base and masked off the edges using Altenew Satin Masking Tape. I added ink blending inside using the same Sweet Dreams Inks. 


The tape was removed and the image adhered on top with Altenew Instant Dimension Foam Tape, cutting off the overlapping parts with scissors. I took the sentiment from the set and stamped it on to black cardstock using Altenew Embossing Ink. I applied Altenew Pure White Crisp Embossing Powder and heat set. It was cut into a strip and adhered to the card. To finish off, I added a few Bubbles embellishments. 

SUPPLIES:


Here are the links to what I have used on the project. Affiliate links are used on some products. This means that if you make a purchase after clicking on my link, I receive a small commission with no extra cost to you. I truly appreciate your support when using these links. Please click on the logo below the product to shop at your favourite store. All products were personally purchased except those from Clearly Besotted, Hero Arts or those marked with an asterisk (*) which were kindly sent to me to use. You can read my full disclosure here.


BLOG HOP:

This blog post is part of  a fun, inspiration filled blog hop with prizes. For the hop, you should have arrived here from the Altenew Blog. Next on the hop is Agnieszka Malyszek. 

GIVEAWAY:

$300 in total prizes! To celebrate this release, Altenew is giving away 1 FULL RELEASE BUNDLE to 1 lucky winner and a $25 gift certificate to 4 winners! Please leave a comment on the Altenew Card Blog and/or each designer’s blog post on the blog hop list below by December 17, 2022 for a chance to win. 


Altenew will draw 5 random winners from the comments left on each stop of this blog hop and announce the winners on the Altenew Winners Page on December 19, 2022. *The grand prize winner will be chosen from comments left on the Altenew Card Blog.


Thank you so much for stopping by today, I really do appreciate it. I hope you have a great day! 
5 December 2022

Hero Arts | My Monthly Hero December 2022 Release Blog Hop + Giveaway

Hello there and welcome to the Hero Arts December 2022 My Monthly Hero Release Blog Hop + Giveaway. Both the kit and add-ons are now in store available to purchase. The release this month is all about celestial fantasy and is so fun! Perfect for lots of different occasions and a good excuse to get inky (if you enjoy that!). 

PLEASE NOTE: This post contains affiliate links. Please see below for my full disclosure.


Today I have a card to share with you using the main kit, as well as another card using a couple of the add-on products. I already shared one card using the main kit, which you can see here. More information on the kit and the hop below. 


My first card uses the cling background stamp, as well as the clear stamp set. Both are from the Hero Arts December 2022 My Monthly Hero Kit. I started off by stamping the cling background stamp on to Deluxe Smooth White Cardstock using Intens-ified Black Ink. I stamped it a few times to get a really good impression. 


I took another panel of white cardstock and stamped the astronaut from the clear set on top with Intens-ified Black Ink. I placed the coordinating die over the top but just partially ran it through my die cutting machine, so that it only cut the top part of her and left her legs remaining on the panel. Using a craft knife and ruler, I then cut the rest of the top of the panel off. 


The image was coloured using Copic Markers and then adhered to the background panel using thin foam tape, followed by a US A2 sized white card base. The sentiment from the clear set was stamped, fussy cut out and adhered to the card with more thin foam tape. To finish off, I added Clear Lacquer Pen to the star and white gel pen highlights to the astronaut. 


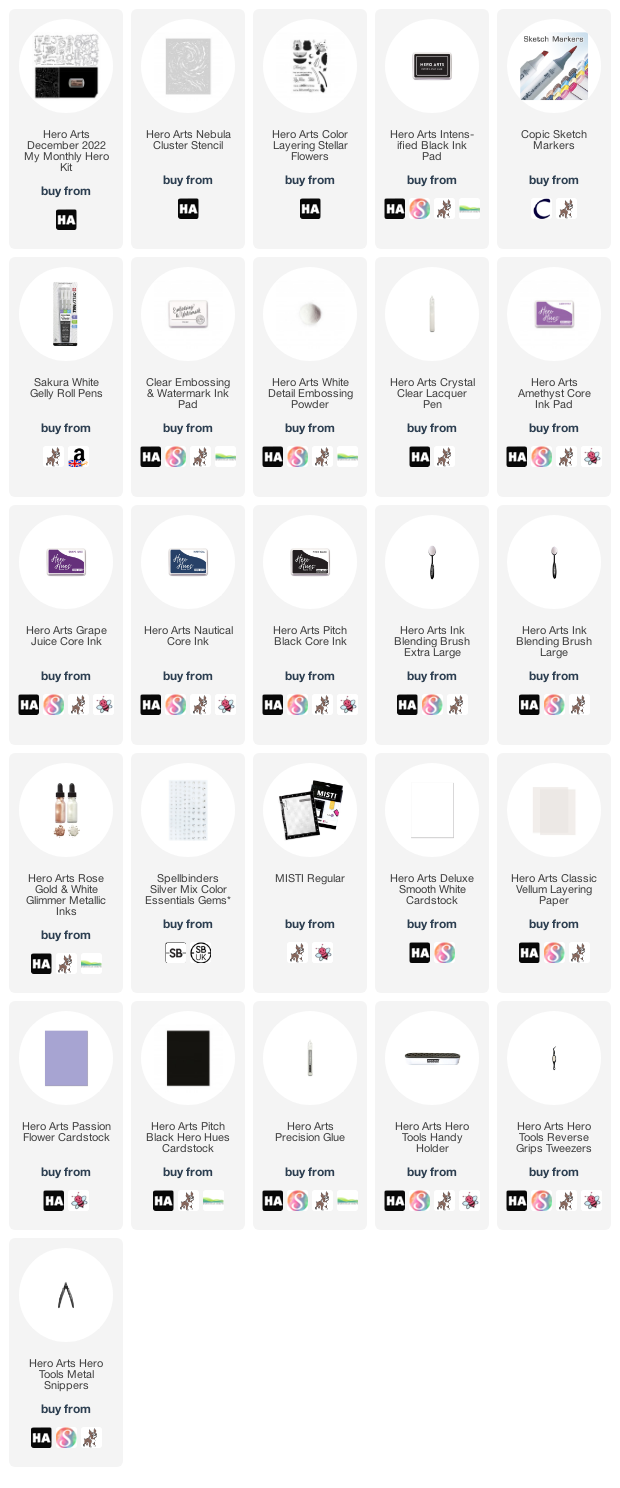
My next card uses a couple of the add-on products from the release. These work really well with the kit, but I wanted to use them on their own. I took a panel of Passion Flower Cardstock and placed the Nebula Cluster Stencil on top. Using Ink Blending Brushes, I blended on Core Inks in Amethyst, Grape Juice, Nautical and Pitch Black. I removed the stencil and then blended the edges with the same inks. 


The panel was then splattered with White Glimmer Metallic Ink before setting aside to dry. I took the Color Layering Stellar Flowers Stamp Set and stamped the images on to Classic Vellum Layering Paper using Clear Embossing & Watermark Ink. I applied White Detail Embossing Powder and heat set. I then fussy cut it out using scissors. 


The background panel was adhered to a US A2 sized white card base with thin foam tape. The flower was adhered on top with tiny dabs of Precision Glue (behind where the embossing powder is thicker). I stamped the sentiment from the set on to Pitch Black Cardstock and embossed in white. It was fussy cut out and adhered to the card. To finish off, I added a few silver gems. 

SUPPLIES:


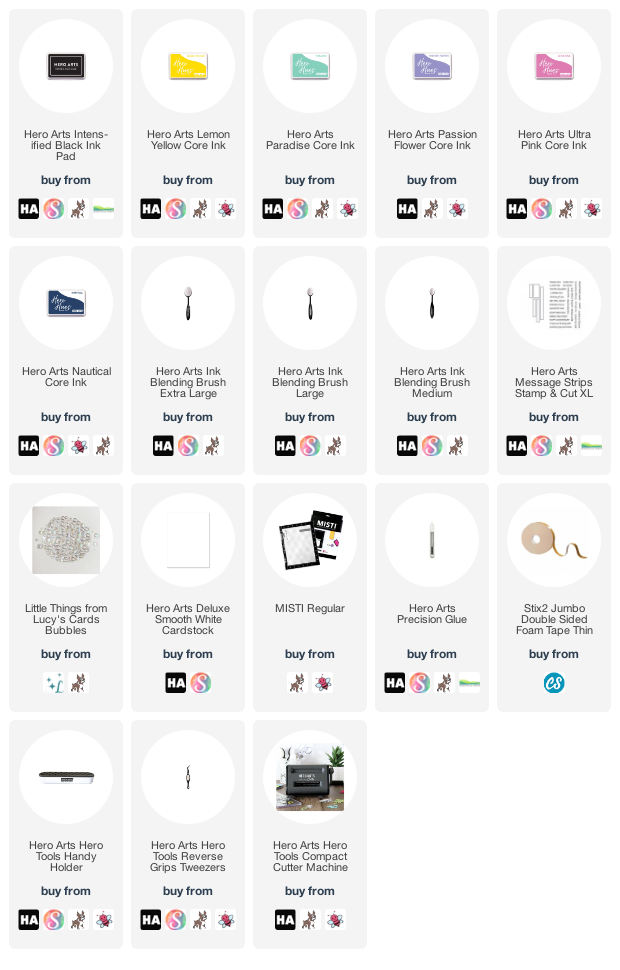
Here are the links to what I have used on the projects. Affiliate links are used on some products. This means that if you make a purchase after clicking on my link, I receive a small commission with no extra cost to you. I truly appreciate your support when using these links. Please click on the logo below the product to shop at your favourite store. All products were personally purchased except those from Clearly Besotted, Hero Arts or those marked with an asterisk (*) which were kindly sent to me to use. You can read my full disclosure here.


MY MONTHLY HERO KIT:


This month we invite you to go on a celestial fantasy adventure with us! Our December release is full of stars, galaxies, moons and clouds. The playful December My Monthly Hero kit, with its adorable space cadets, is perfect for birthdays, encouragement, or simply sending a friendly hello. The kit includes a jam-packed 6 x 8 stamp set with coordinating dies. There's also the perfect cling stamp for your interstellar backgrounds, a gorgeous Rose Gold pigment mini ink pad, and four half sheets of our ever-popular Pitch Black cardstock!

KIT CONTENTS:

6" x 8" Clear Stamp Set
15 Coordinating Frame Cuts
4.625" x 5.875" Cling Stamp
4 Sheets Pitch Black Cardstock (5.5" x 8.5")
Rose Gold Pigment Mini Ink Pad

The Hero Arts December 2022 My Monthly Hero Kit is valued at $82 but you can get it for $34.99 (approximately £28 depending on exchange rate, not including VAT/customs charges). The kits are exclusive to the Hero Arts store and often sell out quickly. You can subscribe here so that you never miss a kit. Kits begin shipping 9th December 2022. 

ADD-ONS:

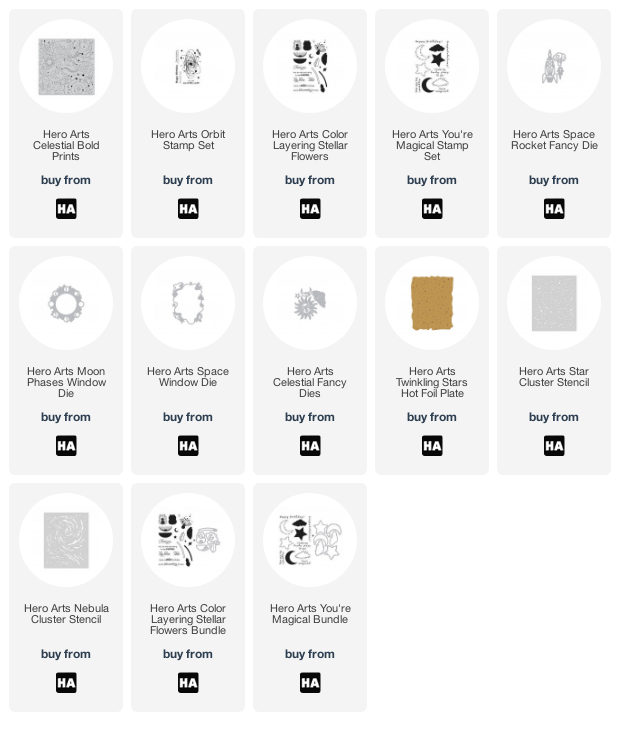
There are lots of add-on products released each month. These work alongside the kit, or work on their own too. These can be purchased from Hero Arts when you order a kit, on their own or from your favourite Hero Arts retailer (these are not exclusive and are restocked if sold out). Here is a look at them:


BLOG HOP:

This post is part of a fun, inspirational blog hop with prizes. For the hop, you should have arrived here from the fabulous Maria. Next on the hop is the fantastic Mindy. If you get lost along the way, or want to start the hop from the beginning, please head over to the Hero Arts Blog. 

GIVEAWAY:

Hero Arts are giving away a $50 gift card drawn from the comments left across all of the stops in the hop. Enter by 11th December 2022 at 11.59pm PT. The winner will be announced the following week on the Hero Arts Blog.

Thank you so much for stopping by today, I really do appreciate it. I hope you have a lovely time on the rest of the hop and a great rest of the day! Take care! 

VIDEO | MFT Cool Christmas Trees

Hello there, I am over on the My Favorite Things YouTube channel today, sharing a quick and easy Christmas card that would be great to mass produce. I do plan on making a few of these. I am never big on mass producing, five is probably my limit these days, but this design works well. 

PLEASE NOTE: This post contains affiliate links. Please see below for my full disclosure.


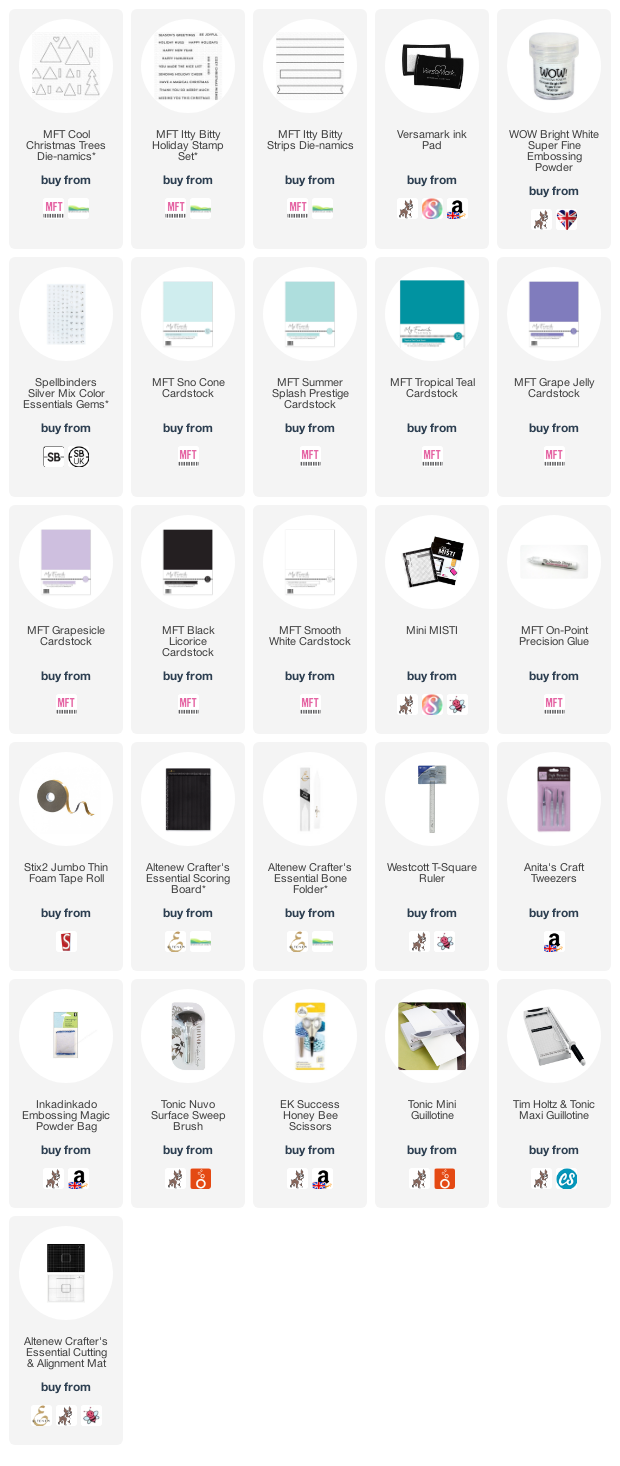
I started off my card by die cutting the main base tree from the MFT Cool Christmas Trees Die-namics from five colours of MFT Cardstock - Sno Cone, Summer Splash, Tropical Teal, Grape Jelly and Grapesicle. I cut them all twice so that I could stack them two high for extra stability. 

I took a white US A2 sized card base and scored lines in the front panel for some added interest with a scoring board and bone folder. Although these aren't very visible in the photos, in real-life they do add a nice touch! The two back trees were adhered to the card with MFT On-Point Precision Glue. 

The trees at the front were adhered with thin foam tape. The sentiment from the MFT Itty Bitty Holiday Stamp Set was stamped on to MFT Black Licorice Cardstock using Versamark ink. I applied white embossing powder and heat set. It was cut into a strip using the MFT Itty Bitty Strips Die-namics and adhered to the card with thin foam tape. To finish off, I added a few silver gems. 

VIDEO:

Here is the video showing how I made the card:

If you are viewing this blog post via email subscription, you can watch the video HERE on YouTube. 

SUPPLIES:


Here are the links to what I have used on the project. Affiliate links are used on some products. This means that if you make a purchase after clicking on my link, I receive a small commission with no extra cost to you. I truly appreciate your support when using these links. Please click on the logo below the product to shop at your favourite store. All products were personally purchased except those from Clearly Besotted, Hero Arts or those marked with an asterisk (*) which were kindly sent to me to use. You can read my full disclosure here.


I think this design would work well with lots of different colour combinations, but I really like the more modern feel of these colours! Thank you so much for stopping by, I will be back later with another post but in the meantime, I hope you have a great day! 

3 December 2022

Spellbinders | Blooming Heart

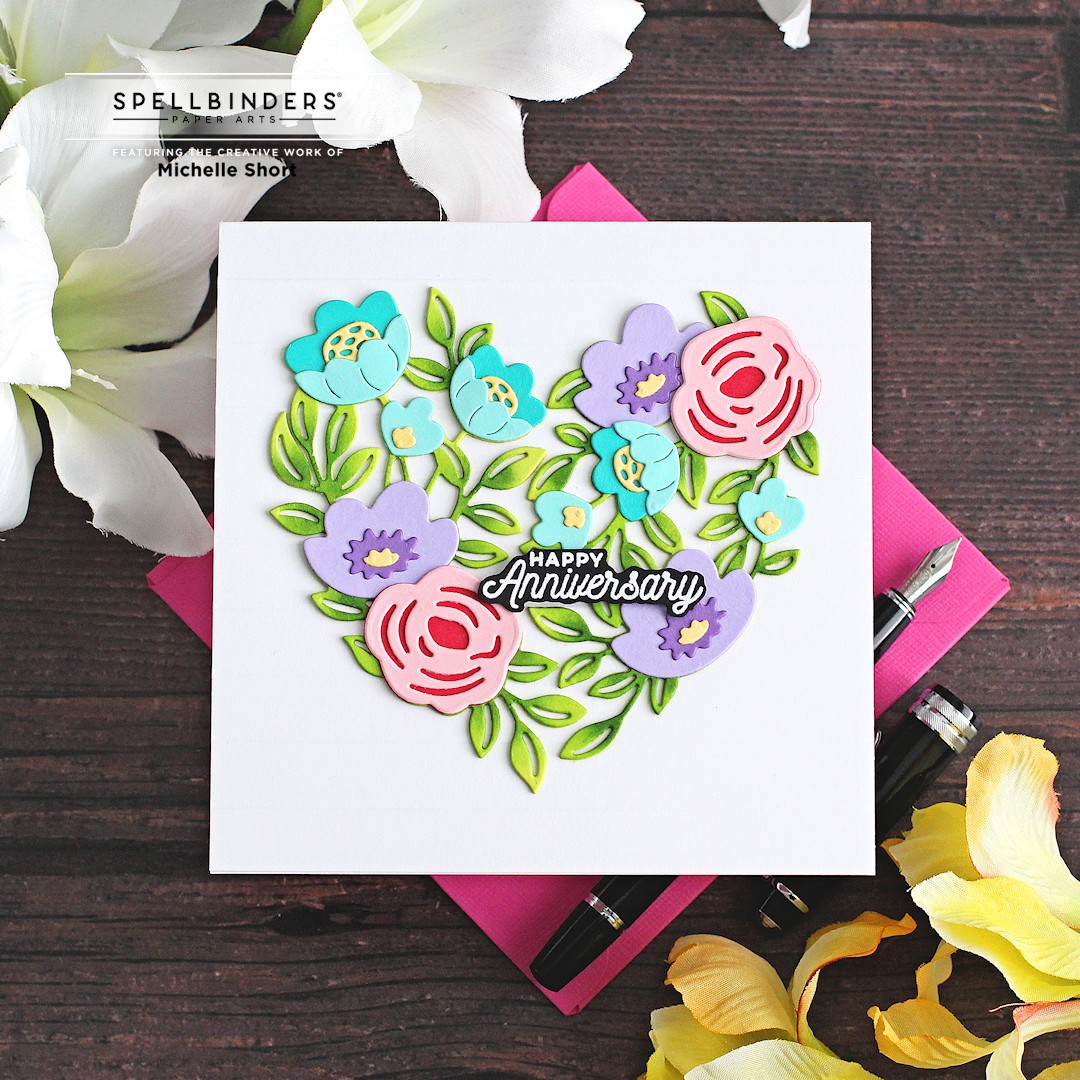
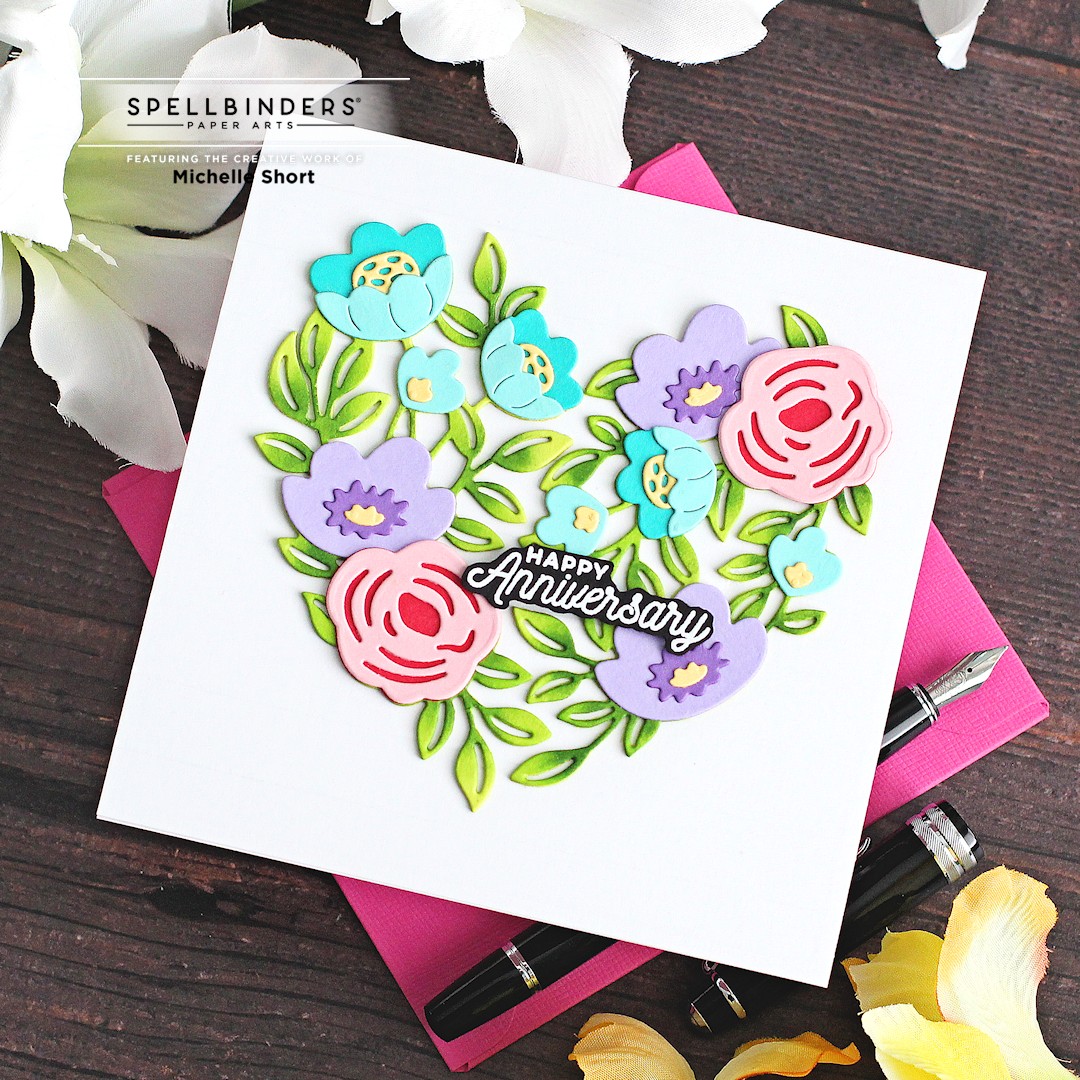
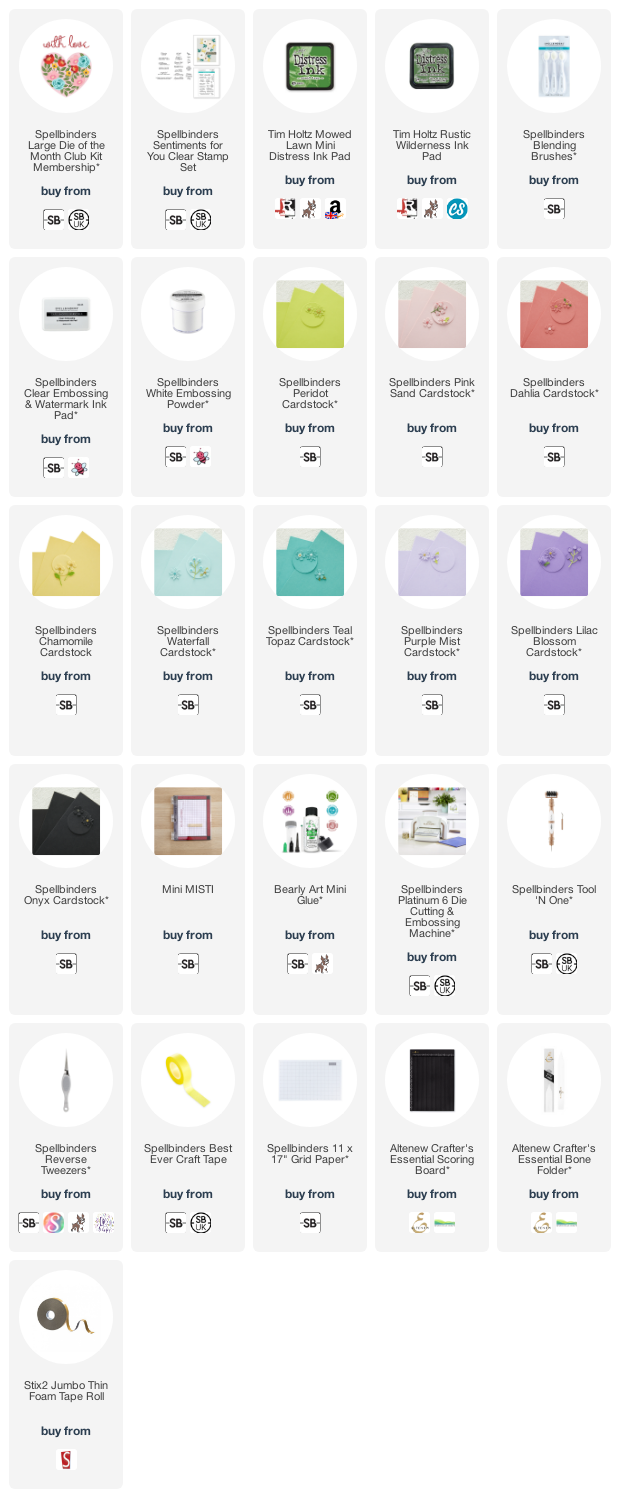
Hello there, today I have a card to share with you using the Spellbinders December 2022 Large Die of the Month Club Kit. This month is called Blooming Heart and it's so pretty! It features two floral pieces that when put together make a heart. There is also a heart shaped die plus two sentiment word dies. 

PLEASE NOTE: This post contains affiliate links. Please see below for my full disclosure.


I started off my card by die cutting the floral pieces from the Spellbinders December 2022 Large Die of the Month Club Kit from Spellbinders Peridot Cardstock. I cut them twice so that I could stack them for dimension. Using Spellbinders Ink Blending Brushes, I blended on Tim Holtz Distress Ink in Mowed Lawn and Rustic Wilderness. 


I also die cut the flowers from Spellbinders cardstock. I used Pink Sand and Dahlia for the pink flowers, Purple Mist and Lilac Blossom for the purple flowers and Waterfall and Teal Topaz for the aqua/teal flowers. The flower centres are cut from Chamomile. They were all layered up and adhered using Bearly Art Glue. 


I took a 5" x 5" white card base and scored horizontal lines on the front using a score board and bone folder (sadly these are not visible in the photos but in real-life, they do add a nice touch to the card). I then adhered the heart pieces on top with more liquid glue. 


I took a sentiment from the Spellbinders Sentiments For You Stamp Set and stamped it on to black cardstock with Spellbinders Clear Embossing & Watermark Ink. I applied Spellbinders White Embossing Powder and heat set. I fussy cut it out with scissors and adhered it to the card with thin foam tape. 

SUPPLIES:


Here are the links to what I have used on the project. Affiliate links are used on some products. This means that if you make a purchase after clicking on my link, I receive a small commission with no extra cost to you. I truly appreciate your support when using these links. Please click on the logo below the product to shop at your favourite store. All products were personally purchased except those from Clearly Besotted, Hero Arts or those marked with an asterisk (*) which were kindly sent to me to use. You can read my full disclosure here.


SPELLBINDERS CLUB KITS

I hope that you will check out the Spellbinders Club Kits. It is a wonderful monthly subscription where you receive the kit each month. Designers like myself share inspiration using the kit at the beginning of the month to show you lots of different ways that you can use it. 

There are also lots of other club kits too, like the Small Die of the Month, Glimmer of the Month, Embossing Folder of the Month and Stamp & Clear Die of the Month (plus lots more!), so there is something for everyone! If you do subscribe, you will get other benefits from Spellbinders too. Please see here for more information. You can also buy older kits here too. 

If you do want to get hold of this month's kit, you would need to subscribe by 27th December 2022 to receive it. Subscribers can cancel their membership at any time. 

Thank you so much for stopping by today, I really do appreciate it. I hope you have a lovely weekend! 

2 December 2022

Hero Arts | December 2022 My Monthly Hero Countdown to Creativity

Hello there and welcome as we countdown to the release of the Hero Arts December 2022 My Monthly Hero Kit and add-ons. This month is called Celestial Floral Fantasy and is all things celestial and space. The products release on Monday, 5th December 2022 but we will be sharing inspiration all weekend long using the new kit. 

PLEASE NOTE: This post contains affiliate links. Please see below for my full disclosure.


For my card today, I am focusing on the cling background stamp that comes in the kit. This stamp is what I would call a reverse image. So, the bulk of the background/solid part stamps and leaves the outlines/images without stamping. There are lots of different ways to use stamps like this, but for today, I wanted the lines to be colourful and the background part to be black. 

I started off by adding ink blending to a panel of Hero Arts Deluxe Smooth White Cardstock using Ink Blending Brushes and Hero Arts Core Inks. I used Lemon Yellow, Paradise, Passion Flower, Ultra Pink and Nautical. Since I knew that I was going to stamp on top of them with the black ink, I wanted to use the dye formulations of the inks, rather than hybrid. 

I then inked up the stamp with Hero Arts Intensified Black Ink and stamped it on top (multiple times to get solid dark stamping). The panel was cut down and adhered to a US A2 sized white card base. I took the sentiment from the clear stamp set in the kit and stamped it on to white cardstock with the same Intens-ified Black Ink. It was cut into strips and added to the card with thin foam tape. To finish off, I embellished with a few Bubbles. 

SUPPLIES:


Here are the links to what I have used on the project. Affiliate links are used on some products. This means that if you make a purchase after clicking on my link, I receive a small commission with no extra cost to you. I truly appreciate your support when using these links. Please click on the logo below the product to shop at your favourite store. All products were personally purchased except those from Clearly Besotted, Hero Arts or those marked with an asterisk (*) which were kindly sent to me to use. You can read my full disclosure here.


Apologies to my UK friends who are now singing the SClub7 song! ;) For more inspiration using the kit, please head over to the Hero Arts Blog. Be sure to leave a comment over there too, for a chance to win a kit! Thank you so much for stopping by today, I hope you have a wonderful day and a great weekend!  

1 December 2022

Simon Says Stamp | DieCember 2022

Hello there, I am back to share a card and tag with you using a new die set from Simon Says Stamp as part of their DieCember release, which is out now. I am using the fabulous Basic Trio set from CZ Design. I really love the font on these words and as well as the hugs and hello that I am using today, there is also a thanks word in the set too. 

PLEASE NOTE: This post contains affiliate links. Please see below for my full disclosure.


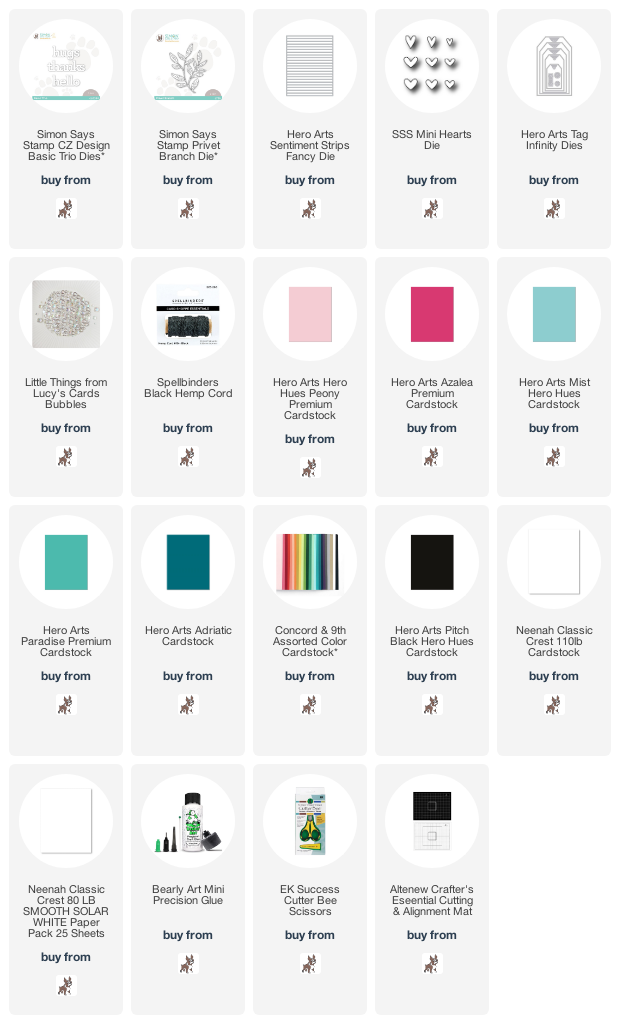
I started off my card by die cutting panels of cardstock using the Hero Arts Sentiments Strips Fancy Die. I used the following cardstock - Hero Arts Peony, Hero Arts Azalea, Concord & 9th Buttercup, Hero Arts Mist, Hero Arts Paradise and Hero Arts Adriatic. 


Once the strips were cut, I adhered them to a panel of Neenah 80lb White Cardstock using Bearly Art Glue. The panel was then die cut using the Simon Says Stamp Privet Brach Die. You can use the negative portion of this panel too, but I thought it was a little bit bright for my CAS taste! 


The privet branch was adhered to a US A2 sized white card base with more Bearly Art Glue. I then die cut the hugs word from the Simon Says Stamp CZ Design Basic Trio Die Set three times and layered them up one on top of each other. It was adhered to the card and then to finish off, I added a few Little Things from Lucy's Cards Bubbles. 


Of course, I couldn't resist making a tag too! I die cut the Hero Arts Nesting Tag Infinity Die from white cardstock and then adhered the same cardstock strips on top, at an angle, using Bearly Art Glue. I cut off the excess off of the sides and then die cut the hole reinforcer from black cardstock and adhered that on top. 


I die cut the hello word from the Simon Says Stamp CZ Design Basic Trio Die Set three times and stacked them up one on top of another, adhering with Bearly Art Glue. It was adhered to the tag. I also die cut a Simon Says Stamp Mini Heart Die twice, stacked them up and adhered above the hello. To finish off, I added a Little Things from Lucy's Cards Bubbles to the heart and then tied twine through the top of the tag. 

SUPPLIES:


Here are the links to what I have used on the projects. Affiliate links are used on some products. This means that if you make a purchase after clicking on my link, I receive a small commission with no extra cost to you. I truly appreciate your support when using these links. Please click on the logo below the product to shop at your favourite store. All products were personally purchased except those from Clearly Besotted, Hero Arts or those marked with an asterisk (*) which were kindly sent to me to use. You can read my full disclosure here.


Thank you so much for stopping by today, I really do appreciate it. I hope you will check out the rest of the release, it is a fun one! Have a great day! 

Clearly Besotted | In the Woods Teaser + Release Preview Video

Hello there and happy Clearly Besotted release day! The new sets release tonight at 8pm GMT. I have one last teaser to share with you before I share a look at the new sets. My tags today use the new In the Woods set. This set features lots of cute critters that live in the woods, as well as a woodland/mountain scene. 

PLEASE NOTE: This post contains affiliate links. Please see below for my full disclosure.


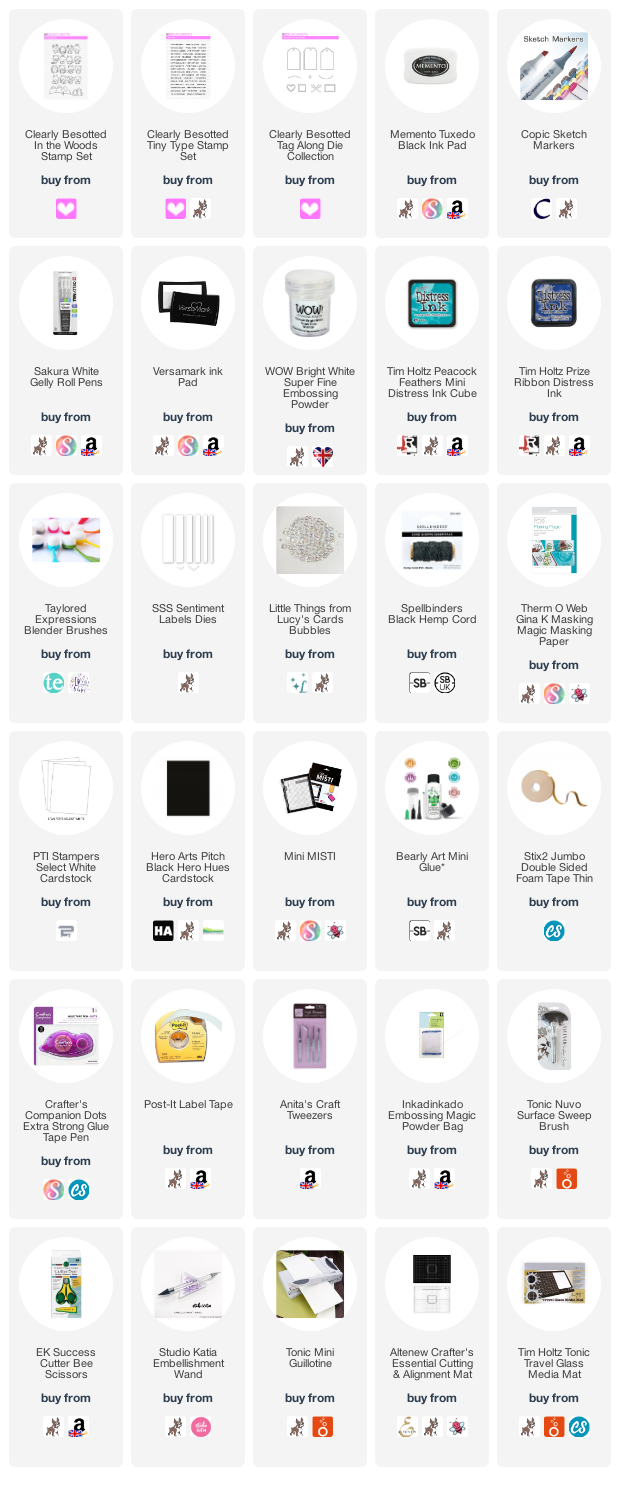
I started off my tags by die cutting the Clearly Besotted Tag Along Die Collection tag four times from white cardstock. On two of them, I stamped the scene from the Clearly Besotted In the Woods Stamp Set on top with Memento Tuxedo Black Ink. On a separate piece of cardstock, I stamped the fox and owl from the set. 


I made a mask for the scene from mask paper and placed it over the image on the tags. Using ink blending brushes, I then blended on Tim Holtz Distress Inks for the skies. I used Peacock Feathers for the owl, and Peacock Feathers and Prize Ribbon for the fox. The masks were removed and the scenes coloured using Copic Markers (as well as the fox and owl). 


I adhered the other tags to the back of the stamped ones using tape runner adhesive. The owl and fox were fussy cut out with scissors and adhered on top using thin foam tape. The sentiments from the Clearly Besotted Tiny Type Stamp Set were stamped on to black cardstock using Versamark Ink. I applied white embossing powder and heat set. They were cut into strips and added to the tags. 

To finish off, I added twine through the top of the tags, white gel pen highlights to the animals and embellished with Little Things from Lucy's Cards Bubbles. 

SUPPLIES:


Here are the links to what I have used on the projects. Affiliate links are used on some products. This means that if you make a purchase after clicking on my link, I receive a small commission with no extra cost to you. I truly appreciate your support when using these links. Please click on the logo below the product to shop at your favourite store. All products were personally purchased except those from Clearly Besotted, Hero Arts or those marked with an asterisk (*) which were kindly sent to me to use. You can read my full disclosure here.


COPIC MARKERS: Owl - W8, W5, W3, W1, W0/YR27, Y24. Fox - E19, E99, E97, E11. Trees and grass - G29, YG17, YG23, YG01. 

CLEARLY BESOTTED DECEMBER 2022 RELEASE:

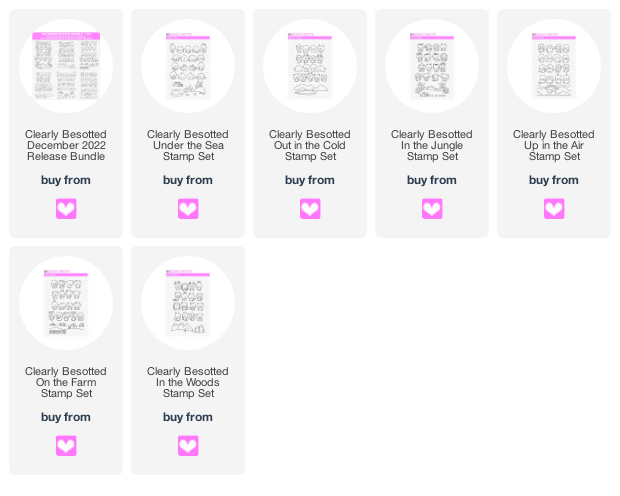
The six new sets release tonight at 8pm GMT (UK time). You can purchase the sets as a bundle, which is exclusive to Clearly Besotted, or separately from the Clearly Besotted Shop (UK based), Simon Says Stamp (US based), Butterfly Reflections Ink (US based), Artcreatiu (based in Spain), Cloud9 Crafts (Netherlands), Card Nouveau (Belgium) and Kreativbunt (Germany). 

Here is my video showing the sets close up, as well as a recap of my projects:


If you are viewing this blog post via email subscription, you can watch the video HERE on YouTube. 

SUPPLIES:


Here are the links to what I have shared in the video. Affiliate links are used on some products. This means that if you make a purchase after clicking on my link, I receive a small commission with no extra cost to you. I truly appreciate your support when using these links. Please click on the logo below the product to shop at your favourite store. All products were personally purchased except those from Clearly Besotted, Hero Arts or those marked with an asterisk (*) which were kindly sent to me to use. You can read my full disclosure here.


For more inspiration using the new sets, please head over to the Clearly Besotted Blog, Keren, Francine and Alberto. Thanks so much for stopping by today, I really do appreciate it, I will be back a little later with another post but in the meantime, I hope you have a great day! 
End of code