
Hello there, I am back with my fourth card as a guest designer for Concord & 9th. If you missed them, you can see my other cards here. Today I am using the Into the Woods Bundle. This is a fun set as the dies create a 3D card that you can create the scene on (or you can use the elements without the card base too). The stamps add detail to the elements - the cabin, trees, snow; plus sentiments too.
PLEASE
NOTE: This post contains affiliate links. Please see below for my full
disclosure.

I started off by die cutting the card base first from the Concord & 9th Into the Woods Die Set. I cut the snow banks from white cardstock, as well as one of the back pieces. The other back piece (the one that you can see from the front), was cut from Concord & 9th Aqua Sky Cardstock. I stamped the sentiment from the Concord & 9th Into the Woods Stamp Set onto the smaller of the snow banks using Versafine Clair Nocturne Ink.

Once the ink was dry, I folded along the score lines of the snow banks and adhered the tabs behind the Aqua Sky piece. The white panel was then adhered to the back to cover up the tabs. You can stamp snow or a sentiment to the back panel before assembly too, but I left mine plain.

I die cut the mountains from the Concord & 9th Into the Woods Die Set from Concord & 9th Pebble and White Cardstock. The snow was adhered to the base layer and then they were adhered to the back panel of the card. The trees were die cut from Concord & 9th Juniper, Tidepool, Clover and Sprout Cardstock. The patterns from the stamp set were stamped on top using the corresponding colours of ink.

The trees were adhered to the card using liquid glue. I die cut the cabin from Concord & 9th Pebble, White, Buttercup, Aster and Lilac Cardstock. I stamped the woodgrain texture onto the base layer of the cabin (cut from Lilac) using Concord & 9th Lilac Ink. The chimney piece was stamped using Concord & 9th Pebble Ink. The house was assembled using liquid glue and adhered to the card using thin foam tape. To finish, I die cut the wreath from Clover cardstock and the bow from Aster cardstock, and adhered them to the house.
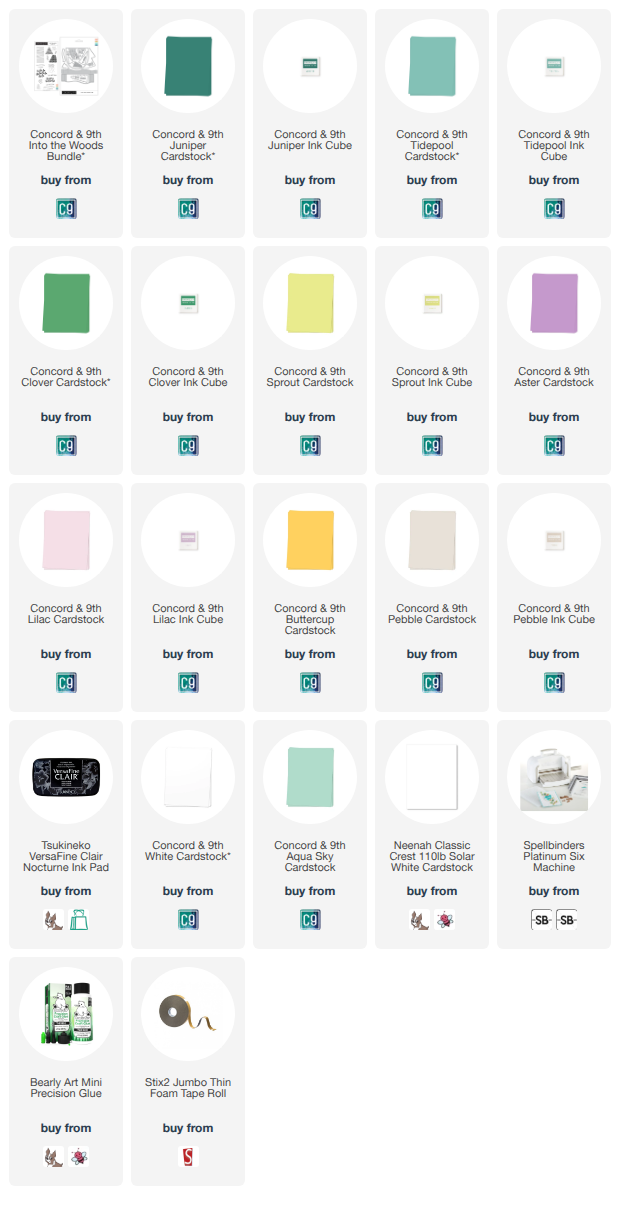
SUPPLIES:
Here are the links to
what I have used on the project. Affiliate
links are used on some products. This means that if you make a purchase after
clicking on my link, I receive a small commission with no extra cost to you. I
truly appreciate your support when using these links. Please click on the logo below
the product to shop at your favourite store. All products were personally
purchased except marked with an asterisk (*) which were kindly sent to me to
use. You can read my full disclosure here.
This card was so fun to make! As mentioned, you do not have to use the card base dies at all and just add the elements to "normal" cards but the 3D card is fun! I also love that you can stamp the patterns onto the trees too, adds such a nice detail! Thank you so much for stopping by today, I really do appreciate it. I hope you have a great day!

No comments:
Post a Comment
Thank you for visiting my blog today! Please feel free to leave me a comment. I really appreciate receiving them. Please note that if you comment as unknown on a hop, you will not be entered into the prize draw unless you leave your email address in the comment. Please see my Privacy Policy for details on how your data is used when leaving me a comment. Thank you so much :)