
Hello there, I am delighted to be over on the Pinkfresh Studio YouTube channel today, sharing a card using the eclipse technique. This is one of my favourite techniques and I do it quite often as it is a great way to add interest to clean and simple cards.
PLEASE
NOTE: This post contains affiliate links. Please see below for my full
disclosure.

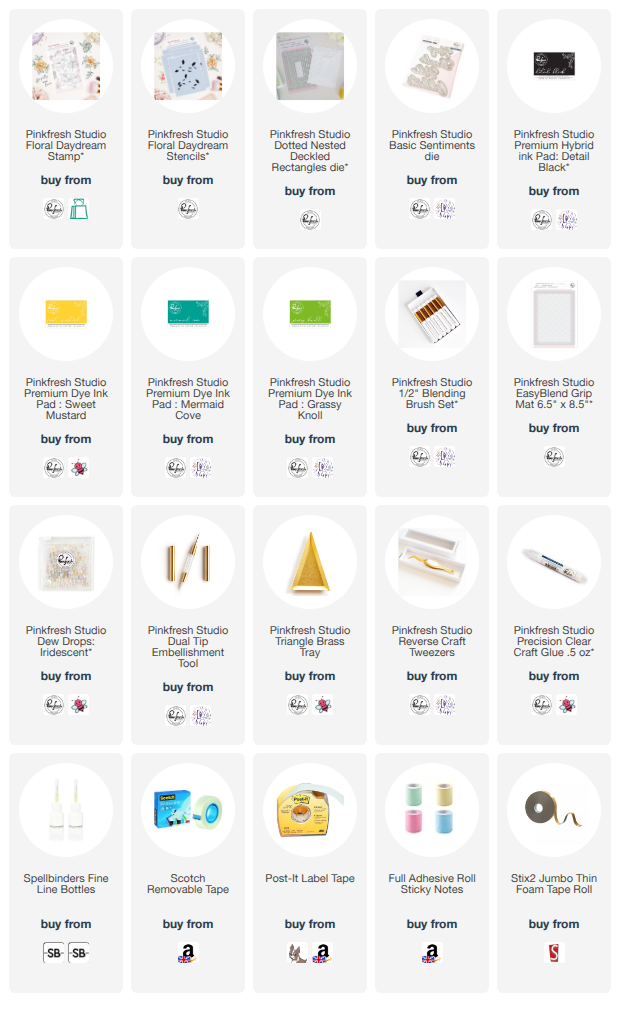
I started off my card by stamping the flowers image from the Pinkfresh Studio Floral Daydream Stamp Set onto a panel of white cardstock. Since I wanted just one of the flowers, I did need to mask off the others using memo tape, before inking up the stamp with Pinkfresh Studio Detail Black Hybrid Ink. I removed the tape and stamped it onto the cardstock. The panel was then die cut out using the second largest of the Pinkfresh Studio Dotted Nested Deckled Rectangles Dies.

I added ink blending to the image using the Pinkfresh Studio Floral Daydream Stencils and 1/2" Blending Brushes. I used Mermaid Cove Ink for the flower petals, Sweet Mustard Ink for the flower centre, and Grassy Knoll and Mermaid Cove Inks for the leaves.

I then took the hello die from the Pinkfresh Studio Basic Sentiments Dies and die cut it in the centre of the flower. I then die cut the die again five times from white cardstock. I adhered a scrap of paper to the back of the panel, so that I could adhere the words on top. I first adhered one of the white die cuts, followed by the inside pieces of the letters from the stamped one.

I then adhered the other white die cuts one on top of another using Pinkfresh Studio Precision Clear Craft Glue. The stamped one was adhered on top to complete the eclipse. The idea of the eclipse is the same as a solar eclipse, you can see the word from the front, kind of, but if you tilt it to the side, you can see it better. Kind of like the moon over the sun. You can see the sun rays just about around the edges of the moon. The panel was adhered to a white US A2 sized white card base using thin foam tape. To finish, I embellished with Pinkfresh Studio Iridescent Dew Drops.
VIDEO:
Here is the video showing how I made the card:
If you are viewing this post via email subscription, you can watch the video HERE on YouTube.
SUPPLIES:
Here are the links to
what I have used on the project. Affiliate
links are used on some products. This means that if you make a purchase after
clicking on my link, I receive a small commission with no extra cost to you. I
truly appreciate your support when using these links. Please click on the logo below
the product to shop at your favourite store. All products were personally
purchased except marked with an asterisk (*) which were kindly sent to me to
use. You can read my full disclosure here.
As mentioned in the video, I think this is a technique that non-cardmakers look at and wonder how it was done, which is always fun! Thank you so much for stopping by today, I really do appreciate it. I hope you have a great rest of the day!

No comments:
Post a Comment
Thank you for visiting my blog today! Please feel free to leave me a comment. I really appreciate receiving them. Please note that if you comment as unknown on a hop, you will not be entered into the prize draw unless you leave your email address in the comment. Please see my Privacy Policy for details on how your data is used when leaving me a comment. Thank you so much :)