
Hello there, today I have two cards to share using the new Hero Arts Whimsical Wheels collection, which is out now! This is a fun collection! There is the car and then you can decorate it with Christmas accessories or autumn/fall ones. I opted for the Christmas ones!
PLEASE
NOTE: This post contains affiliate links. Please see below for my full
disclosure.

The car is made to have the steering wheel on the left side of the car, but since here in the UK we have it on the right, for one of my cards, I cut it off and popped it on the right instead! It was easy to do and makes sense if I sent the card to someone in the UK (I know there are other countries that have it on the right too!).

For my first card, I started off by die cutting the car from the Hero Arts Beep Beep Die Set from Spellbinders ColorWheel Cardstock in Lavender, Lilac, Raven, and Beeswax, as well as Spellbinders Treasured Brushed Silver. I assembled the pieces and adhered them using Bearly Art Glue. I die cut Santa from the set from Spellbinders ColorWheel Cardstock in Alabaster, Chiffon, Classic White, Pomegranate, and Raven. The pieces were assembled and adhered using Bearly Art Glue.

For the reindeer, I die cut him from Spellbinders ColorWheel Cardstock in Fawn, Truffle and Pomegranate. Again, the pieces were assembled and adhered together with liquid glue. I adhered Santa and the reindeer to the back of the car using a combination of liquid glue and a little tape to secure in place. I then adhered Santa's gloves to the steering wheel.

For the background, I took a panel of white cardstock and partially placed it inside the Spellbinders Flurry of Snowflakes 3D Embossing Folder before running it through my die cutting machine. The panel was adhered to a US A2 sized white card base using tape runner adhesive. I adhered the car, Santa and reindeer on top, adding foam squares to just the back of the car and liquid glue to the back of Santa and the reindeer.

I die cut the wreath from the Hero Arts Beep Beep Holiday Extras Die Set from Spellbinders Rainforest & Peridot ColorWheel Cardstock for the wreath itself, and Lilac for the bow. It was assembled and adhered to the the car using liquid glue. I hot foiled a sentiment from the Hero Arts Winter Words Letterpress + Foil & Die Set onto white cardstock using Opaque Black Foil. It was die cut out and adhered to the card. To finish, I added a Spellbinders Prism AB Color Essentials Gem to the bow on the wreath.

For my second card, I die cut the car from the Hero Arts Beep Beep Die Set from the same colours of cardstock as the first. This time, I cut off the steering wheel base using scissors and then adhered the die cut one on the left. It did mean that it was a little lower down as intended but I still thought it looked ok! Santa was die cut and assembled in the same way also and adhered behind the car. His gloves were adhered to the steering wheel.

I die cut the wreath again from the Hero Arts Beep Beep Holiday Extras Die Set but this time, adhered it hanging from the wing mirror. I die cut the tree from the set from Spellbinders Rainforest ColorWheel Cardstock, and the presents from Spellbinders Lilac and Fairy Tale Cardstock. They were adhered together and then adhered behind the car.

I embossed a panel of white cardstock using the Spellbinders Flurry of Snowflakes 3D Embossing Folder in the same way as the first card and adhered it to a US A2 sized white card base. The car was adhered on top. I used foam squares behind the car and liquid glue behind the presents, tree and Santa.

I hot foiled a sentiment from the Hero Arts Winter Words Letterpress + Foil & Die Set onto white cardstock using Opaque Black Foil and die cut it out. I also cut the die again from white cardstock and adhered it behind the foiled one for dimension before adhering to the card. To finish, I added Spellbinders Prism AB Color Essentials Gems to the bows on the wreath and presents.
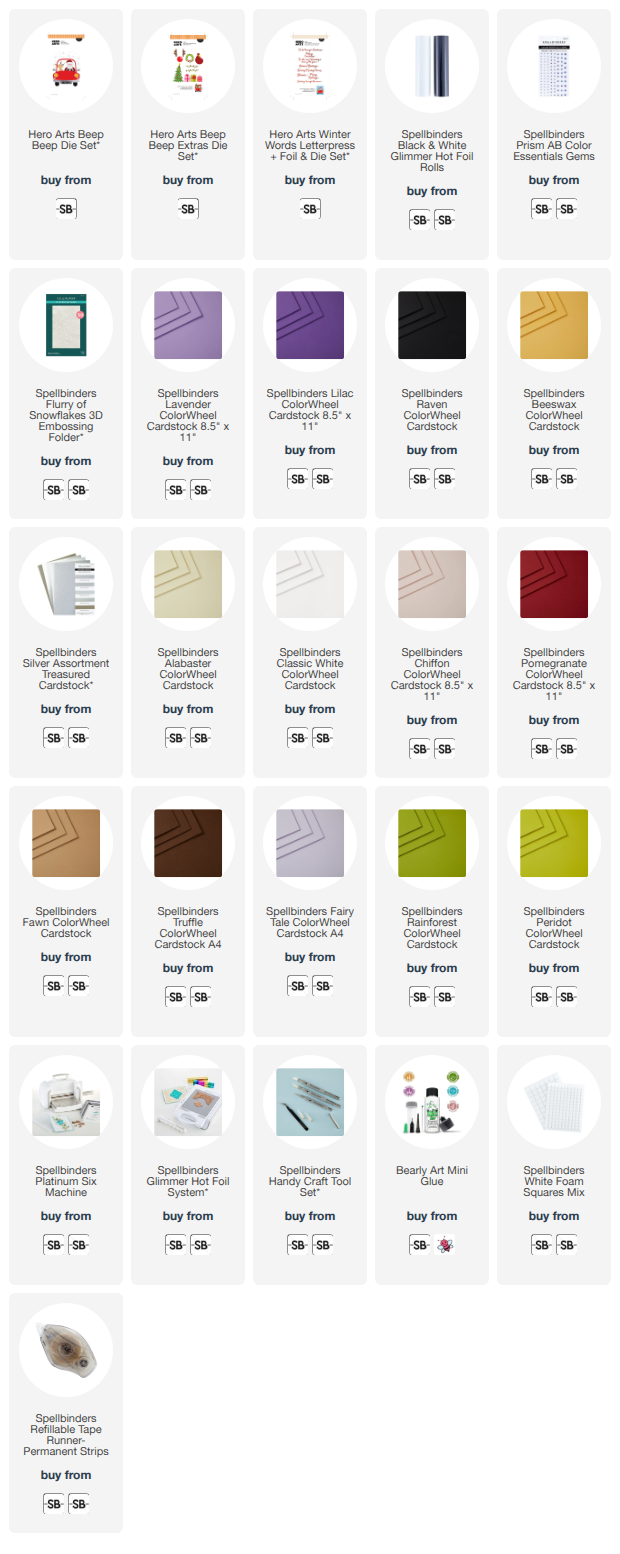
SUPPLIES:
Here are the links to
what I have used on the project. Affiliate
links are used on some products. This means that if you make a purchase after
clicking on my link, I receive a small commission with no extra cost to you. I
truly appreciate your support when using these links. Please click on the logo below
the product to shop at your favourite store. All products were personally
purchased except marked with an asterisk (*) which were kindly sent to me to
use. You can read my full disclosure here.
I had a lot of fun making these cards, I love that you can mix and match the different accessories! In the Christmas set, there are also antlers and a nose that can be added to the car, as well as twinkly lights, ornaments for the tree, and a Santa sack! Thank you so much for stopping by today, I really do appreciate it. I hope you have a wonderful day! Take care!

No comments:
Post a Comment
Thank you for visiting my blog today! Please feel free to leave me a comment. I really appreciate receiving them. Please note that if you comment as unknown on a hop, you will not be entered into the prize draw unless you leave your email address in the comment. Please see my Privacy Policy for details on how your data is used when leaving me a comment. Thank you so much :)