
Hello there, I am delighted to be over on the Spellbinders Blog today, sharing a step by step tutorial on how I made the card below.
PLEASE
NOTE: This post contains affiliate links. Please see below for my full
disclosure.
I used the Spellbinders Spectacular Santa Etched Dies from the new Spectacular Christmas Collection which is out now!

I simply die cut Santa from Spellbinders ColorWheel Cardstock + Treasured Gold Cardstock for the belt buckle and bell and assembled him. The sentiment is from the Spellbinders Spectacular Holiday Sentiments Stamp & Die Set.
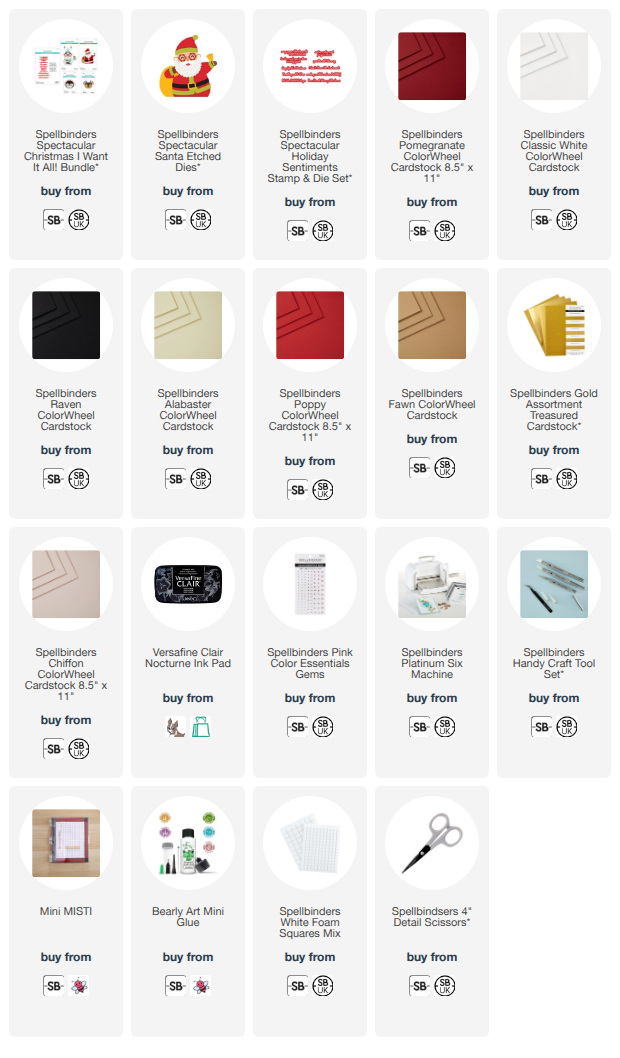
SUPPLIES:
Here are the links to
what I have used on the project. Affiliate
links are used on some products. This means that if you make a purchase after
clicking on my link, I receive a small commission with no extra cost to you. I
truly appreciate your support when using these links. Please click on the logo below
the product to shop at your favourite store. All products were personally
purchased except marked with an asterisk (*) which were kindly sent to me to
use. You can read my full disclosure here.
For more information on how I made the card (with step by step photos), please head over to the blog post here. I will be sharing more using this collection later in the month. Thank you so much for the stopping by today, I really do appreciate it. I will be back later with another post but in the mean-time, I hope you have a great day!

No comments:
Post a Comment
Thank you for visiting my blog today! Please feel free to leave me a comment. I really appreciate receiving them. Please note that if you comment as unknown on a hop, you will not be entered into the prize draw unless you leave your email address in the comment. Please see my Privacy Policy for details on how your data is used when leaving me a comment. Thank you so much :)