
Hello there, today I have a card to share using the Spellbinders July 2026 Small Die of the Month Club Kit called Snow Much Fun. It features two adorable penguins (I am just using one today), as well as snowscapes, three different snowflakes and a 'snow much fun' sentiment.
PLEASE
NOTE: This post contains affiliate links. Please see below for my full
disclosure.

I started off my card by die cutting the penguin from the Spellbinders July 2026 Small Die of the Month Club Kit. It was cut from Spellbinders ColorWheel Cardstock in Classic White, Raven, Beeswax (feet and beak) and Chiffon (cheeks). I cut the hat from Lavender and Classic White, and the scarf from Lavender and Lilac. The pieces were adhered together using liquid glue.

I then die cut the skis and poles from Spellbinders Silver Matte Treasured Cardstock, as well as white cardstock. The silver layer was adhered on top of the white for added stability. Although the set has some snowscapes, I decided to mask mine off instead. So I took a US A2 sized card white card base and masked off a snow bank/hill using Post-It Tape.

I then added ink blending above using Tim Holtz Wilted Violet Distress Ink and a Spellbinders Large Ink Blending Brush. I mixed Spellbinders Splatter White with a little water and splattered it over the ink blending. The post it tape was removed and the splatter let sit to dry. Once dry, I stamped the sentiment from the Spellbinders Hedge-Hugs Stamp Set onto the card using Versafine Clair Nocturne Ink.

I then placed the skis onto the card so I could line them up with the angle of the snow bank/hill. I added glue onto the bottom of the penguin's feet and then adhered it on top of the skis. I picked up the penguin (with the skis now attached) and added glue to the back of the skis and thin foam squares to the body before adhering him down.

I then adhered the poles to his flippers. I die cut one of the snowflake dies in the set three times from white cardstock and adhered them to the card (one being cut in half to match the angle of the snow bank/hill). To finish, I added teeny Spellbinders Silver Mix Color Essentials Gems to the centres of the snowflakes.
SUPPLIES:
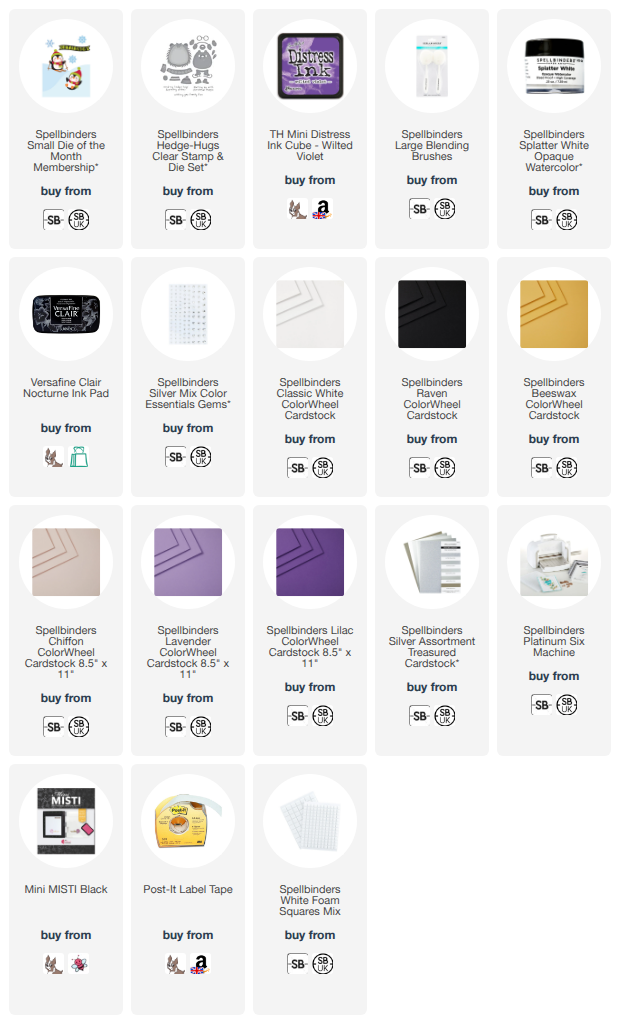
Here are the links to what I have used on the project. Affiliate links are used on some products. This means that if you make a purchase after clicking on my link, I receive a small commission with no extra cost to you. I truly appreciate your support when using these links. Please click on the logo below the product to shop at your favourite store. All products were personally purchased except marked with an asterisk (*) which were kindly sent to me to use. You can read my full disclosure here.
That penguin is just adorable! The other one in the set is sliding down the hill, so cute! Thank you so much for stopping by today, I really do appreciate it. I hope you have a great day!

Oh my goodness! He is so cute - and looks so happy skiing down the slope x
ReplyDelete