10 April 2025

Spellbinders | Feather Card + Gift Card Holder

Hello there, today I have a card and gift card holder to share using some products from the Spellbinders Collaged Birds Collection by Dina Wakley. I have a soft spot for feathers, so I couldn't resist having a play with them! I am also using the new Mini Wax Seal Collection, which is out today. These wax seals are really cute and as the name suggests, they are really mini!

PLEASE NOTE: This post contains affiliate links. Please see below for my full disclosure.


I started off by hot foiling the feathers from the Spellbinders Feather Dream BetterPress Plates & Die Set. I hot foiled the largest size and the medium size (twice) onto Hero Arts Pitch Black Cardstock using Spellbinders Silver Glimmer Hot Foil and the Spellbinders Glimmer Hot Foil System

They were die cut out using the coordinating dies. I then took the Spellbinders Scribbled Letter Embossing Folder and embossed the card panel (4.25" x 5.5" size) and the panel for the gift card holder (3" x 4.25"). I placed them in my splat box to add some splatter using the Pearl Silver paint from the Spellbinders + Yasutomo Watercolor Mixing Set on top. 

Once the card panel was dry, it was adhered to a black US A2 sized card base using tape runner. The gift card panel was adhered to a (3" x 4.25") black card base. The feathers were then adhered on top using black thin foam tape, with the excess cut off the bottom of the gift card holder using scissors. 

I took the Spellbinders Holding Your Heart Sentiments BetterPress Plates & Die Set and foiled them onto more black cardstock using Spellbinders Silver Glimmer Hot Foil. They were die cut out using the coordinating dies and adhered to the cards using more black thin foam tape. 

For the wax seals, I placed Spellbinders Purple Must-Have Wax Bead Mix beads into the spoon and heated them up using the wax warmer from the Spellbinders Wax Seal Starter Kit. I used 3 wax beads per each wax seal as I find that having more in the spoon gives me a better pour. If I am not making any more wax seals, I pour the extra on my mat, let it dry and then I can re-melt that at a later date. 

I used the Spellbinders Puffy Heart Mini 3D Wax Seal for the card with Twilight Purple beads and the Spellbinders Butterfly Mini 3D Wax Seal with Enchanted beads (with Twilight Purple still in the spoon) for the gift card holder. 

They were adhered using thin foam tape where it overlapped the card and tape runner where it overlapped the feathers. I added black pen to the heart using the Altenew Essential Permanent Markers Set to help it pop more. 

I added a Spellbinders Adhesive Gift Card Pocket inside the gift card holder. These are really cool because you can just stick them onto/inside projects and the gift card fits in nicely and removes easily too. 

To finish, I embellished with Spellbinders Prism AB Color Essentials Gems on both the card and gift card holder. 

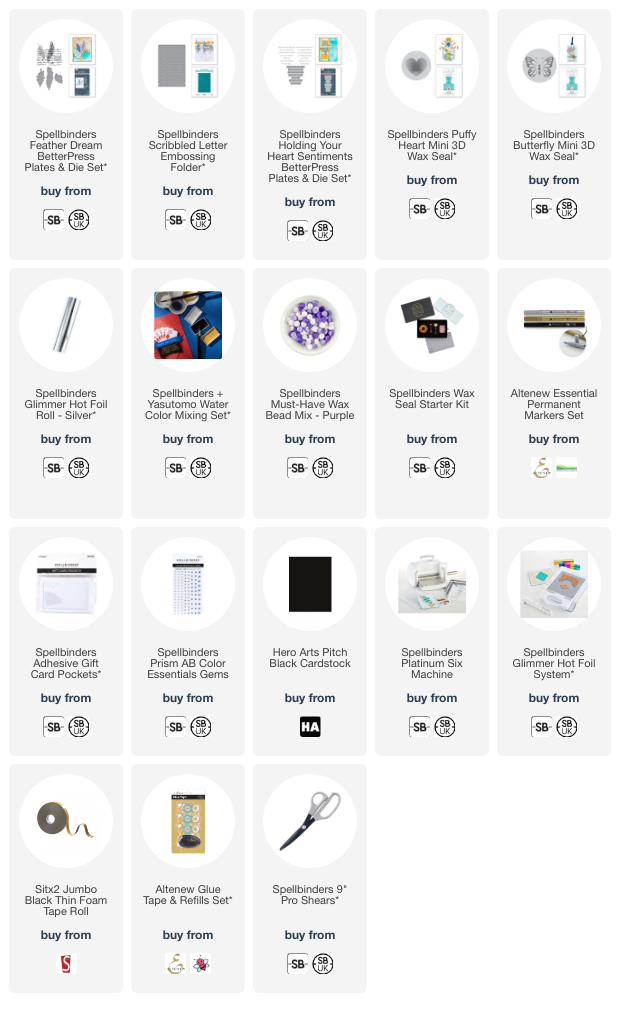
SUPPLIES:


Here are the links to what I have used on the projects. Affiliate links are used on some products. This means that if you make a purchase after clicking on my link, I receive a small commission with no extra cost to you. I truly appreciate your support when using these links. Please click on the logo below the product to shop at your favourite store. All products were personally purchased except marked with an asterisk (*) which were kindly sent to me to use. You can read my full disclosure here.

I really love how the silver foiling looks against the black cardstock but I think they would look great in lots of different colours as well. Thank you so much for your visit today, I really do appreciate it. I hope you have a wonderful day! 

9 April 2025

VIDEO | Use Up Your Leftovers!

Hello there, today I have a card and video to share with you using up some of my leftovers that I made when creating these cards. Do you keep leftover pieces that you don't use?

I usually keep die cuts and sentiments. I do have the odd stamped image too. I keep them in little pockets labelled in my drawer. In the video below, I share a look at how I do this to try and remember to actually use them up! 

PLEASE NOTE: This post contains affiliate links. Please see below for my full disclosure.


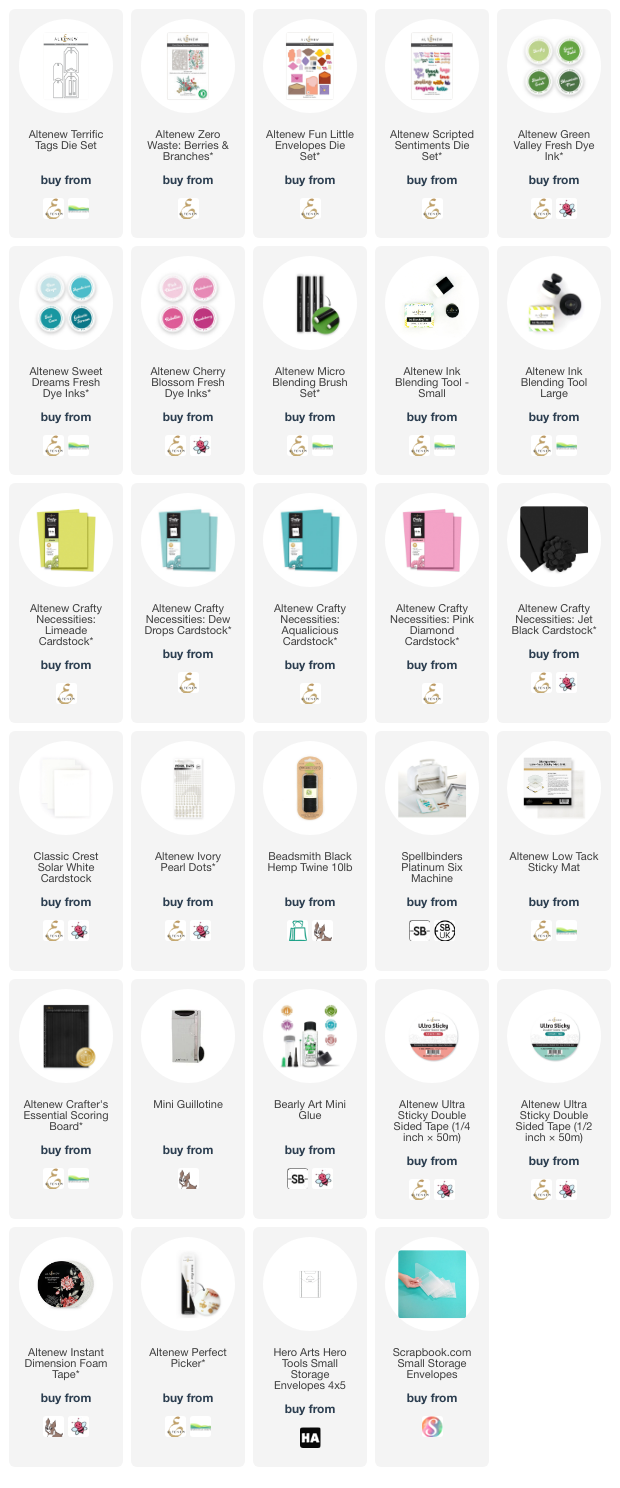
I started off by creating the tag for my card. I die cut an Altenew Terrific Tag Die from white cardstock and then cut the length of it down a little with my mini guillotine. I then found some foliage that I cut from the Altenew Zero Waste: Branches & Berries Die that I cut from Altenew Crafty Necessities: Limeade, Dew Drops and Aqualicious Cardstock. 


The aqua pieces already had ink blending on using Altenew Sweet Dreams Fresh Dye Inks but the green ones didn't. So I grabbed my Altenew Green Valley Fresh Dye Inks and added a little to the foliage. I then die cut an Altenew Fun Little Envelope from white cardstock and assembled it, adhering with double-sided tape. The sentiment, from the Altenew Scripted Sentiments Die Set, was die cut five times from Altenew Crafty Necessities: Jet Black Cardstock and adhered one on top of another for dimension. 


I adhered the foliage to the tag first, using liquid glue. I then adhered the envelope on top. I had already cut some of the hearts from the Fun Little Envelopes set from Altenew Crafty Necessities: Pink Diamond Cardstock, so added those to the envelope for some added colour. The sentiment was adhered below. I finished off by threading black twine through the top of the tag and tying in a bow. To embellish, I added a few Altenew Ivory Pearl Dots


Whilst I loved the tag as is, I know that not everyone uses tags on their own, so I wanted to show how to add it to a card. I took a US A2 sized white card base (4 1/4" x 5 1/2") and using my Altenew Scoring Board and stylus, scored lines every 1/2" down the front panel. Using an Altenew Large Blending Brush, as well as a Small Blending Brush for added intensity, I blended Altenew Pink Diamond Fresh Dye Ink at the bottom of the card. Not only does this match the pink from the heart, but it also brings out the scoring lines and helps ground the tag, which was adhered on top using Altenew Instant Dimension Foam Tape

VIDEO:

Here is the video showing how I made the card:


If you are viewing this blog post via email subscription, you can watch the video HERE on YouTube.

SUPPLIES:


Here are the links to what I have used on the project. Affiliate links are used on some products. This means that if you make a purchase after clicking on my link, I receive a small commission with no extra cost to you. I truly appreciate your support when using these links. Please click on the logo below the product to shop at your favourite store. All products were personally purchased except marked with an asterisk (*) which were kindly sent to me to use. You can read my full disclosure here.


It feels nice to use up some of my leftover pieces! Thank you so much for stopping by today, I really do appreciate it. I hope you have a wonderful day! 

7 April 2025

Spellbinders | Snail Mail Post

Hello there and happy Monday to you! Today I have a card to share that I made using the Spellbinders April 2025 Small Die of the Month Club Kit called "Snail Mail Post". The set features a cute snail, a mailbox (I didn't use it on my card), letters/envelopes of two sizes, flowers, leaves, worm (I did not use it on my card) and landscape piece. I love that you can mix and match the different elements however you wish! 

PLEASE NOTE: This post contains affiliate links. Please see below for my full disclosure.


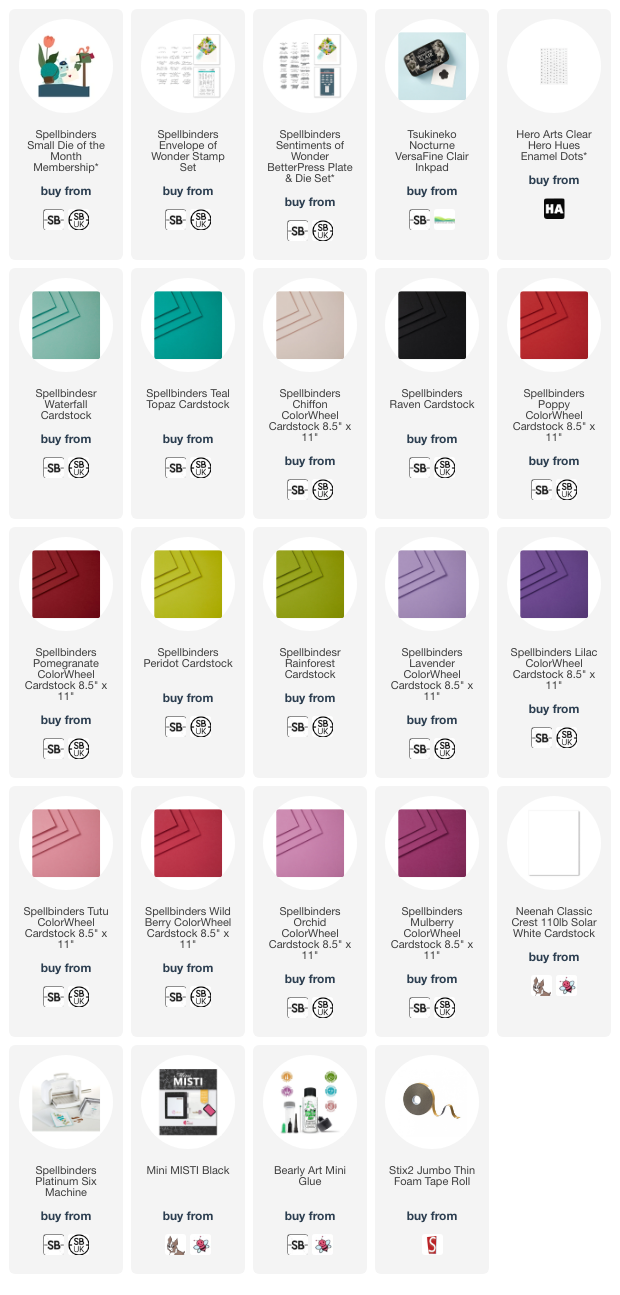
I started off my card by die cutting the snail from the Spellbinders April 2025 Small Die of the Month Club Kit from Spellbinders Waterfall, Teal Topaz, Raven and Chiffon ColorWheel Cardstock. I assembled and adhered the pieces together using Bearly Art Glue. I then die cut the hat and bag from Spellbinders Poppy and Pomegranate ColorWheel Cardstock. I assembled them and adhered them to the snail. 


I then die cut the grass from Spellbinders Peridot ColorWheel Cardstock and adhered it to the bottom of a US A2 sized white card base, leaving the top part without glue, so that I could pop the leaves and stems behind. I cut the leaves (and stems) from Spellbinders Rainforest ColorWheel Cardstock and adhered them to the card with more liquid glue. 


I die cut the flower heads from (left to right) Spellbinders Lavender & Lilac, Tutu & Wild Berry, and Orchid & Mulberry ColorWheel Cardstock. They were assembled with liquid glue and adhered to the card with thin foam tape. I adhere the snail with thin foam tape also and then die cut the envelope from white cardstock and adhered that on top, followed by the snail's arm. I die cut the little heart for the envelope from Spellbinders Lilac ColorWheel Cardstock


I took the sentiment from the Spellbinders Envelope of Wonder Stamp Set and stamped it onto white cardstock using Versafine Clair Nocturne Ink. Once dry, it was die cut using the coordinating dies (that come in the BetterPress set). I die cut another three of the die and adhered them behind the stamped one for added dimension, before adhering to the card. To finish, I embellished with Hero Arts Clear Enamel Dots

SUPPLIES:


Here are the links to what I have used on the project. Affiliate links are used on some products. This means that if you make a purchase after clicking on my link, I receive a small commission with no extra cost to you. I truly appreciate your support when using these links. Please click on the logo below the product to shop at your favourite store. All products were personally purchased except marked with an asterisk (*) which were kindly sent to me to use. You can read my full disclosure here.


That snail is just so cute, he really does puts a smile on my face! Thank you so much for stopping by today, I really do appreciate it. I hope you have a wonderful day and a great week ahead! 

3 April 2025

Spellbinders | Happy Mother's Day

Hello there, it was Mother's Day here in the UK on Sunday so I thought I would share the card I made for my mum. She is a fan of the colour black and also of butterflies, so I thought I would combine them for a dramatic but pretty card!

PLEASE NOTE: This post contains affiliate links. Please see below for my full disclosure.


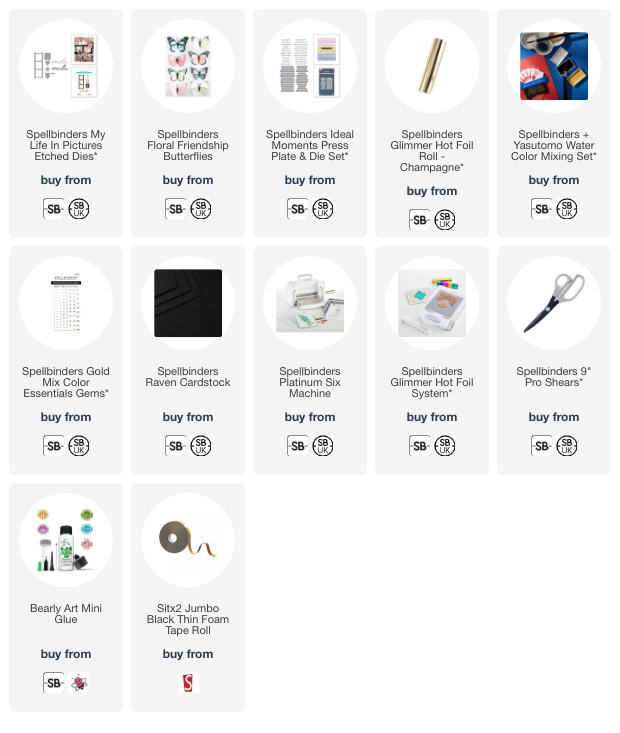
I started off by die cutting the Spellbinders My Life In Pictures Etched Die from Spellbinders Raven ColorWheel Cardstock three times. I adhered one to a US A2 sized card base made from Raven Cardstock using Bearly Art Glue and then cut off the excess at the sides with scissors. 


I added a little water to the Pearl Gold paint in the Spellbinders + Yasutomo Water Color Mixing Set and mixed it up a little with a brush. I loaded the brush with the paint and then tapped the brush to splatter it onto the card. Once the paint was dry (did not take long at all), I adhered the other two die cuts on top, lining up with the one underneath to create some dimension.


I took the Spellbinders Ideal Moments Press Plate & Die Set and hot foiled it onto more Raven Cardstock using Spellbinders Champagne Foil and the Glimmer Hot Foil System. It was die cut out using the coordinating die and then cut down a little further at the sides before adhering to the card with thin foam tape. I adhered two Spellbinders Floral Friendship Butterflies on top and then embellished with Spellbinders Gold Mix Color Essentials Gems to finish.  

SUPPLIES:


Here are the links to what I have used on the project. Affiliate links are used on some products. This means that if you make a purchase after clicking on my link, I receive a small commission with no extra cost to you. I truly appreciate your support when using these links. Please click on the logo below the product to shop at your favourite store. All products were personally purchased except marked with an asterisk (*) which were kindly sent to me to use. You can read my full disclosure here.


I am happy to report that my mum loved her card! Those butterflies are really pretty, I used some similar ones here, if you want some more ideas on how to use them. Thank you so much for stopping by today, I really do appreciate it. I hope you have a wonderful day! 

1 April 2025

Hero Arts | Hero Studio April 2025 Release Blog Hop + Giveaway

Hello there, I am delighted to be joining Hero Arts today for a fun blog hop to celebrate the Hero Studio April 2025 release. Out today is the Card Kit of the Month, Stamp & Cut of the Month, Dies of the Month, Layering Stencils of the Month, and Cling of the Month. You can also purchase the Whole Studio which includes all of the kits and a free gift. Today, I am focussing on the Card Kit and Layering Stencils of the Month.   

PLEASE NOTE: This post contains affiliate links. Please see below for my full disclosure.

HERO STUDIO CARD KIT OF THE MONTH


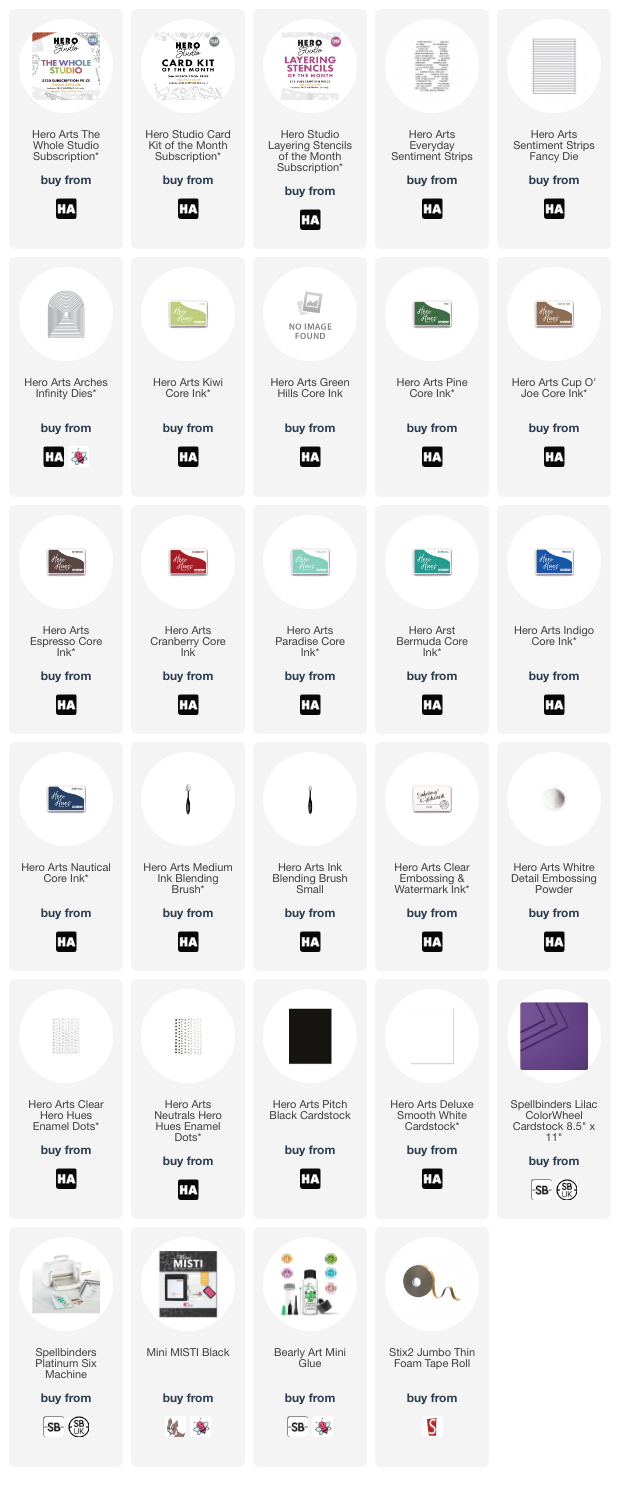
I started off my card by die cutting the terrarium base die (although I'm not actually creating a terrarium today, this is the idea of the kit) from the Hero Studio April 2025 Card Kit of the Month twice from Hero Arts Pitch Black Cardstock. On one of the pieces I added a score line towards to the top to create a hinge, I added adhesive to the hinge and adhered it to the back of the other piece to create a top-folding shaped card base. 


I then die cut the foliage, mushrooms, tree stump and flowers from the cardstock that you get in the kit. I used Peridot, Rainforest & Fern for the foliage, Poppy, Alabaster & Fawn for the mushrooms, and Truffle & Fawn for the tree stump. I cut the flowers from Lilac cardstock (not in the kit). I added ink blending to the pieces with Hero Arts Core Inks and then assembled and adhered them using liquid glue. 


I adhered the foliage flat to the card first with liquid glue and the mushrooms, tree stumps and flowers with thin foam tape. I stamped a sentiment from the kit stamp set onto Hero Arts Pitch Black Cardstock using Hero Arts Clear Embossing & Watermark Ink. I applied Hero Arts White Detail Embossing Powder and heat set. It was die cut out using the coordinating die and adhered to the card. To finish, I embellished with Hero Arts Clear Enamel Dots (which are also in the kit). 

WHAT’S IN THE KIT?


• 20 Terrarium Fancy Dies
     • Terrarium Clear Stamp Set, 6" x 8"
       • 16 Terrarium Coordinating Dies
       • Clear Hero Enamel Dots
       • 3 Clear Card Panels, 4.25" x 5.5"
       • 9 Sheets of Cardstock, 5.5" x 8.5" (Poppy, Peridot, Rainforest, Alabaster, Fawn, Truffle, Fog, Anchor)

LAYERING STENCILS OF THE MONTH


I started off my card by taking a panel of Hero Arts Deluxe Smooth White Cardstock and one by one, placing the stencils from the Hero Studio April 2025 Layering Stencils of the Month on top, holding them in place with low-tack tape. I added ink blending to the layers with Hero Arts Core Inks and blending brushes. The inks I used are:


Stencil 1 - Paradise Core Ink
Stencil 2 - Bermuda Core Ink + a little Indigo Core Ink on the edges
Stencil 3 - Bermuda Core Ink + Indigo Core Ink + a little Nautical Core Ink

I decided not to use stencil 4. This stencil adds in the background but I wanted to keep the white of the cardstock as my background for today. The panel was cut into an arch using the Hero Arts Arches Infinity Dies. I created an arch shaped card base like I did for the first card and adhered the stencilled panel on top with thin foam tape. 


I stamped the Hero Arts Everyday Sentiments Strips Stamp onto Hero Arts Pitch Black Cardstock using Hero Arts Clear Embossing & Watermark Ink. I applied Hero Arts White Detail Embossing Powder and heat set. It was cut into strips using the Hero Arts Sentiment Strips Fancy Dies and two were adhered to the card using thin foam tape. To finish, I embellished with Hero Arts Neutrals Enamel Dots

WHAT’S IN THE KIT?


The Hero Studio April 2025 Layering Stencils of the Month has four stencils in the kit that layer up to create a jungle background. 

BLOG HOP:


For the hop, you should have arrived here from the fantastic Charlene Madrid. Next on the hop is the fabulous Rachel Kleinman. If you get lost along the way, or want to start the hop from the beginning, please head over to the Hero Arts Blog

GIVEAWAY:

Hero Arts will give away a $50 gift card, drawn from the comments left across the hop. Enter by Sunday, 6th April 2025 at 11:59pm PST, and the winner will be announced on the Hero Arts blog the following week. Leave a comment on all stops for more chances to win!

SUPPLIES:


Here are the links to what I have used on the projects. Affiliate links are used on some products. This means that if you make a purchase after clicking on my link, I receive a small commission with no extra cost to you. I truly appreciate your support when using these links. Please click on the logo below the product to shop at your favourite store. All products were personally purchased except marked with an asterisk (*) which were kindly sent to me to use. You can read my full disclosure here.


Thank you so much for stopping by today, I really do appreciate it. I hope you have a wonderful time on the rest of the hop and a great day too! Take care! 

27 March 2025

Spellbinders | Little Smiles

Hello there, I am delighted to be over on the Spellbinders Blog today sharing three cards using the adorable Little Smiles collection. This collection is definitely aimed at children but I do think it can be used for lots of different occasions too! 

PLEASE NOTE: This post contains affiliate links. Please see below for my full disclosure.


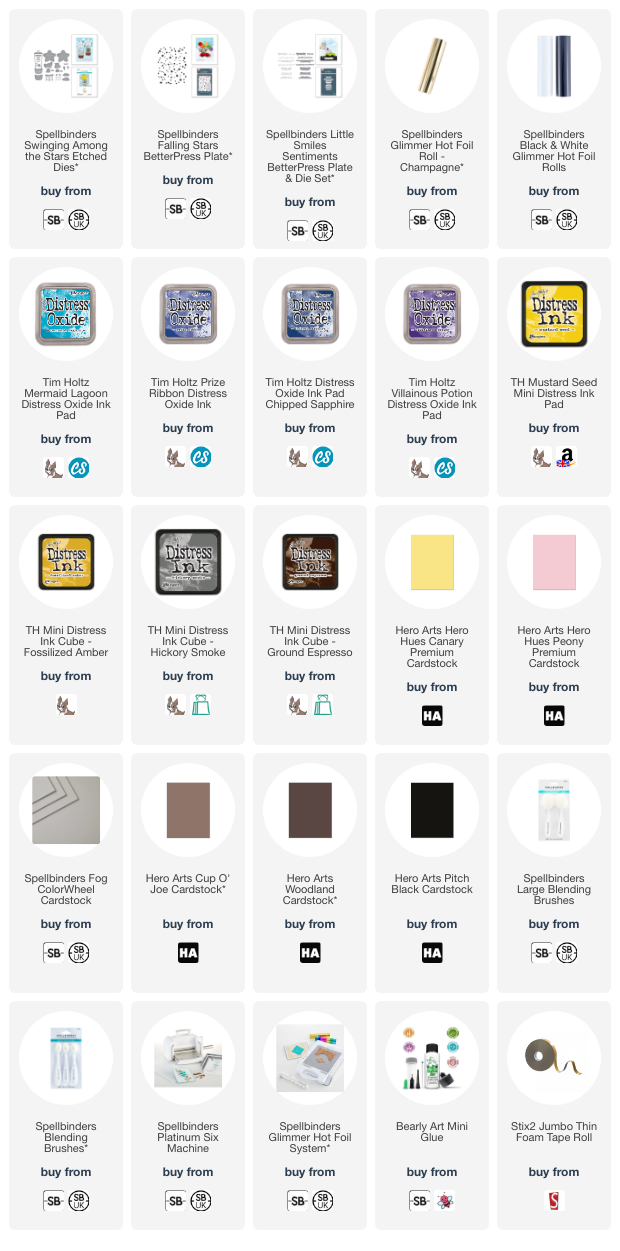
The peek above uses the Spellbinders Swinging Among The Stars Etched Dies. The basket can actually swing from side to side if you want to! I popped the adorable elephant inside the basket and created the background using the Falling Stars BetterPress Plate, which I hot foiled. I added ink blending using Distress Oxide Inks for a night-time sky. The sentiment, from the Spellbinders Little Smiles Sentiments BetterPress Plate & Die Set, was hot foiled also. 

SUPPLIES:


Here are the links to what I have used on the project. Affiliate links are used on some products. This means that if you make a purchase after clicking on my link, I receive a small commission with no extra cost to you. I truly appreciate your support when using these links. Please click on the logo below the product to shop at your favourite store. All products were personally purchased except those marked with an asterisk (*) which were kindly sent to me to use. You can read my full disclosure here.


For more information on how I made the card, as well as the other two I made, please head over to the Spellbinders Blog. Thank you so much for stopping by today, I really do appreciate it. Wishing you a wonderful day! 

26 March 2025

Alex Syberia Designs | March 2025 BetterPress Release Blog Hop + Giveaway

Hello there, I am delighted to be joining Alex Syberia Designs today to celebrate the release of their new BetterPress products with a fun blog hop. 

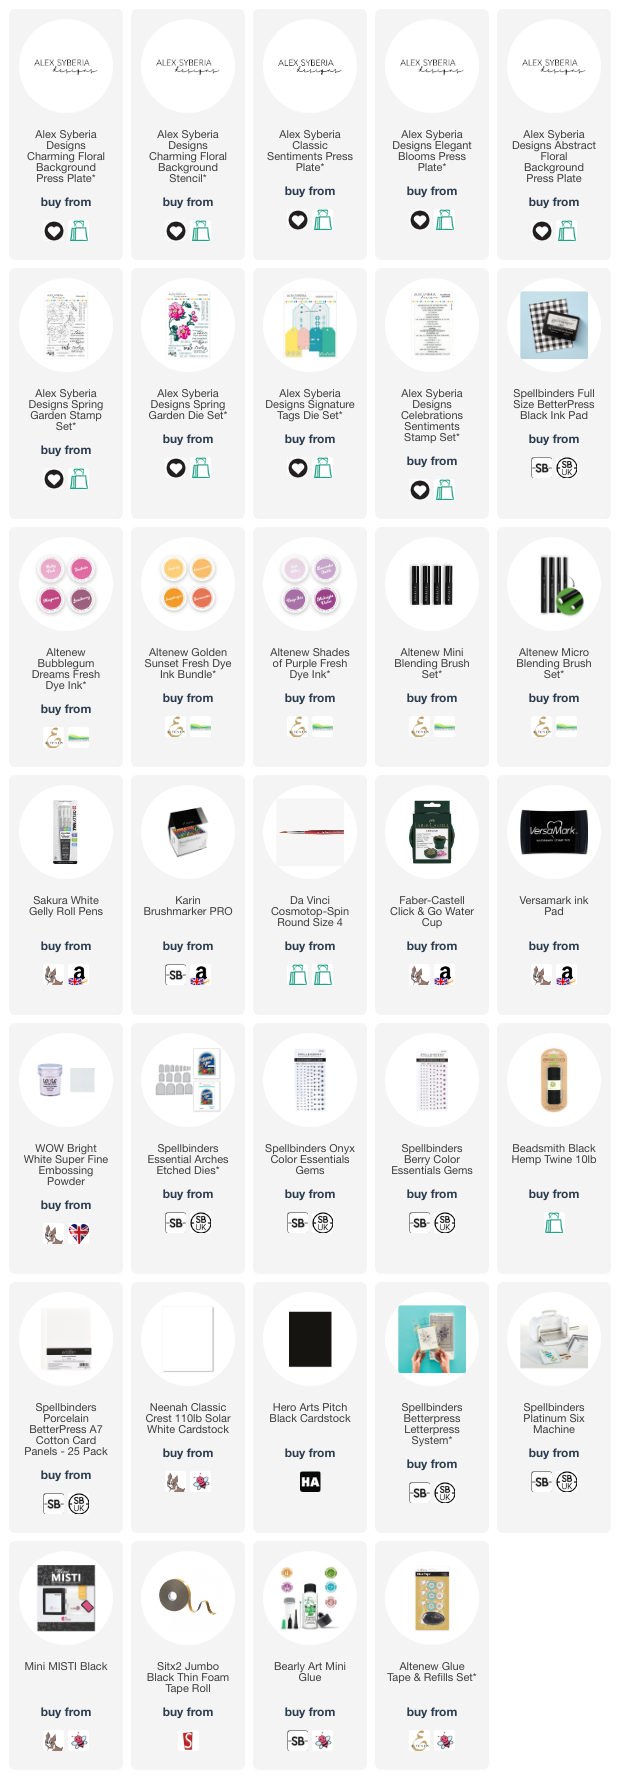
Whilst press plates can be hot foiled, I decided to press them for all three of my projects today. For the two background plates, I did re-ink my ink pad each time to try and get the best impression possible. I find this really helpful when using plates with solid parts of the image. 

PLEASE NOTE: This post contains affiliate links. Please see below for my full disclosure.


CHARMING FLORAL BACKGROUND + CLASSIC SENTIMENTS


I then took the Alex Syberia Designs Charming Floral Background Stencils and placed the first one over the top of the panel, holding in place with low-tack tape. Using blending brushes, I blended Altenew Bubblegum Dreams Fresh Dye Inks on top for the petals. I used the 3 lightest shades and then for some added depth, blended a little Altenew Midnight Violet Fresh Dye Ink on top. 


For the second stencil (the darker areas on the petals) I used Altenew Magenta and Midnight Violet Fresh Dye Inks. For the third stencil (the flower centres), I used Altenew Golden Sunset Fresh Dye Inks (the three lightest shades). I decided not to use stencils four and five, which colour in the leaves. I thought I would keep them white instead for a different look. 


The panel was adhered to a white US A2 sized card base with tape runner adhesive. I then pressed the Alex Syberia Classic Sentiments Press Plate onto Spellbinders BetterPress A7 Porcelain Cotton Card with Spellbinders BetterPress Black Ink. It was die cut out using the coordinating die and I adhered the 'thank you' onto the card with foam tape. To finish, I added white gel pen dots. 

ELEGANT BLOOMS + CLASSIC SENTIMENTS


For my second project, I started off by pressing the Alex Syberia Designs Elegant Blooms Press Plate onto Spellbinders BetterPress A7 Porcelain Cotton Card with Spellbinders BetterPress Black Ink. I then watercoloured the image using Karin Brushmarker Pro markers, water and a paintbrush. I scribbled a little Magenta to an acrylic block, picked it up with a wet paintbrush and painted it lightly on the flowers.


Once dry, the panel was cut into a tag using the Alex Syberia Designs Signature Tags Dies (one of the largest ones). I took the 'hello' sentiment from the Alex Syberia Classic Sentiments Press Plate that I pressed when making the first card and die cut the die another two times from white cardstock and adhered them behind the pressed one (for added dimension). It was adhered onto the tag using liquid glue. 


I stamped an accompanying sentiment from the Alex Syberia Designs Spring Garden Stamp Set onto black cardstock using Versamark Ink. I applied white embossing powder and heat set. It was cut out using the Alex Syberia Designs Spring Garden Die Set and adhered onto the tag using thin foam tape. To finish, I embellished with Spellbinders Onyx Color Essentials Gems and threaded twine through the top of the tag and tied in a bow. 

ABSTRACT FLORAL BACKGROUND


For my last project today, I started off by pressing the Alex Syberia Designs Abstract Floral Background Press Plate onto Spellbinders BetterPress A7 Porcelain Cotton Card with Spellbinders BetterPress Black Ink. I watercoloured the flowers using Karin Brushmarker Pro markers (Cerise, Magenta, Red Lilac & Lilac), water and a paintbrush. 


I then die cut the panel using a Spellbinders Essential Arches Etched Die. I cut another from white cardstock and added a score line towards the top to create a hinge. I added adhesive to the hinge and adhered it to the back of the pressed one to create the card base. 


I stamped two sentiments from the Alex Syberia Designs Celebrations Sentiments Stamp Set onto black cardstock using Versamark Ink. I applied white embossing powder and heat set. They were cut into strips and adhered to the card with foam tape. To finish, I embellished with Spellbinders Berry Color Essentials Gems

BLOG HOP:


As mentioned, this post is part of a fun blog hop. For the hop, you should have arrived here from Martin. Next on the hop is Lien. If you get lost along the way, or want to start the hop from the beginning, please head over to the Alex Syberia Designs Blog

GIVEAWAY:

Alex Syberia Designs is giving away a £40 ($50 for the USA) gift certificate to 1 winner and a £15 ($15 for the USA) gift card to 3 lucky winners. This giveaway is open internationally, with prizes awarded in GBP (£) for non-U.S. winners and in USD ($) for U.S. winners. All 4 winners will be drawn from the entrants that have played along with this blog hop (by leaving a comment) by April 6th 2025 at midnight BST. Winners will be announced on the Alex Syberia Designs blog 'Giveaway Winners' page on April 7th 2025.


SUPPLIES:


Here are the links to what I have used on the projects. Affiliate links are used on some products. This means that if you make a purchase after clicking on my link, I receive a small commission with no extra cost to you. I truly appreciate your support when using these links. Please click on the logo below the product to shop at your favourite store. All products were personally purchased except those marked with an asterisk (*) which were kindly sent to me to use. You can read my full disclosure here.


Thank you so much for stopping by today, I really do appreciate it. I hope you have a wonderful day and a great time on the rest of the hop! Take care!

25 March 2025

Hero Arts | Thinking of You Butterflies

Hello there, I am over on the Hero Arts Blog today sharing a card using the new Spring Whimsy collection. Whilst my card isn't very spring-like, the collection is perfect for spring projects but also for all year round projects too! 

PLEASE NOTE: This post contains affiliate links. Please see below for my full disclosure.


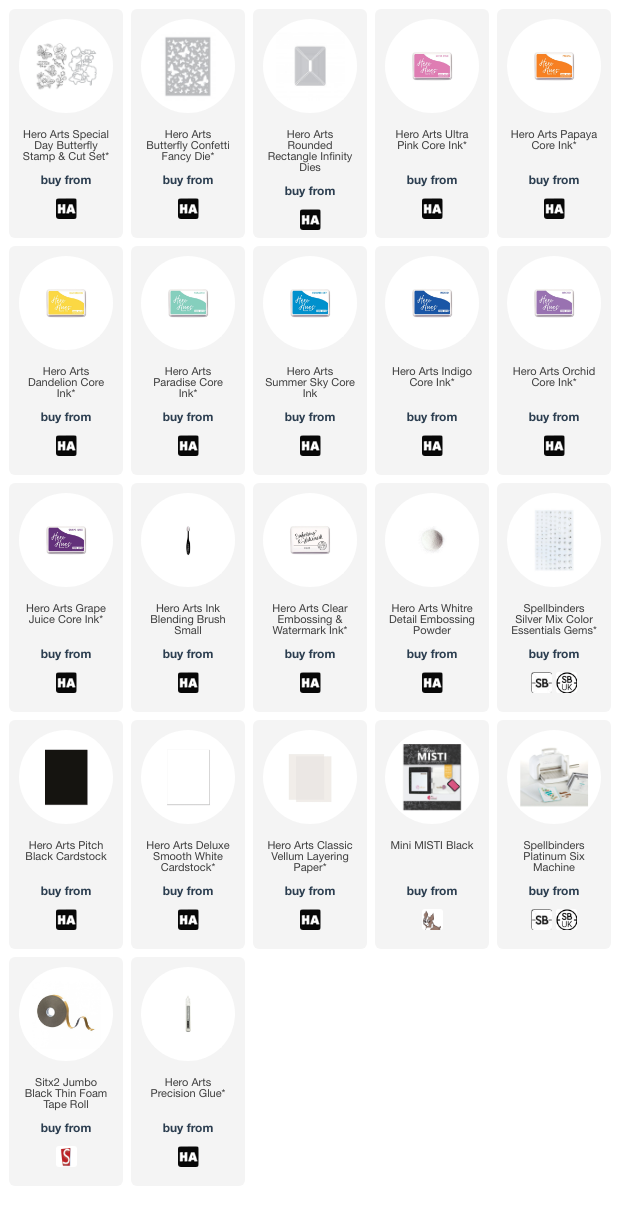
I started off by stamping and heat embossing the butterfly from Hero Arts Special Day Butterfly onto vellum and die cut it out using the coordinating die. I then die cut the Hero Arts Butterfly Confetti Fancy Die from Deluxe Smooth White Cardstock and using the positive pieces (the butterflies), I added ink blending to them with Hero Arts Core Inks in rainbow colours. 


They were arranged in a cluster towards the bottom of my card base made from Hero Arts Pitch Black Cardstock and Hero Arts Rounded Rectangle Infinity Dies. The sentiment, from Hero Arts Special Day Butterfly, was stamped and heat embossed and adhered on top. To finish, I added a few Silver Gems

SUPPLIES:


Here are the links to what I have used on the project. Affiliate links are used on some products. This means that if you make a purchase after clicking on my link, I receive a small commission with no extra cost to you. I truly appreciate your support when using these links. Please click on the logo below the product to shop at your favourite store. All products were personally purchased except those marked with an asterisk (*) which were kindly sent to me to use. You can read my full disclosure here.


I wanted to use a black card base for this card to symbolise light and colour emerging from darkness. I thought that was perfect for a thinking of you card. For more details on how I made the card, please head over to the Hero Arts Blog. Thank you so much for stopping by today, I hope you have a great day! 
End of code