Hello there, I am delighted to be joining Altenew today to celebrate the release of the new Stampwheel 2.0 with a fun Instagram Hop. The inspiration and prizes are happening over there, but I wanted to share more pictures over here of how I made the cards with the Stampwheel 2.0.
PLEASE
NOTE: This post contains affiliate links. Please see below for my full
disclosure.
For my projects today, I am using the larger size of the Altenew Stampwheel 2.0 to my advantage and creating a 2 for 1 card. This means that I can stamp two card fronts at once! The new Stampwheel 2.0 has a stamping surface of 9" x 9" (although this can increase slightly in terms of cardstock/paper size, which I will share later), whereas the original Stampwheel has a stamping size of 7.5" x 7.5".
This means that you can fit 2 A2 sized (4.25" x 5.5") panels side by side in the Altenew Stampwheel 2.0 (you can actually fit 4 in there, if you hang two off the edge!). So I grabbed two A2 panels of white cardstock and added them side by side onto the Sticky Mat that comes with the Stampwheel 2.0.
I then took the large floral image from the Altenew Craft Your Life Project Kit: Blossoms of Encouragement Stamp Set and placed it so that half of the stamp was covering each of the cardstock panels.
I placed the top flip plate on top of the base to pick up the stamp. I then flipped it over to ink the stamp using Altenew Obsidian Pigment Ink.
I flipped the plate back over and pressed/stamped it onto the cardstock panels, lining up the corners of the base with the top flip plate. I did stamp the image twice to make sure that I got a lovely dark crisp outline of the image.
As you can see, this is a great way to utilise those larger stamps by creating two cards at once!
Although I did not use it for these cards, the right side of the Altenew Stampwheel 2.0 comes off, so that if you wanted to stamp either on a larger piece of cardstock, or if you want to position the image in a particular place on a panel (like in my photo), you can do. It then just pops right back in place when you are done!
To create my cards, I took the stencils from the Altenew Craft Your Life Project Kit: Blossoms of Encouragement and placed them, one by one, on top of the image (on both cards) and added ink blending with Altenew Mini Blending Brushes to colour the image in.
I used Altenew Cherry Blossom Fresh Dye Inks for the pink flowers, Altenew Enchanted Garden Fresh Dye Inks for the purple flowers, Altenew Golden Sunset Fresh Dye Inks for the flower centres and Altenew Green Valley Fresh Dye Inks for the leaves and foliage.
The panels were cut down slightly and adhered to US A2 sized card bases, made from Altenew Jet Black Cardstock, with Altenew Instant Dimension Foam Tape. I stamped two sentiments from Altenew Build-A-Garden: Sulfur Cosmos Stamp Set onto white cardstock using Altenew Obsidian Pigment Ink.
They were die cut out using the coordinating dies and then I cut the dies another two times from white cardstock and layered them behind the stamped ones for added dimension. They were then adhered to the cards using liquid glue. To finish, I embellished with Altenew Crystal clear Enamel Dots.
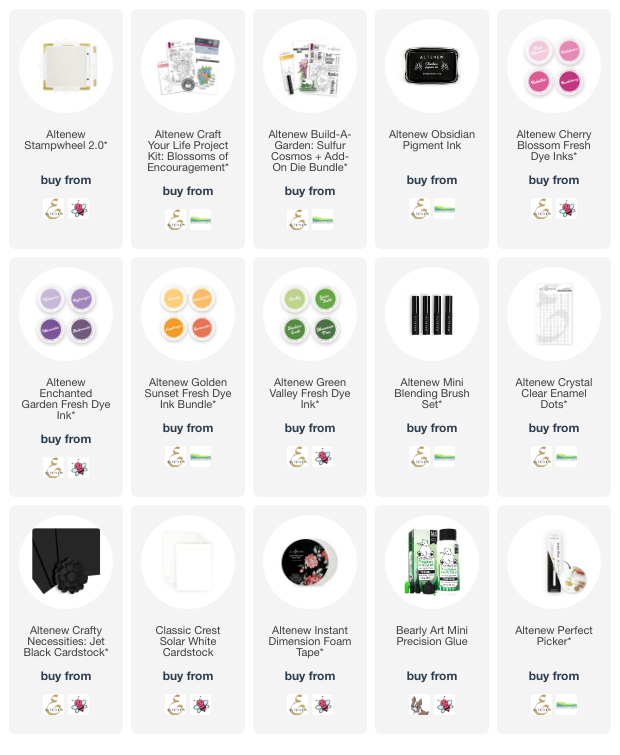
SUPPLIES:
Here are the links to
what I have used on the projects. Affiliate
links are used on some products. This means that if you make a purchase after
clicking on my link, I receive a small commission with no extra cost to you. I
truly appreciate your support when using these links. Please click on the logo below
the product to shop at your favourite store. All products were personally
purchased except those from Clearly Besotted, Hero Arts or those marked with an
asterisk (*) which were kindly sent to me to use. You can read my full
disclosure here.
You can absolutely do this technique by just stamping on a larger piece of cardstock and then cutting it into panels but I am a visual person and I really like to see exactly what part of the image will be on which panel. As mentioned, this post is part of a hop. Please head over to my Instagram feed HERE and Altenew's HERE. Thank you so much for stopping by today, I really do appreciate it. I hope you have a wonderful day!