
Hello there, today I have something a little different to share with you - a felt plushie. I have made some of these in the past (and shared them here on my blog) but haven't made any for years. Nichol Spohr has a new collection out with Spellbinders called Felt Stitch & Create and there are lots of different designs available - pumpkins, acorns, snowmen, reindeer, candy canes etc. so I had to give them a try again!
PLEASE
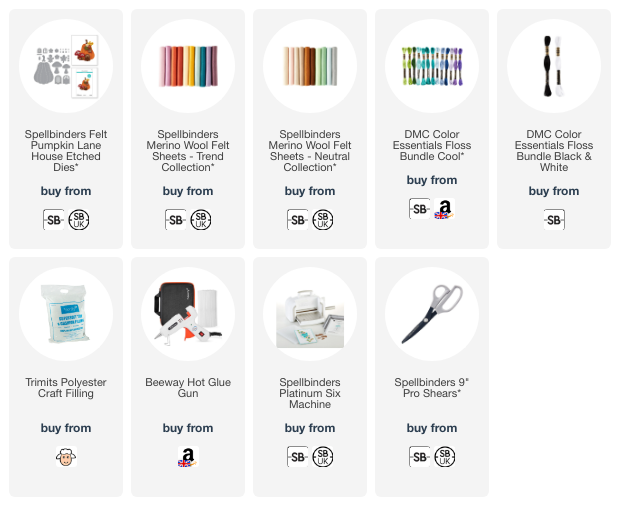
NOTE: This post contains affiliate links. Please see below for my full
disclosure.

These dies are designed to be cut from felt and stitched like I have done, but you can cut them from cardstock and stitch too, or not stitch at all! You can use the elements all together or some separately. I love when there are different options! I thought I would start off with the Spellbinders Felt Pumpkin Lane House Etched Dies.

There a are lots of dies in this set - the pumpkin itself, as well as windows that you can add on to make it a house (as you can see I didn't add them) plus flowers, leaves and mushrooms. I started off by die cutting the pumpkin using one of the shades of purple in the Spellbinders Merino Wool Felt Sheets Trend Collection. I cut it twice (cuts beautifully with the Platinum Six) and then added stitching to the lines in the middle of the pumpkin first (on both sides) with DMC Floss and a blunt needle.

I die cut the stalk for the pumpkin using one of the brown shades from the Spellbinders Merino Wool Sheets Neutrals Collection, popped it between the two pieces of the pumpkin and stitched around the outside to secure in place. Before stitching it shut, I added some Polyester Craft Filling.

The flowers and leaves were die cut using the same collections of Spellbinders felt, as well as extra white felt from my stash for the flower centres. They were stitched using DMC Floss and then adhered to the pumpkin using hot glue. Hot glue works really well for adhering felt but you can try tape and liquid glues too. I think it would be nice to have added some real buttons to the centres of the flowers but I didn't think of that until afterwards!
SUPPLIES:
Here are the links to
what I have used on the project. Affiliate
links are used on some products. This means that if you make a purchase after
clicking on my link, I receive a small commission with no extra cost to you. I
truly appreciate your support when using these links. Please click on the logo below
the product to shop at your favourite store. All products were personally
purchased except those from Clearly Besotted, Hero Arts or those marked with an
asterisk (*) which were kindly sent to me to use. You can read my full
disclosure here.
If you are new to felt plushies, Nichol Spohr has made video tutorials on how to assemble them over on her YouTube channel, as well as the Spellbinders channel. I am probably going to use this pumpkin as an ornament in my craft room, since I really love the colours and they will go nicely in there! Thank you so much for stopping by today, I really do appreciate it. I hope you have a great day!
So fun that you made a purple pumpkin! Of course you did! It turned out really well and I think the colours of the leaves and the flowers are just beautiful with the purple. I hope that you can put it up on your shelf somewhere in your room. You must, it's so pretty! xx
ReplyDelete