7 October 2018

MFT Giveaway Winner

Hello there and happy Sunday to you all! I am popping in today to share the winner of my MFT $25 gift certificate from this post. A big thank you goes to everyone that left me such lovely comments, it was lovely reading them all.
 
 
Congratulations Jeannine! Please can you email me using the 'email me' button on my sidebar and we can sort out your prize. Thank you again to everyone that entered. Have a great rest of the weekend!

5 October 2018

Hippo Christmas

Hello there, I am back today to share a card using the new Hippo Christmas stamp set from Clearly Besotted. This is the card that I shared a peek of in my release video. I love these cute hippos!
 

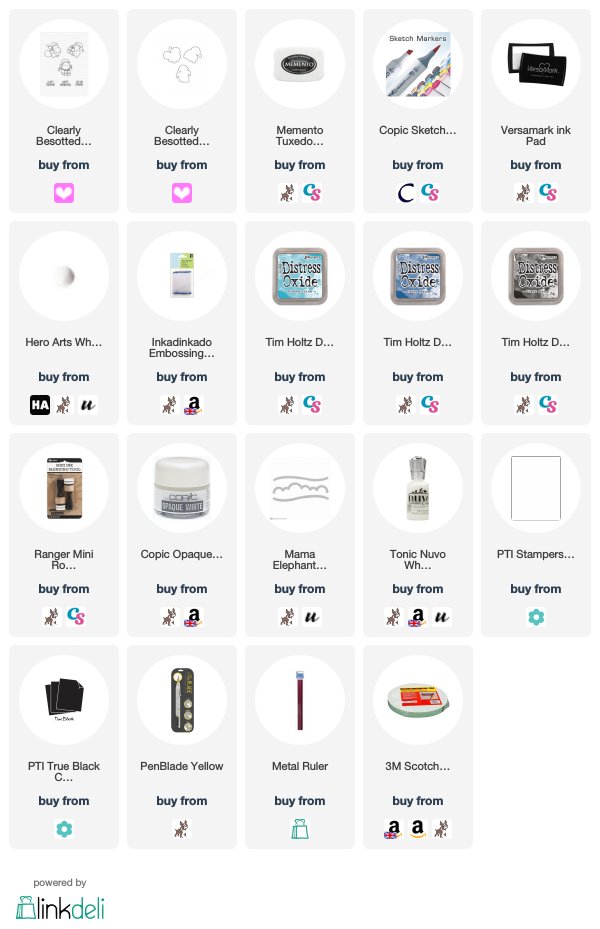
I started off by stamping the hippo on to white cardstock with Memento Tuxedo Black Ink. I then coloured him using Copic Markers (the colours I used are listed below the supplies section) and fussy cut him out (but there are dies available). I then took an A2 white card base and masked off the bottom. I blended Distress Oxide Inks on to the top. I used Broken China, Faded Jeans and Black Soot to create a night sky. I then splattered Copic Opaque White on top for some snow and set aside to dry.
 
 
I took the sentiment from the set and stamped this on to black cardstock with Versamark Ink. I applied white embossing powder and heat embossed. This was then cut in to a strip. I die cut a snow bank from white cardstock using the Mama Elephant Landscape Trio die and then added this to the bottom of the ink blending on the card with foam tape. The hippo and sentiment were also added with foam tape. To finish off, I added White Blizzard Nuvo Drops to the hat and present.
 
SUPPLIES:

Here are the links to what I have used on the card. Affiliate links are used on some products. This means that if you make a purchase after clicking on my link, I receive a small commission with no extra cost to you. I truly appreciate your support when using these links. Please click on the logo below the product to shop at your favourite store. Products marked with an asterisk (*) were kindly sent to me to use.
 
 
COPIC MARKERS: Hippo - W5, W3, W2, W1. Hat & present - R89, R37, R27, R24.
 
Isn't he just adorable?! Thank you so much for visiting me today, I really do appreciate it. Have a great day!

4 October 2018

Soft Snowflakes

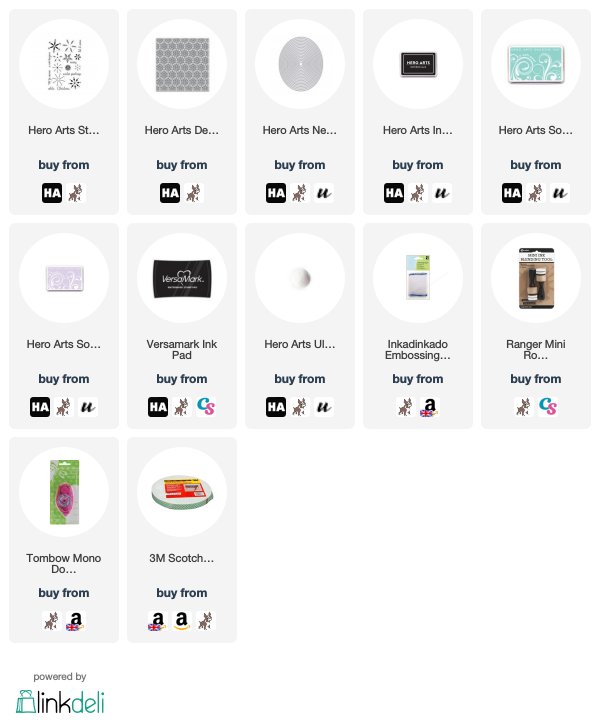
Hello there, today I am over on the Hero Arts Blog sharing a card using the new Stacking Snowflakes set, along with the Delicate Snowflakes Bold Prints. They were both released as add-ons for the October My Monthly Hero Kit and are so beautiful!
 
 
SUPPLIES:

Here are the links to what I have used on the card. Affiliate links are used on some products. This means that if you make a purchase after clicking on my link, I receive a small commission with no extra cost to you. I truly appreciate your support when using these links. Please click on the logo below the product to shop at your favourite store. Products marked with an asterisk (*) were kindly sent to me to use.
 
 
As you can see, I went with a pastel colour palette for this card. I really like using pastels for winter and Christmas cards. For more details on how I made the card, please head over to the blog post here. Thanks so much for stopping by today, have a great day!

3 October 2018

VIDEO | Dipped Embossed Butterfly

Hello there, I am delighted to be guest designing with WOW Embossing Powder this month. They have a huge range of embossing powders in all different finishes, foiling supplies, tools, glitter and lots more as well. Today I am creating a clean and simple card using a dipped embossed technique.
 

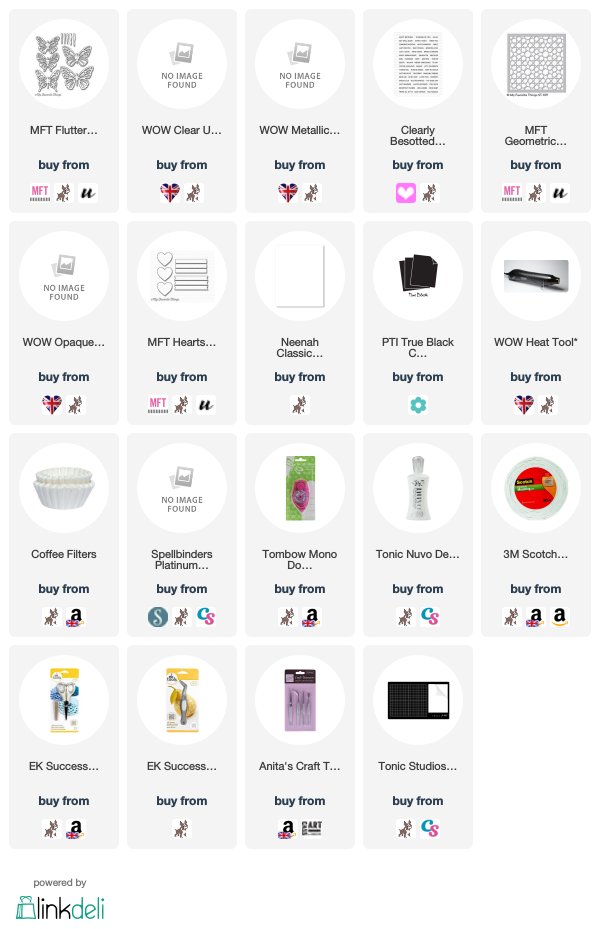
I started off my card by die cutting a butterfly from the MFT Flutter of Butterflies Lace set, from white cardstock. I then took an ink blending tool and pressed this in to the WOW Clear Ultra Slow Drying Embossing Pad so that the ink is on the foam. I pounced this on to the edges of the wings of the butterfly, trying to get more on the edges and less in the middle. I applied WOW Metallic Silver Sparkle Embossing Glitter and heat set. I think it looks like the butterflies wings have been dipped in the embossing glitter. So pretty!
 
 
I took a panel of white cardstock and dry embossed the MFT Geometric Stars stencil on to it. The panel was then added to a white A2 card base with tape runner. The butterfly was added on top with liquid glue, only adding it to the centre so that I can lift the wings up for some dimension.
 
 
I took a sentiment from the Clearly Besotted Tiny Type set and stamped this on to black cardstock with the WOW Embossing Pad and applied WOW Opaque Bright White Superfine Embossing Powder. This was heat set and die cut out using one of the dies from the MFT Hearts in a Row Vertical set. The sentiment piece was then added to the middle of the butterfly using foam tape.
 
VIDEO:
 
Here is the video showing how I made the card:


If you are viewing this blog post via email subscription. Please click here to watch the video on YouTube.
 
SUPPLIES:

Here are the links to what I have used on the card and in the video. Affiliate links are used on some products. This means that if you make a purchase after clicking on my link, I receive a small commission with no extra cost to you. I truly appreciate your support when using these links. Please click on the logo below the product to shop at your favourite store. Products marked with an asterisk (*) were kindly sent to me to use.
 
 
I really love the added texture that the embossed stencil gives to the card but keeps the butterfly the star of the show. For more inspiration using WOW products, please head over to their blog. Thank you so much for visiting me today. Have a great day!

1 October 2018

Hero Arts October 2018 My Monthly Hero Kit Blog Hop + Giveaway

*This is my third blog post of the day, please see below for my Clearly Besotted Teaser and release video*

Hello there, today we are celebrating the release of the Hero Arts October 2018 My Monthly Hero Kit. This kit has such a lovely winter and Christmas theme to it and is wonderful for scene building. For the hop, you should have arrived here from the amazing Lydia, but if you get lost along the way, I have the full list of participants below.


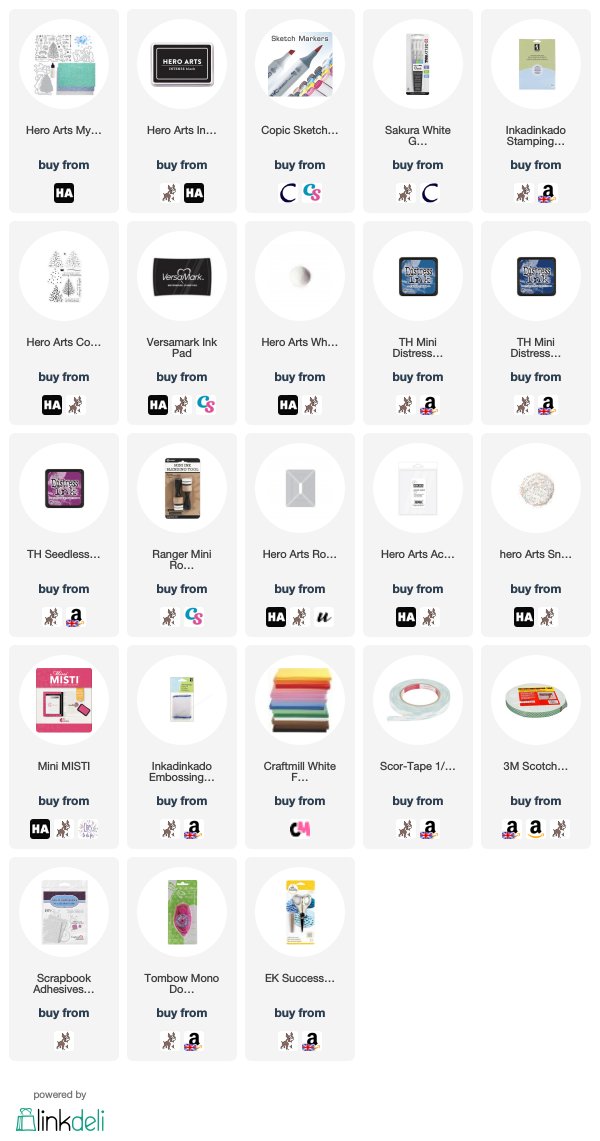
For my first card, I wanted to create a one layer (almost!) card. It turns out that Emily and I had very similar ideas but I thought I would still share mine here anyway. I started off by stamping the girl skating and bird from the main kit stamp set, on to a panel of white cardstock with Intense Black Ink. I then masked them off and added the tree and ice rink. The masks were removed and the sentiment stamped in the top right hand corner.
 
 
The whole panel was coloured using Copic Markers (the colours I used are listed below the supplies section) and then I added white gel pen dots for snow. The panel was added to a white A2 card base with foam sheet and DST. A very simple scene but I think it works well for a winter card.
 
 
My next card uses more images from the main stamp set. I took the tree, baubles/ornaments and the stacking animals stamps and stamped these on to white cardstock with Intense Black Ink. They were coloured with Copic Markers and the animals and tree die cut with the coordinating frame cuts. I then fussy cut the ornaments as these do not have matching dies. I took a panel of white cardstock and die cut a Rounded Rectangle Infinity Die in to the centre to create a window. I then added a sheet of acetate on the back, followed by a layer of foam tape.
 
 
I took a sheet of watercolour paper and blended Distress Inks in to this using an ink blending tool. I used Faded Jeans, Chipped Sapphire and Seedless Preserves. This panel was added on to a white A2 card base with tape runner. I then added Snowfall Glitter on top and then the frame piece on top to create a shaker card. I went a bit overboard with the glitter, but never mind! The tree and baubles were added on to the front of the card with more tape runner and then the animals added with thin foam tape. To finish off, I heat embossed the sentiment from the Color Layering Christmas Tree set on to black cardstock and added this with more thin foam tape.
 
SUPPLIES:

Here are the links to what I have used on the card. Affiliate links are used on some products. This means that if you make a purchase after clicking on my link, I receive a small commission with no extra cost to you. I truly appreciate your support when using these links. Please click on the logo below the product to shop at your favourite store. Products marked with an asterisk (*) were kindly sent to me to use.
 
 
COPIC MARKERS: Card 1 - Tree - E57, E55, G29, G24, G21. Girl skin - E13, E11, E00, E50. Hair - E23. Outfit - BV13, BV11, BV02, BV01, BG13, BG11, BG10. Skates - C3, C00. Ice - BG70, BG10. Sky - B02, B01, B00, B000, B0000. Snow - BV000, BV0000.
 
Card 2 - Tree - E57, E55, G29, G24, G21. Dog - E57, E55, E53, R89, R27. Cat - C8, C6, C5, C3, R12. Mouse - W5, W3, W1. Baubles/ornaments - R89, R37, R27, R24, B18, B28, B23, C2.


THE KIT:


The October 2018 My Monthly Hero Kit contains a 6" x 8" stamp set, 14 coordinating Frame Cuts, 1 Paper Layering Tree Die with Frame, 6 5.5" x 8.5" sheets of glitter paper (Silver, Sea Glass and Twilight), Iridescent Star embellishments and a bottle of Iridescent Ink. All of this is worth $70 but you can get it for $34.99 (approx. £28, depending on exchange rate). The kits are limited edition and often sell out quickly. You can subscribe here so that you never miss a kit.
 
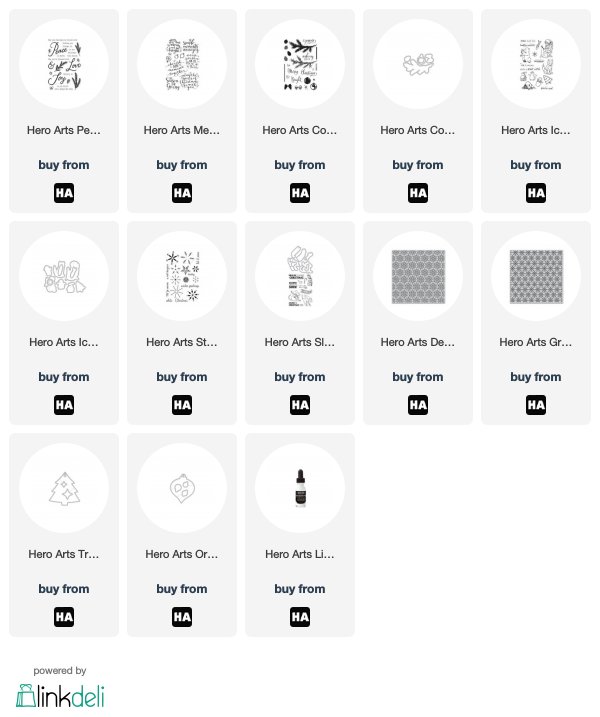
There are also some fabulous add-on products this month. These are not limited edition and can be purchased from your favourite Hero Arts retailer, or added to your cart when ordering the kit from Hero. Here is a look at them:
 
 
BLOG HOP:
 
Here is the full list of participants in the hop today:
 
 
GIVEAWAY:
 
Hero Arts are giving away one kit to one lucky blog reader. The winner will be picked from comments across all of the blogs in the hop. The giveaway closes Sunday October 7th at 11.59pm. The winner will be announced the following week on the Hero Arts Blog. Good luck!
 
Next on the hop is the amazing Nichol. Thanks so much for visiting me today. I hope you have a great time on the rest of the hop and have a great rest of the day too!

VIDEO | Clearly Besotted October 2018 Release Preview

*This is my second post for the day, please see below for my final Clearly Besotted teaser*
 
Hello there and welcome back! Today is Clearly Besotted release day and boy have they kicked it out of the park this month! The October 2018 release is amazing! There are sets for everyone. Lots of cuteness, some elegance, fabulous sentiments and all round wonderfulness.
 
 
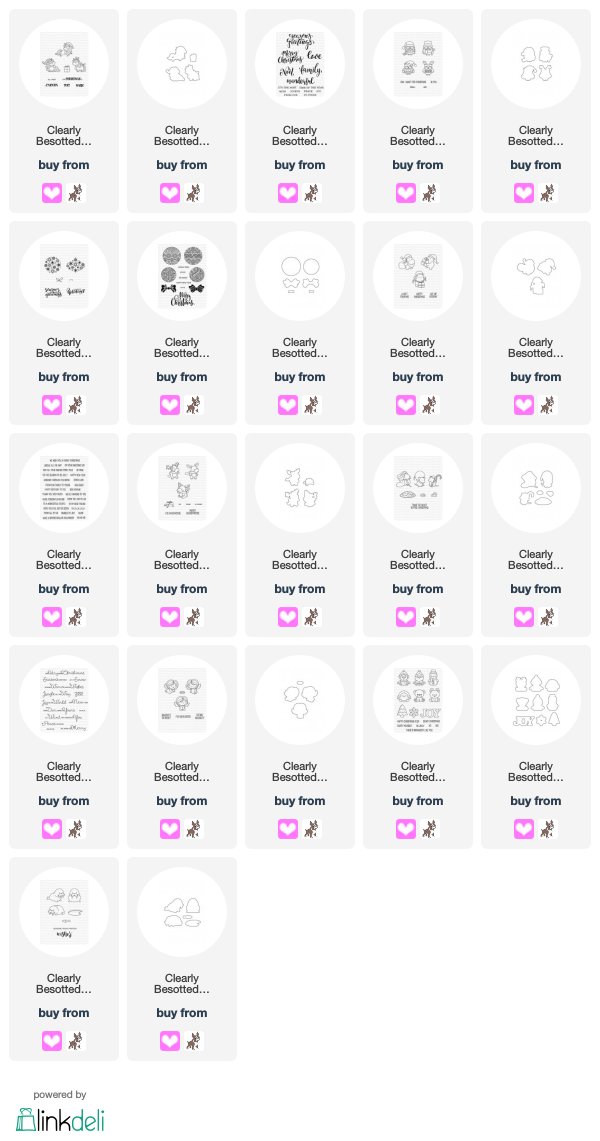
The sets release tonight at 8pm BST/3pm EDT. You can purchase them from the Clearly Besotted shop (UK based, ships almost worldwide) and Simon Says Stamp (US based, ships worldwide). Here is a look at all of the sets and a recap of the projects I have made (plus another sneaky peek):


If you are viewing this blog post via subscription email, please click here to watch the video on YouTube.
 
SUPPLIES:

Here are the links to what I shared in the video. Affiliate links are used on some products. This means that if you make a purchase after clicking on my link, I receive a small commission with no extra cost to you. I truly appreciate your support when using these links. Please click on the logo below the product to shop at your favourite store. Products marked with an asterisk (*) were kindly sent to me to use.
 
 
Thank you so much for visiting me today, I really do appreciate it. I would to hear your thoughts on the release. I absolutely love it and cannot wait to use the sets that I haven't already. Have a great day and happy shopping!

Clearly Besotted Teasers | Winter Plushies

Hello there and welcome to release day! The new sets from Clearly Besotted will be releasing tonight at 8pm BST. I have one last teaser to share with you before sharing my release video with you in a few hours. For my final teaser, I am using the wonderful Winter Plushies set to create some fun Christmas tags.
 

I started off by stamping the snowman, Santa and reindeer from the Winter Plushies set on to white cardstock with Memento Tuxedo Black ink. I coloured them with Copic Markers and fussy cut them out with scissors (but there will be coordinating dies available). I added Crystal Glaze to the snowman's buttons and reindeer's nose and Nuvo White Blizzard drops to Santa's hat and set aside to dry.
 
 
For the tags, I first die cut three whole tags from white cardstock using the Tag Along Dies. I then cut another three from red cardstock. For these layers I then die cut again using the fishtail banner and also the square and rectangle dies to create windows. These were layered up with tape runner and the hole reinforcer added on too. I stamped the sentiment on the white layers using the Tiny Type set and also the Hippo Christmas set. I used patterned paper for the insides of the windows and then added the critters on top with foam tape. To finish off, I added twine through the top of the tags.


SUPPLIES:

Here are the links to what I have used on the card. Affiliate links are used on some products. This means that if you make a purchase after clicking on my link, I receive a small commission with no extra cost to you. I truly appreciate your support when using these links. Please click on the logo below the product to shop at your favourite store. Products marked with an asterisk (*) were kindly sent to me to use.
 
 
COPIC MARKERS: Reindeer - E59, E57, E55, E53, E51, R89, R27, R24. Santa - E13, E11, E00, E000, W1, W0, R89, R37, R27, R24, C10, C7, C5, Y26. Snowman - BG000, BG0000, C10, C7, C5, R89, R37, R27, R24, YR65, YR18.
 
I really like creating tags for Christmas. I think a handmade tag looks really nice on top of a present. Thank you so much for stooping by. Please do head over to see my teamies Stephanie, Keren and Lisa. I know they will have something wonderful to share with you today and please pop back in a couple of hours to see my release video.

30 September 2018

Clearly Besotted Teasers | Peace On Earth

Hello there and welcome to day four of the October 2018 Clearly Besotted Teasers. Today I am using another two of the new sets on my card today. An adorable angel set, along with another fabulous sentiment set.


I started off by stamping one of the angels from the Sweet Angel stamp set on to white cardstock with Memento Tuxedo Black ink. I then coloured her with Copic Markers (the colours I used are listed below the supplies section) and fussy cut her out with scissors (but there will be coordinating dies available) and set her aside.
 
 
I then took a panel of watercolour paper and stamped the sentiment from the Scrumptious Holidays stamp set on to it with Versamark Ink. I applied white embossing powder and heat set. I then blended Distress Inks on to it to the panel create a sky. I used Broken China, Blueprint Sketch, Faded Jeans and Chipped Sapphire. I then sprayed it liberally with Sheer Shimmer Spray and set aside to dry. Once dry, the panel was added on to a 4"x5" white card base with foam tape. I then added the angel on top with thin foam tape.
 
SUPPLIES:

Here are the links to what I have used on the card. Affiliate links are used on some products. This means that if you make a purchase after clicking on my link, I receive a small commission with no extra cost to you. I truly appreciate your support when using these links. Please click on the logo below the product to shop at your favourite store. Products marked with an asterisk (*) were kindly sent to me to use.
 
 
COPIC MARKERS: Angel's skin - E13, E11, E00, E000, E50, R20. Hair - E55, E53, E51, E50. Dress - B60, 0. Wings - B000, B0000, 0.
 
Isn't she just so sweet? These sets are really umping up the cuteness! Thank you so much for visiting me today, I really do appreciate it. Please head over to se what my teamies Stephanie, Keren and Lisa have been up to. See you tomorrow for my last teaser and also my release video. Have a great day!

29 September 2018

My Monthly Hero | Winter Wishes

*This is my second post for the day, please see below for my Clearly Besotted Teaser*
 
Hello there, I am over on the Hero Arts Blog today, taking a look at the October 2018 My Monthly Hero Kit. It releases on Monday and it is such a beautiful winter/Christmas themed kit. I especially love the Iridescent Ink that comes in the kit that I used on my sky background. It is so shimmery!

 
SUPPLIES:

Here are the links to what I have used on the card. Affiliate links are used on some products. This means that if you make a purchase after clicking on my link, I receive a small commission with no extra cost to you. I truly appreciate your support when using these links. Please click on the logo below the product to shop at your favourite store. Products marked with an asterisk (*) were kindly sent to me to use.
 

For more details on how I made the card, please see the blog post here and remember to leave a comment over there for a chance to win a kit. Thank you so much for stopping by today, see you tomorrow!

Clearly Besotted Teasers | Christmas Hoot

Hello there and welcome to day three of the Clearly Besotted October 2018 release teasers. Today I am using two new sets again, a smaller cute set and a fabulous ornament set for the sentiment.
 

I started off by stamping one of the owls from the Christmas Hoot stamp set on to a panel of white cardstock, with black ink. I then created a background for him using Copic Markers. I took inspiration for the background from Sandy Allnock's Winter Wonderland class. I love how those birch trees came out. I then coloured the owl with Copic Markers too. I have listed the colours I used below the supplies section for reference.
 
 
I then took the sentiment from the Hang Around stamp set and stamped this in the upper right hand corner. The panel was then adhered to an A2 white card base with foam sheet and DST.
 
SUPPLIES:

Here are the links to what I have used on the card. Affiliate links are used on some products. This means that if you make a purchase after clicking on my link, I receive a small commission with no extra cost to you. I truly appreciate your support when using these links. Please click on the logo below the product to shop at your favourite store. Products marked with an asterisk (*) were kindly sent to me to use.
 
 
COPIC MARKERS - Owl - W7, W5, W3, W1, W0, YR24, Y26. Scarf - R89, R37, R29, R27, R24. Hat - R89, R37, R29, R27, R24, C3, C1, C0. Trees - E43, E42, E41, C5, C3. Background - E41, E42, BV0000. Snow - BV000, BV0000.
 
I really like how this card came out, it's very simple but cute too! Thank you so much for visiting me today. Please check out what my teamies Stephanie, Keren and Lisa have been up to. See you tomorrow for day four. Have a great day!

28 September 2018

Sunny Studio 3rd Birthday Blog Hop

*This is my second post of the day, please see below for my Clearly Besotted Teaser post*

Hello there, today I am taking part in the 3rd Birthday celebrations for Sunny Studio. They are one of my favourite companies, so I am delighted to be joining in with their hop today, to celebrate their third birthday and also the fabulous winter release. More on the hop below :)


My card uses the adorable new Happy Owlidays stamp set. Oh my word! This set is so cute! I started off by taking a panel of white cardstock and stamping the wreath image on to it with Memento Tuxedo Black ink. I then stamped the string so that it look like it hanging from the top of the card. I coloured the wreath with Copic Markers, adding light blue dots around it for some interest (the colours I used are listed below the supplies section).


I then stamped the sentiment from the set below. On a separate piece of cardstock, I stamped one of the owls from the set using more black ink. I coloured him with Copic Markers and die cut him out using the coordinating dies. The panel was added to a white A2 card base with foam sheet and DST and then the owl added to the wreath, so that it looks like he is standing on the bow, with thin foam tape. To finish off, I added Nuvo White Blizzard Drops to the hat.


Next up I created two tags using the other two owls in the set. I took the Build A Tag #1 Die set and cut two tags from white cardstock. I then die cut another two with paper from the new Holiday Cheer Paper Pad. I also die cut a third white tag from white and further cut that down with the topper piece. Each patterned paper tag was added to a white cardstock one for stability and then the topper piece added to the red one.


I took the sentiment from the set and stamped this on to the topper piece. I then stamped the present, present top, branch and owls on to more white cardstock. They were coloured with Copic Markers and die cut out using the coordinating dies. For the red tag, I adhered the owl first with foam tape and then the present bottom and top were added on with tape runner. I then added Aqua Shimmer Pen to the present. For the grey tag, I adhered the branch on to the tag with tape runner and then the owl on top with foam tape. I added White Blizzard Nuvo Drops to the snow and finished off with a few iridescent jewels. To finish off, I added twine through the top of the tags.


SUPPLIES:

Here are the links to what I have used on the card. Affiliate links are used on some products. This means that if you make a purchase after clicking on my link, I receive a small commission with no extra cost to you. I truly appreciate your support when using these links. Please click on the logo below the product to shop at your favourite store. Products marked with an asterisk (*) were kindly sent to me to use.
 

COPIC MARKERS: Owls - W7, W5, W3, W1, W00, Y26. Wreath - YG67, YG17, YG23, YG03, YG01, R89, R37, R27, R24. Branch - E57, E55, E53. Leaves - Y67, Y17, Y23. Present, scarfs and hat - the same reds and greens used already.


BLOG HOP:


For the hop, you should have arrived here from the fabulous Vanessa. Next on the hop is the amazing Lexa. However, if you get lost along the way, you can always start back at the Sunny Studio Blog.


To celebrate Sunny Studio's third birthday, they are offering 15% off all retail orders using the code "CELEBRATE" until October 1st 2018.


GIVEAWAY:


Sunny Studio are kindly offering a $25 gift certificate to the Sunny Studio Store for each stop on the hop. To be in with a chance of winning, leave a comment here by October 1st 2018 at 11.59pm PDT. The winner will be announced on the Sunny Studio Blog on the 5th October 2018. Good luck!

Thank you so much for visiting me today, I really do appreciate it. I hope you have fun on the rest of the hop! Have a great day!

Clearly Besotted Teasers | May All Your Wishes Come True

Hello there and welcome to day two of the Clearly Besotted October 2018 release teasers. Today I am using another of the smaller sets, along with a larger sentiment set. Both of these sets can be used for Christmas cards but also for all year round cards too, as I have done today.


I started off by stamping one of the unicorns from the All I Want stamp set on to white cardstock with Memento Tuxedo Black Ink. I coloured her with Copic Markers (the colours I used are listed below the supplies section) and fussy cut her out with scissors (but there will be coordinating dies available) and set aside.
 
 
To create the background, I took a panel of mask paper and die cut a circle from the centre. This was placed over a panel of white cardstock. I then took the MFT Cloud Stencil and placed this over the bottom of the circle to create a cloud for the unicorn to sit on. I then blended Distress Inks in to the top portion of the circle. I used Broken China, Wilted Violet and Dusty Concord. With the masks still in place, I splattered over some Copic Opaque White with a paintbrush. I removed the masks and set aside to dry.
 
 
Once dry, I took the sentiment from the Just Saying stamp set and stamped this below the sky background with black ink. The panel was added to a white A2 card base with foam sheet and DST. I then added the unicorn on top with thin foam tape. To finish off, I added Nuvo Aqua Shimmer Pen to the purple areas on the unicorn and Nuvo White Blizzard Drops to the bell on the hat.


SUPPLIES:

Here are the links to what I have used on the card. Affiliate links are used on some products. This means that if you make a purchase after clicking on my link, I receive a small commission with no extra cost to you. I truly appreciate your support when using these links. Please click on the logo below the product to shop at your favourite store. Products marked with an asterisk (*) were kindly sent to me to use.
 

COPIC MARKERS: Unicorn body - E50, R000, R20. Horn - R20, R000. Hair - BG13, BG11, BG10. Hat - V17, V15, V12, B02, B00, B000. Scarf - V17, V15, V12.

These unicorns are just so cute! The sentiment stamp set is wonderful too, it is jam packed with sentiments that can be used all year round. Please do head over to see what my teamies Stephanie, Keren and Lisa have been up to. Thank you so much for popping by today, I will be back later with a post for Sunny Studio :)
End of code