7 April 2018

Happy Birthday To You

Hello there, today I have a card to share that I made for my dad for his birthday last week. I have been having so much fun playing with alcohol inks lately, that I went with another alcohol ink background. This time though, I decided to add some foil on it, having seen Jess do it a little while ago and liked to the look.
 

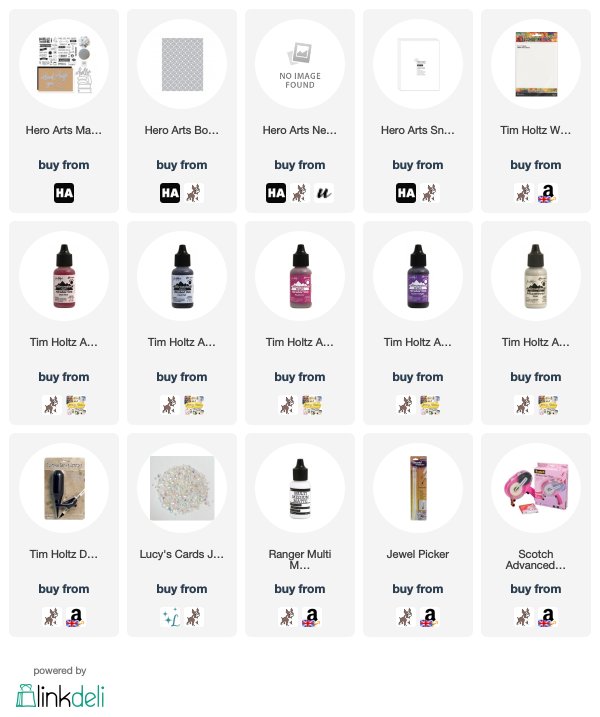
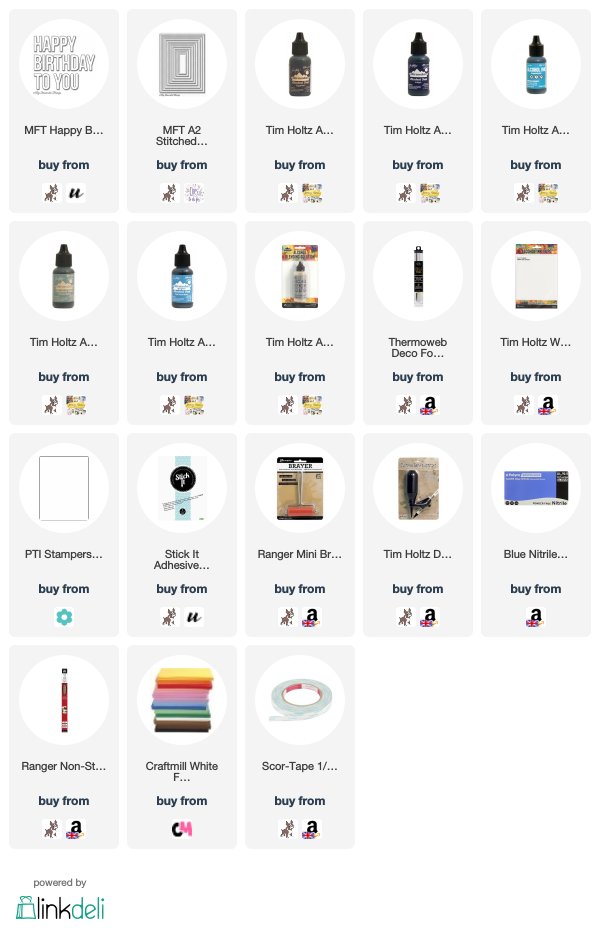
I started off by creating my alcohol ink background. I took a piece of Yupo paper and added drops of various blue inks on to it, using a spritzer tool to blow air on to it, to move them around as I went. I used Eggplant, Indigo, Aquamarine, Stonewashed and Sail Boat Blue. I then added on some Alcohol Ink Blending Solution to blend some of the areas and add drops to create some interest. While the piece was still a little wet in some areas, I placed over a sheet of Therm O Web Silver Foil and with a brayer, lightly went over it, pushing the foil in to the ink. I removed the foil sheet and set aside.
 
 
I took some white cardstock and added Stick It adhesive to the back. I then took the MFT Happy Birthday To You die and cut this from the cardstock three times. The letters were then stacked up to create thicker pieces. I took the alcohol ink background and using a soft brush, brushed off any excess foil. I then die cut this using the second largest of the MFT A2 Stitched Rectangle Dies.
 
 
Using the negative piece from the die cut Happy Birthday To You wording for placement, I adhered the letters down on to the background piece. Once adhered, I added the whole panel on a white A2 card base with foam sheet and DST.
 
SUPPLIES:

Here are the links to what I have used on the card. Affiliate links are used on some products. This means that if you make a purchase after clicking on my link, I receive a small commission with no extra cost to you. I truly appreciate your support when using these links. Please click on the logo below the product to shop at your favourite store. Products marked with an asterisk (*) were kindly sent to me to use.
 
 
I think the silver foil goes really nicely with the blue alcohol inks. I am looking forward to trying it again with different colours of foil. Thanks so much for visiting me today, I hope you have a wonderful weekend!

5 April 2018

Hugs

Hello there, I know we have just had the release of the April My Monthly Hero Kit but have you seen that there are still a few of the March kit in stock? I absolutely love the word dies in the kit so I had to use them again. I decided to combine the elements of the two cards I made for the kit before. I used the design from my first card and used the supplies from my second.
 

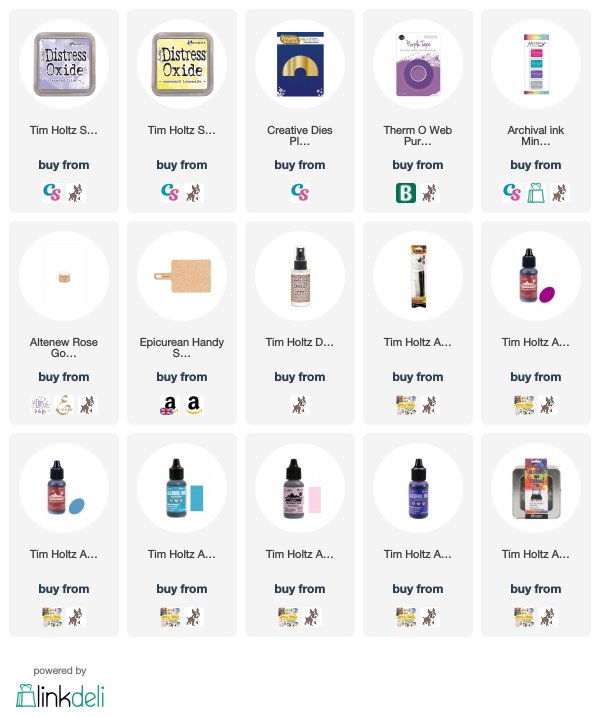
I still had a piece of the alcohol ink background that I made before, so this made for a quick card to put together. The alcohol ink background was made using Cool Peri, Shell Pink, Raspberry and Purple Twilight Alcohol Inks on Yupo. I then added Silver Mixative on top and blended with the Alcohol Ink Blending Solution.  The piece was cut in to a heart using the Nesting Hearts Infinity Die set. I then cut the 'hugs' word from the main kit three times from white cardstock and stacked these up, adhering with liquid glue.
 
 
I took a panel of white cardstock and embossed the Bold Graphic Confetti Die on to it. The panel was adhered flat to an A2 white card base and then the heart was added on top with tape runner. The hugs was added with liquid glue. To finish off, I added a few Iridescent Jewels.
 
SUPPLIES:

Here are the links to what I have used on the card. Affiliate links are used on some products. This means that if you make a purchase after clicking on my link, I receive a small commission with no extra cost to you. I truly appreciate your support when using these links. Please click on the logo below the product to shop at your favourite store. Products marked with an asterisk (*) were kindly sent to me to use.
 
 
Thank you so much for visiting me today, I really do appreciate it. I hope you have a lovely day!

4 April 2018

VIDEO | Card Making Haul - March 2018

Hello there, today I have my haul from March to share with you. I apologise for the delay in getting this up but hopefully better late than never! I mainly bought mediums last month, like inks and alcohol inks, plus storage. I didn't buy a single stamp set!
 
 
As soon as I saw the alcohol ink storage tins I was so excited. I have been storing my alcohol ink in a plastic box, which is fine but I am really happy to now have a bit more structure to my organisation with them. I love me a bit of organisation! ;) Here is everything I purchased:


SUPPLIES:

Here are the links to what I shared in the video. Affiliate links are used on some products. This means that if you make a purchase after clicking on my link, I receive a small commission with no extra cost to you. I truly appreciate your support when using these links. Please click on the logo below the product to shop at your favourite store.
 
 
Thank you so much for popping by to see me today, I really do appreciate it. I hope you are all doing great and have a lovely day!

2 April 2018

Hero Arts April 2018 My Monthly Hero

Hello there, although I am not taking part in the My Monthly Hero Kit launch this month, I still wanted to pop in to tell you about it. It is a wonderful fiesta themed kit that is available to purchase now.


The kit contains a 6" x 8" clear stamp set, 20 coordinating frame cuts, 1 ornate floral border die, 3 reactive ink cubes (Fiesta Red, Fiesta Teal and Fiesta Yellow) and 3 6" x 8" sheets of Unryu paper (assorted colours).
 
The kit contents are worth $74.00 but you can get them all for a fabulous $34.99 (approximately £27 depending on exchange rate). Remember that the kits are limited edition and often sell out quickly. You can subscribe here so that you never miss a kit. International subscribers get a discount off shipping too!
 
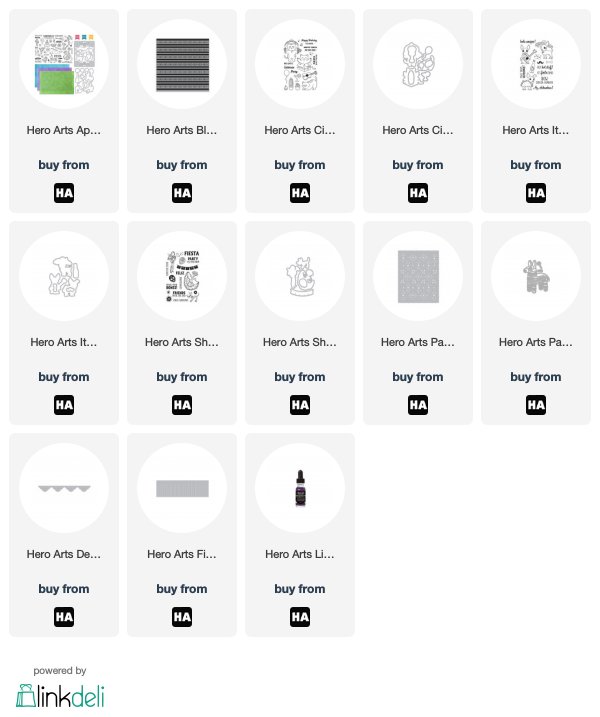
As always, there are some fabulous add on products this month. These are available to purchase from the Hero store, as well as your favourite Hero Arts retailer. Here is a look at them:
 
 
For tons of inspiration using the kit, please head over to the Hero Arts blog and follow along with the blog hop. See you soon!

The Bunny's Hop

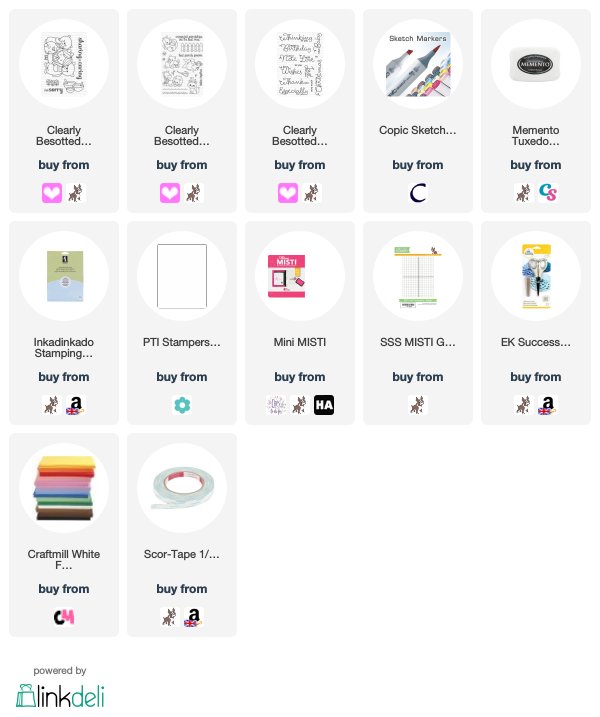
Hello there, wishing you all a lovely Easter. I know I am a day behind but I hope you are all having a wonderful weekend (it is sort of still the weekend here in the UK, as it is a Bank Holiday). Today I have a card to share that I made for my mum using the adorable Mama Elephant The Bunny's Hop set.


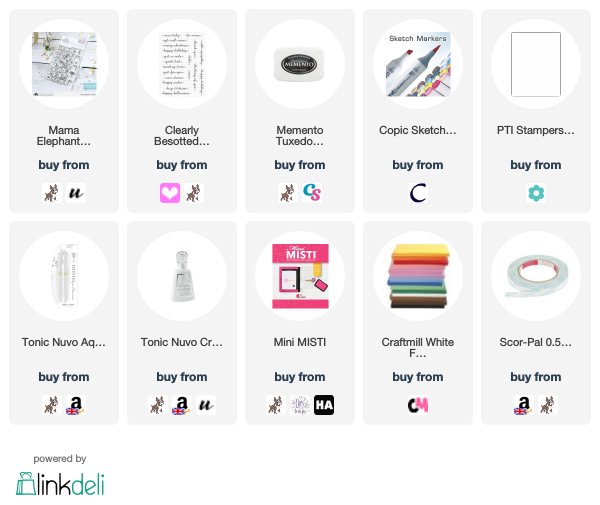
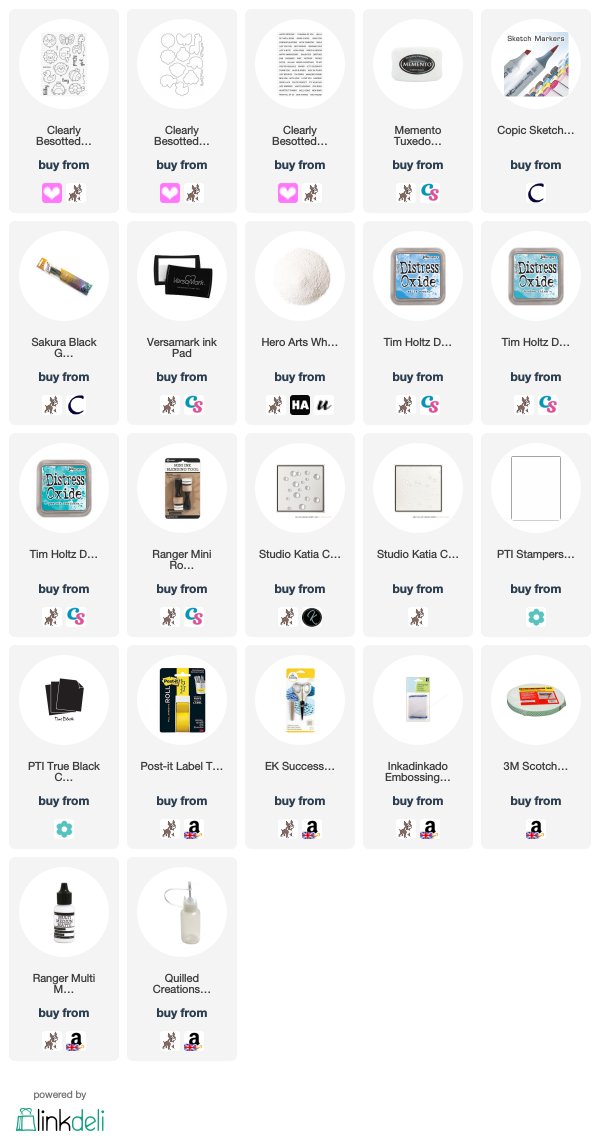
I started off by stamping the image on to a panel of white cardstock. I then took the 'happy easter' sentiment from the Clearly Besotted Sweet Little Sentiments set and stamped this above. These were both stamped using Memento Tuxedo Black Ink. I coloured the panel using Copic Markers. The colours that I used are listed below the supplies section. I decided to keep the colours spring like, using pastel shades for the bunnies.


The panel was then simply adhered to a white A2 card base with foam sheet and DST. To finish off, I added Nuvo Aqua Shimmer pen to various parts of the image - mostly to the hats, heart, strawberry etc. I then added Nuvo Crystal Glaze to the one bunnies' glasses.


SUPPLIES:

Here are the links to what I have used on the card. Affiliate links are used on some products. This means that if you make a purchase after clicking on my link, I receive a small commission with no extra cost to you. I truly appreciate your support when using these links. Please click on the logo below the product to shop at your favourite store. Products marked with an asterisk (*) were kindly sent to me to use.
 

COPIC MARKERS: Blue/aqua bunnies - BG10, BG000, BG0000. Pink bunnies - R00, R000, R0000. Violet bunnies - V01, V000, V0000. Purple bunnies - BV01, BV000, BV0000. Purple hats, heart, book, present, cup - V17, V15, V12. Pink strawberry, hats, bows, present - R35, R20. Black hats/bowties - C9, C7, C5. Carrots - Y16, Y12, YG17, YG01. Chicks - Y17, Y13, Y11. Sky - B000, B000, 0.

Thank you so much for visiting me today. I hope you have a lovely rest of the Easter weekend, if it is a long weekend where you are in the world, if not, hope you have a happy Monday!

1 April 2018

VIDEO | Clearly Besotted April 2018 Release Preview

Hello there, today is THE day! All of the new Clearly Besotted April products release tonight at 8pm BST/3pm EDT. As usual, I have a video sharing a look at the new sets and a recap of the cards that I made using them.
 
 
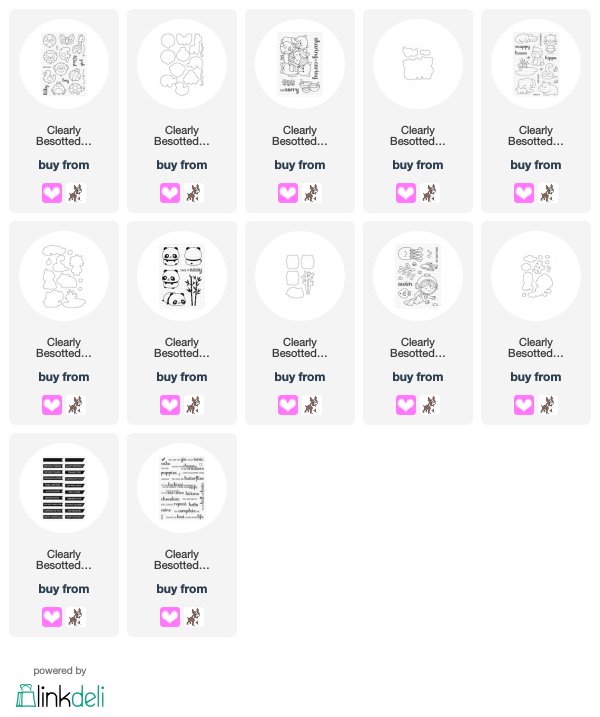
You can purchase the new products from the Clearly Besotted Shop (UK based, ships almost worldwide) and also at Simon Says Stamp (US based, ships worldwide). Links to the products are below but not all of them will be live until release time. Here is a look at the new release:


SUPPLIES:

Here are the links to what I shared in the video. Affiliate links are used on some products. This means that if you make a purchase after clicking on my link, I receive a small commission with no extra cost to you. I truly appreciate your support when using these links. Please click on the logo below the product to shop at your favourite store. The Clearly Besotted products were kindly sent to me to use as part of being on the Design Team.
 
 
What sets have caught your eye? I would really love to hear. Thanks so much for stopping by today, happy shopping!

31 March 2018

Clearly Besotted Teasers | Fairy Tale Bears

Hello there and welcome to the final day of Clearly Besotted teasers! The new products release tomorrow at 8pm BST. My final teaser uses the adorable Fairy Tale Bears set, it is so cute. I paired up with two older sets to create a little scene.
 

I started off by stamping the Fairy Tale Bears set on to a panel of white cardstock with Memento Tuxedo Black ink. I created a mask from mask paper and added this on top. I took the grass stamp from the Best Friends set and stamped this either side of the characters. The grass was also masked off and then I stamped the fence (also from the Best Friends set) above. Finally, the sentiment from the Scrumptious Script set was stamped below.
 
 
The image and surroundings were coloured using Copic Markers (the colours I used are listed below the supplies section). The panel was then simply adhered to a white A2 card base with foam sheet and DST. I am loving these fairy tale stamps, how about you? Goldilocks and the Three Bears was definitely a story that I grew up with and it is really lovely to see it in stamp form :)
 
SUPPLIES:

Here are the links to what I have used on the card. Affiliate links are used on some products. This means that if you make a purchase after clicking on my link, I receive a small commission with no extra cost to you. I truly appreciate your support when using these links. Please click on the logo below the product to shop at your favourite store. Products marked with an asterisk (*) were kindly sent to me to use.
 
 
COPIC MARKERS: Girl - Skin: E70, E13, E11, E00, E000, E50, R20. Hair: E55, E53, E51, E50. Clothes: B26, B24, B21, C3, C1. Bears - E47, E44, E43, E42, E41, E40. Daddy clothes - V17, V15, V12. Mummy clothes - R85, R83, R81. Fence - W3, W1, W00. Grass - G43, G40. Sky - B00, B000, B0000, 0.
 
Thank you so much for visiting me today, I very much appreciate it. Please do head over to see what my teamies Stephanie, Keren and Lisa have been up to, as well as our fabulous guest designer Rubeena. See you tomorrow for the reveal of the sets. Have a great day!

30 March 2018

Clearly Besotted Teasers | Under The Sea

Hello there and welcome to day three of the Clearly Besotted April Teasers. Not long to wait until the new products release on Sunday, 1st April. Today I am using the new Under The Sea Stamp Set, along with a sentiment from the new Say It's Love Stamp Set.
 

To start my card, I stamped a few of the images from the Under The Sea Stamp Set (it is filled with lots of fish, as well as a super cute diver but I didn't use them on my card today). I coloured them with Copic Markers (the colours I used will be listed below the supplies section) and fussy cut them out with scissors, but there will be coordinating dies that you can purchase.
 
 
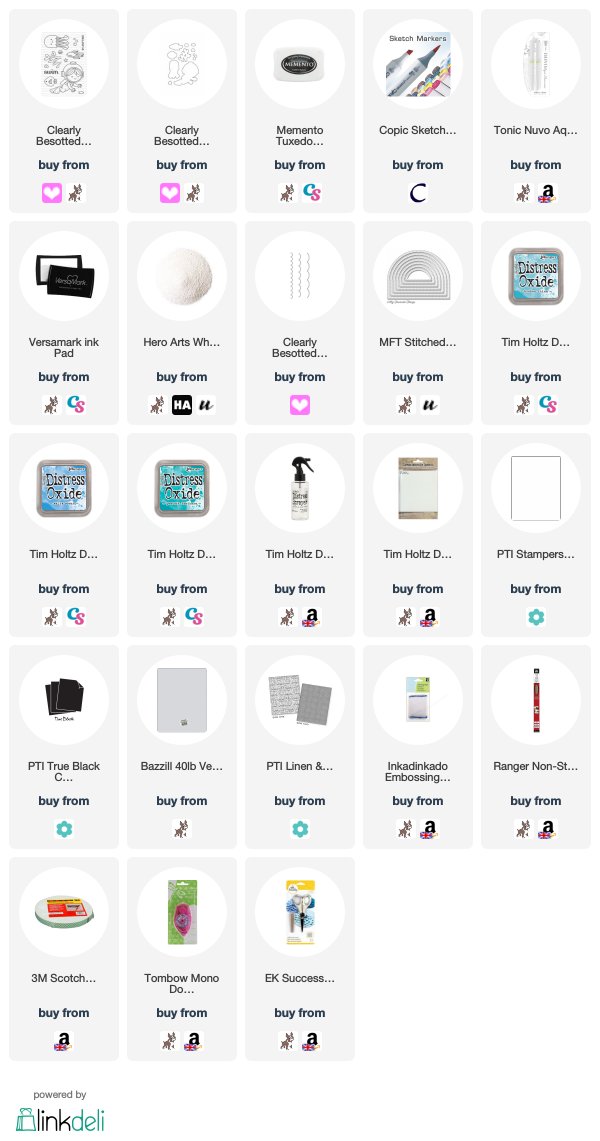
I then worked on my sea. I took Distress Oxide inks and smooshed these on to a piece of plastic and sprayed with water. I then lifted the plastic up and smooshed it down on to a piece of watercolour paper. I did this in lots of layers with Broken China, Salty Ocean and Peacock Feathers inks. The piece was heat set and then cut into two domes using the MFT Stitched Domes Stax Dies. One of the pieces was further cut down using the CB Speckled Scallops Dies. I also cut one from vellum for some added interest.
 
 
I took an A2 white card base and ran this through my die cutting machine to emboss the front with the PTI Linen Impression Plate. I then popped up the first background dome with foam tape. I added the vellum wave on top with tape runner and then the bottom wave piece with more tape runner. The seaweed, shell and starfish were also added with tape runner. The jellyfish was added with foam tape. I took the 'hello' sentiment from the new Say It's Love Stamp Set and stamped this on to black cardstock with Versamark Ink. I applied white embossing powder and heat set. This was cut in to a strip and added to the card with foam tape. To finish off, I added Nuvo Aqua Shimmer pen to the jellyfish, starfish and shell.

SUPPLIES:

Here are the links to what I have used on the card. Affiliate links are used on some products. This means that if you make a purchase after clicking on my link, I receive a small commission with no extra cost to you. I truly appreciate your support when using these links. Please click on the logo below the product to shop at your favourite store. Products marked with an asterisk (*) were kindly sent to me to use.
 
 
COPIC MARKERS: Jellyfish - Y17, Y15, Y12. Seaweed - YG17, YG23, YG03, YG01. Starfish - YR12, Y17, Y11. Shell - BV11, BV000.
 
This was a really fun scene to put together! Thank you so much for popping by to see me today, I really do appreciate it. Please do pop over to see what Stephanie, Keren and Lisa have been up to, along with out fabulous guest designer Rubeena. See you tomorrow for day four!

29 March 2018

Clearly Besotted Teasers | Panda Wishes

Hello there and welcome to day two of the Clearly Besotted April Teasers. Today I am using two new sets that release on the 1st April. The first one is the adorable Panda Perfection set and the second, Flag It - a wonderful sentiment set.
 

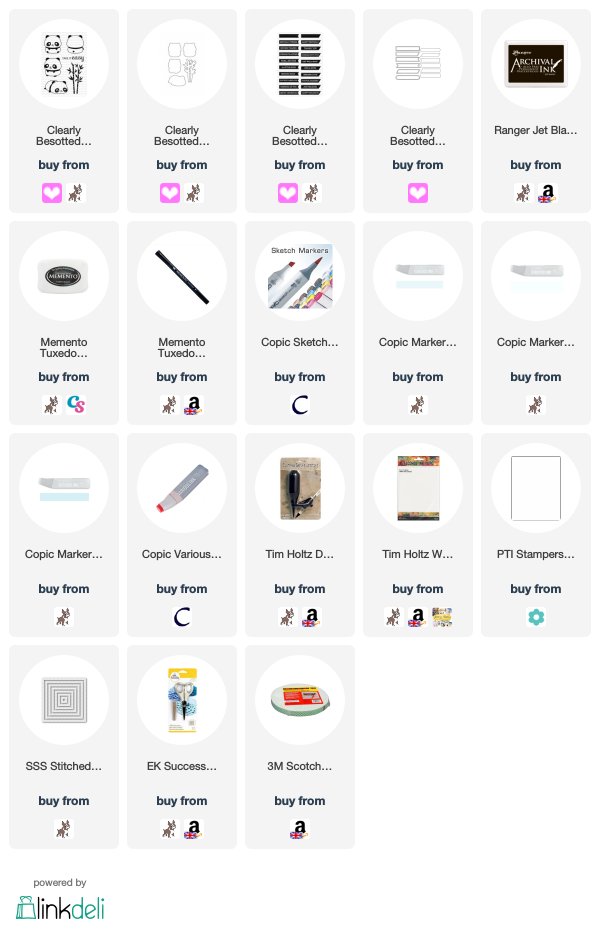
I started off my card by creating the background. I took a piece of Yupo paper and added Copic Refills over the top to create an alcohol ink background. I first added a layer of B000 and then added on some B00 and BG11. I spritzed the piece with air (using a spritzing tool) to create interest on the panel and set aside to dry. Once dry, I took the bamboo image from the Panda Perfection set and stamped this twice on to the piece using Archival ink. This was again set aside to dry.
 
 
I took one of pandas from the stamp set and stamped this on to white cardstock using Memento Tuxedo Black ink. I coloured the image simply with Copic Markers, adding a little W3 and W1 for the pandas body and R20 for his mouth. I then fussy cut him out with scissors (there will be coordinating dies available to purchase). I die cut one of the Flag It dies (that matched the sentiment banner) and then stamped the sentiment from the new Flag It Stamp Set on top with Memento Tuxedo Black Ink. To neaten it up a little, I went around the edge of the die cut with a Memento Marker.
 
 
I adhered the Yupo background piece flat to the front of an A2 white card base with tape runner. I then took a panel of white cardstock and cut a SSS Stitched Square Die from it to create a window. This piece was added to the card base with foam tape. I then added the panda and sentiment strip also with foam tape.
 
SUPPLIES:

Here are the links to what I have used on the card. Affiliate links are used on some products. This means that if you make a purchase after clicking on my link, I receive a small commission with no extra cost to you. I truly appreciate your support when using these links. Please click on the logo below the product to shop at your favourite store. Products marked with an asterisk (*) were kindly sent to me to use.
 
 
Isn't that panda just adorable? I love him! Thank you so much for visiting me today. Please do head over and see what my teamies Stephanie, Keren and Lisa have been up to, along with our fabulous guest designer Rubeena. See you tomorrow for day three. Have a great day!

28 March 2018

Clearly Besotted Teasers | Best Balloons

Hello there and welcome to the start of the Clearly Besotted April Teasers. The new products will be releasing on the 1st April at 8pm BST. From now until then, myself and the rest of the Clearly Besotted Design Team will be sharing teasers of the new sets with you. My card today uses the new Best Balloons set.
 

I started off my card by stamping three of the balloons from the set (the set is filled with lots of wonderful different design balloons) on to white cardstock, using Memento Tuxedo Black Ink. I coloured the images using Copic Markers (the colours I used are listed below the supplies section). I then fussy cut them out with scissors but there will be coordinating dies available for them to purchase.
 
 
I took a panel of white cardstock and masked of the edges with post-it tape. Using Distress Oxide Inks, I blended colour on the inside to create a background for my balloons. The post-it tape was then removed. I stamped the strings on to the background and then added the panel on to a white A2 card base with ATG. The balloons were then added on top with foam tape. I took the 'happy birthday' sentiment from the Tiny Type set and stamped this with Versamark Ink on to a strip of black cardstock. I applied white embossing powder and heat set. This was also added to the card with foam tape. To finish off, I added Studio Katia Clear Round Drops to the background and black glaze pen to the balloon animal eyes.
 
SUPPLIES:

Here are the links to what I have used on the card. Affiliate links are used on some products. This means that if you make a purchase after clicking on my link, I receive a small commission with no extra cost to you. I truly appreciate your support when using these links. Please click on the logo below the product to shop at your favourite store. Products marked with an asterisk (*) were kindly sent to me to use.
 
 
COPIC MARKERS: Elephant - W7, W5, W3, W1. Lion - E99, YR24, YR14, Y28, Y26. Monkey - E59, E57, E55, E53, E51.
 
Thank you so much for visiting me today. Please head over to see what my teamies Stephanie, Keren and Lisa have been up to, along with our fabulous guest designer Rubeena. See you tomorrow for day two! Have a great day!

26 March 2018

VIDEO | Woodland Tea Party

Hello there, today I am over on the Hero Arts Blog and You Tube channel, sharing a card using the super cute Woodland Tea Party Stamp Set and coordinating Frame Cuts. I am also sharing how to create dimension with different layers, but without adding too much bulk.


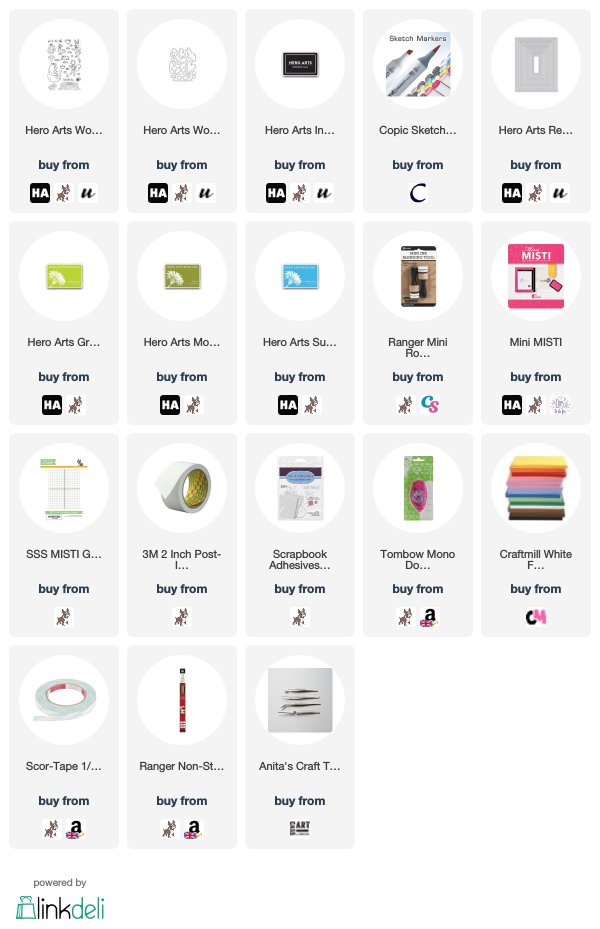
SUPPLIES:

Here are the links to what I have used on the card. Affiliate links are used on some products. This means that if you make a purchase after clicking on my link, I receive a small commission with no extra cost to you. I truly appreciate your support when using these links. Please click on the logo below the product to shop at your favourite store. Products marked with an asterisk (*) were kindly sent to me to use.
 

For more details on how I made the card, please head over to the blog post. You can also watch the video directly on You Tube HERE. Thanks so much for stopping by today. I hope you have a great day!

22 March 2018

Sending A Smile

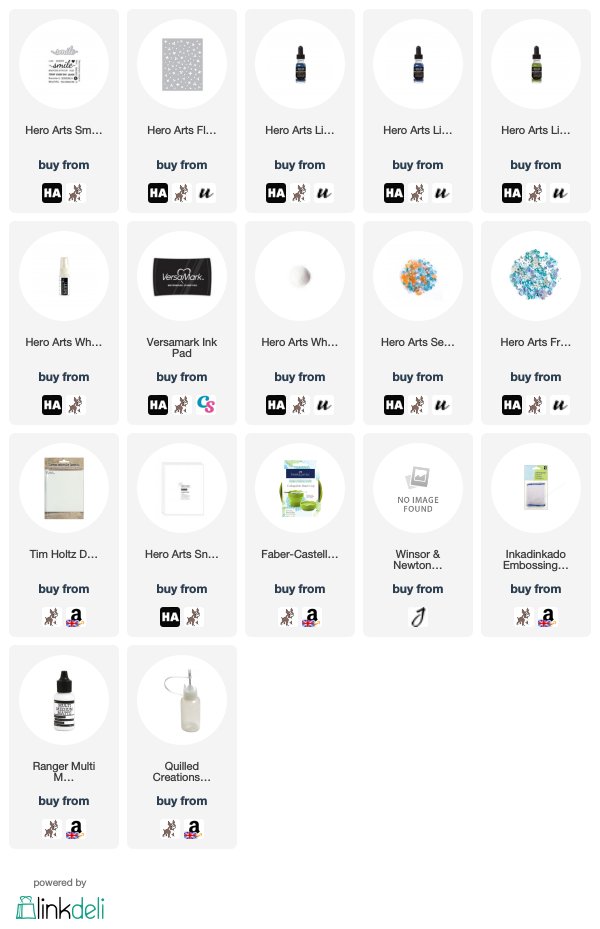
Hello there, today I am over on the Hero Arts Blog sharing a card using the Flower Confetti Fancy Die, along with the new Smile Stamp & Cut. The Flower Confetti Die makes for great backgrounds. I decided to combine the die with the Liquid Watercolors to create this background but you could add colour in lots of different ways.


SUPPLIES:

Here are the links to what I have used on the card. Affiliate links are used on some products. This means that if you make a purchase after clicking on my link, I receive a small commission with no extra cost to you. I truly appreciate your support when using these links. Please click on the logo below the product to shop at your favourite store. Products marked with an asterisk (*) were kindly sent to me to use.
 
 
For more details on how I made the card, please see the post over on the blog. Thank you so much for stopping by to see me today. I hope you have a great rest of the day!
End of code