Hello there, I am delighted to be joining Altenew today to celebrate the December 2024 release with a fun blog hop. The release this month is a bit smaller than usual, but there are still lots of beautiful products being released and I am using a few on my cards today.
PLEASE
NOTE: This post contains affiliate links. Please see below for my full
disclosure.
BUILD-A-GARDEN: DREAMY DAHLIAS

My first card today uses Altenew Build-A-Garden: Dreamy Dahlias. I started off by stamping the large image from the set onto white cardstock using Altenew Obsidian Pigment Ink and the Altenew Stampwheel 2.0. I then took the coordinating coloring stencils and placed them over the image, one by one, to add ink blending to colour the image with Altenew Mini Blending Brushes.

I used Altenew Cherry Blossom Fresh Dye Inks for the flowers and Altenew Green Valley Fresh Dye Inks for the stems and leaves. The image was cut out using the coordinating die and adhered to a US A2 sized white card base with Altenew Instant Dimension Foam Tape. The excess was cut off the sides using scissors.

I stamped a sentiment from the Altenew Build-A-Garden: Dreamy Dahlias Stamp Set onto white cardstock using Altenew Obsidian Pigment Ink. It was die cut out using the coordinating die. I cut the die two more times from white cardstock and adhered them behind the stamped one, before adhering to the card. To finish, I embellished with the new Altenew Milky Way Gem Sparkles.
CRAFT-A-GARDEN: CROCUS

I started off by die cutting the Craft-A-Flower: Crocus Layering Die Set from white cardstock. I placed the pieces on my Sticky Mat and added ink blending to them with Altenew Enchanted Garden Fresh Dye Inks for the flower petals, Altenew Golden Sunset Fresh Dye Inks for the flower centres, and Altenew Green Valley Fresh Dye Inks for the leaves.

I assembled and adhered the flowers using liquid glue. The leaves were adhered first to a US A2 sized white card base with liquid glue. The flowers were then adhered using foam tape. I stamped a sentiment from Altenew Build-A-Garden: Dreamy Dahlias onto Altenew Crafty Necessities Jet Black Cardstock using Altenew Embossing Ink.

I applied Altenew Pure White Crisp Embossing Powder and heat set. It was cut into a strip and adhered to the card with foam tape. To finish, I embellished with the new Altenew Amethyst Gem Sparkles.
NEAT & NIFTY STORAGE POCKETS

Also releasing this month are new Altenew Neat & Nifty 9" x 11.5" Storage Pockets. Like the smaller version, they are very sturdy, robust pockets with a flap closure at the front. You can store so many things in these. I know a lot of people are using them for cardstock, but I am storing my extra large stamp sets (and coordinating products) in them, as well as my swatch sheets.

I print off swatch sheets from the Altenew website to use as a guide when crafting. It is nice to now have them all contained in a couple of pockets and I can just grab them when I need to.
BLOG HOP:
.jpg)
As mentioned, this post is part of a fun, inspirational blog hop. Please click on the other participants below to visit their blogs.
GIVEAWAY:
.jpg)
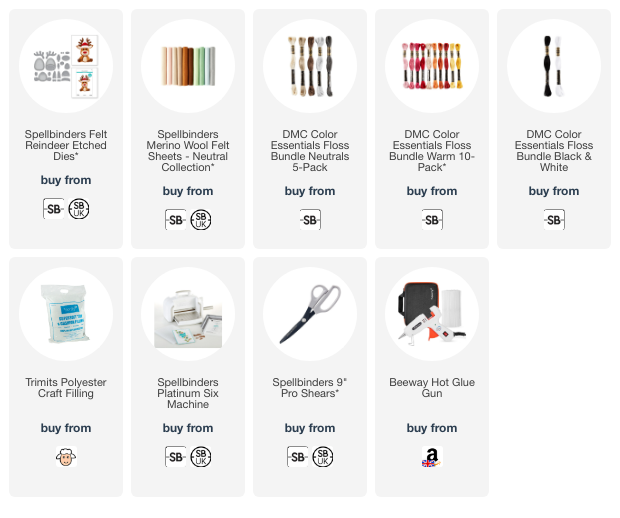
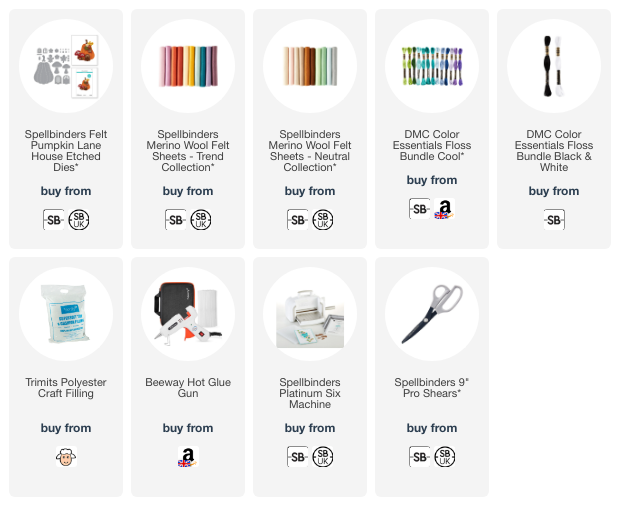
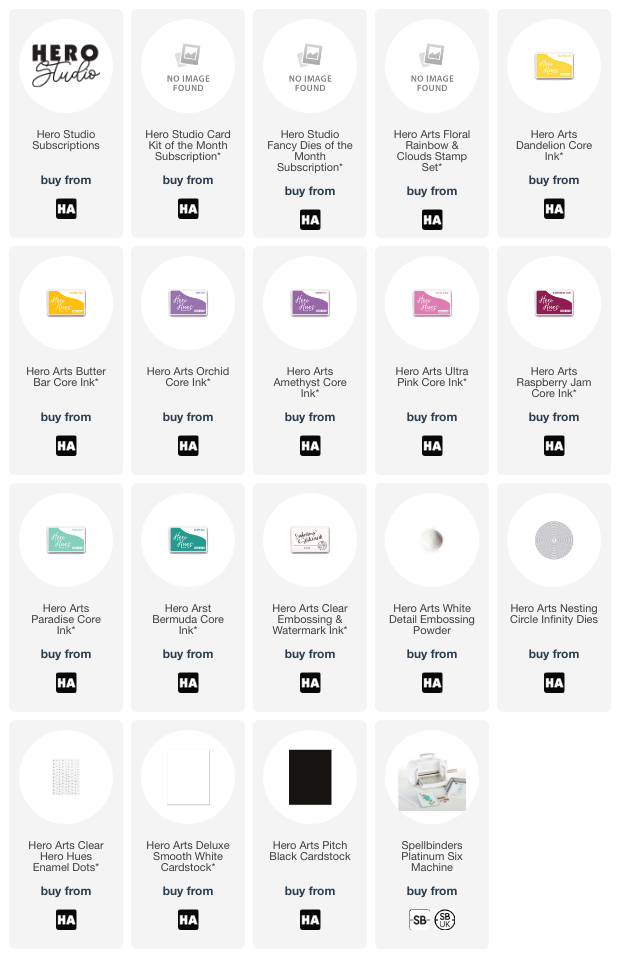
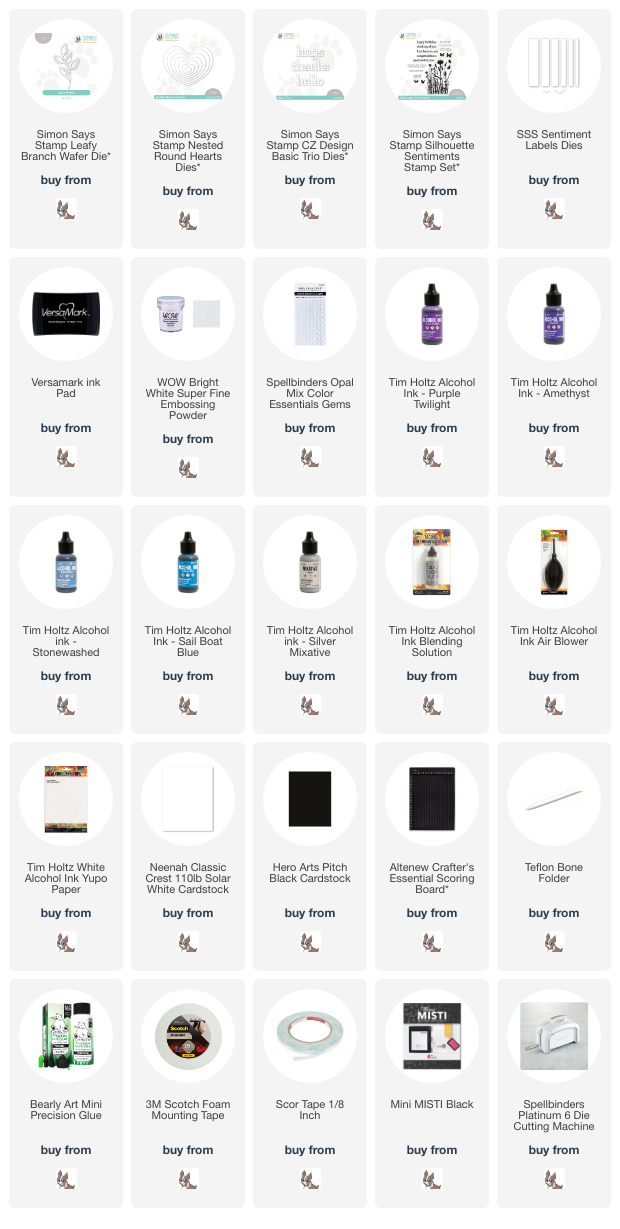
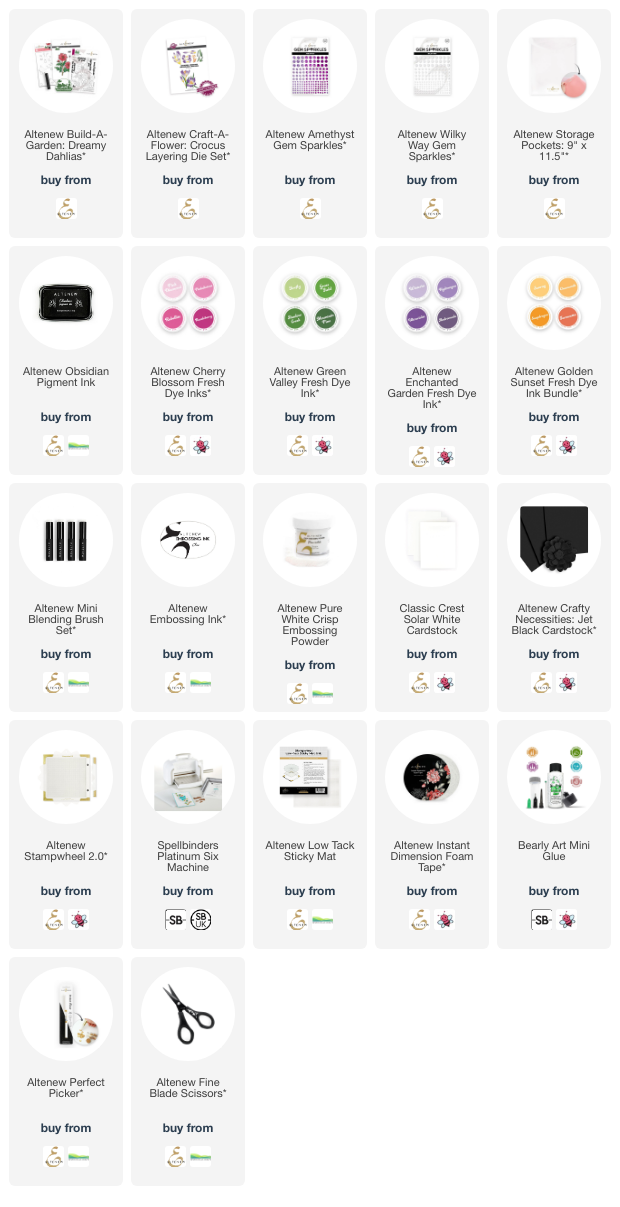
SUPPLIES:
Here are the links to
what I have used on the projects. Affiliate
links are used on some products. This means that if you make a purchase after
clicking on my link, I receive a small commission with no extra cost to you. I
truly appreciate your support when using these links. Please click on the logo below
the product to shop at your favourite store. All products were personally
purchased except those from Clearly Besotted, Hero Arts or those marked with an
asterisk (*) which were kindly sent to me to use. You can read my full
disclosure here.
Thank you so much for stopping by today, I really do appreciate it. I hope you have a wonderful time on the hop and have a great rest of the day too! Take care!