10 April 2024

Spellbinders | More Fresh Picked

Hello there and happy Spellbinders release day to you! Today I am sharing a card using the Fresh Picked Angel Trumpets Etched Dies from the More Fresh Picked collection. These floral dies have a stylized look to them and cover an A2 card base. I decided, however for this card to cut the pieces down and create my own arrangement. 


PLEASE NOTE: This post contains affiliate links. Please see below for my full disclosure.


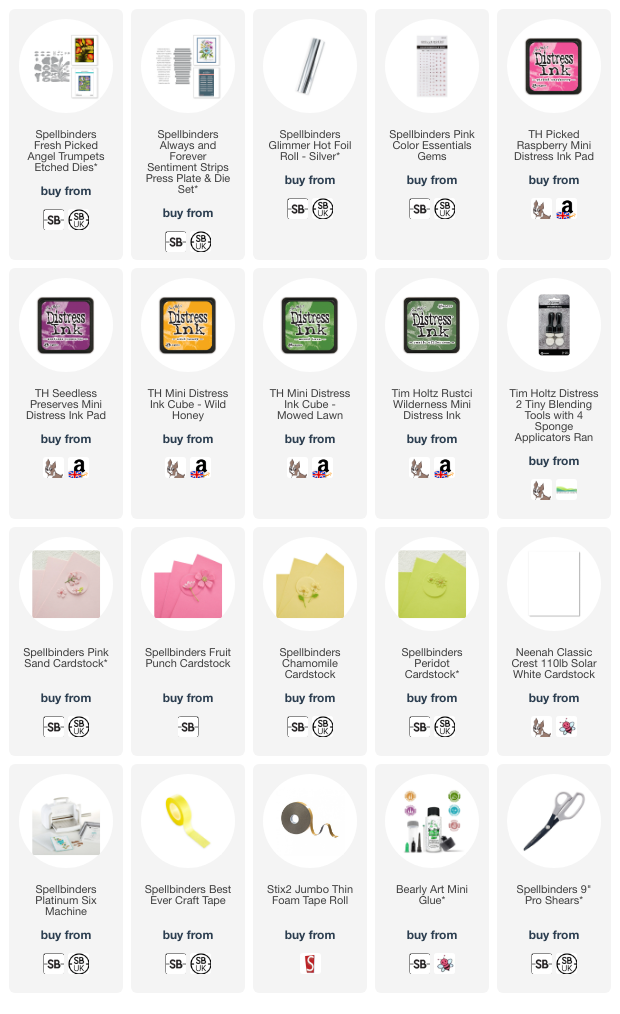
I started off by die cutting the base of the flowers from the Spellbinders Fresh Picked Angel Trumpets Etched Dies from Spellbinders Fruit Punch Cardstock, the tops of the flowers from Spellbinders Pink Sand Cardstock and the centres from Spellbinders Chamomile Cardstock. I cut the leaves/stem layer from Spellbinders Peridot Cardstock before cutting it down to the individual leaves and stems. 


I added ink blending to the pieces using Distress Inks and a Tiny Ink Blending Tool. I assembled the flowers using Bearly Art Glue and adhered them to a US A2 sized white card base with thin foam tape. I then tucked the stems and leaves around the flowers, adhering with Bearly Art Glue. 


I hot foiled the Spellbinders Always and Forever Press Plate & Die Set onto white cardstock using Spellbinders Silver Foil. I cut them out using the coordinating die and then adhered the 'thanks a million' sentiment to the card using thin foam tape. To finish off, I embellished with Spellbinders Pink Color Essentials Gems. 

SUPPLIES:


Here are the links to what I have used on the project. Affiliate links are used on some products. This means that if you make a purchase after clicking on my link, I receive a small commission with no extra cost to you. I truly appreciate your support when using these links. Please click on the logo below the product to shop at your favourite store. All products were personally purchased except those from Clearly Besotted, Hero Arts or those marked with an asterisk (*) which were kindly sent to me to use. You can read my full disclosure here.

I hope you will check out the new Spellbinders collections. I will be sharing more using them over the next few weeks. Thank you so much for stopping by today, I really appreciate it. I hope you have a wonderful day! 

9 April 2024

Spellbinders | Let's Celebrate

Hello there, today I have two cards to share with you using the Let's Celebrate Collection from Spellbinders, designed by Yana Smakula. 


The collection is beautiful and features press plates as well as a die set. I used the press plates for foiling on these cards but the plates would look beautiful with the letterpress technique too! 

PLEASE NOTE: This post contains affiliate links. Please see below for my full disclosure.


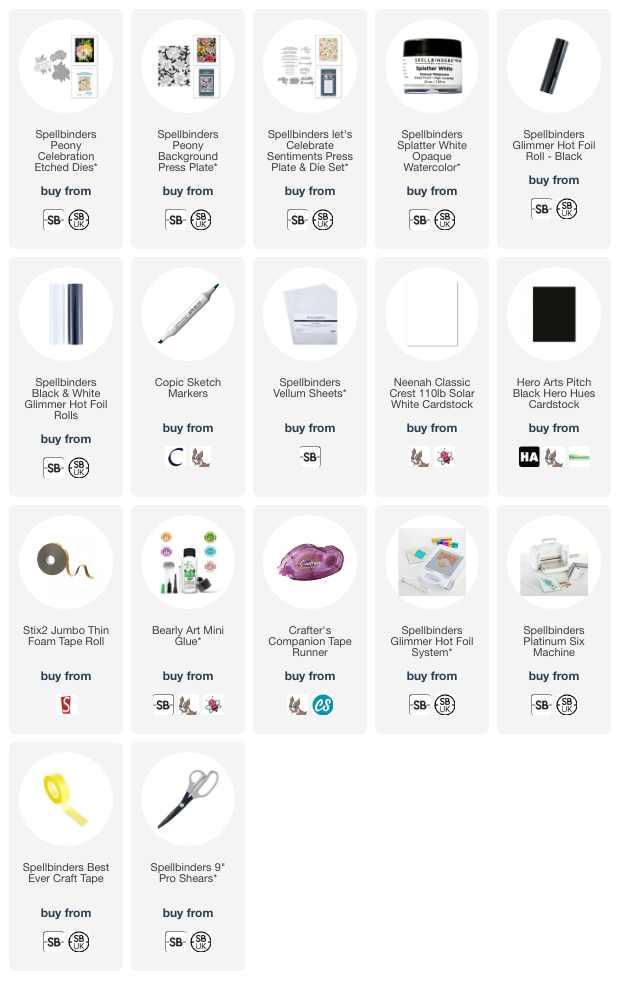
For my first card, I started off by die cutting the Spellbinders Peony Celebration Etched Die. I cut the flower layer from white cardstock twice. The first time I cut it, I tried not to add to much pressure so that it kept the inside pieces of the flower intact. The second time, I cut it perfectly, so that I just got the outline. I coloured the bottom (intact) layer using Copic Markers (V09, V17, V15 & V01).


I then adhered the outline layer on top to hide the colouring that went outside the lines. I die cut the base layer/shadow from vellum and adhered that behind. I took a black US A2 sized card base and taking Spellbinders Splatter White Opaque Watercolor (adding a little water to loosen it up), splattered it on to the card base before setting it aside to dry. 


Once dry, the flower piece was adhered on top using thin foam tape. I then foiled a sentiment from the Spellbinders Let's Celebrate Sentiments Press Plate & Die Set onto black cardstock using Spellbinders White Foil. It was cut into a strip and adhered to the card using more thin foam tape. 


For my next card, I took the Spellbinders Peony Background Press Plate and foiled it onto white cardstock using Spellbinders Black Foil. 


I then coloured the flowers and leaves using Copic Markers. I used V09, V17, V15 & V01 for the purple flowers, RV66, RV55 & RV52 for the pink flowers and G28, YG17, YG23 & YG01 for the leaves and stems. 


The panel was cut down and adhered to a US A2 sized white card base with tape runner adhesive. I then foiled the sentiment from the Spellbinders Let's Celebrate Sentiments Press Plate & Die Set onto white cardstock using more black foil. It was die cut out using the coordinating die and then I cut another two layers of the die from white cardstock to add dimension. It was adhered to the card with thin foam tape. 

SUPPLIES:


Here are the links to what I have used on the projects. Affiliate links are used on some products. This means that if you make a purchase after clicking on my link, I receive a small commission with no extra cost to you. I truly appreciate your support when using these links. Please click on the logo below the product to shop at your favourite store. All products were personally purchased except those from Clearly Besotted, Hero Arts or those marked with an asterisk (*) which were kindly sent to me to use. You can read my full disclosure here.


Thank you so much for stopping by to see me today, I really do appreciate it. I hope you have a wonderful day! 

3 April 2024

Simon Says Stamp | Groovy Blooms

Hello there, apologies once again for my lack of blog posts lately. I had a procedure to try and help with my migraines and unfortunately (although as to be expected), it made them worse for some time. I am finally back in my craft room today and wanted to share a card that I made before the procedure using the latest Simon Says Stamp Be Bold release. They kindly sent me the Groovy Blooms Layering Stencils to play with and they are a lot of fun! 

PLEASE NOTE: This post contains affiliate links. Please see below for my full disclosure.


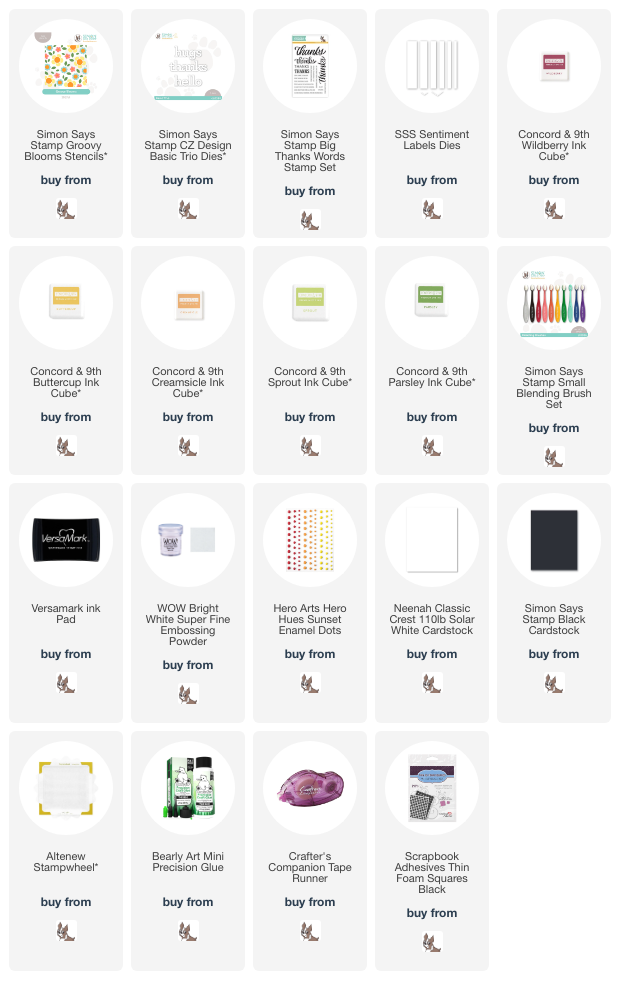
I started off my card by taking a panel of white cardstock and placed it in the corner of the Altenew Stampwheel. I then placed the first Simon Says Stamp Groovy Blooms Layering Stencils on top. These stencils are really easy to line up and I think you can use them in any order. 


I then added ink blending on top using Ink Blending Brushes. For the flowers I used Concord & 9th Wildberry Ink, the flower centres use Concord & 9th Buttercup and Creamsicle Inks. For the leaves, I used Sprout & Parsley Inks. It was then cut into panel and adhered to a US A2 (4.25" x 5.5") sized white card base. 


I die cut the 'thanks' sentiment from the Simon Says Stamp CZ Design Basic Trip Dies three times from black cardstock. They were adhered one on top of another and then onto the card using Bearly Art Glue. I stamped a sentiment from the Simon Says Stamp Big Thanks Words Stamp Set onto black cardstock using Versamark Ink. I applied white embossing powder and heat set. It was cut into a strip and adhered to the card with foam tape. To finish off, I added a few Hero Arts Sunset Enamel Dots. 

SUPPLIES:


Here are the links to what I have used on the project. Affiliate links are used on some products. This means that if you make a purchase after clicking on my link, I receive a small commission with no extra cost to you. I truly appreciate your support when using these links. Please click on the logo below the product to shop at your favourite store. All products were personally purchased except those from Clearly Besotted, Hero Arts or those marked with an asterisk (*) which were kindly sent to me to use. You can read my full disclosure here.


There are so many colour combinations that can be used with these stencils. I kept the flowers all the same colour, but they can be different colours, you would just have to do a bit of masking. Thank you so much for stopping by today, I really appreciate it. I hope you have a wonderful day! 

22 March 2024

Spellbinders | Mirrored Arch Collection

Hello there, I'm delighted to be over on the Spellbinders blog sharing three cards using the Mirrored Arch Collection. This collection features a few press plates, nested dies and an emboss and cut folder. I really love the shape of the nested dies and the other products in the collection work beautifully with them!

PLEASE NOTE: This post contains affiliate links. Please see below for my full disclosure.


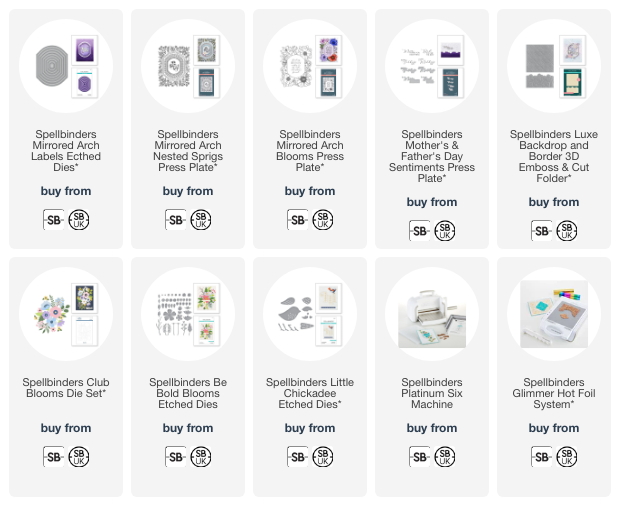
This card uses the beautiful Mirrored Arch Nested Sprigs Press Plate but instead of pressing/letterpressing, I hot foiled it and then added ink blending on top. The sentiment from the set was hot foiled and then cut out using one of the Mirrored Arch Labels Dies. The card was embellished with Club Blooms, Be Bold Blooms (leaves) and Little Chickadee. 

SUPPLIES:


Here are the links to what I have used on the projects. Affiliate links are used on some products. This means that if you make a purchase after clicking on my link, I receive a small commission with no extra cost to you. I truly appreciate your support when using these links. Please click on the logo below the product to shop at your favourite store. All products were personally purchased except those from Clearly Besotted, Hero Arts or those marked with an asterisk (*) which were kindly sent to me to use. You can read my full disclosure here.


For more information on the card, as well as a look at the other two cards I made, please head over to the Spellbinders blog. Thanks so much for stopping by today, I hope you have a wonderful day! 

18 March 2024

VIDEO | You Make Moo So Happy

Hello there, I apologise for my lack of blog posts recently. I have been creating behind the scenes, but nothing that I can show you just yet, sorry! However, I am delighted to be over on the My Favorite Things YouTube Channel today, sharing a card using the super cute You Make Moo So Happy Set. I love these highland cows! 

PLEASE NOTE: This post contains affiliate links. Please see below for my full disclosure.


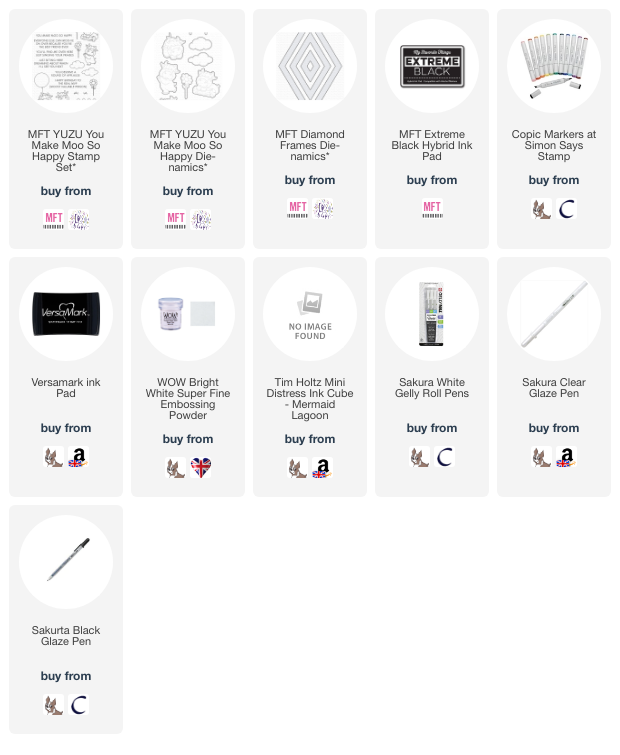
I started off my card by stamping one of the cows and one of the flowers from the MFT You Make Moo So Happy Stamp Set onto white cardstock using MFT Extreme Black Ink. I then coloured them with Copic Markers (the colours that I used are listed below the supplies area for reference). I die cut them out using the coordinating MFT You Make Moo So Happy Die-namics. 


Whilst die cutting, I also die cut the fence from the set (I didn't want the stamped image, just the die cut), twice from white cardstock, as well as the larger MFT Diamond Frames Die-namics. I cut that three times from white cardstock. On one of the inside pieces for the frame, I added a little ink blending with Tim Holtz Mermaid Lagoon Distress Ink, just to suggest a little bit of sky behind the cow. 


I adhered the diamond frames one on top of another and then adhered them to a US A2 sized white card base. I added the inside piece for the subtle background. I stamped a sentiment from the MFT You Make Moo So Happy Stamp Set onto black cardstock using Versamark Ink. I applied white embossing powder and heat set. It was cut into a strip and then adhered to the card with foam tape. 


I adhered the two fences one on top of another and then popped the bottom of it behind the sentiment strip. Using a craft knife, I cut around the cow's front arm/leg so that I could pop the stem of the flower behind. This makes it look like the cow is holding the flower, rather than it just hovering in front of her. She was then adhered to the card using foam tape. To finish off, I added white gel pen highlights, followed by black glaze pen on the cow's eyes and clear glaze pen on her nostrils. 

VIDEO:

Here is the video showing how I made the card:


If you are viewing this blog post via email subscription, you can watch the video HERE on YouTube. 

SUPPLIES:


Here are the links to what I have used on the project. Affiliate links are used on some products. This means that if you make a purchase after clicking on my link, I receive a small commission with no extra cost to you. I truly appreciate your support when using these links. Please click on the logo below the product to shop at your favourite store. All products were personally purchased except those from Clearly Besotted, Hero Arts or those marked with an asterisk (*) which were kindly sent to me to use. You can read my full disclosure here.


COPIC MARKERS: Cow - E49, E59, E39, E99, E97, Polychromos 283/E57, E55, E53, E51/E04, E11, E01, E000. Flower: YR27, Y17, Y15, Y13/G29, YG17, YG23, YG01. 

In the video, I say "him" when referring to the cow in the video. Obviously cows are female but I guess he could be a bull! Either way, they are super cute! Thank you so much for stopping by today, I really do appreciate it. I hope you have a wonderful day! 

10 March 2024

Spellbinders | Tulip Trio + The Weekender Virtual Retreat

Hello there and happy Spellbinders release day! There are lots of collections being released today and I will be sharing a few of them throughout the month. For today, I am using the beautiful Tulip Garden Collection by Simon Hurley. I also have some exciting news to share!

PLEASE NOTE: This post contains affiliate links. Please see below for my full disclosure.


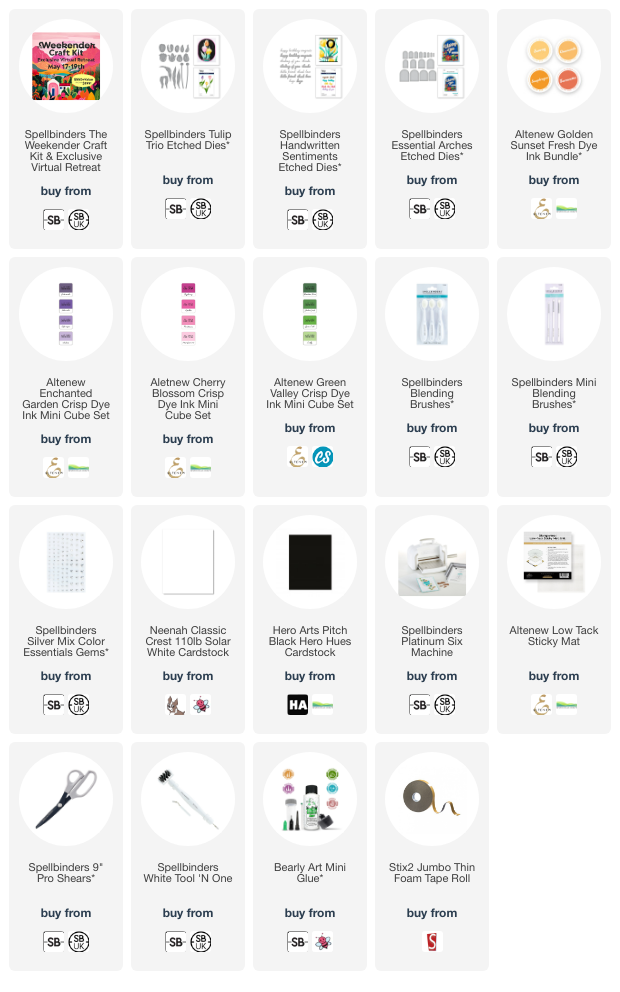
For my card, I started off by die cutting the Spellbinders Tulip Trio Etched Dies from white cardstock. Using Blending Brushes, I blended on Altenew Inks. I used Golden Sunset Inks for the yellow tulip, Cherry Blossom Inks for the pink tulip and Enchanted Garden Inks for the purple Tulip. I used Green Valley Inks for the stems and leaves. 


I adhered and assembled the tulip petals (there are lines that deboss on the layers to show where to line them up) using Bearly Art Glue. I then adhered them to the stems. I took a panel of white cardstock and die cut it using the Spellbinders Essential Arches Etched Dies. It was adhered to a US A2 sized white card base with thin foam tape. I adhered the leaves on top first, using Bearly Art Glue, followed by the flowers. I did add a little foam tape behind the pink flower, to pop it up a little from overlapping the purple one.


I took the 'hello' from the Spellbinders Handwritten Sentiments Etched Dies set and cut the word layer three times from black cardstock and the shadow twice from white cardstock. They were adhered together and then on to the card. To finish, I embellished with my favourite Spellbinders Silver Mix Color Essentials Gems. 

THE WEEKENDER CRAFT KIT & VIRTUAL RETREAT


I have some fun news! Spellbinders are holding a virtual retreat in May and I am delighted to be one of the teachers! The Weekender Craft Kit & Exclusive Virtual Retreat will take place 17th - 19th May 2024. Grab your besties and join some of your favourite designers for this 2½ day crafting event. Not only will you get an amazing kit packed with incredible and exclusive products, you’ll also get exclusive access to TEN+ hours of crafting classes with some of your favourite crafters.


The sessions will include tons of tips, tricks and make-alongs - a full weekend of creativity and fun. If you’ve ever wanted to attend a crafting retreat but didn’t have one near you, the Weekender Kit & Virtual Retreat is the perfect opportunity to create along with new friends!

This kit will include nine die sets, a 3D Embossing Folder, stencils, an exclusive stamp set… plus so much more! With cardstock kits for crafting along, fun extras and an exclusive collectible enamel pin (while supplies last), the Weekender Kit is a must-have. Kits will ship out mid-April to give you plenty of time to get yours before the event.

PLEASE NOTE: The times of the classes are in the Pacific Standard Time, so more suited to crafters in the US if you want to catch them live. However, you can stream the classes at any time suitable to you immediately after the live sessions.

SUPPLIES:


Here are the links to what I have used on the project. Affiliate links are used on some products. This means that if you make a purchase after clicking on my link, I receive a small commission with no extra cost to you. I truly appreciate your support when using these links. Please click on the logo below the product to shop at your favourite store. All products were personally purchased except those from Clearly Besotted, Hero Arts or those marked with an asterisk (*) which were kindly sent to me to use. You can read my full disclosure here.


Thank you so much for stopping by today, I really do appreciate it. I do hope that you will check out The Weekender. Not only is the kit amazing in itself, I have seen the other teacher's cards and they are AMAZING! It is going to be so much fun! Wishing you a wonderful day! 

9 March 2024

Concord & 9th | Contempo Alpha

Hello there, today I have a card to share using a few products from the Concord & 9th February 2024 release. I have to admit, I made this card a while ago for my uncle and (not so) cleverly didn't write down the colours of inks that I used! I am pretty certain that I got it right, but if it is wrong, I apologise! 

PLEASE NOTE: This post contains affiliate links. Please see below for my full disclosure.


I started off by stamping the Concord & 9th Contempo Turnabout Stamp onto white cardstock. I used the Altenew Stampwheel for this, which made the turning of the stamp very easy to do. However, I realised on my second turn that my cardstock was not cut perfectly straight so a few of the stamped images overlap, when they shouldn't be. I still thought it looked good though, so I continued with it! 


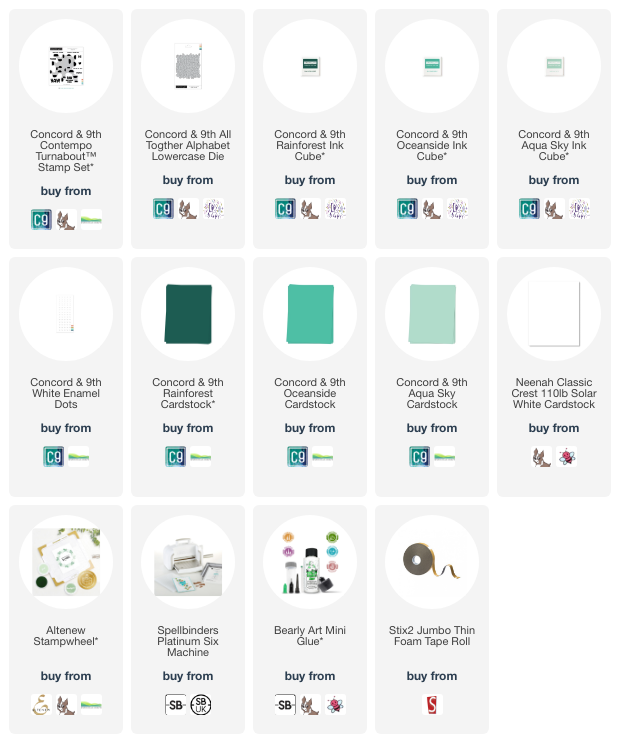
I used Concord & 9th Inks in Rainforest, Oceanside and Aqua Sky (this is the colour that I am not 100% certain on!). I only completed three turns of the stamp as I liked the white space. I took a US A2 sized white card base and added a sheet of Concord & 9th Oceanside Cardstock on top. I then cut the background piece down and adhered it on top using thin foam tape. 


I die cut the Concord & 9th All Together Alphabet Lowercase Die set so that I had two layers each of white cardstock for all the letters and then die cut it again using Concord & 9th Rainforest, Oceanside and Aqua Sky Cardstock. I stacked up the white cardstock layers first and adhered them to the card. I then adhered the colourful ones on top randomly. To finish the card, I added a few Concord & 9th White Enamel Dots. 

SUPPLIES:


Here are the links to what I have used on the project. Affiliate links are used on some products. This means that if you make a purchase after clicking on my link, I receive a small commission with no extra cost to you. I truly appreciate your support when using these links. Please click on the logo below the product to shop at your favourite store. All products were personally purchased except those from Clearly Besotted, Hero Arts or those marked with an asterisk (*) which were kindly sent to me to use. You can read my full disclosure here.


Concord & 9th are my go-to company for creating cards for the men in my family! I love the modern feel of this background and although the card is a little busier than I would normally make, I think the alphabet set works well with the background! I am looking forward to using the Turnabout again but maybe in neutral tones for a subtle background! Thank you so much for stopping by today, I really appreciate it. I hope you have a wonderful day! 

8 March 2024

Spellbinders | Large Die of the Month March 2024

Hello there, today I have a card to share using the Spellbinders March 2024 Large Die of the Month Club Kit, which is called "Classic Tales". The kits this month have a bit of a magical/fantasy/fairy-tale theme to them but this kit can be used in a few different ways - use the books on their own, use the house (and or trees) on it's own, or use them all together! 

PLEASE NOTE: This post contains affiliate links. Please see below for my full disclosure.


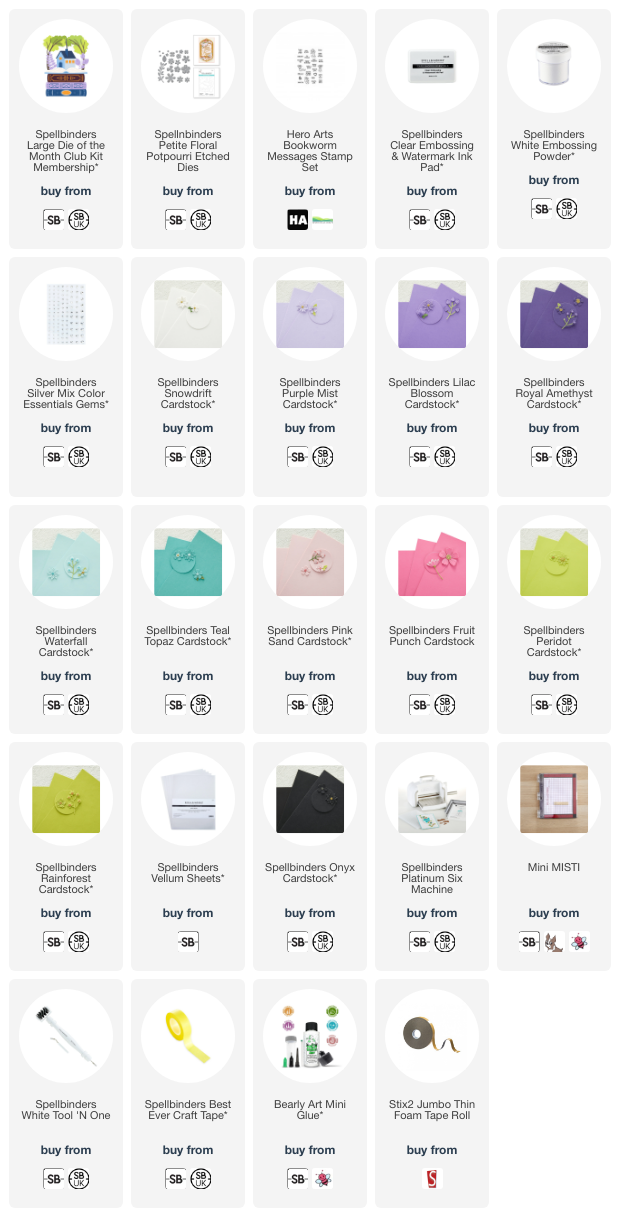
I started off my card by die cutting most of the dies from the Spellbinders March 2024 Large Die of the Month Club Kit from Spellbinders Cardstock. The books have two layers to them so that you can see a colour behind. I chose a darker colour for the base and a lighter one for the front. I used Lilac Blossom and Royal Amethyst for the purple, Waterfall and Teal Topaz for the aqua, and Pink Sand and Fruit Punch for the pink. 


For the house, I die cut the two house layers from white cardstock and layered them together, I then cut the roof and door from Spellbinders Waterfall Cardstock and adhered them on top. I cut a small piece of vellum and adhered that to the back for the windows. 


I cut the foliage from Spellbinders Peridot and Rainforest Cardstock, cutting some down to create individual leaves for the flowers, which were cut from the Spellbinders Petite Floral Potpourri set with Spellbinders Purple Mist Cardstock. The books were adhered first to a US A2 sized white card base with thin foam tape. The foliage was then adhered using Bearly Art Glue, followed by the house with more thin foam tape, as well as the flowers. 


I stamped the sentiment from the Hero Arts Bookworm Messages Stamp Set onto black cardstock using Spellbinders Clear Embossing & Watermark Ink. I applied Spellbinders White Embossing Powder and heat set. It was cut into a strip and adhered to the card with more thin foam tape. To finish off, I embellished with a few Spellbinders Silver Mix Color Essentials Gems. 

SPELLBINDERS CLUB KITS

I hope that you will check out the Spellbinders Club Kits. It is a wonderful monthly subscription where you receive the kit each month. Designers like myself share inspiration using the kit at the beginning of the month to show you lots of different ways that you can use it. 

There are also lots of other club kits too, like the Small Die of the Month, Clear Stamp & Die of the Month, Embossing Folder of the Month (plus lots more!), so there is something for everyone! If you do subscribe, you will get other benefits from Spellbinders too. Please see here for more information. You can also buy older kits here too. 

To buy the kit - if you are a current subscriber to the Large Die of the Month Club Kit (or any kit), you do not need to do anything. You will be charged as normal on the 5th of the month and your kit will be shipped to you. If you are a new subscriber, you can purchase the kit from the 6th - 27th March 2024. Members can cancel their membership at any time.


SUPPLIES:


Here are the links to what I have used on the project. Affiliate links are used on some products. This means that if you make a purchase after clicking on my link, I receive a small commission with no extra cost to you. I truly appreciate your support when using these links. Please click on the logo below the product to shop at your favourite store. All products were personally purchased except those from Clearly Besotted, Hero Arts or those marked with an asterisk (*) which were kindly sent to me to use. You can read my full disclosure here.


Thank you so much for stopping by today, I really do appreciate it. I hope you have a wonderful day! 

7 March 2024

Hero Arts | Tone-on-Tone Stamping

Hello there, I am over on the Hero Arts Blog today sharing a card using the Ramen set, which was released as part of the March 2024 My Monthly Hero release.  

PLEASE NOTE: This post contains affiliate links. Please see below for my full disclosure.


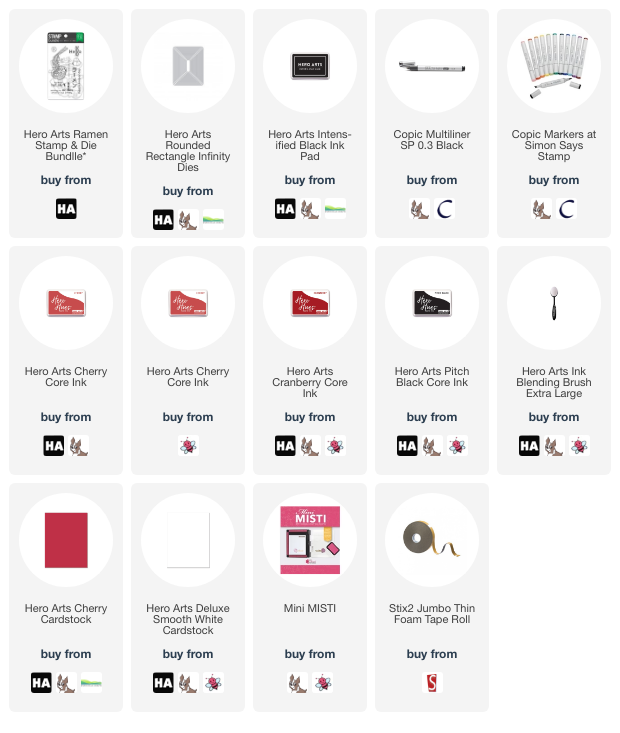
I started off my card by stamping the ramen bowl and sentiment from the Hero Arts Ramen Stamp & Die Bundle using Hero Arts Intens-ified Black Ink. I coloured the ramen and bowl using Copic Markers, adding a an extra detail with a black Copic fineliner pen to the chopsticks to add a red stripe to them. 


The background was made by die cutting a panel of Hero Arts Cherry Cardstock using the Hero Arts Rounded Rectangle Infinity Dies. I added ink blending around the edges using Hero Arts Cherry, Cranberry and Pitch Black Core Inks. I then stamped the Japanese 'ramen' word stamp from the set on top using Cranberry Core Ink. 

SUPPLIES:


Here are the links to what I have used on the project. Affiliate links are used on some products. This means that if you make a purchase after clicking on my link, I receive a small commission with no extra cost to you. I truly appreciate your support when using these links. Please click on the logo below the product to shop at your favourite store. All products were personally purchased except those from Clearly Besotted, Hero Arts or those marked with an asterisk (*) which were kindly sent to me to use. You can read my full disclosure here.


This is a great way to add more interest to a clean and simple card. The tone-on-tone stamping does not distract from the focal point but adds that extra something. For more details on how I made the card, please see the blog post HERE. Thank you so much for stopping by today, I really appreciate it. Wishing you a wonderful day! 

6 March 2024

Altenew | March 2024 Release Blog Hop + Giveaway

Hello there, I am delighted to be joining Altenew today to celebrate the March 2024 release. There are lots of new stamps, dies, embossing folders, embellishments and  watercolours, plus lots more! 

PLEASE NOTE: This post contains affiliate links. Please see below for my full disclosure.


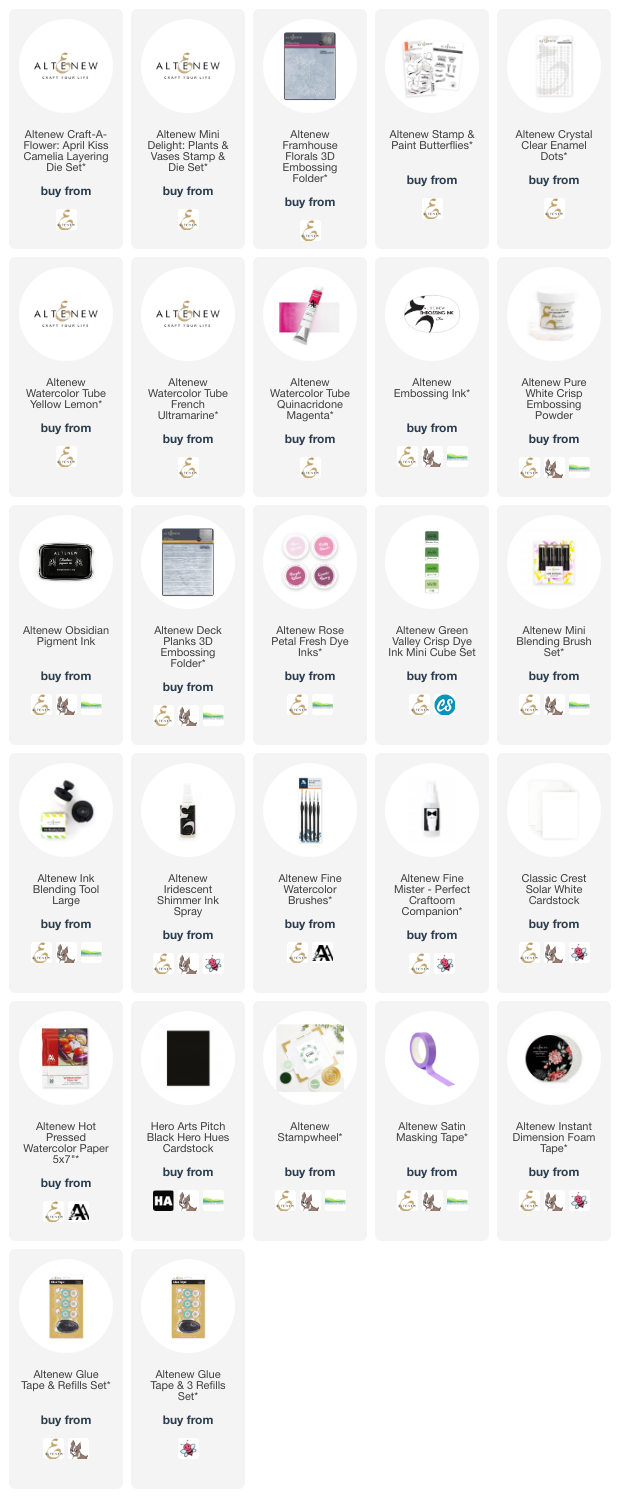
My first card today uses the new Altenew Craft-A-Flower: April Kiss Camellia Layering Die Set. I die cut the flowers and leaves from Classic Crest 110lb Solar White Cardstock and then using Altenew Mini Blending Brushes, blended Altenew Rose Petal Fresh Dye Inks to the petals and Altenew Green Valley Crisp Dye Inks to the leaves. The flowers were then assembled using liquid glue. 


I took a panel of white cardstock and ran it through my die cutting machine inside the Altenew Deck Planks 3D Embossing Folder (one of my favourites!) before adhering to the front of a US A2 sized white card base with Glue Tape. I then adhered the leaves on top, followed by the flowers. 


I took the sentiment from the Altenew Mini Delight: Plants & Vases Stamp & Die Set and stamped it onto black cardstock using Altenew Embossing Ink. I applied Altenew Pure White Crisp Embossing Powder and heat set. It was cut into a strip and adhered to the card with Altenew Instant Dimension Foam Tape. To finish off, I embellished with Altenew Crystal Clear Enamel Dots. 


My next card uses the new Altenew Paint & Stamp Butterflies Set. You can use this set in a few different ways but I started off by taking a sheet of Altenew Hot Pressed Watercolor Paper and masked off the edges using Altenew Satin Masking Tape. 


Using the Altenew Stampwheel, I stamped the butterflies on top using Altenew Obsidian Pigment Ink. Once the ink was dry, I spritzed the panel with water and then dropped in Altenew Tube Watercolors using a brush. I used the new Yellow Lemon and French Ultramarine, as well as Quinacridone Magenta. I let the panel dry and then went in with another layer of the watercolours, intensifying the colour around the butterflies. 


I removed the masking tape and adhered the panel to a US A2 sized white card base with Glue Tape. I stamped the sentiment onto more watercolour paper with the same black ink. I then die cut it out using the Altenew Paint & Stamp Butterflies Die Set. It was adhered to the card using Altenew Instant Dimension Foam Tape. 


Here is a quick look at all of the new colours of watercolour tube paints releasing today. More neutrals to add to the colours already released. 


My last card today uses the beautiful Altenew Farmhouse Florals 3D Embossing Folder. I started off by taking a panel of white cardstock and running it through my die cutting machine inside the folder. I then added ink blending on top with Altenew Rose Petal Fresh Dye Inks and an Altenew Large Blending Tool. 


I splattered on Altenew Iridescent Shimmer Ink Spray and set it aside to dry. Once dry, it was adhered to a US A2 sized white card base with Altenew Instant Dimension Foam Tape. I took the sentiment from the Altenew Mini Delight: Plants & Vases Stamp & Die Set and stamped it onto black cardstock using Altenew Embossing Ink. 


I applied Altenew Pure White Crisp Embossing Powder and heat set. It was cut into a strip and adhered to the card with more Altenew Instant Dimension Foam Tape. To finish off, I embellished with Altenew Crystal Clear Enamel Dots. 

BLOG HOP:

This blog post is part of a fun, inspirational blog hop with prizes. Please click on the pictures below to visit the other participants in the hop. 

You are invited to the Inlinkz link party!

Click here to enter

GIVEAWAY:

$300 in total prizes! To celebrate this release, Altenew is giving away a $100 gift certificate to 1 lucky winner and a $50 gift certificate to 4 winners! Please leave a comment on the Altenew Card Blog and/or each designer’s blog post on the blog hop list below by 12th March 2024 for a chance to win. Altenew will draw 5 random winners from the comments left on each stop of this blog hop and announce the winners on the Altenew Winners Page on 14th March 2024. *The winner of the $100 gift certificate will be chosen from comments left on the Altenew blog. 


SUPPLIES:


Here are the links to what I have used on the projects. Affiliate links are used on some products. This means that if you make a purchase after clicking on my link, I receive a small commission with no extra cost to you. I truly appreciate your support when using these links. Please click on the logo below the product to shop at your favourite store. All products were personally purchased except those from Clearly Besotted, Hero Arts or those marked with an asterisk (*) which were kindly sent to me to use. You can read my full disclosure here.


Thank you so much for stopping by today, I really do appreciate it. I hope you have a wonderful time on the rest of the hop and a great day! Take care! 
End of code