9 February 2024

Concord & 9th | You Are Amazing + New 2024 Color Collection

Hello there and happy Friday to you! The other day I received the most beautiful box of goodies from Concord & 9th. I am not a fan of surprises in general, but this was the most beautiful and happy surprise ever! 

They kindly sent me the new 2024 Color Collection, as well as some of the new stamps and dies from the February 2024 release. I have a card to share using some of them today, as well as a look at the new colours. 

PLEASE NOTE: This post contains affiliate links. Please see below for my full disclosure.


For my card, I started off by creating a heart shaped card base using the large heart die in the Concord & 9th Just Say More Die Set. I cut it twice from white cardstock, scored a line at the top on one to create a hinge and adhered it to the back of the other heart. I did cut a little notch off of the bottom so that it stands up okay. 


I then took five colours of cardstock and cut them into strips, varying the widths. I used Wildberry, Watermelon and Creamsicle from the new collection, and Pink Lemonade and Sweet Pea from the older Core Collection. They were adhered to the heart using liquid glue and the excess cut off the sides using scissors. I then die cut the flowers & stems from the Concord & 9th Eclectic Garden Set twice from white cardstock. 


I cut the flowers down and then adhered the two layers, one on top of another for some dimension, onto the card. I die cut the sentiment from the new Concord & 9th Everyday Expressions Die Set from white cardstock for the shadow and black for the word itself (both cut twice) and adhered them together, before adhering to the card. To finish off, I added some of the new Concord & 9th Wildberry Enamel Dots to the centres of the flowers. 

2024 COLOR COLLECTION

Here is a look at the new 2024 Color Collection. There is (top to bottom on the swatches) Wildberry, Watermelon, Creamsicle, Grasshopper, Eucalyptus and Rainforest. 


I swatched the cardstock on the left (with the new patterned cardstock in the same colours peeking from the left) and blended the inks on the right. I think they look great as a whole colour combo but also work beautifully with the core collection too. 

SUPPLIES:


Here are the links to what I have used on the project. Affiliate links are used on some products. This means that if you make a purchase after clicking on my link, I receive a small commission with no extra cost to you. I truly appreciate your support when using these links. Please click on the logo below the product to shop at your favourite store. All products were personally purchased except those from Clearly Besotted, Hero Arts or those marked with an asterisk (*) which were kindly sent to me to use. You can read my full disclosure here.

Thank you so much for stopping by today, I really appreciate it. I hope you have a wonderful rest of the day and a great weekend! 

7 February 2024

Altenew | February 2024 Release Blog Hop + Giveaway

Hello there, I am delighted to be joining Altenew today to celebrate the February 2024 release. It is filled with lots of stamps, dies, stencils, embossing folders, embellishments and tools, plus lots more! 

PLEASE NOTE: This post contains affiliate links. Please see below for my full disclosure.


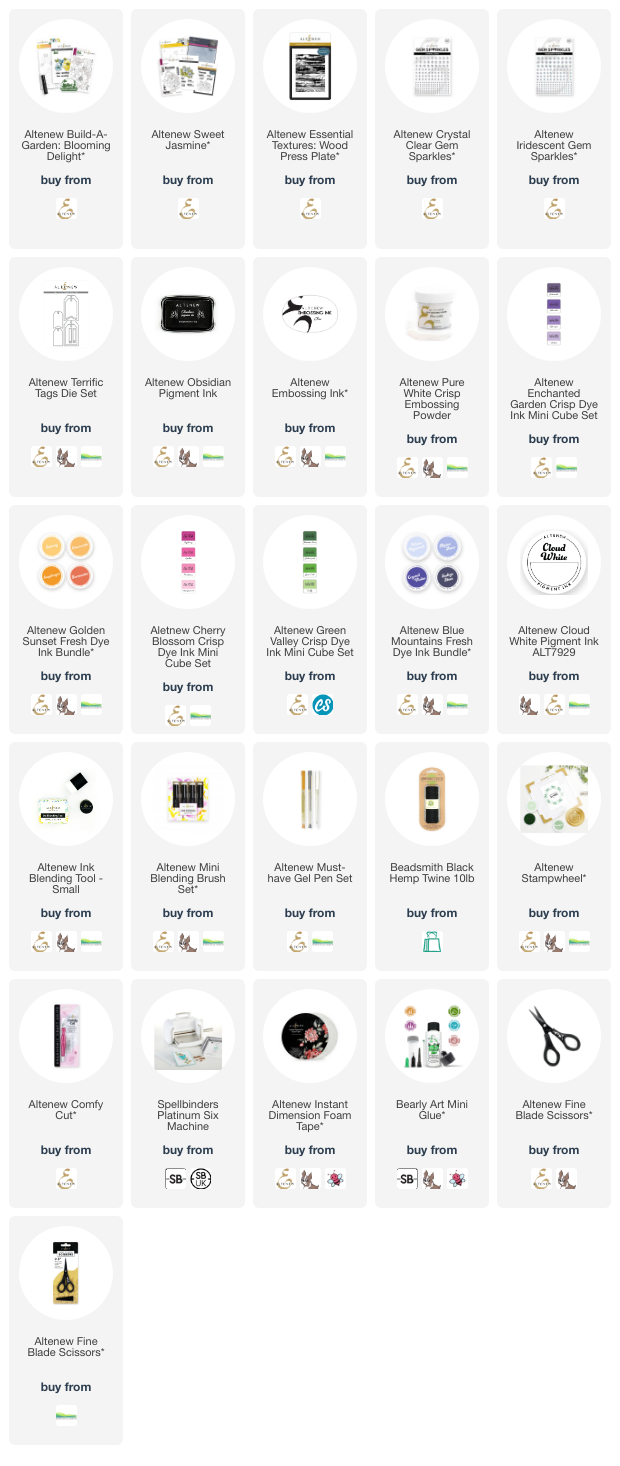
My first project uses Altenew Build-A-Garden Blooming Delight. I stamped the main floral image from the stamp set onto white cardstock using Altenew Obsidian Pigment Ink. I then took the stencils and one by one, placed them over the image and added ink blending to colour it in. 

I used Altenew Enchanted Garden and Cherry Blossom Crisp Dye Inks for the flower petals, Altenew Golden Sunset Fresh Dye Inks for the flower centres and Altenew Green Valley Crisp Dye Inks for the leaves. The image was then die cut out using the coordinating die. 

It was adhered onto a US A2 sized white card base with Altenew Instant Dimension Foam Tape. I stamped a sentiment from the Altenew Sweet Jasmine Stamp Set onto white cardstock using Altenew Obsidian Pigment Ink. I die cut it out using the Altenew Sweet Jasmine Die Set and adhered it to the card. To finish, I embellished with Altenew Iridescent Gem Sparkles. 

My next project uses the Sweet Jasmine collection - there is a stamp set, die set, stencils, press plate and embossing folder in this collection that can be purchased all together as a bundle, or separately. 

I started off by stamping the image from the Altenew Sweet Jasmine Stamp Set onto white cardstock using Altenew Obsidian Pigment Ink. Using the Altenew Sweet Jasmine Simple Coloring Stencil Set, I coloured the image using ink blending.

I used Altenew Cherry Blossom Crisp Dye Inks for the petals, Altenew Golden Sunset Fresh Dye Inks for the flower centres, and Altenew Green Valley Crisp Dye Inks for the leaves. It was die cut out using the Altenew Sweet Jasmine Die Set and set aside. 

I took the Altenew Essential Textures: Wood Press Plate and instead of pressing it, I embossed it to give a different texture. The panel was adhered to a white US A2 sized white card base, followed by the flower on top using foam tape. The sentiment, stamped with Altenew Obsidian Pigment Ink, was adhered on top. To finish, I embellished with Altenew Crystal Clear Gem Sparkles. 

My last project today uses the Altenew Sweet Jasmine 3D Embossing Folder. I die cut an Altenew Terrific Tag Die from white cardstock and added ink blending on top using Altenew Blue Mountains Fresh Dye Ink. I placed it inside the embossing folder and ran it through my die cutting machine. 

I then added Altenew Cloud White Pigment Ink on top, to just the raised areas to highlight them. I then mixed a little of the darker ink white water and splattered it on the tag. I adhered another tag to the back (for stability) and threaded twine through the top and tied in a bow. 

I took the sentiment from Altenew Build-A-Garden: Blooming Delight and stamped it onto black cardstock using Altenew Embossing Ink. I applied Altenew Pure White Crisp Embossing Powder and heat set. It was cut into a strip using the new Altenew Comfy Cut craft knife and adhered to the tag using Altenew Instant Dimension Foam Tape. To finish, I added a few white gel pen dots. 

BLOG HOP:

This blog post is part of a fun, inspirational blog hop with prizes. Please click the links below for the other participants in the hop:

You are invited to the Inlinkz link party!

Click here to enter

GIVEAWAY:

$300 in total prizes! To celebrate this release, Altenew is giving away a $100 gift certificate to 1 lucky winner and a $50 gift certificate to 4 winners! Please leave a comment on the Altenew Card Blog and/or each designer’s blog post on the blog hop list below by 13th February 2024 for a chance to win. Altenew will draw 5 random winners from the comments left on each stop of this blog hop and announce the winners on the Altenew Winners Page on 15th February 2024.*The winner of the $100 gift certificate will be chosen from comments left on the Altenew blog. 


SUPPLIES:


Here are the links to what I have used on the projects. Affiliate links are used on some products. This means that if you make a purchase after clicking on my link, I receive a small commission with no extra cost to you. I truly appreciate your support when using these links. Please click on the logo below the product to shop at your favourite store. All products were personally purchased except those from Clearly Besotted, Hero Arts or those marked with an asterisk (*) which were kindly sent to me to use. You can read my full disclosure here.


Thank you so much for stopping by today, I really appreciate it. I hope you have a great time on the rest of the hop and a great rest of the day too! take care!

6 February 2024

VIDEO | What Have I Been Buying Recently?

Hello there, I hope you are well. Today I have something different to share - a haul video. I used to share these but stopped a few years ago, for various reasons. 

PLEASE NOTE: This post contains affiliate links. Please see below for my full disclosure.


I know they are not for everyone and I am not planning on sharing them often, but what I do miss about not sharing them is the community aspect. I always found it helpful when I got comments saying what people thought of a particular product or gave advice about something. I do know that some people found it helpful to know my thoughts on certain products too, so that's why I thought I would share one now! 


If you are viewing this blog post via email subscription, you can watch the video HERE on YouTube. 

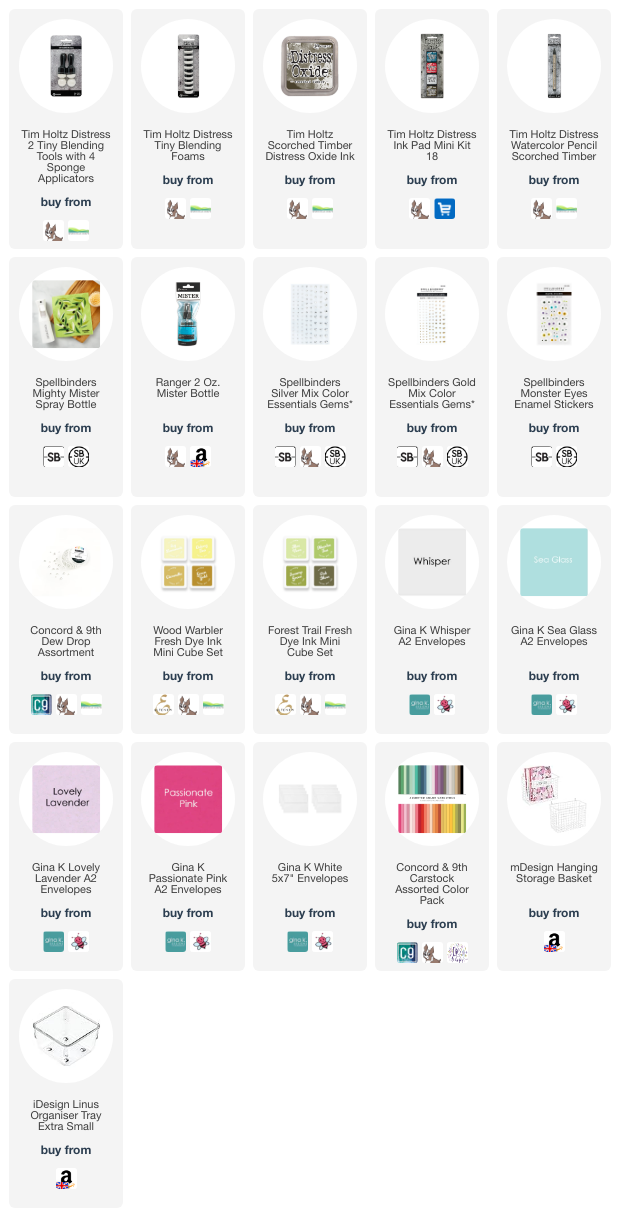
As you can see, I did purchase the new Tim Holtz Scorched Timber Distress Inks, whilst I am not a fan of brown in general, it is a helpful colour to have ... and of course I had to complete my collection of minis! Please let me know your thoughts on the Distress Watercolor Pencils if you have them! I also purchased a few tools, inks, embellishments, envelopes, cardstock and organisational items (craft room tour coming soon!). 


SUPPLIES:


Here are the links to what I have shared in the video. Affiliate links are used on some products. This means that if you make a purchase after clicking on my link, I receive a small commission with no extra cost to you. I truly appreciate your support when using these links. Please click on the logo below the product to shop at your favourite store. All products were personally purchased. You can read my full disclosure here.


Thanks so much for stopping by today, I do really appreciate it! I hope you have a wonderful day! 

5 February 2024

Hero Arts | My Monthly Hero February 2024 Release Blog Hop + Giveaway

Hello there and welcome as we celebrate the release of the Hero Arts February 2024 My Monthly Hero Kits and add-on products. The release this month is all about peace and friendship. 

PLEASE NOTE: This post contains affiliate links. Please see below for my full disclosure.

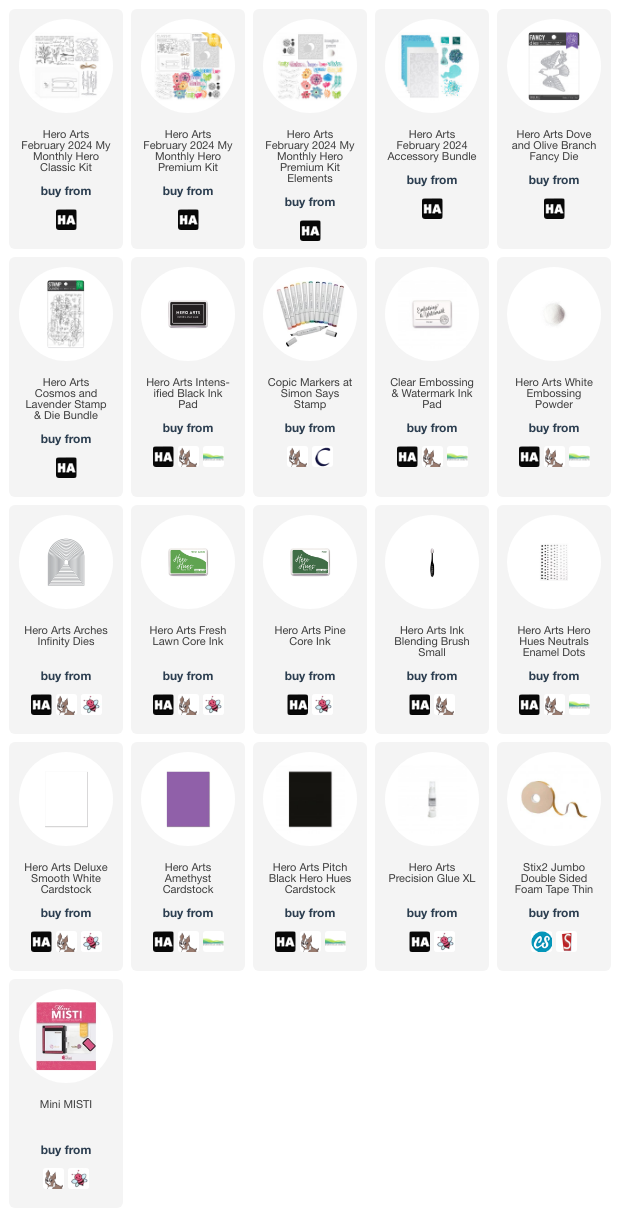
For my first card, I used the Hero Arts February 2024 My Monthly Hero Classic Kit. I started off by stamping the peace lily, butterflies and bow image from the stamp set onto white cardstock using Hero Arts Intens-ified Black Ink. I then coloured them using Copic Markers before die cutting out using the coordinating dies. 

I die cut a card base from Hero Arts Amethyst Cardstock using the Hero Arts Arches Infinity Dies (largest size), followed by a panel from white cardstock. I cut a little off of the bottom of the white panel before adhering to the card base with thin foam tape. The lily and butterflies were then adhered on top using more thin foam tape. 


The bow was adhered using Hero Arts Precision Glue. I then took the sentiment from the stamp set and stamped it onto Hero Arts Pitch Black Cardstock using Hero Arts Clear Embossing & Watermark Ink. I applied white embossing powder and heat set. It was cut into a strip and adhered to the card using more foam tape. 

In case you missed them, my countdown projects were made using the Hero Arts February 2024 My Monthly Hero Premium Kit. You can find more information about how I made them HERE. 

For my next card, I used a couple of add-on products. I used the same card design as my first one as I really liked the simplicity of it. I die cut the Hero Arts Dove and Olive Branch Fancy Die from white cardstock and then added ink blending to the branch using Hero Arts Fresh Lawn and Pine Core Inks. 

The card base was created in the same way as the card above and the white panel adhered with thin foam tape. The branch was adhered with Hero Arts Precision Glue and the dove with foam tape. 

I stamped the sentiment from the Hero Arts Cosmos and Lavender Bundle onto white cardstock using Hero Arts Intens-ified Black Ink. It was die cut using the coordinating die and adhered to the card. To finish off, I added a black enamel dot to the eye of the dove. 

MY MONTHLY HERO KITS:


• Clear Stamp Set, 6" x 8" • 17 Coordinating Dies • 4 Tag Fancy Dies • 6 Sheets Premium White Cardstock, 5.5" x 8.5" • Unicorn Pigment Ink Cube • Rustic Twine, 3 yards

The kit is valued at $81 but you can get it for $36.99 ($34.99 if you are a monthly subscriber, $32.99 if you subscribe for 6 months). 


• Clear Stamp Set, 6" x 8" 
 • Clear Stamp Set, 3" x 4" 
 • 17 Coordinating Dies 
 • 4 Tag Fancy Dies 
 • Imagine & Peace Fancy Dies 
 • Sun Stencil, 6" x 6"
 • 6 Sheets Premium White Cardstock, 5.5" x 8.5" 
 • Unicorn Pigment Ink Cube 
 • Rustic Twine, 3 yards 
 • Ephemera Pack, 48 pieces 
 • White Embossing Powder, 0.5 oz. 

The kit is valued at $112 but you can get it for $49.99 ($47.99 if you are monthly subscriber, $45.99 if you subscribe for 6 months).


You can also now purchase the Premium Kit Elements separately. This includes just the extra elements in the Premium Kit. It does not include the Classic Kit elements. 


There is also an Accessory Bundle this month too. These products compliment the kit nicely and help to increase creativity!

ADD-ONS:

There are lots of add-on products released each month. These work alongside the kit, or work on their own too. These can be purchased from Hero Arts when you order a kit, on their own or from your favourite Hero Arts retailer (these are not exclusive (unlike the kit) and are restocked if sold out). Here is a look at them:


BLOG HOP:

This post is part of a fun, inspirational blog hop with prizes. For the hop, you should have arrived here from the amazing Natasha. Next on the hop is the fabulous Jennifer. If you get lost along the hop, or want to start it from the beginning, please head over to the Hero Arts Blog. 

GIVEAWAY:

Hero Arts are giving away a $50 gift card to the Hero Store, drawn from the comments left across all the stops in the hop. Enter by 11th February 2024 at 11.59pm PT. The winner will be announced on the Hero Arts Blog the following week. 

SUPPLIES:


Here are the links to what I have used on the projects. Affiliate links are used on some products. This means that if you make a purchase after clicking on my link, I receive a small commission with no extra cost to you. I truly appreciate your support when using these links. Please click on the logo below the product to shop at your favourite store. All products were personally purchased except those from Clearly Besotted, Hero Arts or those marked with an asterisk (*) which were kindly sent to me to use. You can read my full disclosure here.


Thank you so much for stopping by to see me today, I really do appreciate it. I hope you have a wonderful time on the rest of the hop and a great rest of the day too! Take care! 

2 February 2024

Hero Arts | February 2024 My Monthly Hero Countdown to Creativity

Hello there and welcome as we countdown to the Hero Arts February 2024 My Monthly Hero release on Monday. We are sharing inspiration today and all weekend long using the new kits. The kits this month are made to spread peace, love and kindness to others, so I thought I would make a couple of encouragement type tags to send to friends. 

PLEASE NOTE: This post contains affiliate links. Please see below for my full disclosure.


My tags today use the Hero Arts February 2024 My Monthly Hero Premium Kit. I started off by stamping the round shaped sentiments in the stamp set onto white cardstock (in the kit) using Clear Embossing & Watermark Ink. I applied White Embossing Powder (also in the kit) and heat set. 


I then cut the sentiments out using Circle Infinity Dies. Using ink blending brushes, I blended Core Inks on top. I used Lemon Yellow, Dandelion, Butter Bar and Papaya. I wiped off any excess ink off of the embossing powder with a cloth and then placed them in my Splat Box. 


I mixed a little Gold Metallic Glimmer Ink with water, and using a paintbrush, splattered it over the panels. They were left to dry and then any excess ink wiped off of the embossing powder. Unfortunately you cannot see in the photos, but in real-life, the shimmer from the gold is really pretty! 


I die cut two base layers for the tags from white cardstock using the Scalloped Circles Infinity Dies. I then cut two of the tag topper piece from the Tag Infinity Dies set and using the hole as a guide, punched a hole in the scalloped circles with a Crop-A-Dile. 


The tag topper was adhered on top with Precision Glue and the sentiment pieces adhered on top with foam tape. To finish off, I added black twine tied in a bow, as well as black mini clothespins to the top of the tags. 

SUPPLIES:


Here are the links to what I have used on the projects. Affiliate links are used on some products. This means that if you make a purchase after clicking on my link, I receive a small commission with no extra cost to you. I truly appreciate your support when using these links. Please click on the logo below the product to shop at your favourite store. All products were personally purchased except those from Clearly Besotted, Hero Arts or those marked with an asterisk (*) which were kindly sent to me to use. You can read my full disclosure here.


For more inspiration using the kits, please head over to the Hero Arts Blog. Be sure to leave a comment over there too, for a chance to win a kit! Thank you so much for stopping by, I hope you have a wonderful weekend! 
30 January 2024

Spellbinders | Cosmos Backdrop

Hello there, today I have a card to share using the beautiful Cosmos Backdrop Press Plate from the Spellbinders Pressed Posies Collection. Whilst I wouldn't usually go for a whole over plate pattern (preferring to stick to a set focal point), this plate is gorgeous and I couldn't resist! 

PLEASE NOTE: This post contains affiliate links. Please see below for my full disclosure.


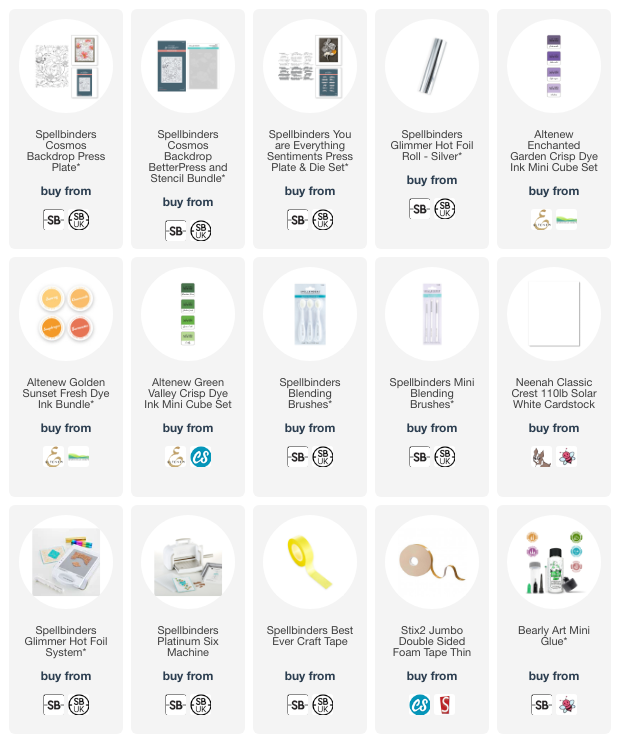
Although these are press plates that I am using today (to be used with the Spellbinders BetterPress System), I opted to hot foil with them instead. I find that the press plates give beautiful foiled results! I started off by hot foiling the Spellbinders Cosmos Backdrop Press Plate onto white cardstock using Spellbinders Silver Foil and the Spellbinders Glimmer Hot Foil System. 


I then took the coordinating stencils for the plate, and one by one, placed them on top of the image, adding ink blending to colour it in. I used Altenew Enchanted Garden Crisp Dye Inks for the flower petals, Altenew Golden Sunset Fresh Dye Inks for the flower centres, and Altenew Green Valley Crisp Dye Inks for the leaves. 


I then simply cut the panel down and adhered it onto a US A2 sized white card base with thin foam tape. I took the Spellbinders You Are Everything Sentiments Press Plate & Die Set and foiled it onto white cardstock using Spellbinders Silver Foil. They were die cut out and then I also die cut it another two times, so that I could stack them up to create dimension. The sentiment was then adhered to the card using Bearly Art Glue. 

SUPPLIES:


Here are the links to what I have used on the project. Affiliate links are used on some products. This means that if you make a purchase after clicking on my link, I receive a small commission with no extra cost to you. I truly appreciate your support when using these links. Please click on the logo below the product to shop at your favourite store. All products were personally purchased except those from Clearly Besotted, Hero Arts or those marked with an asterisk (*) which were kindly sent to me to use. You can read my full disclosure here.


I decided to keep the card as is without embellishment as there is a lot of foil on there and that sparkles and glistens enough, I think! I would love to try colouring this image too and hopefully I will get time to do that soon! Thank you so much for stopping by today, it is most appreciated. I hope you have a wonderful day! 

23 January 2024

Hero Arts | U Are Loved

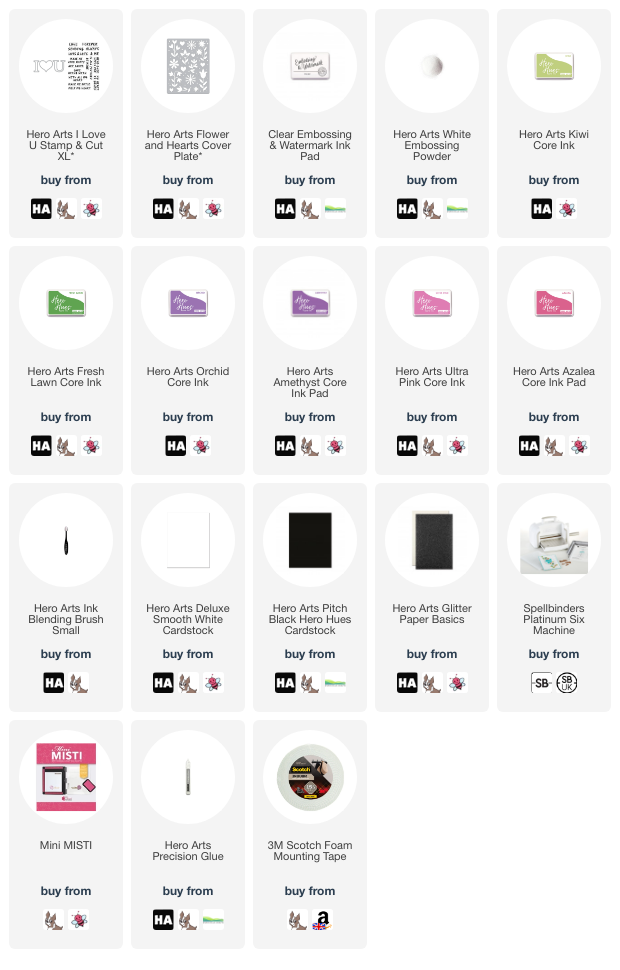
Hello there, I am over on the Hero Arts Blog today sharing a card using I Love U Stamp & Cut XL, alongside the Flowers and Hearts Cover Plate. 

PLEASE NOTE: This post contains affiliate links. Please see below for my full disclosure.


I created a simple focal point for my card by die cutting the 'U' from Hero Arts I Love U Stamp & Cut XL four times from white cardstock and stacking them up one on top of another. The accompanying sentiment from the set was heat embossed in white onto black cardstock and cut into a strip. 


I die cut the Hero Arts Flowers and Hearts Cover Plate from white cardstock and added ink blending on top using Hero Arts Core Inks. The flowers were arranged on an A2 sized white card base, cutting down the flowers as required, and then the sentiment popped on top. For some added sparkle, I die cut the dots in the cover plate from white glitter cardstock and adhered them around the flowers. 

SUPPLIES:


Here are the links to what I have used on the project. Affiliate links are used on some products. This means that if you make a purchase after clicking on my link, I receive a small commission with no extra cost to you. I truly appreciate your support when using these links. Please click on the logo below the product to shop at your favourite store. All products were personally purchased except those from Clearly Besotted, Hero Arts or those marked with an asterisk (*) which were kindly sent to me to use. You can read my full disclosure here.


For the full details on how I made the card, please head over to the Hero Arts Blog. Thank you so much for stopping by today, I really appreciate it. I hope you have a wonderful day! 

19 January 2024

VIDEO | MFT Paper Planes

Hello there, I am delighted to be over on the My Favorite Things YouTube channel today, sharing a card using the Paper Planes set from the January release. This is such a cute set that is perfect for lots of different occasions. For my card today, I created a hugs card with a rainbow colour scheme.  

PLEASE NOTE: This post contains affiliate links. Please see below for my full disclosure.


I started off by creating the background. I partially die cut one of the MFT Jumbo Fishtail Banner STAX Die-namics from white cardstock. I just cut the bottom banner piece only, so that I can could make the shape longer in height. I then cut the sides using a guillotine. I placed the MFT Cloud Stencil on top and then using blending brushes, I blended Distress Inks on top to create the colourful clouds. 


After using Picked Raspberry for the top layer, I removed the stencil, rotated it and placed it back below the first cloud layer. This layer was blended with Dried Marigold. I continued this with all the layers (roating the stencil as I went) using the following colours - Mustard Seed, Cracked Pistachio, Mermaid Lagoon and Wilted Violet. I finished off with Picked Raspberry at the bottom. 


I then stamped the images from the MFT Paper Planes Stamp Set onto white cardstock using black ink. They were coloured using Copic Markers (the colours that I used are listed below the supplies area) and then die cut out using the coordinating Paper Planes Die-namics. The sentiment from the set was stamped onto MFT Black Licorice Cardstock using Versamark Ink. 


I applied white embossing powder and heat set. It was then cut into a strip. I adhered the clouds to the banner piece using liquid glue and adhered the birds and dog/plane with thin foam tape. I added thin foam tape to the back of the banner and then adhered it to a US A2 sized white card base. To finish off, I added Nuvo Crystal Glaze to the googles. 

VIDEO:

Here is the video showing how I made the card:


If you are viewing this blog post via email subscription, you can watch the video HERE on YouTube. 

SUPPLIES:


Here are the links to what I have used on the project. Affiliate links are used on some products. This means that if you make a purchase after clicking on my link, I receive a small commission with no extra cost to you. I truly appreciate your support when using these links. Please click on the logo below the product to shop at your favourite store. All products were personally purchased except those from Clearly Besotted, Hero Arts or those marked with an asterisk (*) which were kindly sent to me to use. You can read my full disclosure here.


COPIC MARKERS: Dog - E49, E59, E57, E55. Googles & scarf - B18, B06, B04, B02. Plane - C7, C5, C3, C0, C00. Pink cloud - RV55, RV52, 0. Pink bird - RV66, RV55, RV52/Y13. Orange clouds - YR65, YR61, YR0000, 0. Green/mint cloud - G02, G00, G000, 0. Blue cloud - B01, B000, B0000, 0. Blue bird - B04, B02, B01, B000/Y13. Violet clouds - V15, V12, V01, 0. 

I really like how the stamped clouds and birds colour coordinate with the clouds in the background. I thought it was just a fun touch to the card! Thank you so much for stopping by today, I really do appreciate it. I hope you have a wonderful day and a great weekend too! Take care! 
17 January 2024

Spellbinders | Fresh Picked Daffodils

Hello there, today I have a card to share using the Fresh Picked Daffodils dies from the new Spellbinders Fresh Picked Collection. I had planned on making the card in a traditional colour palette but then I saw a planner/notebook with a floral design on. It had a dark background and grey leaves and I really liked it, so I popped some purple in as an accent colour too. 

PLEASE NOTE: This post contains affiliate links. Please see below for my full disclosure.


I started off the card by die cutting the Spellbinders Fresh Picked Daffodils Etched Dies leaves from Spellbinders Fog Cardstock twice. I then cut the daffodil petals from Spellbinders Snowdrift Cardstock. For the flower centres, I used Spellbinders Purple Mist and Lilac Blossom Cardstock. 


I stacked the leaves one on top of another using Bearly Art Glue first and then adhered them onto a black US A2 sized white card base. I adhered the flower centres to the petals using Bearly Art Glue and then adhered them to the card using thin foam tape. 


I took the thanks word from the Spellbinders Yana's Layered Script Sentiments Etched Dies from black cardstock three times and adhered them one on top of another onto the shadow piece cut from white cardstock. It was then adhered to the card with more thin foam tape. To finish off, I added three Spellbinders Silver Mix Color Essentials Gems to the stamens on the flower. 

SUPPLIES:


Here are the links to what I have used on the project. Affiliate links are used on some products. This means that if you make a purchase after clicking on my link, I receive a small commission with no extra cost to you. I truly appreciate your support when using these links. Please click on the logo below the product to shop at your favourite store. All products were personally purchased except those from Clearly Besotted, Hero Arts or those marked with an asterisk (*) which were kindly sent to me to use. You can read my full disclosure here.


These sets are made to fit inside an A2 card base in a stylized way, but you can use them in different ways too. Thank you so much for stopping by today, I hope you have a wonderful day! 
End of code