Hello there, I am delighted to be over on the
My Favorite Things YouTube channel today, sharing a card using the Paper Planes set from the January release. This is such a cute set that is perfect for lots of different occasions. For my card today, I created a hugs card with a rainbow colour scheme.
PLEASE
NOTE: This post contains affiliate links. Please see below for my full
disclosure.
I started off by creating the background. I partially die cut one of the
MFT Jumbo Fishtail Banner STAX Die-namics from white cardstock. I just cut the bottom banner piece only, so that I can could make the shape longer in height. I then cut the sides using a guillotine. I placed the
MFT Cloud Stencil on top and then using blending brushes, I blended Distress Inks on top to create the colourful clouds.
I then stamped the images from the
MFT Paper Planes Stamp Set onto white cardstock using black ink. They were coloured using Copic Markers (the colours that I used are listed below the supplies area) and then die cut out using the coordinating
Paper Planes Die-namics. The sentiment from the set was stamped onto MFT Black Licorice Cardstock using
Versamark Ink.
I applied
white embossing powder and heat set. It was then cut into a strip. I adhered the clouds to the banner piece using liquid glue and adhered the birds and dog/plane with thin foam tape. I added thin foam tape to the back of the banner and then adhered it to a US A2 sized white card base. To finish off, I added
Nuvo Crystal Glaze to the googles.
Here is the video showing how I made the card:
If you are viewing this blog post via email subscription, you can watch the video HERE on YouTube.
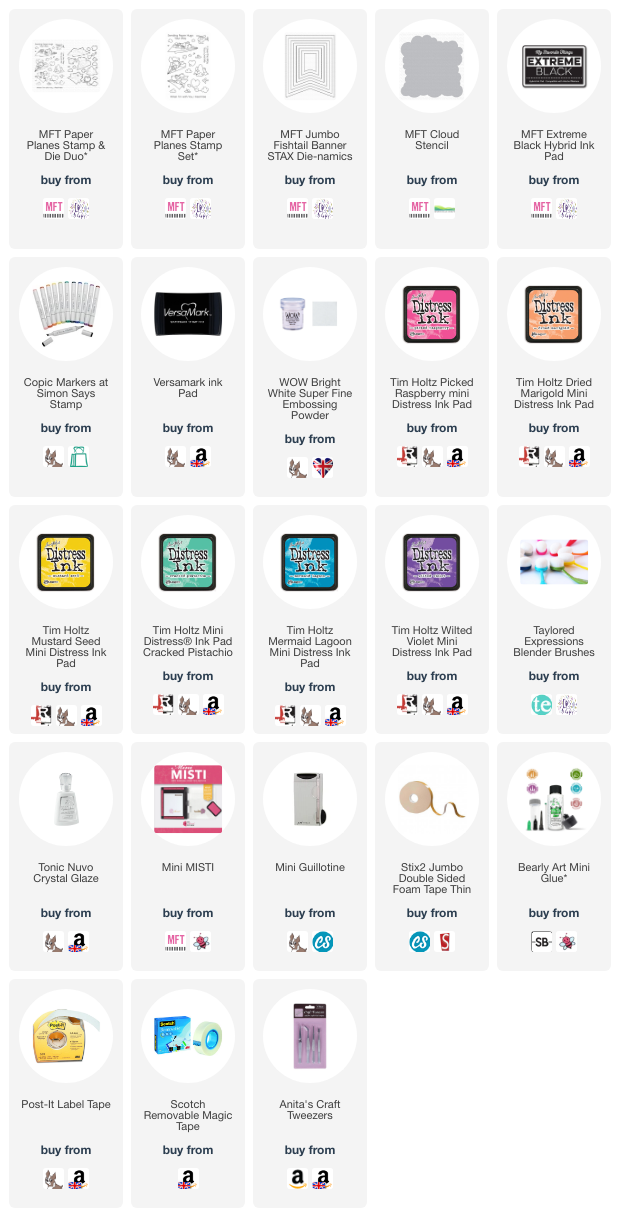
SUPPLIES:
Here are the links to
what I have used on the project. Affiliate
links are used on some products. This means that if you make a purchase after
clicking on my link, I receive a small commission with no extra cost to you. I
truly appreciate your support when using these links. Please click on the logo below
the product to shop at your favourite store. All products were personally
purchased except those from Clearly Besotted, Hero Arts or those marked with an
asterisk (*) which were kindly sent to me to use. You can read my full
disclosure here.
COPIC MARKERS: Dog - E49, E59, E57, E55. Googles & scarf - B18, B06, B04, B02. Plane - C7, C5, C3, C0, C00. Pink cloud - RV55, RV52, 0. Pink bird - RV66, RV55, RV52/Y13. Orange clouds - YR65, YR61, YR0000, 0. Green/mint cloud - G02, G00, G000, 0. Blue cloud - B01, B000, B0000, 0. Blue bird - B04, B02, B01, B000/Y13. Violet clouds - V15, V12, V01, 0.
I really like how the stamped clouds and birds colour coordinate with the clouds in the background. I thought it was just a fun touch to the card! Thank you so much for stopping by today, I really do appreciate it. I hope you have a wonderful day and a great weekend too! Take care!


This is so cute Michelle, love the cloudy rainbow coloured banner background and of course your colouring is always amazing! The little bird and the envelopes frame the flying dog so perfectly!
ReplyDelete