9 April 2021

Concord & 9th | Painted Peony

Hello there, I am delighted to be guest designing with Concord & 9th this month. It is such a fantastic release this month and I will be sharing projects using it every Friday in April. For my card today, I am using the new Painted Peony set. This set is so pretty! This is a stamp layering set. There are layers for each image, so that you can stamped them and add the layers with different colours, or you can do how I have done and just use the one layer. 


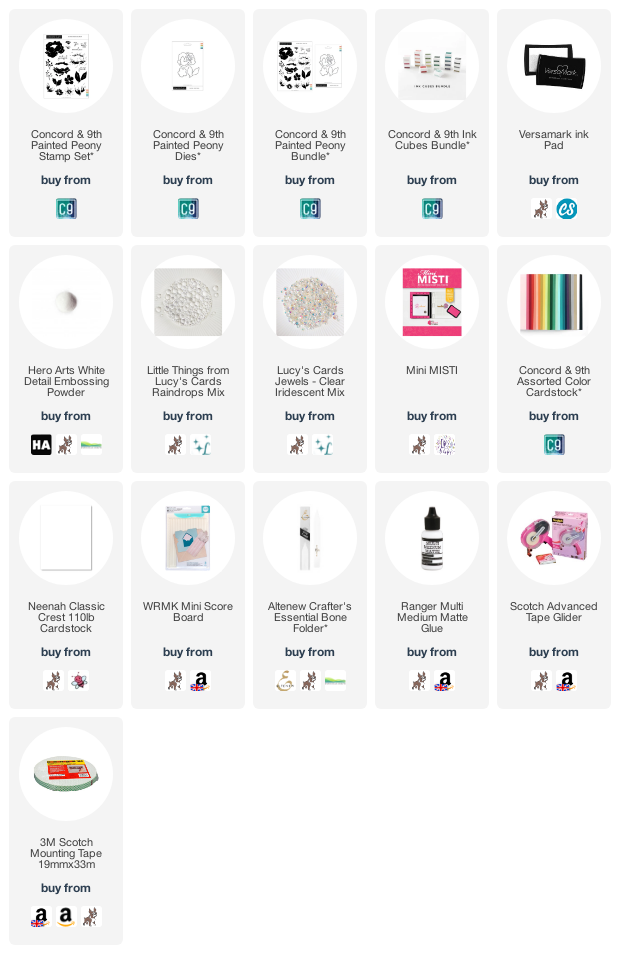
I started off by stamping the smaller flower from the Concord & 9th Painted Peony Stamp Set on to white cardstock with  Aqua Sky Ink. I really liked the painted look of these with just one layer but there are three, if you wanted to create dimension. I then stamped the leaves in Sprout Ink and the leaf/berry sprigs using Peacock and Midnight Ink. I did layer these ones up as I liked the added detail. All of the inks I used are from the Concord & 9th Ink Cubes Bundle. 


I took the Concord & 9th Painted Peony Dies and cut the flowers and leaves out. They were then set aside while I worked on the background. I took a panel of Midnight cardstock from the Concord & 9th Assorted Color Cardstock Pack and scored horizontal lines in to it using a score board and bone folder. 


I then stamped the sentiment from the set on top using Versamark Ink. I applied Detail White Embossing Powder and heat set. The panel was adhered flat to an A2 white card base and then the leaves added on top with tape runner, followed by the flowers with foam tape. To finish off, I added Lucy's Raindrops to the centres of the flowers and then a scattering of Iridescent Jewels on the background. 

SUPPLIES:


Here are the links to what I have used on the project. Affiliate links are used on some products. This means that if you make a purchase after clicking on my link, I receive a small commission with no extra cost to you. I truly appreciate your support when using these links. Please click on the logo below the product to shop at your favourite store. All products were personally purchased except those from Clearly Besotted, Hero Arts or those marked with an asterisk (*) which were kindly sent to me to use. You can read my full disclosure here.


Please do check out what the other guest designers have been up to over on the Concord & 9th blog. Thanks so much for stopping by to see me today, I really do appreciate it. I hope you have a wonderful day! 

8 April 2021

Spellbinders | Glimmer Essentials

Hello there, there have been lots of new releases over the last couple of months and today, I am using the new Glimmer Essentials Collection. This wonderful collection is simply as described, essential glimmer plates in basic shapes. These are so versatile and can be paired with so many different stamps and dies. 


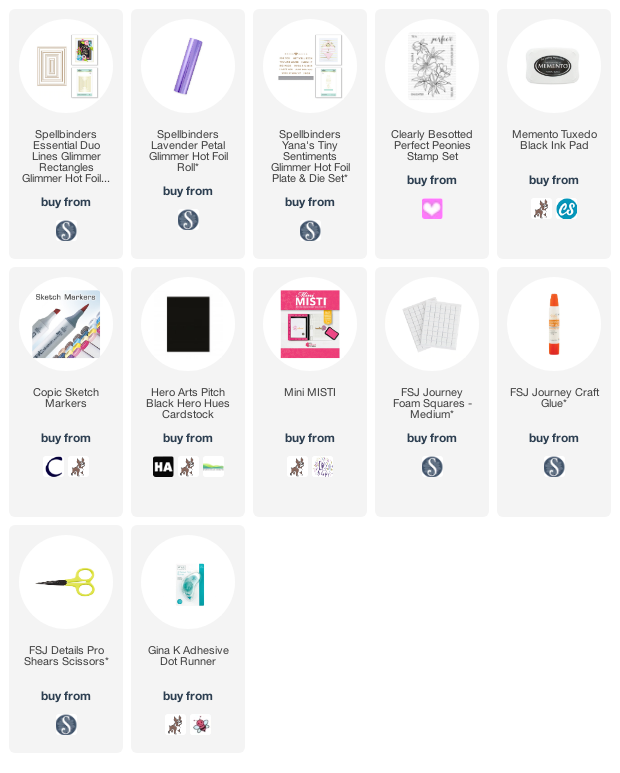
For my card, I started off by taking a panel of black cardstock and foiling one of the new Spellbinders Essential Duo Lines Glimmer Plates on top with Spellbinders Lavender Petal Glimmer Hot Foil Roll. 


I then took the Clearly Besotted Perfect Peonies image and stamped it on to white cardstock with Memento Tuxedo Black Ink. I coloured it with Copic Markers and fussy it out. The panel was adhered to an A2 black card base with tape runner and the peonies added on top with foam tape. 


I took the sentiment from Spellbinders Yana's Tiny Sentiments Glimmer Hot Foil Plate & Die Set and foiled it on to more black cardstock with the Lavender Petal Foil. It was cut in to a strip using the die in the set and then adhered to the card with foam tape. To finish off, I added a few sequins (sadly now discontinued, sorry!). 

SUPPLIES:


Here are the links to what I have used on the project. Affiliate links are used on some products. This means that if you make a purchase after clicking on my link, I receive a small commission with no extra cost to you. I truly appreciate your support when using these links. Please click on the logo below the product to shop at your favourite store. All products were personally purchased except those from Clearly Besotted, Hero Arts or those marked with an asterisk (*) which were kindly sent to me to use. You can read my full disclosure here.


I really love the purple and black together. I think these Glimmer Essentials will become very much used from now on! Thank you so much for stopping by today, I really do appreciate it. I hope you have a lovely day! 

7 April 2021

Altenew | Craft-A-Flower Cistus Layering Die Set & Gradient Cardstock Release Blog Hop + Giveaway

Hello there, I am delighted to be joining Altenew today to celebrate the release of the new Craft-A-Flower: Cistus Layering Die Set, as well as four new colours of Gradient Cardstock. For the release, we are celebrating with a fun blog hop. More details on that below. 


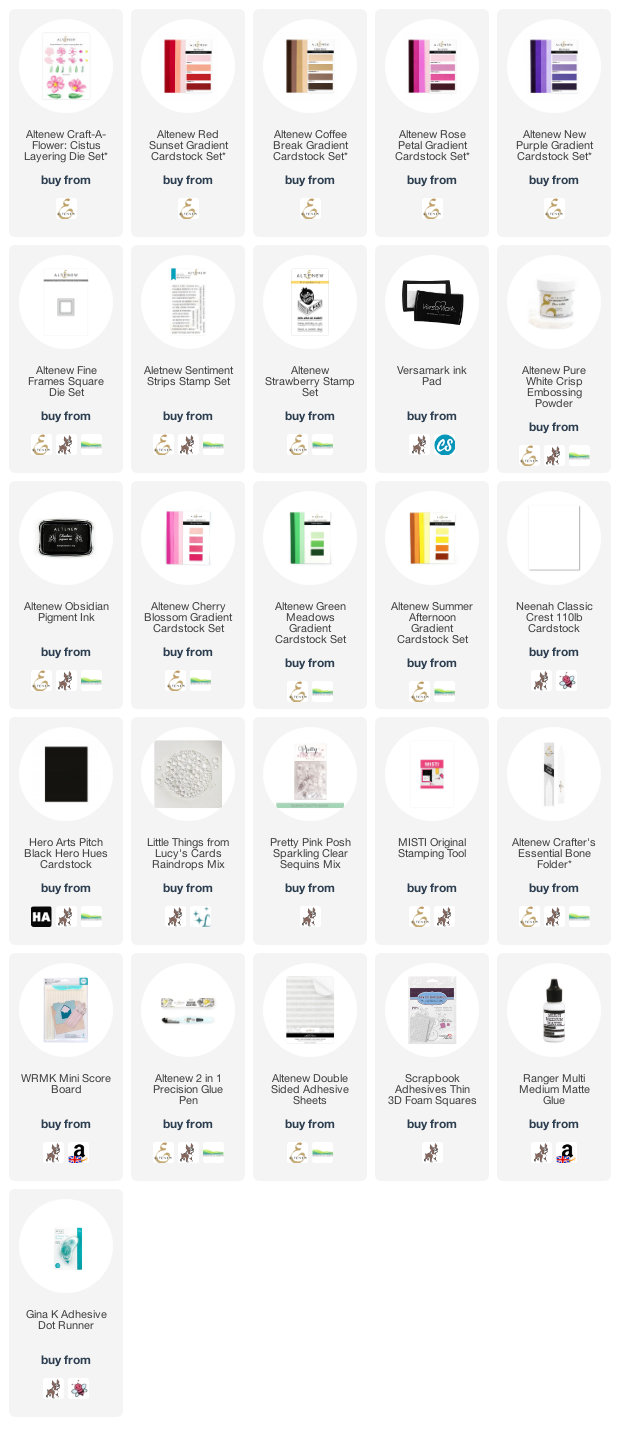
For my first card, I am using the new Create-A-Flower Cistus Layering Die Set. I have loved creating with these layering die sets recently and this one is no exception. It is so beautiful! There are two flowers in the set plus two leaves. I started off by die cutting the Altenew Craft-A-Flower Cistus Layering Die Set from Altenew Cherry Blossom Gradient Cardstock. I then used Fall Harvest Gradient Cardstock for the centre. I did add ink blending to the layers with the matching ink pads but to be honest, you cannot really see it so that was a step I could have eliminated!


I then cut the leaves from Altenew Green Meadows Gradient Cardstock. The layers were all adhered with Altenew 2 in 1 Precision Glue. I then added Altenew Double Sided Adhesive Sheet to the back of white cardstock before die cutting the Altenew Fine Frames Squares Dies. The frames were added to an A2 white card base first and then the flower and leaves added on top with tape runner. 


I took the sentiment from the Altenew Sentiment Strips Stamp Set and stamped it on to black cardstock with Versamark Ink. I applied Altenew Pure White Crisp Embossing Powder and heat set. It was cut in to a strip and added to the card with thin foam tape. To finish off, I added a few Lucy's Raindrops. 


Next, I wanted to show you the new colours of the Gradient Cardstock being released today. These colours are so pretty! I die cut the Cistus from each of the collections - top left is Red Sunset, top right is New Purple, bottom left is Coffee Break and bottom right is Rose Petal. Although Cistus are not usually purple, I fell in love with the New Purple collection so I had to use it for my next card.


I took a panel of black cardstock and using the Altenew Crafter's Essential Bone Folder and a score board, I scored horizontal lines in to it (sorry that they are difficult to see in the photos but in real-life they do add something extra to the card) before adhering it flat to an A2 white card base. 


The flowers were adhered on top and then I stamped the sentiment from the Altenew Strawberry Stamp Set on to white cardstock with Altenew Obsidian Black Ink. It was cut in to a strip and added to the card with thin foam tape. To finish off, I added a few Sparkling Clear Sequins. 

SUPPLIES:


Here are the links to what I have used on the project. Affiliate links are used on some products. This means that if you make a purchase after clicking on my link, I receive a small commission with no extra cost to you. I truly appreciate your support when using these links. Please click on the logo below the product to shop at your favourite store. All products were personally purchased except those from Clearly Besotted, Hero Arts or those marked with an asterisk (*) which were kindly sent to me to use. You can read my full disclosure here.


BLOG HOP:


As mentioned, this post is part of a fun, inspiration filled blog hop. For the hop, you should have arrived here from the fabulous Nathalie DeSousa. Next on the hop is the amazing Jaycee Gaspar. If you get lost along the way, please head to the start of the hop over at the Altenew Blog. 

GIVEAWAY:

$200 in total prizes! To celebrate this release, Altenew is giving away a $50 gift certificate to 2 lucky winners and a $20 gift certificate to 5 winners! Please leave a comment on the Altenew Card Blog and/or each designer’s blog post on the blog hop list below by 13th April 2021 for a chance to win. Altenew will draw 7 random winners from the comments left on each stop of this blog hop and announce the winners on the AltenewWinners Page on 15th April 2021. 


Thank you so much for stopping by today, I really do appreciate it. I hope you have a great time on the rest of the hop and a wonderful day! 

5 April 2021

Altenew | Whimsical Wonder Stamps/Dies/Stencils/Embossing Folders Collection Release Blog Hop + Giveaway

Hello there, I am delighted to be joining Altenew today to celebrate the release of the Whimsical Wonder Collection. This is such a wonderful collection that includes stamps, dies, stencils and embossing folders. I have some floral projects to share with you today using some of the new sets. This post is part of a fun blog hop, more details on that below. 

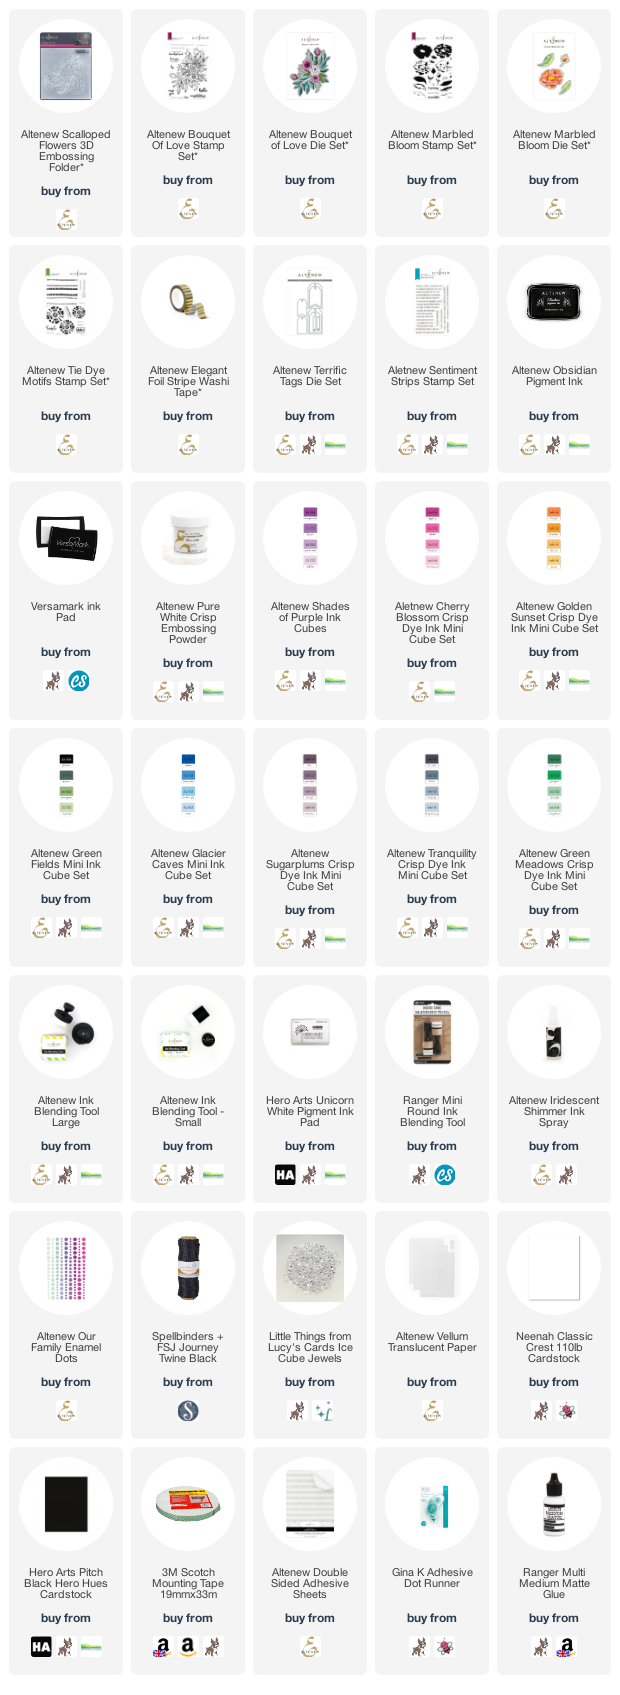
My first projects use the beautiful new Scalloped Flowers 3D Embossing Folder. I thought I would create a tag and card using the same technique but with different colours. For the card, I started off by taking a panel of white cardstock and blended Altenew Crisp Dye Inks on top with the Altenew Ink Blending Tool. I used Midnight Violet (Shades of Purple set), Rubellite (Cherry Blossom set) and Chamomile (Golden Sunset set). 

I then ran the panel through my die cutting machine using the Altenew Scalloped Flowers 3D Embossing Folder. I took Hero Arts Unicorn White Pigment Ink and using a foam ink blending tool (I wanted something flat), I blended the white ink on to the raised area of the embossing. I then spritzed the panel with Altenew Iridescent Shimmer Ink Spray and set it aside to dry. 

Once dry, it was simply adhered flat to an A2 white card base with tape runner. I heat embossed the sentiment from the Altenew Sentiment Strips Stamp Set on to black cardstock with Altenew Pure White Crisp Embossing Powder and cut them in to strips. They were added to the card with foam tape. To finish off, I added a few sequins. 

I loved the look of the embossing on the card so much that I wanted to create a little tag too. I did the same method but this time, I die cut the Altenew Terrific Tags Die first, cut a strip off of it from the left hand side and then blended it with Evergreen, Forest Glades (both from the Green Fields set) and Persian Blue (from the Glacier Caves set) inks. 

It was run through my die cutting machine with the embossing folder and the white ink applied. I didn't use the shimmer spray on this one. I then die cut another tag and added a strip of the new Altenew Elegant Foil Stripe Washi Tape down the left hand side. I then added a small strip of black cardstock, followed by the embossed tag that I had created. It was finished off with a heat embossed sentiment (from the Sentiment Strips set) and enamel dots from the Altenew Our Family Enamel Dots Set. 

My next projects use the new Bouquet Of Love set. This is such a pretty set that can be used in lots of different ways but I went very simple on my projects and simply used the outline to heat emboss. For the card, I started off by taking a panel of white cardstock and stamping the large image from the Altenew Bouquet Of Love Stamp Set on top with Versamark Ink. I then applied Altenew Pure White Crisp Embossing Powder and heat set. 

Using Altenew Ink Blending Tools, I blended on Altenew Sugarplums and Tranquility Crisp Dye Inks. I then spritzed the panel with Altenew Iridescent Shimmer Ink Spray. The panel was adhered flat to an A2 white card base. I then stamped the sentiment from the set on to black cardstock with Versamark Ink and heat embossed it. It was cut in to a strip and added to the card with foam tape. To finish off, I added a few sequins. 

Again, I thought that I would create a tag with this set too. I first die cut an Altenew Terrific Tag Die from white cardstock and blended over the same inks that I used on the card. I spritzed it with the shimmer spray and set it aside to dry. 

Whilst it was drying, I stamped the Altenew Bouquet Of Love Stamp Set on to a panel of vellum and heat embossed. I added Altenew Double Sided Adhesive Sheet to the back and then cut out using the Altenew Bouquet of Love Dies. It was adhered on to the tag and I cut around the edges with scissors. A sentiment from the set was heat embossed on to black cardstock and adhered with foam tape. I added twine through the top of the tag and embellished with sequins. 

For my last project today I am using two new sets - Marbled Blooms and Tie Dye Motifs. I started off by stamping the Altenew Marbled Blooms Stamp Set flowers and leaves on to white cardstock with Altenew Crisp Dye Inks. I used Cherry Blossom and Golden Sunset for the flower and Green Meadows for the leaves. They were then die cut out using the Altenew Marbled Blooms Dies. 

I then took a mini slimline card base (6.5" x 3.15") and stamped the lines from the Altenew Tie Dye Motifs Stamp Set on top using Altenew Obsidian Black Ink. I then stamped the sentiment from the Altenew Bouquet Of Love Stamp Set. The flower and leaves were adhered on top. The leaves with tape runner and the flower with foam tape. It was finished off by adding a few Lucy's Ice Cube Jewels. 

SUPPLIES:

Here are the links to what I have used on the project. Affiliate links are used on some products. This means that if you make a purchase after clicking on my link, I receive a small commission with no extra cost to you. I truly appreciate your support when using these links. Please click on the logo below the product to shop at your favourite store. All products were personally purchased except those from Clearly Besotted, Hero Arts or those marked with an asterisk (*) which were kindly sent to me to use. You can read my full disclosure here.


BLOG HOP:

As mentioned, this post is part of a fun, inspiration filled blog hop. You should have arrived here from Svitlana Shayevich. Next on the hop is Maryam Perez. If you get lost along the way, you can start the hop from the Altenew Blog. The full list of participants are also linked on the Altenew blog. 

SPECIAL OFFERS:

  • Get a FREE brand new Whimsical Wonder Stamp & Die Release Inspiration Guide (worth $5.99) with every order of high-value Whimsical Wonder release bundles (exclusions apply).
  • Get a FREE brand new Creative Jump Start Class with every order from the new Whimsical Wonder release collection from 5th April 2021 to 11th April 2021.
  • Get a FREE brand new Whimsical Wonder Stamp & Die Release Mini Inspiration Guide with every order from 5th April 2021 to 7th April 2021. 

GIVEAWAY:

$300 in total prizes! To celebrate this release, Altenew is giving away a $100 gift certificate to 1 lucky winner and a $25 gift certificate to 8 winners! Please leave a comment on the Altenew Card Blog and/or each designer’s blog post on the blog hop list below by 11th April 2021 for a chance to win. Altenew will draw 9 random winners from the comments left on each stop of this blog hop and announce the winners on the Altenew Winners Page on 13th April 2021.

Thank you so much for stopping by to see me, I really do appreciate it. I apologise that the post was so long but I hope that I gave you some inspiration using the new release. I hope you have a wonderful rest of the day!

VIDEO | Clearly Besotted April 2021 Release Preview

Hello there and welcome to Clearly Besotted April 2021 release day! There are six new stamps sets releasing today at 8pm BST. 
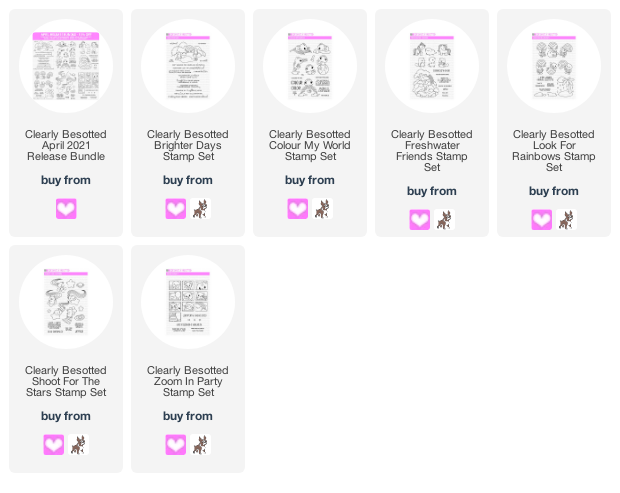

The sets this month all have an encouragement/brighter days ahead feel to them. Perfect for times like these! You can purchase the new sets as a bundle (with a discount off the price and free gifts) or separately from the Clearly Besotted shop. You can also purchase them separately from Simon Says Stamp and ArtCreatiu. Here is the video showing the new sets, plus a recap on the projects that I have made:


If you are viewing this post via email subscription. You can watch the video HERE on YouTube. 


SUPPLIES:


Here are the links to what I have shared in the video. Affiliate links are used on some products. This means that if you make a purchase after clicking on my link, I receive a small commission with no extra cost to you. I truly appreciate your support when using these links. Please click on the logo below the product to shop at your favourite store. All products were personally purchased except those from Clearly Besotted, Hero Arts or those marked with an asterisk (*) which were kindly sent to me to use. You can read my full disclosure here.


For more inspiration using the new sets, please head over to the Clearly Besotted Blog, Keren, Lisa, Kitty and Francine. Thanks so much for stopping by to see me. I hope you like the release and happy shopping if you have a little spend :) 

4 April 2021

Clearly Besotted Teasers | Otterly Lost Without You

Hello there and welcome to day four of the Clearly Besotted April 2021 Teasers. Release day is tomorrow but I have one last teaser to share with you today. For today's card, I am using two new sets - Brighter Days Ahead (for the landscape background) and Freshwater Friends (for the otters and sentiment). 

I started off by stamping the background image from the Clearly Besotted Brighter Days Ahead Stamp Set on to a panel of white cardstock with Memento Tuxedo Black Ink. I then stamped the otters from the Clearly Besotted Freshwater Friends Stamp Set on to a sperate piece of cardstock. They were both coloured using Copic Markers (the colours that I used are listed below the supplies area). 

The background panel was adhered flat on to an A2 white card base with tape runner. The otters were fuusy cut out with scissors and added on top with foam tape. I took the sentiment from the Freshwater Friends set and stamped it on to black cardstock with Versamark Ink. I applied white embossing powder and heat set. It was cut in to a strip and added to the card with more foam tape. To finish off, I added black glaze pen to the otters eyes. 

SUPPLIES:

Here are the links to what I have used on the project. Affiliate links are used on some products. This means that if you make a purchase after clicking on my link, I receive a small commission with no extra cost to you. I truly appreciate your support when using these links. Please click on the logo below the product to shop at your favourite store. All products were personally purchased except those from Clearly Besotted, Hero Arts or those marked with an asterisk (*) which were kindly sent to me to use. You can read my full disclosure here.


COPIC MARKERS: Grass - YG17, YG23, YG03, YG01. Water - BG11, BG10, BG000. Trees - E57, E55, G28, G46, G43. Mountains - BG76, BG75, BG72, BG70, E51, E50. Sky - B01, B00, B000, B0000. Rainbow - R37, R35, R14/R85, R83, R81/YR18, YR16, YR15, YR12/Y17, Y15, Y11. Otters - E47, E44, E43, E42. 

There are lost of other critters in the Freshwater Friends set but I fell in love with these otters! There is also a fabulous background image in this set too but I wanted to use the one from the Brighter Days Set. I love that the sets all mix and match together! For more inspiration using the new sets, please head over to the Clearly Besotted Blog, Keren, Lisa and our guests Kitty and Francine. Thanks so much for stopping by today, I really do appreciate it. See you tomorrow for release day! 

3 April 2021

Clearly Besotted Teasers | Let's Celebrate Virtually

Hello there and welcome to day three of the Clearly Besotted April 2021 teasers. Not long to wait until the release now. Release day is Monday 5th April 2021. Today I am using a new set called Zoom In Party. Perfect for the times that we currently find ourselves in. I have to admit, before this pandemic, talking to people over the internet was not something that I liked doing. I don't even like having my photo taken so having a picture of my face on screen does not appeal! Having said that, it has been a great way to be able to keep in touch with people recently. 


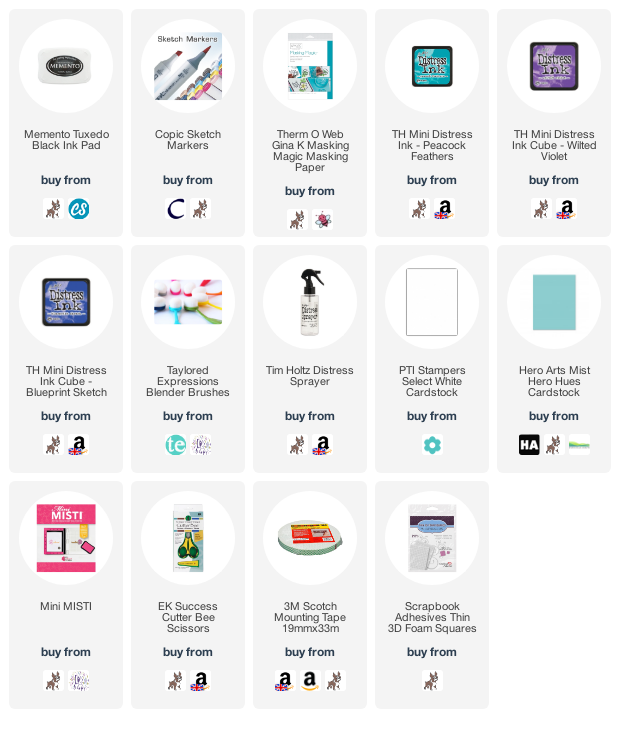
For my card, I started off by taking a panel of white cardstock and stamping two of the images from the Clearly Besotted Zoom In Party Set with Memento Tuxedo Black Ink. I stamped the one on the right first, masked it off and then stamped the one on the left. I made a mask for the one on the right too and then blended Distress Inks over the top. I used Peacock Feathers, Wilted Violet and Blueprint Sketch.


I splattered on a little water (being careful since the ink is not waterproof!) and then removed the masks. The images were coloured with Copic Markers (the colours that I used are listed below the supplies area). I then stamped the little speech bubbles on separate cardstock and fussy cut them out. Followed by stamping the sentiment from the set below the images. The panel was adhered to an A2 card base made from Hero Arts Mist Cardstock with foam tape. The speech bubbles were then adhered on top with thin foam tape. 

SUPPLIES:


Here are the links to what I have used on the project. Affiliate links are used on some products. This means that if you make a purchase after clicking on my link, I receive a small commission with no extra cost to you. I truly appreciate your support when using these links. Please click on the logo below the product to shop at your favourite store. All products were personally purchased except those from Clearly Besotted, Hero Arts or those marked with an asterisk (*) which were kindly sent to me to use. You can read my full disclosure here.


COPIC MARKERS: Bear - E59, E57, E55, R02, R00. Cat - W7, W5, W4, W3, W1, R02, R00. Drink - G20. Balloon - V17, V15, V12. Screens - C7, C5, C3, B01, B000, B00000. 

Although this set represents Zoom and other virtual hangout programmes, I definitely think you could be creative and use this set in other ways as well. For more inspiration using the new release, please head over to the Clearly Besotted Blog, Keren, Lisa and our guests Kitty and Francine. Thank you so much for stopping by today, see you tomorrow for day four. Have a great day! 

2 April 2021

Reverse Confetti | Hop Into Spring

Hello there, I usually make Easter cards every year to give to friends and family but this year has completely got away with me already. So instead of cards, I thought I would create a couple of tags to add to Easter gifts instead. I am using the Reverse Confetti Hop Into Spring set for my tags. This set is great because the majority of the images can be used for both Easter and general spring projects. 

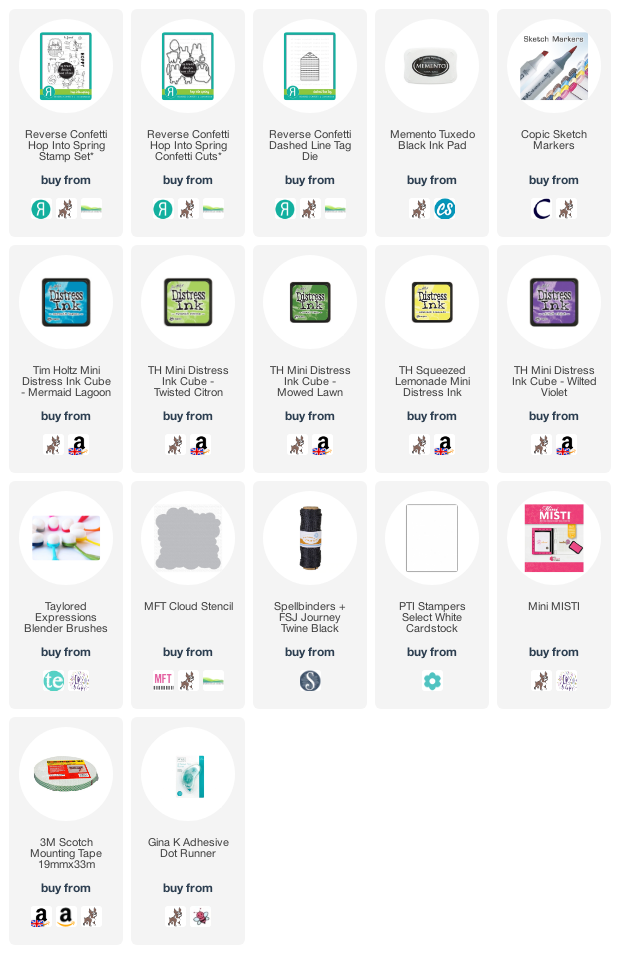
I started off my tags by die cutting the Reverse Confetti Dashed Line Tag Confetti Cuts four times from white cardstock. Two for the fronts and two for the backs. On to the tags, I blended Distress Inks. For the purple and yellow one, I simply blended Wilted Violet and Squeezed Lemonade Distress Inks from either end of the tag with blending brushes. 

For the other one, I placed the MFT Cloud Stencil in the top part of the tag and blended on Mermaid Lagoon Distress Ink, moving the stencil down as I went. I then added Twisted Citron and Mowed Lawn Inks at the bottom. 

I then took the Reverse Confetti Hop Into Spring Stamp Set and stamped the images on to white cardstock with Memento Tuxedo Black Ink. I coloured them with Copic Markers and die cut out using the Reverse Confetti Hop Into Spring Confetti Cuts. I stamped the sentiments on to the back of the tags with black ink and then adhered the fronts and the backs together. 

The images were added with foam tape to the front of the tags, plus the little bee image to the back (so cute!). To finish off, I added twine through the tops of the tags and white gel pen highlights on the images. 

SUPPLIES:

Here are the links to what I have used on the tags. Affiliate links are used on some products. This means that if you make a purchase after clicking on my link, I receive a small commission with no extra cost to you. I truly appreciate your support when using these links. Please click on the logo below the product to shop at your favourite store. All products were personally purchased except those from Clearly Besotted, Hero Arts or those marked with an asterisk (*) which were kindly sent to me to use. You can read my full disclosure here.


These images are just so cute! As I say, a lot of the images can be used for general spring projects too and I am hoping to create one of those to share with you soon. Thank you so much for stopping by today. If you celebrate it, I would like to wish you a very happy and safe Easter. If you do not, I hope you have a lovely day and wonderful weekend. Take care! 

Clearly Besotted Teasers | You Brighten My Day

Hello there and welcome to day two of the Clearly Besotted April 2021 Teasers. Today I am using a new set called Colour My World. It is such a cute set featuring lots of chameleons in different poses and lots of fun sentiments too. Although the sentiments are great, I decided to use one from the new Brighter Days set (a great set with a wonderful scene image plus fantastic sentiments) as I thought it went well with the image. 


I started off by stamping the chameleon on the rainbow image from the Clearly Besotted Colour My World Stamp Set on to white cardstock with Memento Tuxedo Black Ink. It was then coloured using Copic Markers (the colours that I used are listed below the supplies area for reference) and then fussy cut out with scissors. 


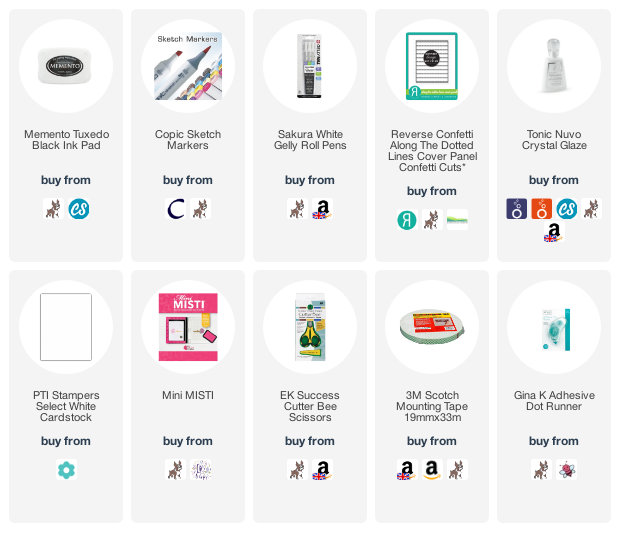
I took a panel of white cardstock and die cut it using the Reverse Confetti Along The Dotted Lines Cover Panel Confetti Cuts. It was adhered flat to an A2 white card base and then I stamped the sentiment from the Clearly Besotted Brighter Days Stamp Set on top with more Tuxedo Black Ink. The image was added on top with foam tape and then to finish off, I added white gel pen dots and sparkles to the rainbow and Crystal Glaze to the spots of the chameleon. 

SUPPLIES:


Here are the links to what I have used on the project. Affiliate links are used on some products. This means that if you make a purchase after clicking on my link, I receive a small commission with no extra cost to you. I truly appreciate your support when using these links. Please click on the logo below the product to shop at your favourite store. All products were personally purchased except those from Clearly Besotted, Hero Arts or those marked with an asterisk (*) which were kindly sent to me to use. You can read my full disclosure here.


COPIC MARKERS: Chameleon - G28, YG17, YG23, YG03, YG01, B01. Rainbow - R37, R35, R14/R85, R83, R81/YR16, YR15, YR12/Y17,Y15, Y13, Y11.

I love how these chameleons have been drawn, kind of like kawaii style. So cute! For more inspiration using the new sets, please head over to the Clearly Besotted Blog, Keren and Lisa. Plus our wonderful guest designers Kitty and Francine. Thank you so much for stopping by today, I really do appreciate it. I hope you have a wonderful day. Take care! 

1 April 2021

Clearly Besotted Teasers | Shoot For The Stars

Hello there and welcome to day one of the Clearly Besotted April 2021 Release Teasers. Release day is Monday 5th April 2021 and from now until then, we will be sharing teasers with you using the new sets. For my projects today, I am using the new Shoot For The Stars set. This is such a cute set filled with adorable critters flying along on shooting stars. 


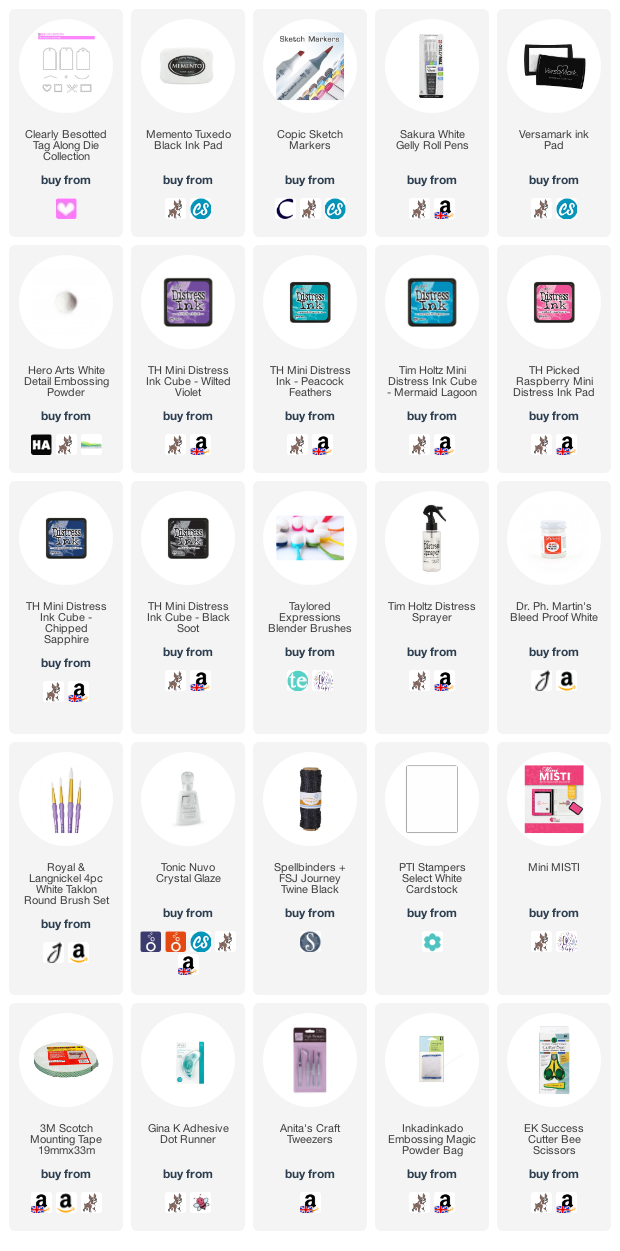
For my card, I started off by taking a panel of white cardstock and randomly blending on Distress Inks in Wilted Violet, Peacock Feathers, Mermaid Lagoon and Picked Raspberry. I then blended over  Chipped Sapphire and Black Soot. The brighter colours just about show up underneath the darker ones and I have found it a good way to create night/galaxy skies. 


I then splattered a little water over the panel and dried it with a paper towel (since I used normal cardstock, there isn't much of a reaction but there is a small one!). Using a paint brush, I splattered on Dr. Ph. Martin's Bleed Proof White for small stars and set it aside to dry. Whilst that was drying, I stamped the duck and stars from the Clearly Besotted Shoot For The Stars Stamp Set on to white cardstock with Memento Tuxedo Black Ink. 


I coloured them with Copic Markers (the colours that I used are listed below the supplies area) and fussy cut out with scissors. When the panel was dry, I stamped the sentiment on to it using Versamark Ink, I applied Detail White Embossing Powder and heat set. The panel was adhered flat to an A2 white card base and then the stars added on top with tape runner. The duck was added with foam tape. To finish off, I added white gel pen sparkle and dots to the shooting part of the star and Crystal Glaze to the ducks beak. 


Since I loved the images so much, I had to use another. This time on a little tag. I used the same Distress Inks to ink blend over the Clearly Besotted Tag Along Die Set die cut from more white cardstock. I splattered on the water and white paint and let it sit to dry. 


The images were again stamped, coloured and fussy cut out and the sentiment white heat embossed. I adhered the tag flat to another tag (back to back) and tied twine through the top. The stars were adhered flat with liquid glue and the bunny with foam tape. 

SUPPLIES:


Here are the links to what I have used on the project. Affiliate links are used on some products. This means that if you make a purchase after clicking on my link, I receive a small commission with no extra cost to you. I truly appreciate your support when using these links. Please click on the logo below the product to shop at your favourite store. All products were personally purchased except those from Clearly Besotted, Hero Arts or those marked with an asterisk (*) which were kindly sent to me to use. You can read my full disclosure here.


COPIC MARKERS: Stars - YR27, YR24, YR23, Y08, Y04. Duck - Y17, Y15, Y13, Y11, YR18, YR15. Bunny - W7, W5, W3, W1, R00. Shooting part of star - RV55, RV52/V17, V15, V12/B02, B01, B00/BG49, BG15, BG13, BG11. 

I think these images are adorable and perfect for adding to encouragement cards. For more inspiration using the new sets, please head over to the Clearly Besotted Blog, Keren, Lisa and our wonderful guests Kitty and Francine. Thank you so much for stopping by today, see you tomorrow for day two. I hope you have a lovely day! 
End of code