1 September 2020

VIDEO | Clearly Besotted September 2020 Release Preview

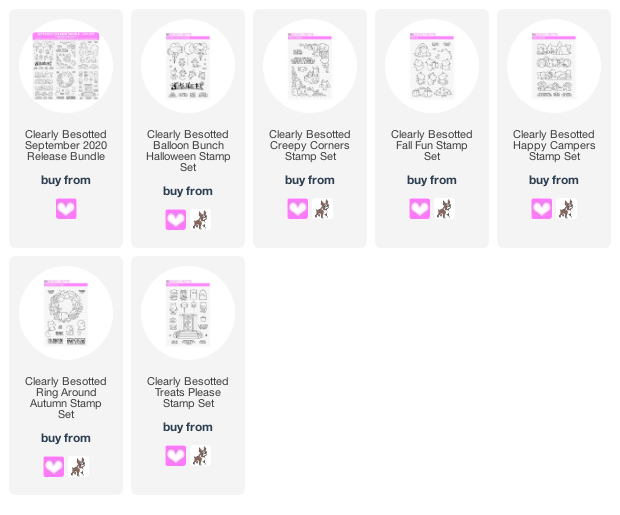
Hello there, as promised, I am back with my release video and information for the Clearly Besotted September 2020 release. It is another wonderful release this month. There are six new stamps sets releasing - one all year round, one autumnal, two Halloween and two sets that I think can be used for both but sky's the limit really! I am sure that a lot of the images can be used all year round and for different occasions too.
 
 
The sets release tonight at 8pm British Summer Time. They can be purchased from the Clearly Besotted Shop (UK based) and Simon Says Stamp (US based). Here is a look at the sets, plus a recap of my samples:


If you are viewing this blog post via email subscription, you can watch the video HERE on YouTube.
 
SUPPLIES:

Here are the links to what I have shared in the video. Affiliate links are used on some products. This means that if you make a purchase after clicking on my link, I receive a small commission with no extra cost to you. I truly appreciate your support when using these links. Please click on the logo below the product to shop at your favourite store. All products were personally purchased except those from Clearly Besotted, Hero Arts or those marked with an asterisk (*) which were kindly sent to me to use. You can read my full disclosure here.
 
 
Thank you so much for joining me the last few days to take a look at the Clearly Besotted September 2020 release. I hope that you have enjoyed seeing my teasers. For more inspiration, please head over to the Clearly Besotted Blog. Thank you so much for stopping by, I hope you have a lovely day!

Clearly Besotted Teasers | Treats Only

Hello there and welcome to release day for the Clearly Besotted September 2020 release. I have one last teaser to share with you this morning (I couldn't resist using this adorable hippo!) before I share  release information and video in a couple of hours. I thought I would create a tag for a treat bag for today's project.
 

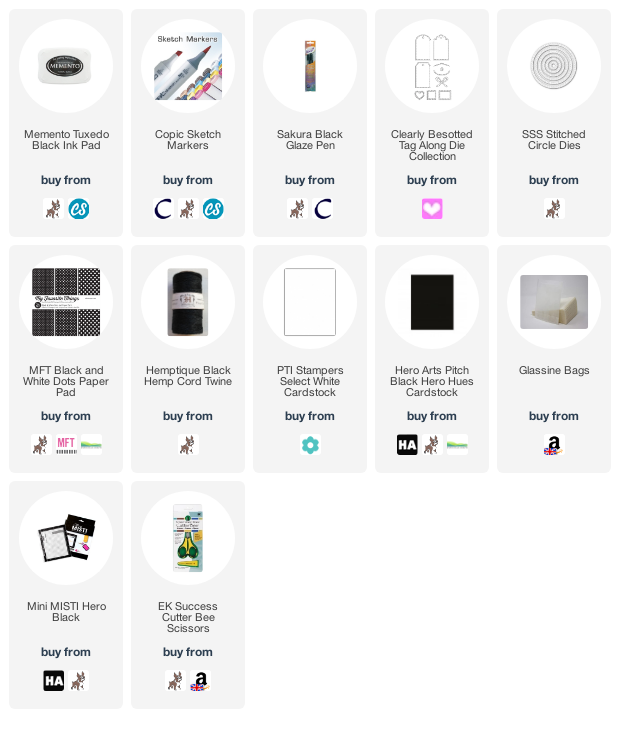
I started off by stamping one of the hippos (there are a few!) from the Clearly Besotted Fall Fun Stamp Set on to white cardstock with Memento Tuxedo Black Ink. I then coloured him using Copic Markers (the colours that I used are listed below the supplies area) and fussy cut him out with scissors. I then cut three of the scalloped tags from the Clearly Besotted Tag Along Set. I cut two from white cardstock and a third from MFT Black & White Dots Paper Pad.
 
 
On one of the white cardstock tags, I further cut a SSS Stitched Circle Die in to it to create a window. The top piece was adhered on to the patterned paper piece and then the solid white tag added to the back to make sure that the back looks good too, in case I wanted to write a message on it. I then stamped the sentiment from the Clearly Besotted Treats Please Stamp Set at the bottom in black ink. The hippo was added on top with foam tape.
 
SUPPLIES:

Here are the links to what I have used on the treat bag/tag. Affiliate links are used on some products. This means that if you make a purchase after clicking on my link, I receive a small commission with no extra cost to you. I truly appreciate your support when using these links. Please click on the logo below the product to shop at your favourite store. All products were personally purchased except those from Clearly Besotted, Hero Arts or those marked with an asterisk (*) which were kindly sent to me to use. You can read my full disclosure here.
 
 
COPIC MARKERS: Hippo - W7, W5, W4, W3, W1. Pumpkin - YR18, YR16, YR15, YR12, G29, G46, G43.
 
I will be back soon with my release video in a couple of hours, but in the mean time, please head over to the Clearly Besotted Blog, Keren, Lisa and Francine for more inspiration. See you soon!

31 August 2020

VIDEO | MFT Layering Stencils

Hello there, I am delighted to have a video up on the MFTv YouTube Channel today. I thought it would be fun to combine stencils to create a masked background scene.
 
 
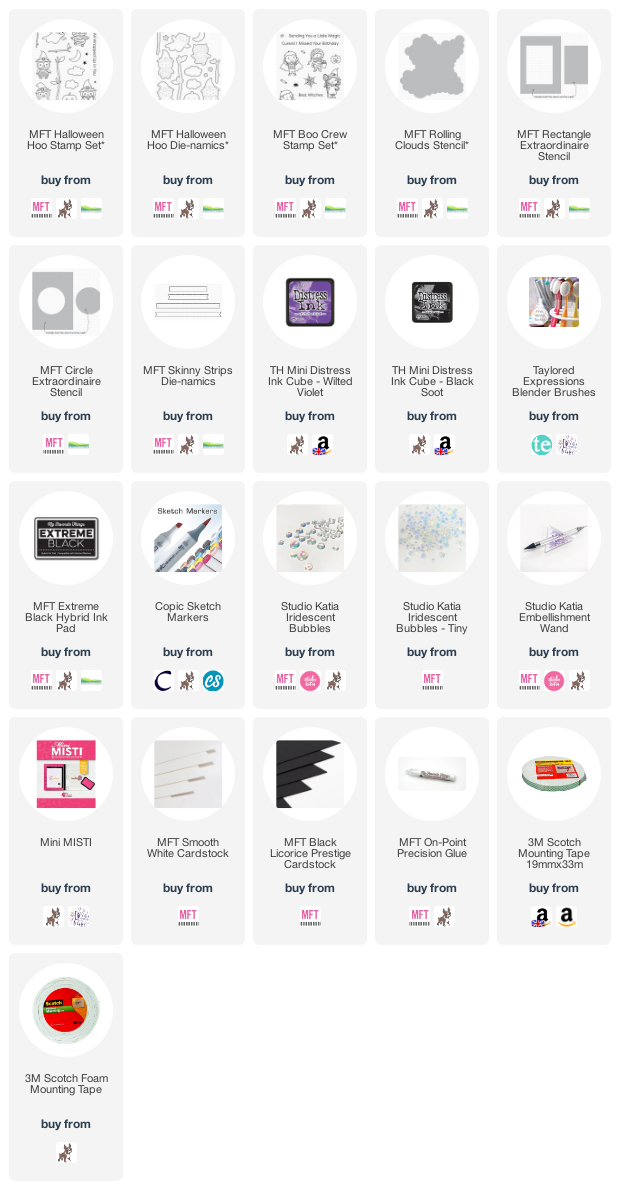
I love the new(er) Extraordinaire Stencils from MFT. They are great for both masking and stencilling and I love that you get both the negative and positive in the set. I first used the MFT Rectangle Extraordinaire Stencil and placed this on a panel of cardstock. I then used the MFT Circle Extraordinaire Stencil and placed the circle piece on to the panel to mask off a moon shape.
 
 
For the clouds, I used the new MFT Rolling Clouds Stencil, along with Tim Holtz Distress Inks in Wilted Violet and Black Soot. The masks were removed and the moon coloured using Copic Markers. I took the images from the MFT Halloween Hoo Stamp Set and stamped them on to white cardstock with MFT Extereme Black Ink. I then coloured them using Copic Markers (the colours that I used are listed below the supplies area) and cut out using the MFT Halloween Hoo Die-namics.
 
 
The panel was adhered flat to an A2 white card base and then branch added with MFT On Point Precision Glue, followed by the owl with foam tape. The sentiment from the MFT Boo Crew Stamp Set was stamped on to black cardstock withy Versamark Ink. I applied white embossing powder and heat set. It was then cut in to a strip using the MFT Skinny Strips Die-namics and added to the card with more foam tape. To finish off, I added a few Iridescent Bubbles around the sentiment.


VIDEO:

Here is the video showing how I made the card:


If you are viewing this post via email subscription, you can watch the video HERE on the MFTv YouTube Channel.


SUPPLIES:

Here are the links to what I have used on the card. Affiliate links are used on some products. This means that if you make a purchase after clicking on my link, I receive a small commission with no extra cost to you. I truly appreciate your support when using these links. Please click on the logo below the product to shop at your favourite store. All products were personally purchased except those from Clearly Besotted, Hero Arts or those marked with an asterisk (*) which were kindly sent to me to use. You can read my full disclosure here.
 

COPIC MARKERS: Owl - W7, W5, W3, W2, W1, W0, Y26, YR31. Hat - V17, V15, V12, C8, C7, C6, C5, C3. Branch - E59, E57, E55. Leaves - G29, YG17, YG25, YG01. Moon - E51, E50, 0.

Thank you so much for stopping by today, I really do appreciate it. I hope you have a lovely rest of the day! Take care!

Spellbinders August 2020 Clubs Blog Hop Winner

Hello there, I first need to apologise that I am a day late in posting this. I hope that you will forgive me. I wasn't well yesterday and was unable to get on my computer. I am here today, though to share the winner of the Spellbinders $25 gift certificate from the August 2020 Clubs Inspiration Blog Hop.
 
The winner chosen at random is …
 
 
Congratulations, Vicki! Please can you email me using the button my sidebar, or reply to this post, if you cannot, by 08.00hrs (BST) 4th September 2020. Thank you so much to all that entered. I loved reading your kind comment, thank you! :) Have a wonderful day!

Clearly Besotted Teasers | Boo To You!

Hello there an welcome to the Clearly Besotted September 2020 Teasers. Release day is tomorrow but before that, I have two more teasers to share with you! My card today uses the new Balloon Bunch Halloween set. This set is filled with adorable critters that can be added to the balloon images in the set to be flying in the sky or, like I have done, can be used separately as well.
 

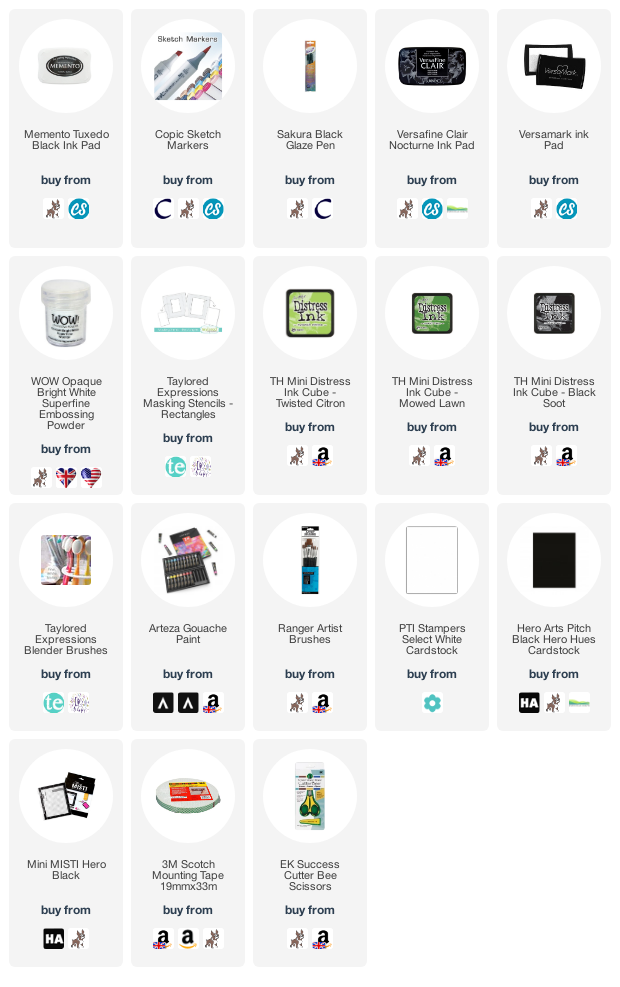
I started off by creating my background. I took the smallest of the TE Rectangle Masking Stencils and placed it on to a panel of white cardstock. I then blended on Distress Inks in Twisted Citron, Mowed Lawn and Black Soot. Like the other day, I then splattered on some Arteza Gouache in black and white. I think it works well for the Halloween night skies!
 
 
Once the panel was dry, I stamped the ground image from the Clearly Besotted Balloon Bunch Halloween Stamp Set at the bottom using Versafine Clair Nocturne Ink. On a sperate piece of white cardstock, I stamped the little cat on her broomstick, as well as the bat twice, using Memento Tuxedo Black Ink. They were coloured using Copic Markers (the colours that I used are listed below the supplies area) and fussy cut out with scissors.
 
 
The background panel was adhered flat to an A2 white card base with tape runner and then the cat and bats added on top with foam tape. I took the sentiment from the Clearly Besotted Creepy Corners Stamp Set and stamped it on to black cardstock with Versamark Ink. I applied white embossing powder and heat set. It was cut in to a strip and added to the card with more foam tape. To finish off, I added black glaze pen to the cat and bat's eyes.
 
SUPPLIES:

Here are the links to what I have used on the card. Affiliate links are used on some products. This means that if you make a purchase after clicking on my link, I receive a small commission with no extra cost to you. I truly appreciate your support when using these links. Please click on the logo below the product to shop at your favourite store. All products were personally purchased except those from Clearly Besotted, Hero Arts or those marked with an asterisk (*) which were kindly sent to me to use. You can read my full disclosure here.
 
 
COPIC MARKERS: Cat - W9, W7, W6, W5, W3. Hat - V09, V17, V15, V12, YG17, YG25, YG01. Broomstick - E59, E57, E55, E53, E50. Bats - C8, C6, C5.
 
These kitties are just so cute and I love that you can use this set in lots of different ways. For more inspiration using the new release, please head over to the Clearly Besotted Blog, Keren and Lisa, along with our super talented guest Francine. Thanks so much for stopping by today, see you later for an MFT card and video :)

30 August 2020

Clearly Besotted Teasers | Thanks Very Much

Hello there and welcome to day three of the Clearly Besotted September 2002 Teasers. I hope that you are enjoying the teasers so far. Not long to wait now, release day is Tuesday 1st September. For my card today, I am using the beautiful Ring Around Autumn set which is a beautiful autumnal wreath image, along with cute critters that can be sitting on it. As well as lots of wonderful sentiments.
 

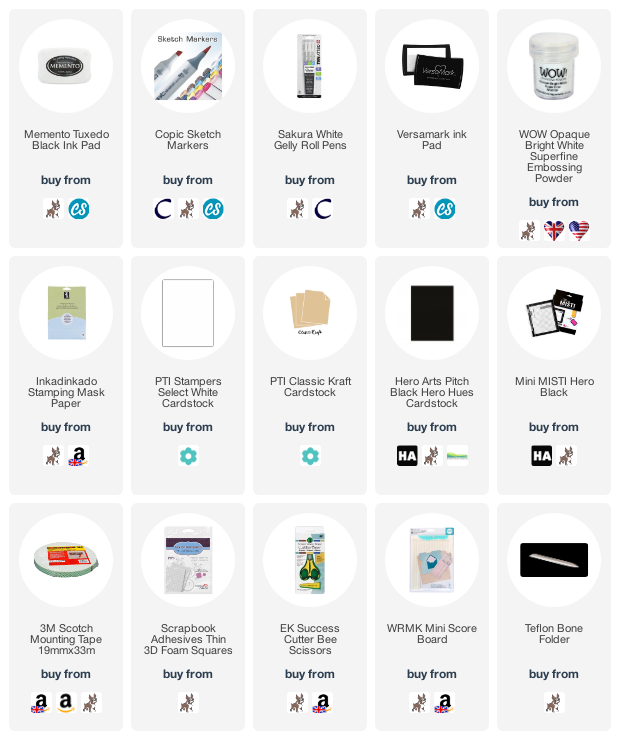
I started off my card by stamping the squirrel image from the Clearly Besotted Ring Around Autumn Stamp Set on to white cardstock with Memento Tuxedo Black Ink. I then made a mask for him and placed it over the top. The wreath image was then stamped on top and the mask removed so that the squirrel is sitting on the pumpkin. The wreath and squirrel were then coloured using Copic Markers (the colours that I used are listed below the supplies area).
 
 
It was then fussy cut out with scissors. I took a 4.75" x 4.75" Kraft card base and scored lines on to the front for some added interest. The image was added on top with foam tape. I took the sentiment from the set and stamped it on to black cardstock with Versamark Ink. I applied white embossing powder and heat set. It was cut in to a strip and added to the card with thin foam tape. To finish off, I added some white gel pen highlights and dots on the image.
 
SUPPLIES:

Here are the links to what I have used on the card. Affiliate links are used on some products. This means that if you make a purchase after clicking on my link, I receive a small commission with no extra cost to you. I truly appreciate your support when using these links. Please click on the logo below the product to shop at your favourite store. All products were personally purchased except those from Clearly Besotted, Hero Arts or those marked with an asterisk (*) which were kindly sent to me to use. You can read my full disclosure here.
 
 
COPIC MARKERS: Squirrel - E09, E08, E07, E97, E11. Wheat - E44, E43, E41. Leaves - G29, G46, G43, G40 / R59, R56, E93 / YR09, YR07, YR04, YR23. Berries - Y17, Y15, Y11. Acorns - E59, E57, E55, E53, E50. Pumpkin - YR18, YR16, YR15, YR12.
 
Doesn't he just look adorable sitting proudly on the pumpkin? I love him! For more inspiration using the new release, please head over to the Clearly Besotted Blog, Keren and Lisa, along with our wonderful guest Francine. Thank you so much for visiting me today. I really do appreciate it. I hope you are safe and well and have a lovely day!

29 August 2020

Clearly Besotted Teasers | Happy Halloween

Hello there and welcome to day two of the Clearly Besotted September 2020 Teasers. Along with autumnal images this month, there are also some fun Halloween sets. Today I am using the Creepy Corners set. This set, as the name suggests, consists of corner images plus one separate image (which is what I used) and loads of fun sentiments.
 

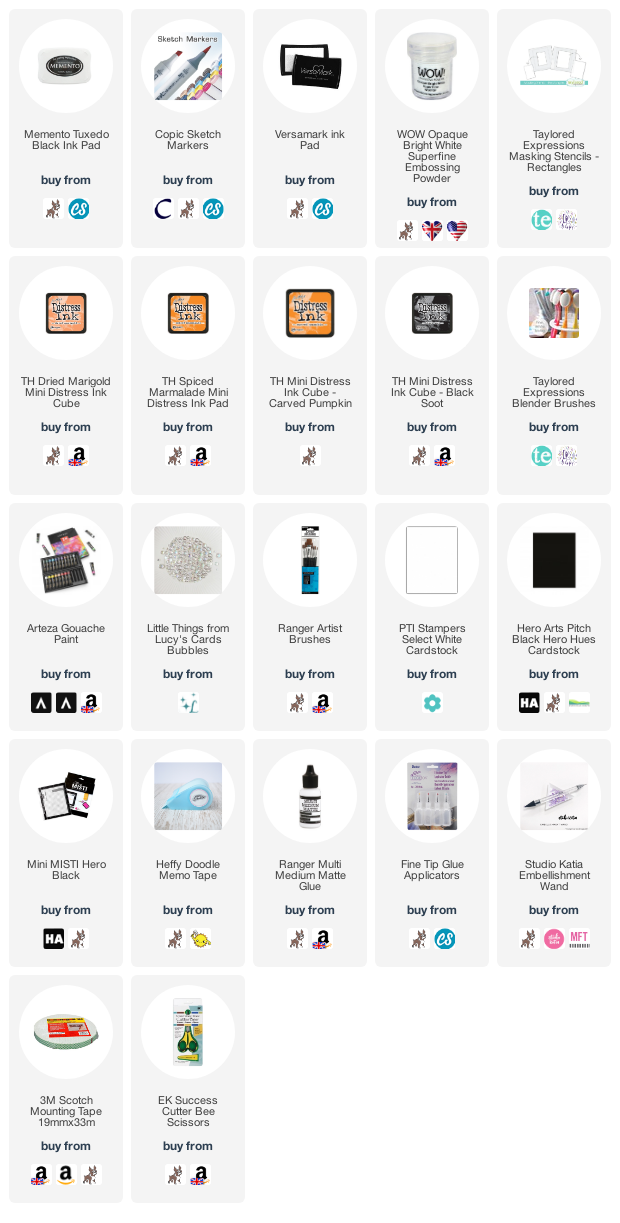
I started off my card by taking a panel of white cardstock and placed the TE Rectangle Masking Stencil on top. I then blended on Distress Inks in Dried Marigold, Spiced Marmalade, Carved Pumpkin and Black Soot. With the stencil kept in place, I then splattered on Arteza Gouache in black and white. The stencil was removed and the panel set aside to dry.
 
 
Once dry, the panel was adhered flat on to an A2 white card base with tape runner. I took the individual image from the Clearly Besotted Creepy Corners Stamp Set and stamped it on to white cardstock with Memento Tuxedo Black Ink. I then coloured it using Copic Markers (the colours that I used are listed below the supplies area). It was fussy cut out and added to the card with foam tape.
 
 
I took the sentiment from the set and stamped it on to black cardstock using Versamark Ink. I applied white embossing powder and heat set. It was cut in to a strip and added to the card with more foam tape. To finish off, I added a few Lucy's Bubbles.
 
SUPPLIES:

Here are the links to what I have used on the card. Affiliate links are used on some products. This means that if you make a purchase after clicking on my link, I receive a small commission with no extra cost to you. I truly appreciate your support when using these links. Please click on the logo below the product to shop at your favourite store. All products were personally purchased except those from Clearly Besotted, Hero Arts or those marked with an asterisk (*) which were kindly sent to me to use. You can read my full disclosure here.
 
 
COPIC MARKERS: Bat - W7, W6, W5, W4, W3, W1. Candle glow - Y11, Y00. Candles - E53, E50, Y17, Y11. Pumpkin - E09, E08, YR27, YR18, YR16, YR15, YR12.
 
I think that bat is adorable! The corner images feature him too. For more inspiration using the new release, please head over to the Clearly Besotted Blog, Keren and Lisa, as well as our guest Francine. Thank you so much for stopping by today, I really appreciate it. I hope you have a lovely day!

28 August 2020

Clearly Besotted Teasers | Let's Make Memories

Hello there and welcome to day one of the Clearly Besotted September 2020 Teasers. The September release hits the shops on the 1st but from now until then, we will be sharing teasers using the new sets. For my card today, I am using the super cute Happy Campers stamp set. This set has four image scenes already created for you, so no masking required!
 

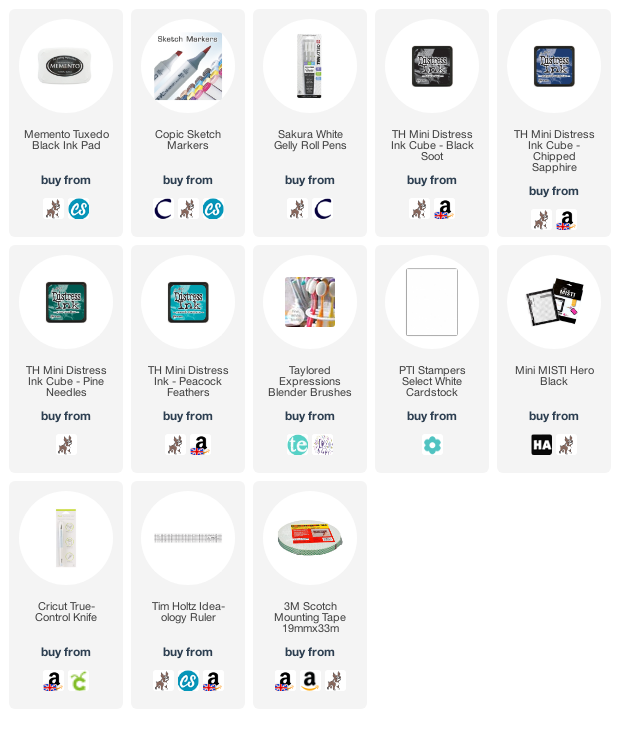
I started off my card by drawing a feint rectangle shape on to a panel of white cardstock with a pencil. I then stamped the hedgehog image from the Clearly Besotted Happy Campers Stamp Set towards the bottom of it. Using a craft knife and ruler, I then cut along the bottom and sides and then fussy cut around the top of the image to create a window.
 
 
The image was coloured using Copic Markers (the colours that I used are listed below the supplies area) and then the panel set aside. I took an A2 white card base and blended Distress Inks on top. I used Peacock Feathers, Pine Needles and Chipped Sapphire and then added a little Black Soot right at the top to darken it further.
 
 
I took the sentiment from the Clearly Besotted Happy Campers Stamp Set and stamped it on to the top right of the ink blending. The front panel was then added on top with foam tape. To finish off, I added white gel pen stars in the sky.
 
SUPPLIES:

Here are the links to what I have used on the card. Affiliate links are used on some products. This means that if you make a purchase after clicking on my link, I receive a small commission with no extra cost to you. I truly appreciate your support when using these links. Please click on the logo below the product to shop at your favourite store. All products were personally purchased except those from Clearly Besotted, Hero Arts or those marked with an asterisk (*) which were kindly sent to me to use. You can read my full disclosure here.
 

COPIC MARKERS: Hedgehogs - E49, E47, E44, E43, E42, E41, E50. Light glow - Y11, Y00, Y000. Mountains - BG78, BG75, BG72, BG70. Grass - G46, G43, G40, G20. Lamp - C8, C7, C5, Y17, Y15, Y13, Y11. Guitar - E57, E55, E53.
 
These hedgehogs are so adorable but there are also bears, squirrels and mushrooms/toadstools in the set. For more inspiration using the new sets, please head over to the Clearly Besotted Blog, Keren and Lisa plus our wonderful guest this month Francine. Thanks so much for stopping by to see me today, see you tomorrow! I hope you have a lovely day!

26 August 2020

Hero Arts Winter 2020 Release Blog Hop + Giveaway

Hello there and welcome as we celebrate the release of the Hero Arts Winter 2020 Collection. This is release is wonderful! Full of lots of holiday and Christmas sets, as well as general winter and autumn lets and the new Unity sets too. Today I have two winter/Christmas projects to share with you. More on the blog hop below.
 

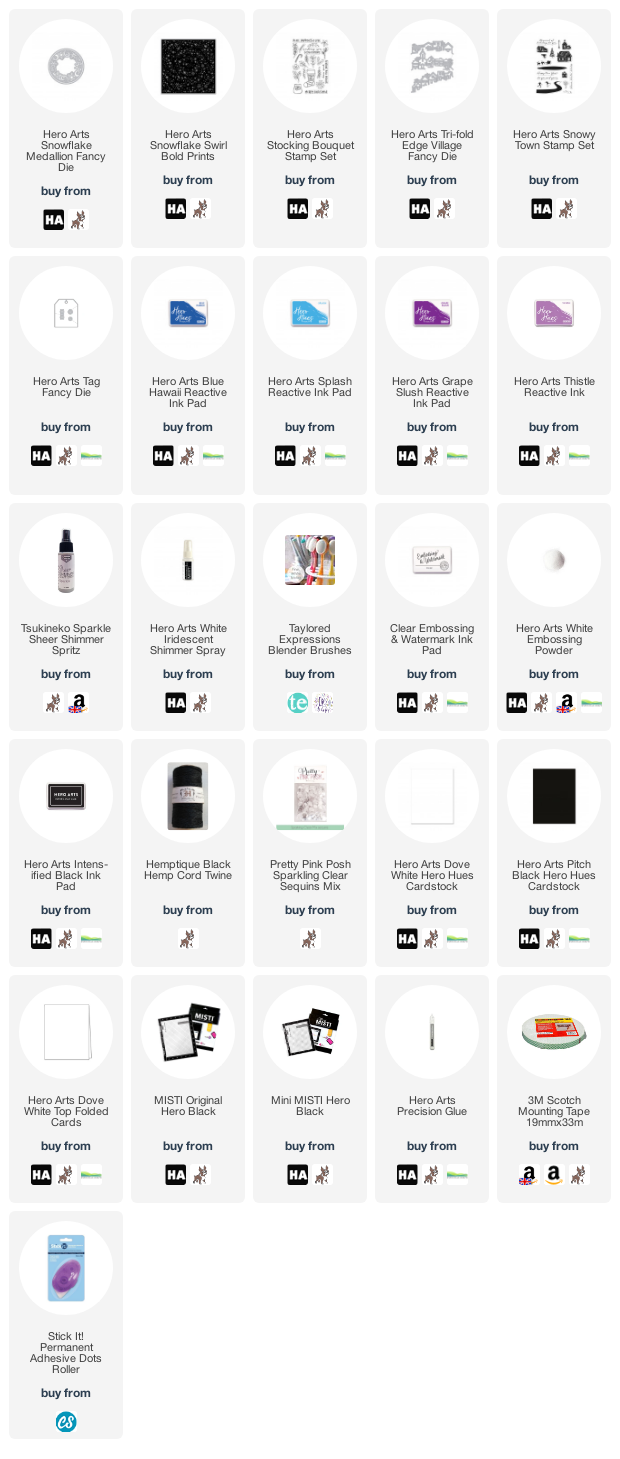
My first project uses the beautiful new Snowflake Medallion Fancy Die, along with the Snowflake Swirl Bold Prints. I started off by die cutting the Hero Arts Snowflake Medallion Fancy Die twice from white cardstock. They were layered one on top of another using Hero Arts Precision Glue. I set it aside and stamped the Hero Arts Snowflake Swirl Bold Prints on to white cardstock. I used Hero Arts Reactive Inks for this and kept it fairly 'messy'. I used Splash, Blue Hawaii and Grape Slush. I then spritzed it using Sparkle Sheer Shimmer Spritz and set it aside to dry.
 
 
Once dry, I adhered the snowflake medallion on top and then cut around the edges using scissors. It was adhered flat on to an A2 white card base with tape runner. The sentiment, from the new Hero Arts Stocking Bouquet Stamp Set, was stamped on to Hero Hues Pitch Black Cardstock using Hero Arts Clear Embossing & Watermark Ink. I applied white embossing powder and heat set. It was cut in to strips and added to the card with foam tape. To finish off, I added a few sequins.
 

For my next project, I thought I would create a tag using the Hero Arts Tri-fold Edge Village Fancy Die. This die has three village scenes that you can combine to create a tri-fold card. For my tag, I used just one of them but they can work in different ways. I first cut the Hero Arts Tag Fancy Die twice from white cardstock. Then on one of them, I further cut it down with the village die.
 
 
On the other tag, I blended Hero Arts Reactive Inks in Blue Hawaii, Grape Slush and Thistle. I then spritzed it with Hero Arts White Iridescent Shimmer Spray. Once dry, I adhered the village piece on top with glue. I took the sentiment from the Hero Arts Snowy Town Stamp Set and stamped it on to the front of the tag with Hero Arts Intens-ified Black Ink. I then cut the top of the tag from black cardstock and adhered it with glue, adding twine through it and tied it in a bow.
 
SUPPLIES:

Here are the links to what I have used on the card and tag. Affiliate links are used on some products. This means that if you make a purchase after clicking on my link, I receive a small commission with no extra cost to you. I truly appreciate your support when using these links. Please click on the logo below the product to shop at your favourite store. All products were personally purchased except those from Clearly Besotted, Hero Arts or those marked with an asterisk (*) which were kindly sent to me to use. You can read my full disclosure here.
 
 
BLOG HOP:
 

For the blog hop, you should have arrived here from the fabulous Maria. The next stop on the hop is the wonderful Mindy. If you get lost along the way, please head back to the Hero Arts Blog.
 
GIVEAWAY:

Hero Arts are giving away three $50 gift cards to three lucky blog hop readers. Winners will be drawn from the comments left across all the stops in the hop. The more you comment, the more chances there are to win! Giveaway closes Sunday 6th September 2020 at 11.59pm PDT. The winners will be announced on the Hero Arts Blog the following week. Good luck!
 
Thank you so much for stopping by to see me today. I really do appreciate it. I hope you have a lovely rest of the day and a wonderful time on the rest of the hop! Take care!

22 August 2020

Spellbinders | August 2020 Clubs Inspiration Blog Hop + Giveaway

Hello there, today we are celebrating Spellbinders Club Kits with a fun blog hop. If you didn't already know, Spellbinders have a number of different monthly subscription kits - Large Die of the Month, Small Die of the Month, Glimmer Hot Foil Kit of the Month, Card Kit of the Month, Stamp of the Month … so much variety! Today I am sharing another look at the August 2020 Small Die of the Month Club Kit. More on the hop below!

I shared two projects using the August 2020 Small Die of the Month Club Kit here. For those projects, I used two of the different tear drop shapes from the kit. For my card today, I am using the third shape. The shape for this one looks more leafy, so I thought it might make a nice wreath.


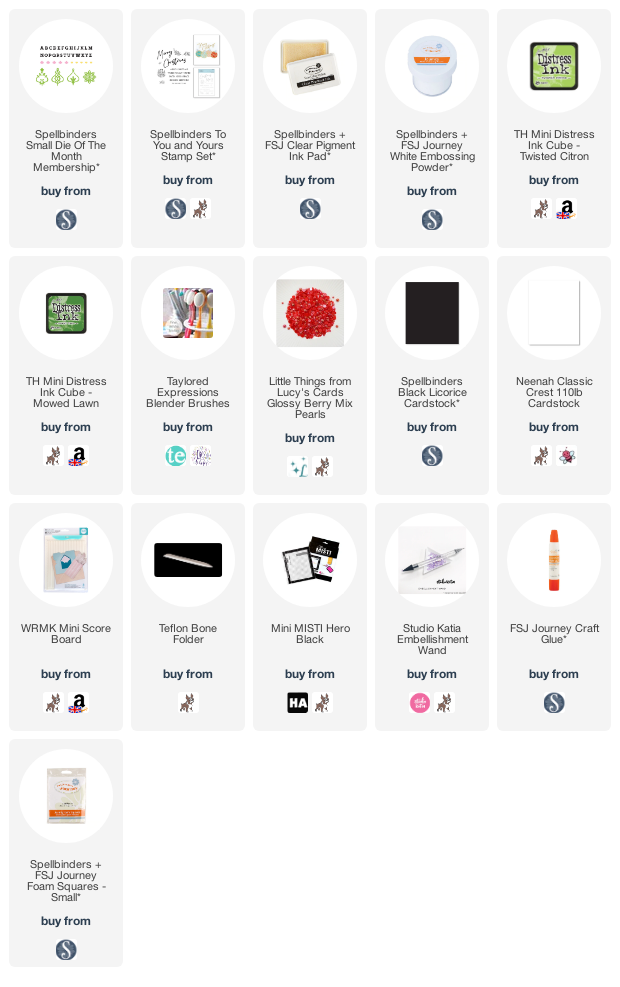
I started off by die cutting the shape from the kit eight times from white cardstock and then blended on Tim Holtz Twisted Citron and Mowed Lawn Distress Inks. I took a 5" x 5" white card base and scored lines on to it using a bone folder and score board. I then adhered the shapes on top with craft glue.


I took the sentiment from the Spellbinders To You and Yours Stamp Set and stamped it on to black cardstock with FSJ Clear Pigment Ink. I applied white embossing powder and heat set. It was cut in to a strip and added to the middle of the wreath using foam squares. To finish off, I added Lucy's Glossy Berry Mix Pearls.


SUPPLIES:

Here are the links to what I have used on the card. Affiliate links are used on some products. This means that if you make a purchase after clicking on my link, I receive a small commission with no extra cost to you. I truly appreciate your support when using these links. Please click on the logo below the product to shop at your favourite store. All products were personally purchased except those from Clearly Besotted, Hero Arts or those marked with an asterisk (*) which were kindly sent to me to use. You can read my full disclosure here.
 

BLOG HOP:


As mentioned, this post is part of a fun blog hop celebrating the Spellbinders Club Kits. For the hop you should have arrived here from Joy Baldwin. The next stop on the hop is Jean Manis. If you get lost along the way, please visit the Spellbinders Blog.


GIVEAWAY:

To celebrate the club kits release, Spellbinders are giving away a $50 gift certificate to three lucky blog hop readers that comment on the Spellbinders blog post. Giveaway closes Sunday 30th August 2020 at 11.59pm EDT. The winners will be announced on the Spellbinders Blog the following Tuesday. The winner will be responsible for any shipping costs, duties and taxes. Store credit/gift certificates cannot be applied to Club Subscriptions.
 
I also have a $25 gift certificate to give away to one lucky reader. Please leave a comment on this post by 29th August 2020 at 11.59pm GMT. The winner will chosen at random and announced here on my blog on the 30th August 2020. The winner will be responsible for any shipping costs, duties and taxes. Store credit/gift certificates cannot be applied to Club Subscriptions.
 
Thank you so much for stopping by today, I really appreciate it. I hope you have a wonderful day!

19 August 2020

Spellbinders | Glimmer Winter Village

Hello there, today I have a card to share with you using Yana's Christmas Foiled Basics Collection from Spellbinders. If you haven't already seen this wonderful collection by Yana Smakula, it is a stunning collection of glimmer plates that work really well together to create beautiful holiday/Christmas projects.
 

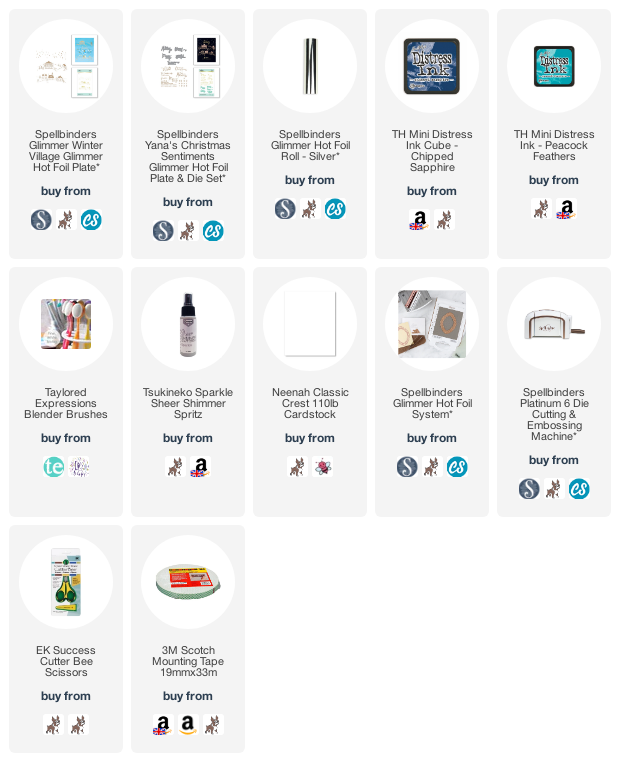
For my card today, I started off by taking a panel of white cardstock and foiling one of the village scenes from the Spellbinders Glimmer Winter Village Glimmer Hot Foil Plate Set (there are two village scenes plus a snow plate as well). I also foiled one of the sentiments from Yana's Christmas Sentiments Glimmer Hot Foil Plate & Die Set. These were both foiled using Spellbinders Silver Foil.
 
 
Using scissors, I cut around the top of the village scene, leaving a small white border. It was then set aside while I worked on the background. I took an A2 white card base and blended on Tim Holtz Chipped Sapphire Distress Ink and Tim Holtz Peacock Feathers Distress Ink at the top. It was then spritzed using Sparkle Sheer Shimmer Spritz and set aside to dry. Once dry, the foiled panel was simply adhered on to the card with foam tape.
 
SUPPLIES:

Here are the links to what I have used on the card. Affiliate links are used on some products. This means that if you make a purchase after clicking on my link, I receive a small commission with no extra cost to you. I truly appreciate your support when using these links. Please click on the logo below the product to shop at your favourite store. All products were personally purchased except those from Clearly Besotted, Hero Arts or those marked with an asterisk (*) which were kindly sent to me to use. You can read my full disclosure here.
 
 
This is such a beautiful collection that I think I will be using a lot for my Christmas cards this year, it is just so pretty! Thank you so much for stopping by to see me today. I really do appreciate it. I hope you have a lovely day!
17 August 2020

Spellbinders | Snowflake Sparkle Border

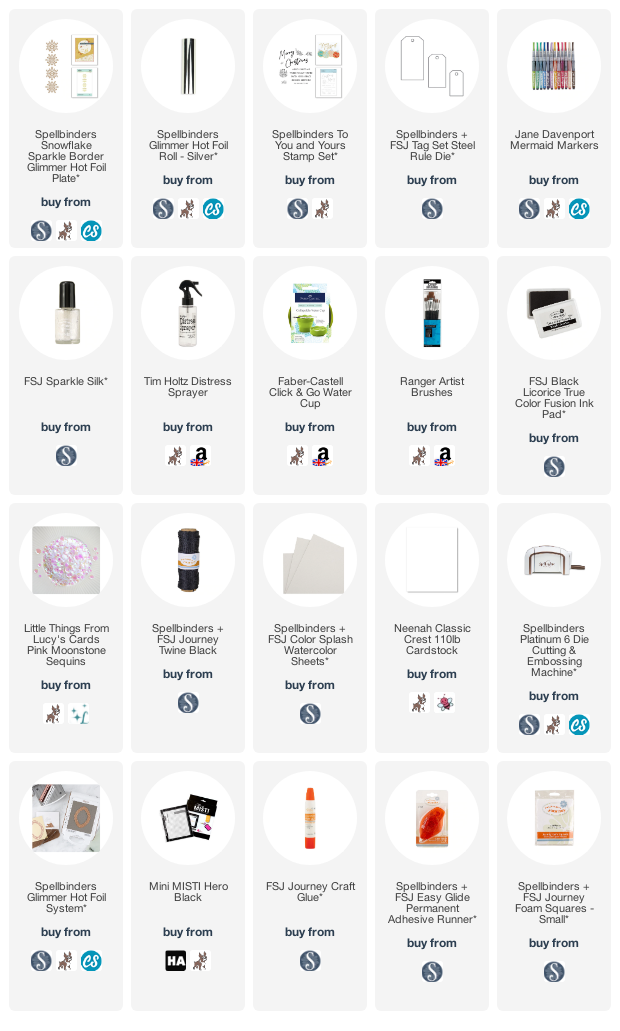
Hello there, today I have another project to share with you using the Spellbinders Sparkling Christmas Collection. This release is so pretty, there are lots of different die sets, as well as glimmer plates. For my tags today, I am using the new Snowflake Sparkle Border Glimmer Plate.
 

I started off my tags by foiling the Spellbinders Snowflake Sparkle Glimmer Hot Foil Plate on to watercolour cardstock with Spellbinders Silver Foil using the Spellbinders Glimmer Hot Foil System. I then die cut the tags using the retired FSJ Tag Rule Set. You could die cut first and then foil but I did it the other way around today!
 
 
I then spritzed the tags with water and dropped in colours of Jane Davenport Mermaid Markers. For the tag on the left I used Byron Bay, Deep Sea and Bluebottle. For the tag on the right, I used Starfish, Jellyfish and Bluebottle. I made sure to let the colours run in to each other and for the pink one, I also added some FSJ Sparkle Silk to the water to make it sparkly.
 
 
I die cut two more tags, this time from white cardstock and once the watercoloured ones were dry, I adhered the white ones to the backs to finish them off. I then threaded FSJ Black Twine through the top and tied in a bow.
 
 
I took the sentiment from the Spellbinders To You and Yours Stamp Set and stamped it on to white cardstock with FSJ Black Licorice True Color Fusion Ink. I then cut the sentiments in to strips and added them to the tags with foam tape. To finish off, I added a few Lucy's Moonstone Sequins.
 
SUPPLIES:

Here are the links to what I have used on the tags. Affiliate links are used on some products. This means that if you make a purchase after clicking on my link, I receive a small commission with no extra cost to you. I truly appreciate your support when using these links. Please click on the logo below the product to shop at your favourite store. All products were personally purchased except those from Clearly Besotted, Hero Arts or those marked with an asterisk (*) which were kindly sent to me to use. You can read my full disclosure here.
 

I actually started off making a card with the pink panel but did not really like it. Once I had cut it down in to a tag, I liked it much better! I will either use these as tags for gifts, or I might add them on to cards at a later date. It is nice to have options! Thank you so much for stopping by today, I really do appreciate it. I hope you are well and staying safe and have a lovely day!
End of code