6 July 2018

Peony Thanks

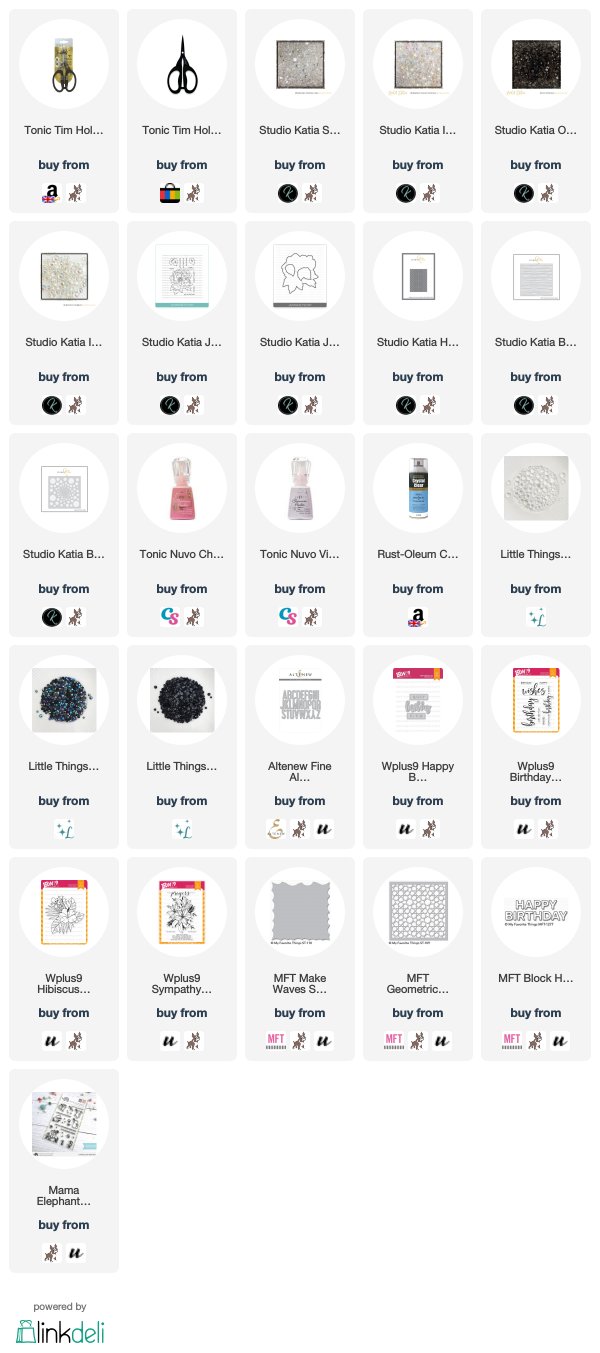
Hello there, today I have a card to share using the beautiful Japanese Peony stamp from Studio Katia. If you watched my June haul video, you would have seen a sneak peek of this card already!


I started off by stamping the peony in Memento Tuxedo Black Ink and coloured it using Copic Markers (the colours I used are listed below the supplies section). I die cut it out using the coordinating die and set it aside.
 
 
I took the Halftone Dots Cover Die and die cut this from black cardstock. I added it to a black A2 card base with liquid glue. I then took the Giving Thanks dies and die cut the shadow of the thanks word with Vellum and the outline with white cardstock. I added Stick It to the back of this before I die cut. I removed the backing of the Stick It and added this to the shadow.
 
 
I adhered the peony to the card base with thin foam pads. I then added the thanks word on top, half with liquid glue and half with the thin foam pads. To finish off, I added Sparkling Crystals around the flower with liquid glue.
 
SUPPLIES:

Here are the links to what I have used on the card. Affiliate links are used on some products. This means that if you make a purchase after clicking on my link, I receive a small commission with no extra cost to you. I truly appreciate your support when using these links. Please click on the logo below the product to shop at your favourite store. Products marked with an asterisk (*) were kindly sent to me to use.
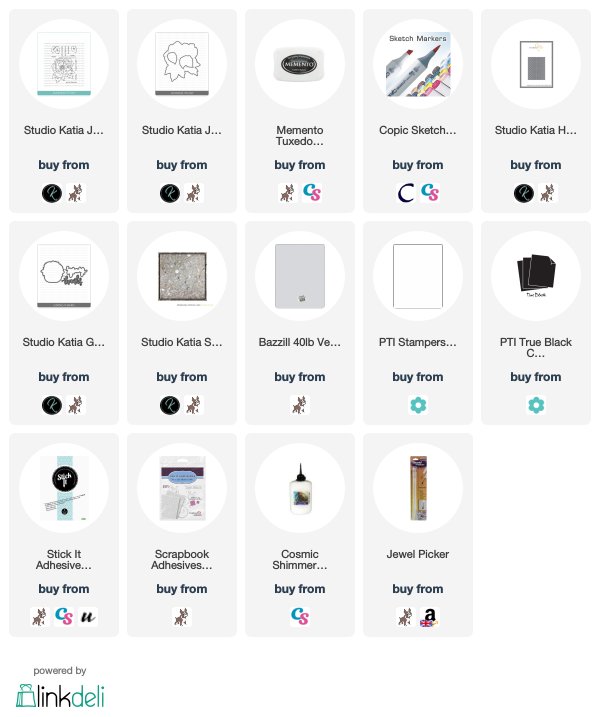
 
 
COPIC MARKERS: R89, R85, R83, R81, YR12, Y11. G46, G43, G40.
 
I love that large peony image and I think it would be perfect to colour with lots of different colouring mediums too! Thank you so much for popping in today to see me, I really do appreciate it. Have a great day and a wonderful weekend.

5 July 2018

Hay Party Pig

Hello there, today I am over on the Hero Arts blog sharing a card using the new Hay Party Animals set that was released as an add-on with this month's My Monthly Hero Kit. I love pigs, so of course I had to use the pig image on my card today!


SUPPLIES:

Here are the links to what I have used on the card. Affiliate links are used on some products. This means that if you make a purchase after clicking on my link, I receive a small commission with no extra cost to you. I truly appreciate your support when using these links. Please click on the logo below the product to shop at your favourite store. Products marked with an asterisk (*) were kindly sent to me to use.
 
 
COPIC MARKERS: RV42, E01, R01, E000.

For more details on how I made the card, please head over to the blog post. Thank you so much for stopping by today! Have a great day!

4 July 2018

Tiny Tortoise

Hello there, today I have a card to share using the new Tiny Tortoise set from Clearly Besotted. This is definitely one of my most simplest cards but I really like how it turned out, the tortoise is so cute!
 

I started off by taking an A2 white card base and stamped the bodies of the tortoise's with MFT Sour Apple ink. I left them to dry a little before stamping the shell using MFT Gumdrop Green Ink. These are really easy to line up. I used the Mini MISTI but acrylic blocks would work just as well. I then stamped their faces in Memento Tuxedo Black Ink.
 
 
I took the party hat and stamped this using MFT Berrylicious Ink. To finish off, I added the sentiment from the set below in Tuxedo Black Ink.
 
SUPPLIES:

Here are the links to what I have used on the card. Affiliate links are used on some products. This means that if you make a purchase after clicking on my link, I receive a small commission with no extra cost to you. I truly appreciate your support when using these links. Please click on the logo below the product to shop at your favourite store. Products marked with an asterisk (*) were kindly sent to me to use.
 
 
I don't make true one layer cards that often but I really like the simplicity of this card. Thanks so much for stopping by today. I hope you have a wonderful day and happy 4th July/Independence Day to my friends across the pond!

2 July 2018

Hero Arts July 2018 My Monthly Hero Kit Blog Hop + Giveaway

Hello there, today we are celebrating the release of the new My Monthly Hero Kit from Hero Arts for the month of July. It is a fabulous kit this month featuring a funfair/county fair theme. If you are following along in the hop, you should have arrived here from the fabulous May but if you get lost along the way, the full list of participants are below.


Both of my projects feature the main stamp set from the kit. My first uses the silhouette image of what we call here in the UK, a theme park. I think maybe it is called an amusement park in other countries? To start with, I took a panel of watercolour paper and using an ink blending tool blended inks over the top half of it. I used Broken China, Faded Jeans, Chipped Sapphire, Seedless Preserves and Black Soot to create night sky. I then took the silhouette image and stamped this along the middle of the panel with black ink.
 
 
I took the firework image from the stamp set and stamped this three times in the sky, with Versamark Ink. I applied Sparkle embossing powder and heat set. Although this doesn't show up that well front on, it looks wonderful when the light hits it! The panel was added to a white A2 card base with tape runner and then I added a panel of white cardstock below with foam tape. I stamped the sentiment on this from the Birthday Hugs & Kisses set (already released).

 
My next project is a simple tag featuring more stamps from the main kit stamp set. I took a piece of watercolour paper and die cut this using the second largest of the Tag Infinity Dies. I blended over Distress Oxide inks in Squeezed Lemonade, Worn Lipstick and Wilted Violet (I got this colour combination from Little Crafty Pill).

 
I then stamped the roller-coaster image at the bottom and one of the sentiments from the set at the top. To finish off, I added some black and white twine through the top. Simple as that!


SUPPLIES:

Here are the links to what I have used on the card. Affiliate links are used on some products. This means that if you make a purchase after clicking on my link, I receive a small commission with no extra cost to you. I truly appreciate your support when using these links. Please click on the logo below the product to shop at your favourite store. Products marked with an asterisk (*) were kindly sent to me to use.
 

THE KIT:
 
 
The July 2018 My Monthly Hero Kit contains a 6" x 8" clear stamp set, 10 coordinating Frame Cuts, 1 4.25" x 5.5" Fancy Die, 3 ink cubes (Reactive Red, Reactive Blue and Unicorn White Pigment) and 3 4" x 6" chipboard postcards. The kit contents value at $72 but you can get it all for $34.99 (approx. £28 depending on exchange rate).

Remember that the kits are limited edition and often sell out quickly. You can subscribe to the kit so that you never miss one (it starts with the August kit). There are some wonderful add-on products this month too. These are not limited edition and can be purchased from your favourite Hero Arts retailer. Here is a look at them:


BLOG HOP:

Here is the full list of participants in the hop today:
 

GIVEAWAY:

Hero Arts are giving away one kit to one lucky blog hop reader - selected from all the comments left across all the stops in the hop. The more you comment, the more chance there is to win! One comment per blog. The giveaway closes Sunday, July 8th at 11.59pm EST. The winner will be announced the following week on the Hero Arts blog. Good luck!
 
Next on the hop is the fabulous Nichol. Thank you so much for stopping by today, I hope you have a great day!

1 July 2018

VIDEO | Clearly Besotted July 2018 Release Preview

Hello there, today is THE day! The July 20187 release from Clearly Besotted will be available to purchase at 8pm BST/3pm EDT. It is a wonderful release with lots of sets to suit everyone. There are quite a lot of stamp layering sets this month, in case colouring is not your thing, but there are a few colouring sets too :)
 
 
You can purchase the new products directly from Clearly Besotted (UK based, ships almost worldwide) and also from Simon Says Stamp (US based, ships worldwide). The links to the products are below (the links will be live at release time), but first, here is a look at the new products and a recap of the cards I made:


(If you are viewing this post via subscription, you can see the video directly on YouTube here)
 
SUPPLIES:

Here are the links to what I have used on the card. Affiliate links are used on some products. This means that if you make a purchase after clicking on my link, I receive a small commission with no extra cost to you. I truly appreciate your support when using these links. Please click on the logo below the product to shop at your favourite store. Products marked with an asterisk (*) were kindly sent to me to use.
 
 
What sets have caught your eye this month? I would love to know! Thanks so much for stopping by today, have a great day!

30 June 2018

My Monthly Hero Countdown | Hello There

Hello there, today I am over on the Hero Arts Blog sharing a look at the new My Monthly Hero Kit for July 2018. It has a wonderful funfair theme to it but I loved the look of this plane image so went with a simple hello card.


SUPPLIES:

Here are the links to what I have used on the card. Affiliate links are used on some products. This means that if you make a purchase after clicking on my link, I receive a small commission with no extra cost to you. I truly appreciate your support when using these links. Please click on the logo below the product to shop at your favourite store. Products marked with an asterisk (*) were kindly sent to me to use.
 
 
COPIC MARKERS: R89, R37, R27, R24, R14.
 
For more details on how I made the card, please head over to the blog post and remember to leave a comment over there for a chance to win a kit! Thank you so much for stopping by, hope you have a great rest of the day!

Clearly Besotted Teasers | Monkey Business

Hello there and welcome to day four of the Clearly Besotted Teasers for the July 2018 release. All of the new products release tomorrow at 8pm BST. I have one last teaser to share with you today, using the new Wild Times stamp set. This is a fun animal themed set that is a stamp layering set.
 

I started off by stamping the monkey from the Wild Times stamp set. I used PTI Fine Linen ink for the bottom layer and Dark Chocolate for the top layer. I then fussy cut him out with scissors, but don't worry, there is a coordinating die set available, and set him aside.
 
 
I took a circle of watercolour paper that has been cut with a SSS Stitched Circle Die and blended over Twisted Citron and Mowed Lawn Distress Inks on to it. I then placed the Tropical Leaves stencil from Newton's Nook and secured in place with low-tack tape. I blended the same colours of Distress Inks on top, adding in some Lucky Clover to the edges. The side was then cut down with a guillotine. This was added to a white A2 card base that has a layer of woodgrain cardstock on the front, as well as a strip of black and white patterned paper to the side.
 
 
I took the sentiment from the A Little Sentimental set and stamped this on to black cardstock with Versamark Ink. I applied white embossing powder and heat set. This was cut in to a strip and added to the card with thin foam tape. The monkey was then added on top with more thin foam tape.
 
SUPPLIES:

Here are the links to what I have used on the card. Affiliate links are used on some products. This means that if you make a purchase after clicking on my link, I receive a small commission with no extra cost to you. I truly appreciate your support when using these links. Please click on the logo below the product to shop at your favourite store. Products marked with an asterisk (*) were kindly sent to me to use.
 
 
Doesn't he look like a cheeky monkey?! I thought this card would be sure to brighten up someone's day! For more inspiration using more of the new release, please head over to my teamies Stephanie, Keren and Lisa. Thanks so much for stopping by today, see you tomorrow for release day! Have a great weekend!

29 June 2018

Clearly Besotted Teasers | Sweet Berries

Hello there and welcome to day three of the Clearly Besotted teasers. All the new sets will release on Sunday, July 1st so not long to wait now! For my project today, I thought I would make a tag using the new Sweet Berries stamp set. It is a wonderful set with two berry clusters and today, I thought I would go with the strawberries.
 

First of all, I die cut a tag from white cardstock using the Tag Along Die Collection. I stamped the strawberries on to it using Memento Tuxedo Black Ink. I the coloured the image using Copic Markers, adding a little shading around the image with blues. The colours I used are listed below the supplies section. I also added a little red Spica pen to the pips on the strawberries for some added sparkle (although sadly, it does not show up well in the photos).
 
 
I took the sentiment from the Sweet Berries set and stamped it on to black cardstock using Versamark Ink. I applied white embossing powder and heat set. This was cut in to a strip and added to the tag with thin foam tape. To finish off, I added twine through the top of the tag.
 
SUPPLIES:

Here are the links to what I have used on the card. Affiliate links are used on some products. This means that if you make a purchase after clicking on my link, I receive a small commission with no extra cost to you. I truly appreciate your support when using these links. Please click on the logo below the product to shop at your favourite store. Products marked with an asterisk (*) were kindly sent to me to use.
 
 
COPIC MARKERS: Strawberries - R89, R37, R24, R14, Spica 21 Lipstick. Leaves - YG67, YG17, YG23, YG03, YG01. Flowers - Y13, Y11, Y000. Shadow - B00, B0000, 0.
 
I really love making tags and I thought this would be nice to send to someone as a little pick me up or a thank you, but could be added to a card too. For more inspiration using the new release, please head over to my teamies Stephanie, Keren and Lisa. Thanks so much for stopping by to see me today! Have a great day!

28 June 2018

Clearly Besotted Teasers | Rainbow Wishes

Hello there and welcome to day two of the July 2018 Clearly Besotted Teasers. My card today uses the new Over The Rainbow stamp set. All of the layers of the rainbow are separate stamps so you can line them up easily and use different colours for each layer. The ends of the rainbow have brushstroke ends so they do not stop abruptly, which is nice.
 

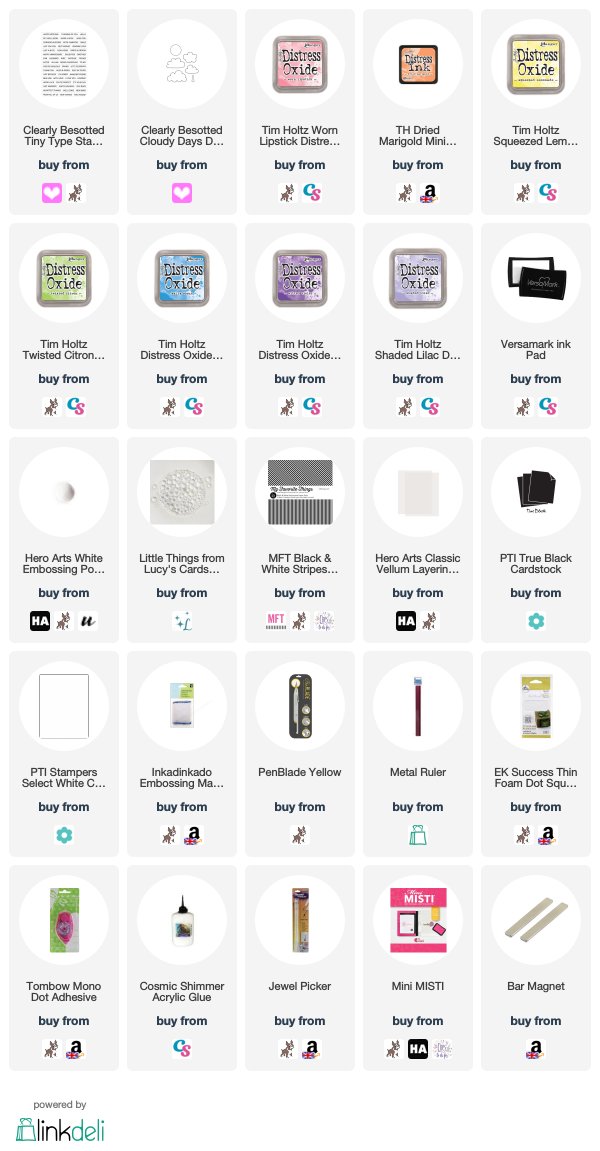
I started off by taking a panel of white cardstock and stamping the rainbow on to it using various shades of Distress Oxide ink plus the normal Distress ink for the orange, as I do not have an Oxide in this colour. The Oxide inks stamp beautifully, though. I used the Mini MISTI to help line up the different layers. I took a strip of paper from the MFT Black & White Striped Paper Pad and added this to the side of an A2 card base. The rainbow panel was then added on top with tape runner.
 
 
I die cut some clouds using the Cloudy Days Die Collection (which is soon retiring, so grab it while you can!) from white cardstock, as well as vellum. These were layered up with thin foam tape and tape runner for the vellum cloud. The sentiment from the Tiny Type set was stamped in Versamark Ink on to black cardstock. I applied white embossing powder and heat set. This was cut in to a strip and added to the card with more thin foam tape. To finish off, I added a few Raindrops with liquid glue.
 
SUPPLIES:

Here are the links to what I have used on the card. Affiliate links are used on some products. This means that if you make a purchase after clicking on my link, I receive a small commission with no extra cost to you. I truly appreciate your support when using these links. Please click on the logo below the product to shop at your favourite store. Products marked with an asterisk (*) were kindly sent to me to use.
 
 
I thought this card could be used for lots of different occasions. Rainbows always seem uplifting to me! Please do head over to see what my teamies Stephanie, Keren and Lisa have been up to. Thank you so much for visiting me today, I really do appreciate it. See you tomorrow!

27 June 2018

Clearly Besotted Teasers | Copics vs Pencils

Hello there and welcome to day one of the Clearly Besotted Teasers for the July 2018 Release. The new products release at 8pm BST on the 1st July. From now until then, the Design Team will be sharing teasers with you. My cards today use the beautiful new My Mother Stamp Set. I couldn't decide how to colour the flowers so I went with both Copic Markers and Colour Pencils and I will let you decide which you like best!
 

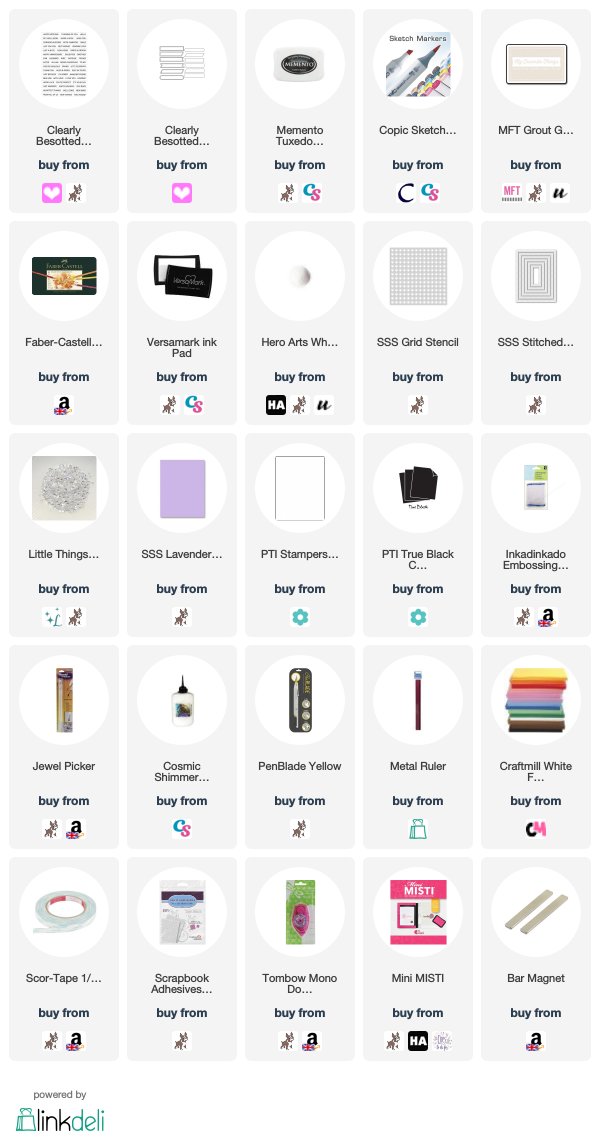
For the Copic Marker one, I stamped the image with Memento Tuxedo Black on to a panel of white cardstock, die cut using a SSS Stitched Rectangle Die. I coloured the image using Copic Markers (the colours I used are listed below the supplies section), adding a little blue sharing around the image. I then took the panel and die cut this again with a smaller stitched rectangle die.
 
 
I added the frame piece flat to a white A2 white card base with tape runner. I then added the inside rectangle using foam sheet and DST to give it some dimension. I took the sentiment from the Tiny Type set and stamped this on to black cardstock with Versamark Ink. I applied white embossing powder and heat set. This was cut in to a strip and added to the card with thin foam tape.
 
 
For the pencil one, I stamped the image on to another stitched rectangle panel but this time with MFT Grout Gray Hybrid Ink. I coloured the flowers with Polychromos Pencils (the colours used are listed below the supplies section) for a no-line look. I took a purple A2 card base and embossed the SSS Grid Stencil on to the front. The image panel was then added on top with thin foam tape.
 
 
I took the same sentiment and stamped and heat embossed this. This time I cut it out using one of the banner dies from the Flag It Die Collection. This was added to the card with more thin foam tape and then I embellished it with Lucy's Ice Cube Jewels.
 
SUPPLIES:

Here are the links to what I have used on the card. Affiliate links are used on some products. This means that if you make a purchase after clicking on my link, I receive a small commission with no extra cost to you. I truly appreciate your support when using these links. Please click on the logo below the product to shop at your favourite store. Products marked with an asterisk (*) were kindly sent to me to use.
 
 
COPIC MARKERS: V17, V15, V01, YG67, YG17, YG23, YG03, BG000, BG0000, 0.
POLYCHROMOS: 168, 174, 267, 141, 249, 136.
 
The colour pencils definitely give a softer look but I am partial to a black outline. I do like them both though! I know the rest of the team will have lots of share with you too. Please head over to my teamies Stephanie, Lisa and Keren. Thank you so much for visiting me today. See you tomorrow! Have a great day!

26 June 2018

Rainbow Stencilling

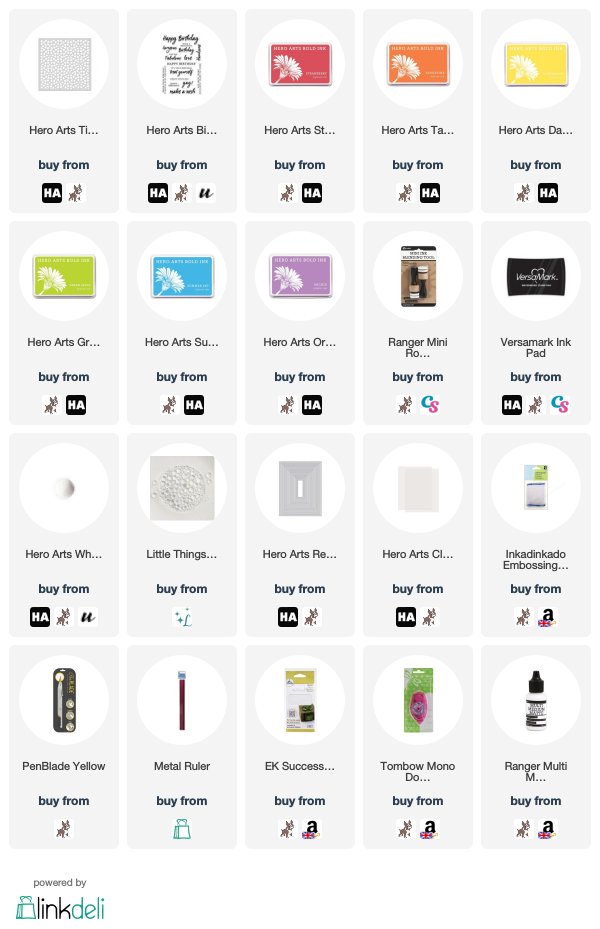
Hello there, today I am over on the Hero Arts Blog sharing a card I have made using the Tile Pattern Stencil. I decided to do some ink blending with it in rainbow colours because who doesn't love rainbows?!


SUPPLIES:

Here are the links to what I have used on the card. Affiliate links are used on some products. This means that if you make a purchase after clicking on my link, I receive a small commission with no extra cost to you. I truly appreciate your support when using these links. Please click on the logo below the product to shop at your favourite store. Products marked with an asterisk (*) were kindly sent to me to use.
 
 
I wanted to keep the rest of the card simple to show off the ink blending but muted it slightly with a panel of vellum. For more details on how I made the card, please head over to the blog post. Thank you so much for visiting me today. I really do appreciate it. Have a great day!

25 June 2018

VIDEO | Card Making Haul - June 2018

Hello there, I am back today with a haul video. Most of this stuff was purchased in June but there were a few orders back at the end of May too.
 
  
I purchased a lot of stamps, dies and stencils this month. Do you find that you purchased more of some items one month than the other? Here is a look at what I purchased:


 (If you are seeing this post via my newsletter, you can watch the video over on YouTube here)

SUPPLIES:

Here are the links to what I shared in the video. Affiliate links are used on some products. This means that if you make a purchase after clicking on my link, I receive a small commission with no extra cost to you. I truly appreciate your support when using these links. Please click on the logo below the product to shop at your favourite store. Products marked with an asterisk (*) were kindly sent to me to use.
 
 
Thank you so much for stopping by today, I do really appreciate it. It is very hot here in London today so I am off to get an ice lolly! Have a great day!
End of code