
Hello there, I am over on the Pinkfresh Studio YouTube Channel today, sharing a card using the beautiful Gentle Bloomscape suite. I am also sharing some tips and tricks for adding interest to clean and simple cards.
PLEASE
NOTE: This post contains affiliate links. Please see below for my full
disclosure.

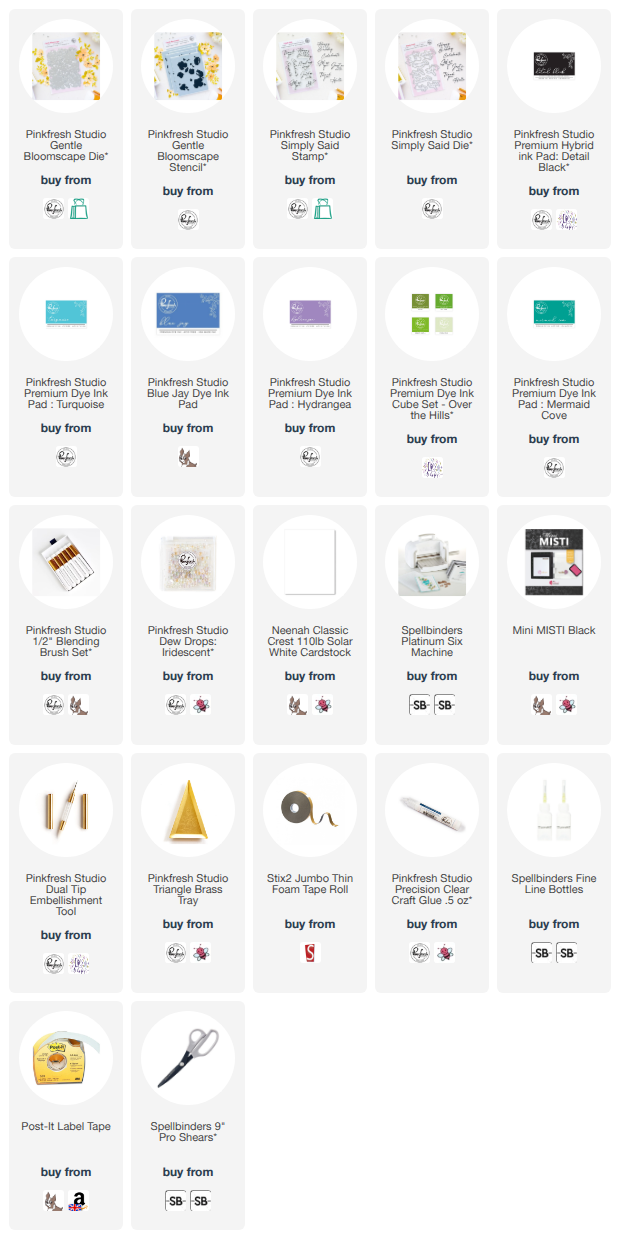
I started off my card by taking the Pinkfresh Studio Gentle Bloomscape Stencils and placing them, one by one, on top of a panel of white cardstock, adding ink blending to the image using Pinkfresh Studio 1/2" Blending Brushes. I used Pinkfresh Studio Inks in Turquoise, Blue Jay and Hydrangea for the flowers, and Grassy Knoll, Key Lime and Mermaid Cove for the leaves and stems.

The flowers were then die cut out using the Pinkfresh Studio Gentle Bloomscape Die. The flowers were arranged in the bottom right hand corner of a 4" x 5.5" white card base using thin foam tape. I stamped the sentiment from Pinkfresh Studio Simply Said Stamp Set onto white cardstock using Pinkfresh Studio Detail Black Hybrid Ink.

It was die cut out using the coordinating die and the die cut again twice from white cardstock. I adhered the die cut layers behind the stamped one before adhering to the card. To finish, I embellished using Pinkfresh Studio Iridescent Dew Drops.

So what are the 7 ways to add interest to clean and simple cards?
- Have a bold focal point - in this instance I went with a bold colour scheme. This really pops against the card base.
- White space - having white space (areas where there is nothing) on a card really draws your eye into the focal point.
- Make your images work for you - for this card, I cut apart a few of the floral arrangements to create one big one. Don't be afraid to cut up your images to work for your design!
- Add dimension - you don't need to go crazy here but adding some dimension makes the layers pop. I used thin foam tape for the flowers and cardstock layers for the sentiment.
- Overlap elements on the edge of the card - I know this isn't for everyone but I really like how it looks. I made the card 4 inches wide, so that the card could still fit in a standard sized envelope.
- Make sentiments part of the focal point - sentiments can often feel like an afterthought on a card, but for me, it is the reason for sending the card in the first place - you want to say something to the recipient. So I like to overlap my focal point with the sentiment to make it part of the arrangement.
- Add subtle embellishments - embellishments can really add that final flourish/finishing touch to a card, but if they are too bold, they can often distract form the focal point.
VIDEO:
SUPPLIES:
Here are the links to
what I have used on the project. Affiliate
links are used on some products. This means that if you make a purchase after
clicking on my link, I receive a small commission with no extra cost to you. I
truly appreciate your support when using these links. Please click on the logo below
the product to shop at your favourite store. All products were personally
purchased except marked with an asterisk (*) which were kindly sent to me to
use. You can read my full disclosure here.

No comments:
Post a Comment
Thank you for visiting my blog today! Please feel free to leave me a comment. I really appreciate receiving them. Please note that if you comment as unknown on a hop, you will not be entered into the prize draw unless you leave your email address in the comment. Please see my Privacy Policy for details on how your data is used when leaving me a comment. Thank you so much :)