
Hello there, today I have a card to share using the Spellbinders Classic Mouse Costume Party Etched Dies that are perfect for Halloween to dress up the mice, but a lot of the items also fit other characters too, especially the witches hat. If you want to dress up the mice, you do need the Classic Mouse Wedding Etched Dies for this, as you need the suit and dress from the set.
PLEASE
NOTE: This post contains affiliate links. Please see below for my full
disclosure.

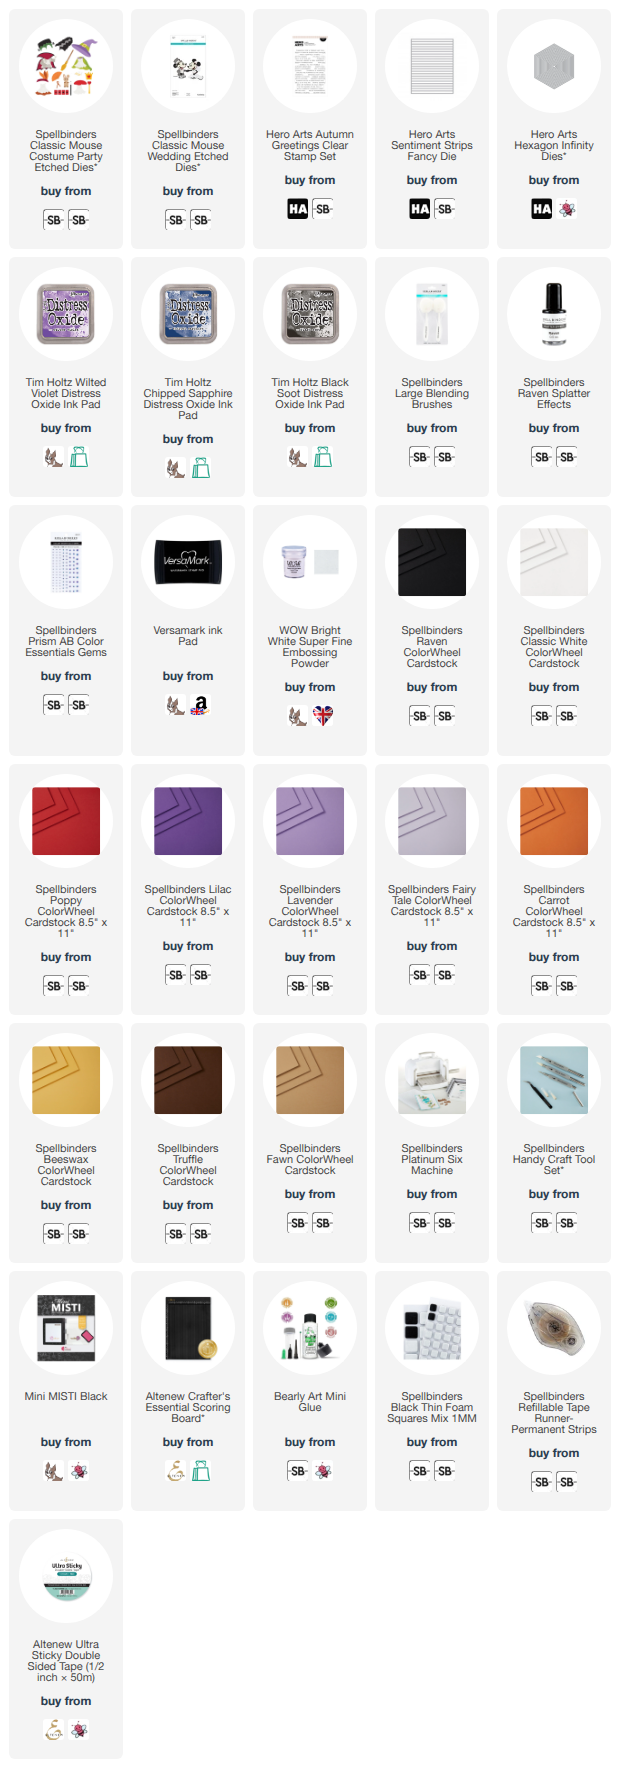
I started off my card by die cutting the girl mouse from Spellbinders Classic Mouse Wedding Etched Dies using Spellbinders ColorWheel Cardstock. I cut her body (including the tail) and head from Raven, her face from Classic White, her mouth from Poppy, her shoes, hat and dress from Lilac, the hat band and dress band from Carrot, the buckles from Beeswax, and her cape from Fairy Tale and Lavender.

The hat, buckles and cape are from the Spellbinders Classic Mouse Costume Party Etched Dies. She was assembled and adhered together using Bearly Art Glue. I then die cut the broom from the Spellbinders Classic Mouse Costume Party Etched Dies set from Spellbinders Truffle and Fawn Color Wheel Cardstock.

For the card base, I die cut two Hero Arts Hexagon Infinity Dies from white cardstock. I scored one towards the top to create a hinge. I added adhesive to the hinge and adhered it to the back of the other one to create the hexagon shaped card base. I then die cut another of the hexagons and added ink blending on top. I used Tim Holtz Distress Oxide Inks in Wilted Violet, Chipped Sapphire and Black Soot. I then splattered on Spellbinders Raven Splatter Effects and set it aside to dry.

Once dry, it was adhered to the card base using tape runner adhesive. The witchy mouse was adhered on top using thin foam squares. I then adhered the broom to her hand, using a combination of liquid glue and thin foam squares. I stamped a sentiment from the Hero Arts Autumn Greetings Clear Stamp Set onto black cardstock using Versamark Ink. I applied white embossing powder and heat set. It was then cut into two strips and adhered to the card using more thin foam squares. To finish, I embellished with Spellbinders Prism AB Color Essentials Gems.
Before I go, I just wanted to mention that Spellbinders have a Warehouse Sale going on at the moment with lots of bargains to be had! You can visit the sale for the US site here and the UK one here.
SUPPLIES:
Here are the links to
what I have used on the project. Affiliate
links are used on some products. This means that if you make a purchase after
clicking on my link, I receive a small commission with no extra cost to you. I
truly appreciate your support when using these links. Please click on the logo below
the product to shop at your favourite store. All products were personally
purchased except marked with an asterisk (*) which were kindly sent to me to
use. You can read my full disclosure here.
She looks so cute dressed up as a witch, and of course, I had to use purple! Thanks so much for stopping by today, I really do appreciate it. I hope you have a wonderful day!

No comments:
Post a Comment
Thank you for visiting my blog today! Please feel free to leave me a comment. I really appreciate receiving them. Please note that if you comment as unknown on a hop, you will not be entered into the prize draw unless you leave your email address in the comment. Please see my Privacy Policy for details on how your data is used when leaving me a comment. Thank you so much :)