
Hello there, I hope you are well! Today I have a card and video to share using a fun technique - negative ink blending. As the name suggests, you ink blend the negative, rather than the positive. So in this instance, it looks there is a tag layer behind the tulips that have been cut out, but in actual reality, it is all one layer!
PLEASE
NOTE: This post contains affiliate links. Please see below for my full
disclosure.

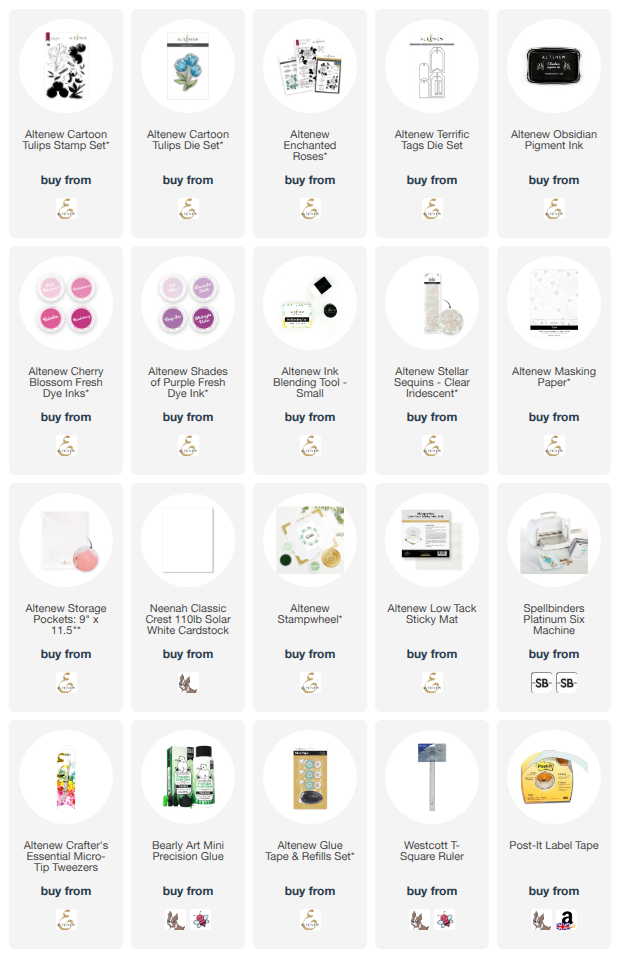
I started off my card by taking a 4.25" x 5.5" panel of Altenew Masking Paper and die cut one of the largest tags from the Altenew Terrific Tags Die Set from the middle. The positive (the tag) can be kept for a future project. I just need the negative (the outside of the tag) for this card. Using the panel as a guide for where to stamp the image, I stamped the outline tulips stamp from Altenew Cartoon Tulips Stamp Set onto a panel of white cardstock using Altenew Obsidian Pigment Ink.

Once the ink was dry, I took the masking paper piece, removed the backing, and adhered it to the panel. I then die cut the coordinating die for the tulips from masking paper and adhered that over the image. I added ink blending to the tag opening using Altenew Fresh Dye Inks in Pinkalicious, Deep Iris and Midnight Violet, using an Altenew Small Blending Brush.

I removed all the masking and then stamped the image again to make sure it was nice and crisp (the masking paper removed a little of the ink when I took it off). I adhered the panel to a US A2 sized white card base using Altenew Glue Tape. I then stamped a sentiment from the Altenew Enchanted Roses Stamp Set onto more white cardstock using Altenew Obsidian Pigment Ink.

It was die cut out using the coordinating die. I then cut the die again two times from white cardstock and adhered them behind the stamped one for some dimension, before adhering to the card. To finish, I embellished with Altenew Clear Iridescent Stellar Sequins.
VIDEO:
Here is the video showing how I made the card:
If you are viewing this blog post via email subscription, you can watch the video HERE on YouTube.
SUPPLIES:
Here are the links to
what I have used on the project. Affiliate
links are used on some products. This means that if you make a purchase after
clicking on my link, I receive a small commission with no extra cost to you. I
truly appreciate your support when using these links. Please click on the logo below
the product to shop at your favourite store. All products were personally
purchased except marked with an asterisk (*) which were kindly sent to me to
use. You can read my full disclosure here.
I kept my card clean and simple today, but as I mention in the video, this technique can be stepped up by adding a pattern onto the negative portion using a background stamp or a stencil but I do like it as it is too! Thank you so much for stopping by today, I really do appreciate it. I hope you have a wonderful weekend!

No comments:
Post a Comment
Thank you for visiting my blog today! Please feel free to leave me a comment. I really appreciate receiving them. Please note that if you comment as unknown on a hop, you will not be entered into the prize draw unless you leave your email address in the comment. Please see my Privacy Policy for details on how your data is used when leaving me a comment. Thank you so much :)