
Hello there, today I have a tag and video to share using the Altenew Mini Delight: Sweet Popsicles Stamp & Die Set. This is such a fun set as you can really customise the ice lollies/popsicles to make them as you want to! I am creating a well known ice lolly that we have here in the UK today. It has a bottom layer of strawberry, a middle layer of vanilla, and a top layer of chocolate with sprinkles on top!
PLEASE NOTE: This post contains affiliate links. Please see below for my full disclosure.

I started off by creating the ice lolly. I die cut the main layer from the Altenew Mini Delight: Sweet Popsicle Die Set four times. I cut it from Altenew Crafty Necessities: Rubellite and Espresso Cardstock. I also cut it from Neenah Classic Crest 80lb and 110lb cardstock. I cut the Rubellite, Espresso and 80lb white using the layering dies in the set. I show in my video how I got them to line up so that each layer fits together kind of like inlay.

They were adhered to the 110lb white layer using liquid glue. I added Altenew Double-sided Adhesive Sheet to the back of Altenew Crafty Necessities Pink Diamond, Rubellite and Buttercream Cardstock and cut the sprinkles die from them. This made it so that I didn't have to add liquid glue behind the tiny sprinkles. I then adhered them to the top chocolate layer.

I die cut the stick twice from Altenew Crafty Necessities: Sand Dunes Cardstock. I adhered them one on top of another and then adhered it to the back of the ice lolly layer. I stamped the sentiment from the Altenew Mini Delight: Sweet Popsicles Stamp Set onto a panel of white cardstock using Altenew Obsidian Pigment Ink.

It was die cut out using one of the largest Altenew Terrific Tags Dies. I then die cut another tag from white cardstock and adhered it to the back. The ice lolly/popsicle was adhered on top using foam tape. To finish, I added twine through the top of the tag and tied in a bow and then embellished with Altenew Black & White Enamel Dots (just the black ones!).
VIDEO:
Here is the video showing how I made the tag:
If you are viewing this post via email subscription, you can watch the video HERE on YouTube.
SUPPLIES:
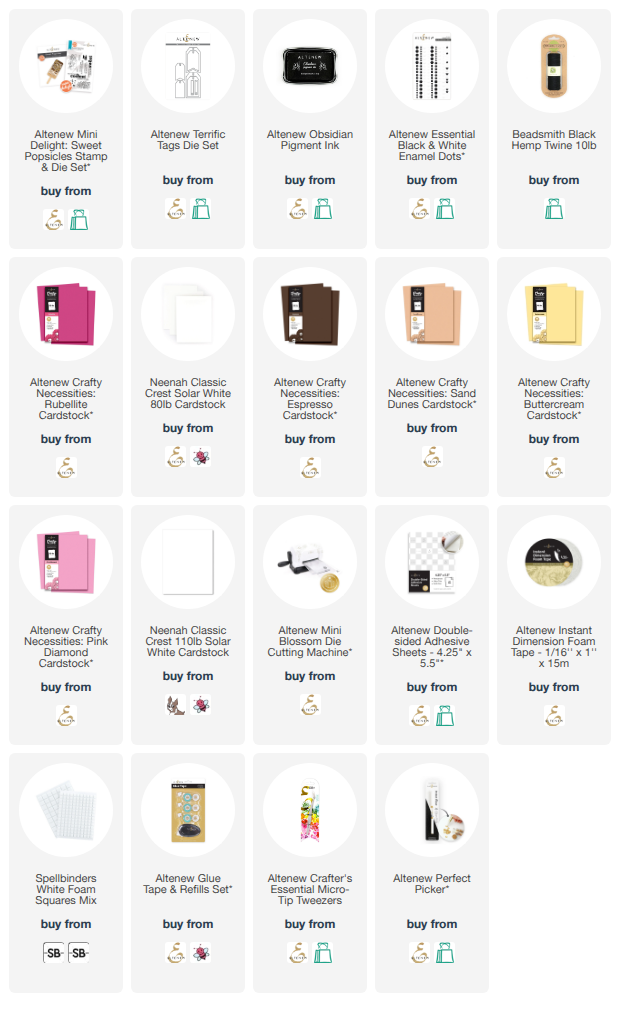
Here are the links to what I have used on the project. Affiliate links are used on some products. This means that if you make a purchase after clicking on my link, I receive a small commission with no extra cost to you. I truly appreciate your support when using these links. Please click on the logo below the product to shop at your favourite store. All products were personally purchased except marked with an asterisk (*) which were kindly sent to me to use. You can read my full disclosure here.
Thank you so much for stopping by today, I really do appreciate it. I hope you have a wonderful day!

No comments:
Post a Comment
Thank you for visiting my blog today! Please feel free to leave me a comment. I really appreciate receiving them. Please note that if you comment as unknown on a hop, you will not be entered into the prize draw unless you leave your email address in the comment. Please see my Privacy Policy for details on how your data is used when leaving me a comment. Thank you so much :)