
Hello there, thank you so much for joining me here on my blog. I am delighted to be joining Altenew today to celebrate the June 2026 release with a fun blog hop. I already shared one card using the release here and today I have five more to share! Most of the cards feature an underwater theme and they were so fun to make and I love that you can mix and match a lot of the sets together!
PLEASE
NOTE: This post contains affiliate links. Please see below for my full
disclosure.
CORAL REEF WONDERS

My first card uses the Altenew Craft Your Life Project Kit: Coral Reef Wonders. This fabulous kit includes a stamp set (with images and sentiments), a die set full of fabulous sea creatures, a reef embossing folder, and coordinating stencils for the embossing folder and also stencils to create an ocean. I started off my card by embossing a panel of white cardstock using the embossing folder.

I then coloured the image using ink blending with the stencils. I went colourful as you can see, using Altenew Fresh Dye Inks in Cherry Blossom, Shades of Purple, Green Valley and Golden Sunset. The panel was adhered to a white A2 sized card base using Glue Tape. I die cut the turtle from the die set using Altenew Crafty Necessities: Dew Drops, Aqualicious, Teal Cave and Jet Black (for the eye) Cardstock. He was assembled and adhered using liquid glue then adhered to the card using Altenew Instant Dimension Foam Tape.

The sentiment, from the stamp set, was stamped onto Altenew Crafty Necessities: Jet Black Cardstock using Altenew Embossing Ink. I applied Altenew Pure White Crisp Embossing Powder and heat set. It was cut into a strip and adhered to the card using more foam tape. To finish, I embellished with Altenew Crystal Clear Enamel Dots.
BENEATH THE BLUE

My second card uses Creative Cuts: Zero-Waste Beneath the Blue combined with the fish from Craft Your Life Project Kit: Coral Reef Wonders. I die cut the coral first from the Altenew Creative Cuts: Zero-Waste Beneath the Blue Die Set from Crafty Necessities Cardstock. This is a zero-waste die set so in theory, you would cut it all at once, but since I wanted to use different colours of cardstock, I just placed the small pieces of cardstock onto the die and cut them out that way.

I then added ink blending to the die cuts for some added interest. I used Soft Lilac Cardstock with Lavender Fields Ink, Pink Diamond Cardstock with Pinkalicious Ink, Limeade Cardstock with Lime Ink, and Parrot Cardstock with Grass Field Ink. The fish were die cut from Altenew Craft Your Life Project Kit: Coral Reef Wonders using Altenew Crafty Necessities: Jet Black and Amber Blaze Cardstock, plus a little white cardstock too.

I took a panel of Altenew Crafty Necessities: Dew Drops Cardstock and added ink blending at the bottom using Altenew Dew Drops and Aqualicious Fresh Dye Inks. I stamped a sentiment onto the panel from Altenew Craft Your Life Project Kit: Coral Reef Wonders using Altenew Obsidian Pigment Ink. It was adhered to a US A2 sized white card base using Glue Tape. The coral was adhered on top, followed by the fish. To finish, I embellished with Altenew Crystal Clear Enamel Dots.
CORAL ARCH

My next card uses the super cute Altenew Coral Arch Die Set. This little set includes the arch as well as three fish. I die cut the arch three times from Altenew Crafty Necessities: Dew Drops Cardstock. I added ink blending using Altenew Sweet Dreams Fresh Dye Inks (all four shades) onto one of the arches.

The non-inked arches were adhered behind the ink blended one and then adhered onto a white A2 sized card base using liquid glue. I die cut the fish three times each from Altenew Crafty Necessities: Glacier Iris Cardstock. I added ink blending to the top layer using Altenew Hydrangea Fresh Dye Ink and then layered them up before adhering to the card.

I stamped a sentiment from Altenew Craft Your Life Project Kit: Coral Reef Wonders onto Altenew Crafty Necessities: Jet Black Cardstock and heat embossed it using Altenew Pure White Crisp Embossing Powder. To finish, I applied Altenew Iridescent Glitter Relief Paste to the fish using a paint brush. This gave the most beautiful sparkle to the fish!
GRACEFUL SEAHORSE

My next card uses the beautiful Altenew Mini Delight: Delightful Seahorse. I die cut the seahorse from the die set from Altenew Crafty Necessities: Aqualicious Cardstock. It was assembled and adhered using liquid glue. I then added ink blending on top using Altenew Teal Cave Fresh Dye Ink.

I die cut the seaweed from Altenew Crafty Necessities: Bamboo and Parrot Cardstock and added ink blending to both with Altenew Grass Field Fresh Dye Ink. I took a panel of Altenew Crafty Necessities: Dew Drops Cardstock and stamped the sentiment from the Altenew Mini Delight: Delightful Seahorse stamp set on top using Altenew Obsidian Pigment Ink.

The panel was adhered to an A2 sized white card base using Glue Tape. I adhered one of the seaweed pieces first, using liquid glue, followed by the seahorse and other seaweed piece using Altenew Instant Dimension Foam Tape. To finish, I embellished with Altenew Shimmering Pool Stellar Sequins.
LEANING LILY

My final card today uses the new Altenew Build-A-Garden: Leaning Lily. I stamped the lily image onto white cardstock using Altenew Obsidian Pigment Ink. I then used the coordinating stencils to colour it using ink blending. I used Altenew Cherry Blossom Fresh Dye Inks for the petals, Golden Sunset Fresh Dye Inks for the stamens, and Green Valley Fresh Dye Inks for the stems and leaves.

It was die cut out using the coordinating die. I mixed some Altenew Carbon Black Artists' Gouache with a little water and splattered it onto a white A2 sized card base. Once it has dried, I adhered the lily on top using Altenew Instant Dimension Foam Tape. The sentiment from the set was heat embossed onto black cardstock, cut into a strip and adhered using more foam tape. To finish, I embellished with Altenew Clear Iridescent Stellar Sequins.
MINIMALIST MAGIC: LESS IS MORE CLASS
.jpg)
In case you haven't already seen it, I am delighted to be teaching a lesson in the new Altenew Minimalist Magic: Less Is More class. The class uses the June release, sharing ways to use the products in a clean and simple way. There are three ways to take the class - the class pass only, the class along with the regular kit, and the class with the deluxe kit. The Altenew website shows what you get in the kits.
My lesson uses a product that I have not shared here and explains how to use the rule of thirds and add a spin on it! If you like clean and simple cards, I hope you will check it out!
BLOG HOP:
.jpg)
As mentioned, this post is part of a fun, inspirational blog hop with prizes. Please click on the other participants below to visit their blogs.
GIVEAWAY:
.jpg)
$300
in total prizes! To celebrate this release, Altenew is giving away a $100 gift
certificate to 1 lucky winner and a $50 gift certificate to 4 winners! Please
leave a comment on the Altenew Blog
and/or each designer’s blog post on the blog hop list below by June 11th for a
chance to win. Altenew will draw 5 random winners from the comments left on
each stop of this blog hop and announce the winners on the Altenew's Blog Hop Post
on June 13th, 2026. The
winner of the $100 gift certificate will be chosen from comments left on the
Altenew blog.
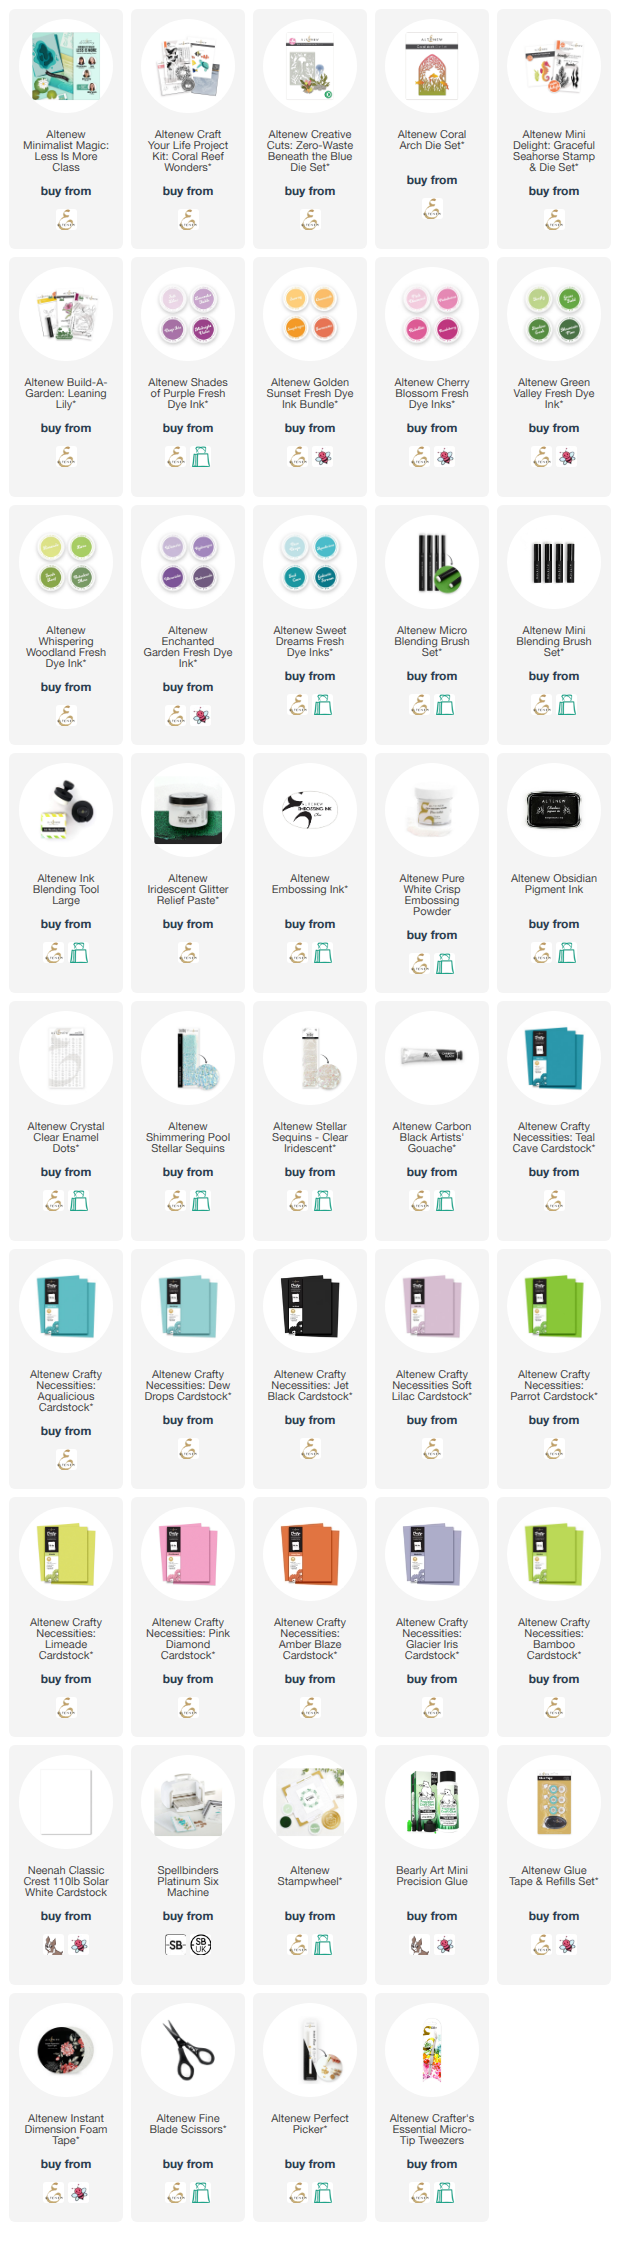
SUPPLIES:
Here are the links to
what I have used on the project. Affiliate
links are used on some products. This means that if you make a purchase after
clicking on my link, I receive a small commission with no extra cost to you. I
truly appreciate your support when using these links. Please click on the logo below
the product to shop at your favourite store. All products were personally
purchased except marked with an asterisk (*) which were kindly sent to me to
use. You can read my full disclosure here.
I did rush through the descriptions of the cards a bit as I didn't want the post to be too long. If there is anything you are not sure of, please ask in the comments and I will get back to you as soon as possible. Thank you so much for stopping by today, I really do appreciate it. I hope you have a wonderful day and a great weekend! Take care!
Wow! Your cards are beautiful! The turtle really pops against the colorful coral!
ReplyDeleteOMGoodness! Such bright happy colorful creations! Loving all of the underwater wildlife! I think that seahorse is my most favorite from this Release!
ReplyDeleteBeautiful cards! I love the ocean scenes.
ReplyDeleteEvery card is so unique. Love it
ReplyDeleteEvery card is so unique and beautiful
ReplyDeleteSo much inspiration on this post, I couldn’t chose a favorite, they are all beautiful. Thank you for the inspiration!
ReplyDeleteSuch beautiful cards! Love the sea life and the gorgeous flowers.
ReplyDeleteAll of your cards are gorgeous and adorable. Every time I wowed on one thinking that's the one I like best, until I see the next one. Love your cards. Thank you for inspiring me.
ReplyDeleteSuch beautiful cards! I love seeing all these sea creatures. The fishes are my favorite.
ReplyDeleteAwesome cards with these new designs! Love all the beautiful cards you created! The turtle and fish are amazing! Love the gorgeous floral design too!
ReplyDeleteMarisela Delgado said: Gorgeous colors 💜 mariandmonsterd@yahoo.com
ReplyDeleteYou always have so many beautiful examples for new releases and this time is no exception. I just love the bright colors that you used. The sea is full of color from the creatures that live there to the coral and plant life. You nailed it. Love the turtle and clown fish!
ReplyDeleteLove these underwater scenes! Great dies! Carmela
ReplyDeleteWow! What beautiful cards! I love the seahorse card :)
ReplyDeleteI really like the colorful coral. That is my FAVORITE part!!!!!
ReplyDeleteThese minimalist / CAS cards inspire me, I LOVE them but cannot seem to implement it in my own cards :)
ReplyDeleteThese are all amazing! I LOVE the coral reefs you made! SOOOO COLORFUL! Gorgeous cards!
ReplyDeleteGorgeous inspiration! Love the card with the coral reef and sea turtle the best. The bright colors are amazing! Thank you for the ALL of the wonderful inspiration!
ReplyDeleteLove the ocean theme!
ReplyDeleteLove the ocean theme!(
ReplyDeleteEverything you made is amazing! I can't pick just one! I do especially love the one giving finding nemo vibes <3
ReplyDeleteAll such beautiful cards!! I love the colors of the coral reef and turtle, the beautiful simplicity of under the blue and the seahorse and the gorgeous lily!!
ReplyDeleteThese cards are fabulous! Love the beautiful bold colors and the others with soft subtle colors! The lilies are gorgeous!
ReplyDeleteBeautiful cards Michelle. Love the ocean scenes! The clown fish and the turtle are amazing! Love the fun colors! Thanks for the inspiration!
ReplyDeleteBeautiful cards!
ReplyDeleteSimply gorgeous designs!
ReplyDeleteGorgeous cards! the CYL kit is just amazing this release and paired so well with the other products in this release! LOVE LOVE LOVE!
ReplyDeleteThese cards are so beautiful! I love that you could make such a wonderful card in a relatively short amount of time! Thank you for the excellent instructions!
ReplyDeleteLove all of your cards - the colors are so beautiful - and the little seahorse is my favorite from this release. He's so cute - I LOVE your teal/purple one!
ReplyDeleteAmazing release!!! I love it and your cards are awesome!!! I am loving all the things!!!!
ReplyDeleteSimply gorgeous! Your cards are lovely!
ReplyDeleteGreat teal turtle!!
ReplyDeleteStunning cards! My absolute favorite is graceful seahorse!
ReplyDeleteThese cards are amazing. I love the gorgeous colours.
ReplyDeleteAmazing how many cards you have made--all wonderful! But that turtle is so cool!
ReplyDeleteThat dew drop color is just perfection! I especially love the simplicity of your seahorse card! My daughter is a marine science major, and coral reefs are a special interest of hers, so this whole release is awesome!
ReplyDeleteSpectacular cards, Michelle! The turtle one is my favorite, but I love them all!
ReplyDeleteYou have such a great eye for design, I love the little scenes you created. Such great cards!
ReplyDeleteluv these your so talented- kathy
ReplyDeleteBeautiful & fun summery card! I'm in love with the turtle & clown fish! Great job!
ReplyDeleteWow what a great variety of cards. Love the tropical ones!
ReplyDeleteAll your cards are beautiful
ReplyDeleteLove the release and your cards. The clown fish card is simply clean and beautiful.
ReplyDeleteLove the cards. You bring new meaning to the term 'clean and simple'.... add beautiful to that term.
ReplyDeleteturtle... cute. seahorse...cute. you...amazing! Loved everything.
ReplyDeleteBeautiful card
ReplyDelete