
Hello there, I am delighted to be over on the Pinkfresh Studio YouTube Channel today sharing a card using the Couture Grace suite, along with Darling District Press Plate for the background. I wanted there to be something in the background but did not want to distract from the focal point. Pressing is a great way to do this!
PLEASE
NOTE: This post contains affiliate links. Please see below for my full
disclosure.

I started off my card by stamping the girl from Pinkfresh Studio Couture Grace Stamp Set onto white cardstock using Pinkfresh Studio Detail Black Hybrid Ink. I used the coordinating stencils to colour the image using ink blending and Pinkfresh Studio 1/2" Blending Brushes.

Stencil 1 for the skin uses Peach Fuzz Ink.
Stencil 2 for the hair uses Gathered Twigs Ink.
Stencils 3, 5 & 6 uses Detail Black Ink for the dress, shoes and bow.
I missed out stencil 4.
She was die cut out using the Pinkfresh Studio Couture Grace Die.

For the background, I placed the buildings plate from the Pinkfresh Studio Darling District Press Plate set onto the Chase (magnetic plate) of my Spellbinders BetterPress Letterpress System. I placed a panel of white cardstock on top, followed by a panel of scrap watercolour paper. I then placed the Platen (top clear plate) on top and ran it through my die cutting machine. I added ink blending to the panel using Hydrangea and Opulence Inks using a Pinkfresh Studio 1" Blending Brush.

The panel was then adhered to a US A2 sized white card base using glue tape. The girl was adhered on top with thin foam tape. I stamped a sentiment from Pinkfresh Studio Step into Style Stamp Set using Pinkfresh Studio Detail Black Hybrid Ink, die cut it out and adhered it to the card using Pinkfresh Studio Precision Clear Craft Glue on the right and foam tape on the left. To finish, I embellished with Pinkfresh Studio Iridescent Dew Drops.
VIDEO:
Here is the video showing how I made the card:
If you are viewing this blog post via email subscription, you can watch the video HERE on YouTube.
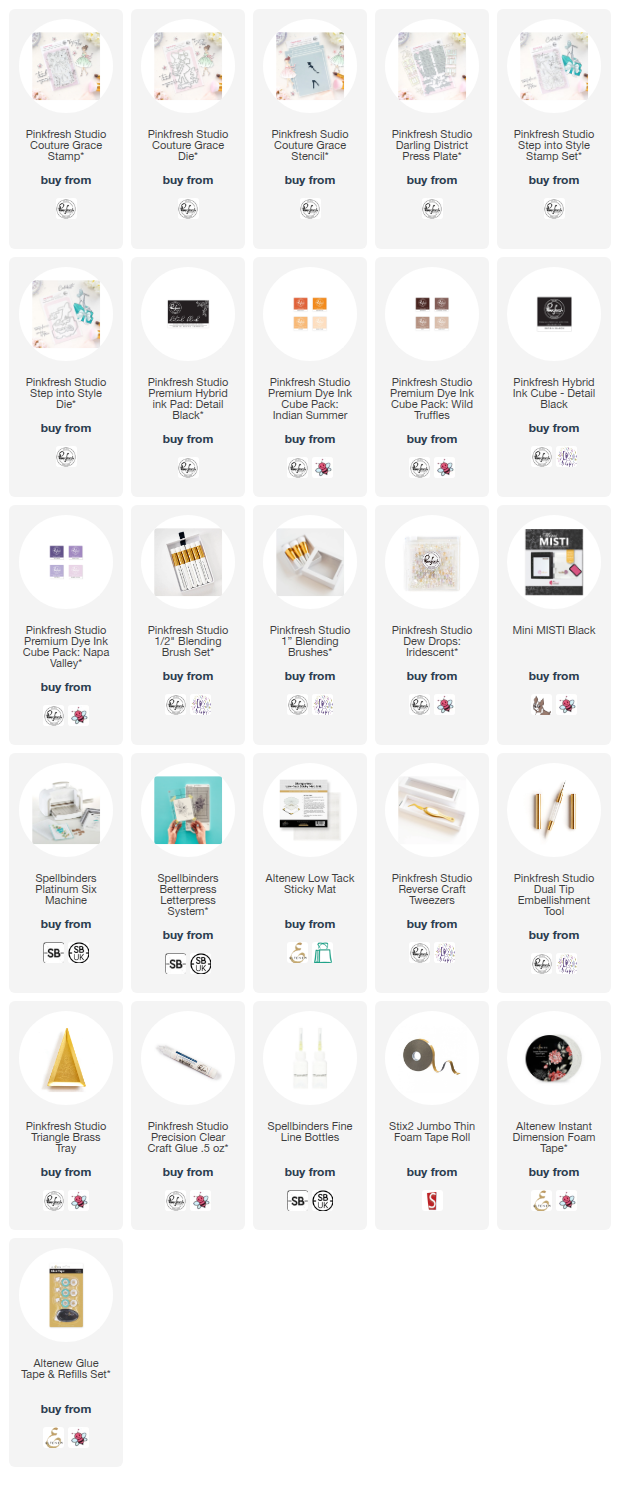
SUPPLIES:
Here are the links to
what I have used on the project. Affiliate
links are used on some products. This means that if you make a purchase after
clicking on my link, I receive a small commission with no extra cost to you. I
truly appreciate your support when using these links. Please click on the logo below
the product to shop at your favourite store. All products were personally
purchased except marked with an asterisk (*) which were kindly sent to me to
use. You can read my full disclosure here.
As mentioned in the video, I used the BetterPress System for the pressing today, but this can be done in any die cutting machine. You would just want to play around with the thickness of the sandwich. I would start with one you would use to deboss dies (with a silicone mat) and go from there. Thank you so much for stopping by today, I really do appreciate it.
No comments:
Post a Comment
Thank you for visiting my blog today! Please feel free to leave me a comment. I really appreciate receiving them. Please note that if you comment as unknown on a hop, you will not be entered into the prize draw unless you leave your email address in the comment. Please see my Privacy Policy for details on how your data is used when leaving me a comment. Thank you so much :)