
Hello there, I am delighted to be joining Altenew today for a fun blog hop to celebrate the April 2025 release. It is jam packed full with lots of lovely stamps, dies, stencils, press plates and much more! I have loads of cards to share today, so please go grab a drink and a snack and I hope you enjoy the inspiration!
PLEASE
NOTE: This post contains affiliate links. Please see below for my full
disclosure.
FLOURISHING BOUQUET
First up is the 8" x 11" anniversary set for this year - Flourishing Bouquet. This set features a stunning (huge) floral image plus lots of sentiments. There is also a coordinating stencil set.

I started off by stamping the image from the Altenew Flourishing Bouquet Stamp Set onto two panels of white cardstock using Altenew Obsidian Pigment Ink. You can stamp the image and then cut the panels but I decided to do it the other way around for these cards!

I then used the Altenew Flourishing Bouquet Simple Coloring Stencil Set to colour the images in using ink blending and Altenew Mini Blending Brushes. I used Altenew Bubblegum Dreams Fresh Dye Inks for the flowers, Altenew Golden Sunset Fresh Dye Inks for the flower centres, and Altenew Green Valley Fresh Dye Inks for the leaves.

The panels were adhered flat to US A2 sized black card bases with Altenew Glue Tape. I stamped the sentiments from the stamp set onto Altenew Crafty Necessities: Jet Black Cardstock using Altenew Embossing Ink. I applied Altenew Pure White Crisp Embossing Powder and heat set.

They were cut into strips and adhered to the cards with Altenew Instant Dimension Foam Tape. To finish, I embellished with Altenew Ivory Pearl Dots.
DELICATE MAGNOLIA + SHIMMER RELIEF PASTE

Next up is the beautiful Altenew Delicate Magnolia Layering Die Set. This was released last month as part of a promotion but now it is available separately. I started off by die cutting two of the flowers from white cardstock. I added ink blending to them using Altenew Enchanted Garden Fresh Dye Inks for the petals and Altenew Golden Sunset Fresh Dye Inks for the centres.

They were assembled and adhered using liquid glue. I took a panel of black cardstock and placed the brick wall stencil from the Altenew Craft Your Life Project Kit: Flower Arch on top. Using a sponge dauber, I applied new Altenew Amethyst Shimmer Relief Paste on top, using a light touch so that the edges faded off.

Once the panel was dry, it was adhered to a black A2 sized card base and the flowers adhered on top. I felt that it needed some greenery, so I took some of the Altenew Zero Waste: Berries & Branches die cuts that I made in the past on THESE cards and popped them behind the magnolias. The sentiment, from Altenew Build-A-Garden: Flowering Quince, was stamped and heat embossed onto black cardstock, cut into a strip and adhered to the card with foam tape.
OVAL SERENITY + ACRYLIC MARKERS SET 2
Next up is the beautiful Altenew Zero Waste: Oval Serenity Die Set. If you are familiar with the Zero Waste sets, you will know that you can use both the positive and negative of these dies. I decided to just use the positive (and not the oval piece) for my card today.

I die cut the die from white cardstock and added ink blending on to the little pieces using Altenew Micro Blending Brushes. I used Altenew Bubblegum Dreams, Enchanted Garden, Shades of Purple, Sweet Dreams and Green Valley Fresh Dye Inks. I kept the negative of the die cut and used this as a template to know where to place the pieces on to a US A2 sized black card base.

They were all adhered using liquid glue but I didn't add the glue all the way to the edges, so that I could lift a few of them up to create a little dimension. The die does cut little circle pieces as part of the pattern but I decided to use the new Altenew Acrylic Markers Vol. 2 for these instead.

Keeping the template in place, I dabbed the markers through the holes. I used white, water hyacinth and cotton candy. I then removed the template. The sentiment, from Altenew Soft Blossoms Stamp Set, was stamped onto Altenew Crafty Necessities: Jet Black Cardstock using Altenew Embossing Ink. I applied Altenew Pure White Crisp Embossing Powder and heat set. It was cut into a strip and adhered onto the card with foam tape.
PARCHMENT BOUQUET

Next up is the stunning Altenew Parchment Bouquet Layering Die Set. I die cut the parchment wrap from Altenew Vellum Translucent Paper. I die cut the stems and foliage from Altenew Crafty Necessities: Frayed Leaf and Bamboo Cardstock. I added ink blending on top using Altenew Green Valley Fresh Dye Inks. The purple flowers were die cut from Altenew Crafty Necessities: Soft Lilac and Lavender Fields Cardstock and I added Altenew Shades of Purple Fresh Dye Inks on top.

The pink flowers were die cut from white cardstock and I added Altenew Bubblegum Dreams Fresh Dye Inks for the petals and Altenew Golden Sunset Fresh Dye Inks for the flower centres. I also cut the bow from white cardstock and added Altenew Bubblegum Dreams Fresh Dye Inks on top. I assembled the flowers using liquid glue and then started arranging them inside the wrap. I adhered them to the base of the wrap and then adhered the top/side parts of the wrap so that the glue was behind where the flowers overlapped, as well as the bow.

I mixed Altenew Amethyst Shimmer Relief Paste with a tiny bit of water and splattered it onto a black A2 sized card base. Once dry, the bouquet was adhered on top, adding glue behind the flowers and stems so that it isn't visible from the front. The sentiment, from Altenew Sentiment Strips 2, was stamped and heat embossed, cut into a strip and adhered to the card with foam tape. To finish, I added an Altenew Rhodonite Gem Sparkle to the centre of the bow.
ENCHANTED ROSES + ONE-GO: SOLID SENTIMENTS
STRIPS 2
My last two cards use the beautiful Altenew Enchanted Roses set. There is a stamp set, a press plate, and a die set (that works with both the stamp set & press plate). I used the stamp set (and dies) for my cards today.

For the first, card, I stamped one of the roses onto a panel of white cardstock using Altenew Obsidian Pigment Ink. I coloured the rose using Altenew Artist Alcohol Markers (Pink Diamond, Pinkalicious, Razzleberry & Midnight Violet) and then adhered the panel onto a black A2 sized card base with foam tape.

I stamped the sentiment from set the set onto more white cardstock using Altenew Obsidian Pigment Ink and then once dry, die cut it out using the Altenew Parchment Roses Die Set. I cut another of the die two times from white cardstock and adhered them behind the stamped one (for dimension) before adhering onto the card. To finish, I embellished with Altenew Ivory Pearl Dots.

For my second card, I stamped the other image from the Altenew Enchanted Roses Stamp Set onto a panel of white cardstock and then adhered it onto a black A2 sized card base with Altenew Instant Dimension Foam Tape.

I took the Altenew One-Go: Solid Sentiment Press Plate and pressed it onto Neenah Classic Crest 110lb Solar White Cardstock with Altenew Obsidian Pigment Ink using the Spellbinders BetterPress Letterpress System. I die cut them out using the Altenew One-Go Solid Sentiment Strips Die and adhered two onto the card with foam tape. To finish, I embellished with Altenew Ivory Pearl Dots.
BLOG HOP:
.jpg)
As mentioned, this blog post is part of a fun, inspirational blog hop with prizes. Please click on the links below to visit the other participants in the hop.
GIVEAWAY:
.jpg)
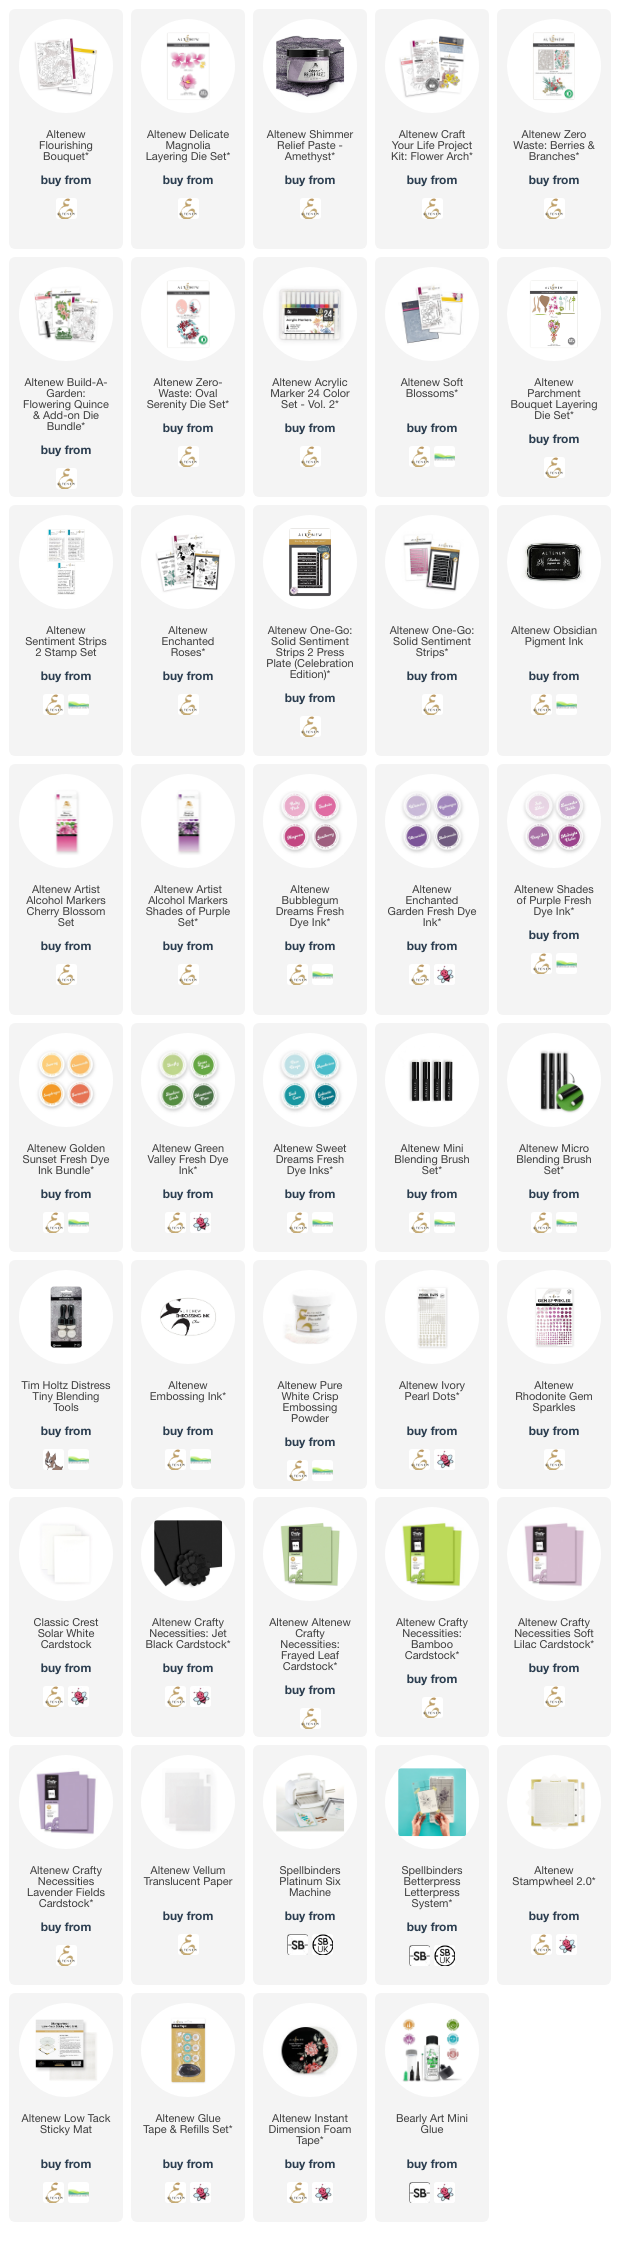
SUPPLIES:
Here are the links to what I have used on the projects. Affiliate links are used on some products. This means that if you make a purchase after clicking on my link, I receive a small commission with no extra cost to you. I truly appreciate your support when using these links. Please click on the logo below the product to shop at your favourite store. All products were personally purchased except marked with an asterisk (*) which were kindly sent to me to use. You can read my full disclosure here.
If you have made it to the end of the post, thank you so much for being here, I really do appreciate it and hope that I didn't bore you too much! Thank you for visiting and I hope you enjoy the rest of the hop. Have a great day!
ADORE your flourishing Bouquet Card - such VIBRANT lovely pink colors!!!!
ReplyDelete
ReplyDeleteWow! So many amazing projects Michelle!
Gorgeous cards I'm amazed
ReplyDeleteBeautiful cards! I love the purple magnolias on a black base.
ReplyDeleteAbsolutely gorgeous cards! I really like the bouquet one!
ReplyDeleteYess queen these backgrounds are so stunning with the black making it pop
ReplyDeleteSooo pretty, so much inspiration!!
ReplyDeleteBeautiful cards!! I absolutely LOVE all the die cut sets they came out with in this release!!
ReplyDeleteStunning projects!!
ReplyDeleteI'm loving how the black makes these cards pop
ReplyDeleteI just love the use of black on the cards especially the bouquet card
ReplyDeleteLovely cards! The Parchment Bouquet card is my absolute favorite. So beautiful!
ReplyDeleteThese cards are lovely! I especially love the Parchment Bouquet card. So beautiful!
ReplyDeleteI especially love the black cards and they each pop with bright colors
ReplyDeleteWow! So stunning!
ReplyDeleteBeautiful creations!! My favorites are the ones on the dark cardstock!
ReplyDeleteI love the vivid colors! So many wonderful cards. I especially love the parchment bouquet. Striking with the black background.
ReplyDeleteWhat a fantastic array of designs! All your cards are beautiful Michelle! TFS!
ReplyDeleteBeautiful cards Michelle! Love the black background with the pretty floral images!
ReplyDeleteWow i love the florals on the black background, so stunning and so striking!
ReplyDeleteBeautiful springtime florals
ReplyDeleteSimply stunning! The contrast or the florals on a black background are wonderful!
ReplyDeleteBold and beautiful florals I love it
ReplyDeleteWow! Those are gorgeous!
ReplyDeleteYour shading is beautiful
ReplyDeleteBeautiful cards design 😍
ReplyDeleteWow, Michelle! You have been busy creating gorgeous cards with the new release! I expected to see a tag in the mix 😂, but I’m sure you’ll make one with some of these lovely products for your next video. These are all stunning cards, but I think my favorite is the one with the Magnolia die cuts and the brick wall stencil. That paste is so pretty behind those beautiful magnolias!
ReplyDeleteOh My! So many gorgeous cards, the florals are stunning! Love your designs as well! That Parchment Bouquet card is my favorite--it's just fabulous--and my favorite set from this Release! TFS!!! Happy Spring!
ReplyDeleteBeautiful cards!
ReplyDeleteBeautiful cards!
ReplyDeleteSo many beautiful cards! I really love the magnolias with the shimmer relief paste!
ReplyDeleteLove how the colors pop on black!
ReplyDeletewow your cards are stunning - LOVE how you have used black backgrounds to make the colorful flowers pop - thanks for sharing your ideas with us:)
ReplyDeleteCame over from IG due to your gorgeous 1st card!! Am enthralled with your creativity and Altenew's newest releases!! Your second card with the black embossed bg and beautiful 3Dflowers is stunning as well and probably my fav of ALL of your beautiful works of art!! Love their florals-stamped or die cut!! Always new and beautiful!!
ReplyDeleteWow, you were busy! And so very beautiful! I especially love black cards with the bold, fabulous pops of color.
ReplyDeleteBeautiful projects! I love how you've used black to make the other colors pop so wonderfully!!!
ReplyDeleteLove the zero waste and parchment bouquet. Lovely
ReplyDeleteWow... such beautiful projects.
ReplyDeleteWonderful new products! Gorgeous cards and choice of colors!
ReplyDeleteSo many beautiful cards! The first black one is my absolute favorite!!
ReplyDeleteWow, so many beautiful cards! I love the bouquet cards and the black background.
ReplyDeleteBeautiful designs! I love the use of black on the cards.
ReplyDeleteFabulous cards! I love them all! The Flourishing Bouquet and Parchment Bouquet cards look amazing!
ReplyDeleteBeautiful cards! I love the use of black and how it helps other colors stand out!
ReplyDeleteBeautiful Cards! I love how the black makes the cards really pop! Stunning!
ReplyDeleteHello from Rochester, New York. All of your cards are stunning. Beautiful coloring. Thank you for sharing.
ReplyDeleteAll of the cards are beautiful. I really liked the use of the black background to make the flowers stand out.
ReplyDeleteUsing the black background really makes the flowers stand out. All of your cards are pretty.
ReplyDeleteHi from Florida- I love these colors!
ReplyDeleteBeautiful cards!
ReplyDelete