Hello there, I am delighted to be joining Altenew today to celebrate the December 2025 release with a fun and inspirational blog hop (with prizes!). I already shared one card using the release, which you can see here, and today I have another three cards to share all featuring birds!
PLEASE
NOTE: This post contains affiliate links. Please see below for my full
disclosure.
WHISPERS IN THE CANOPY
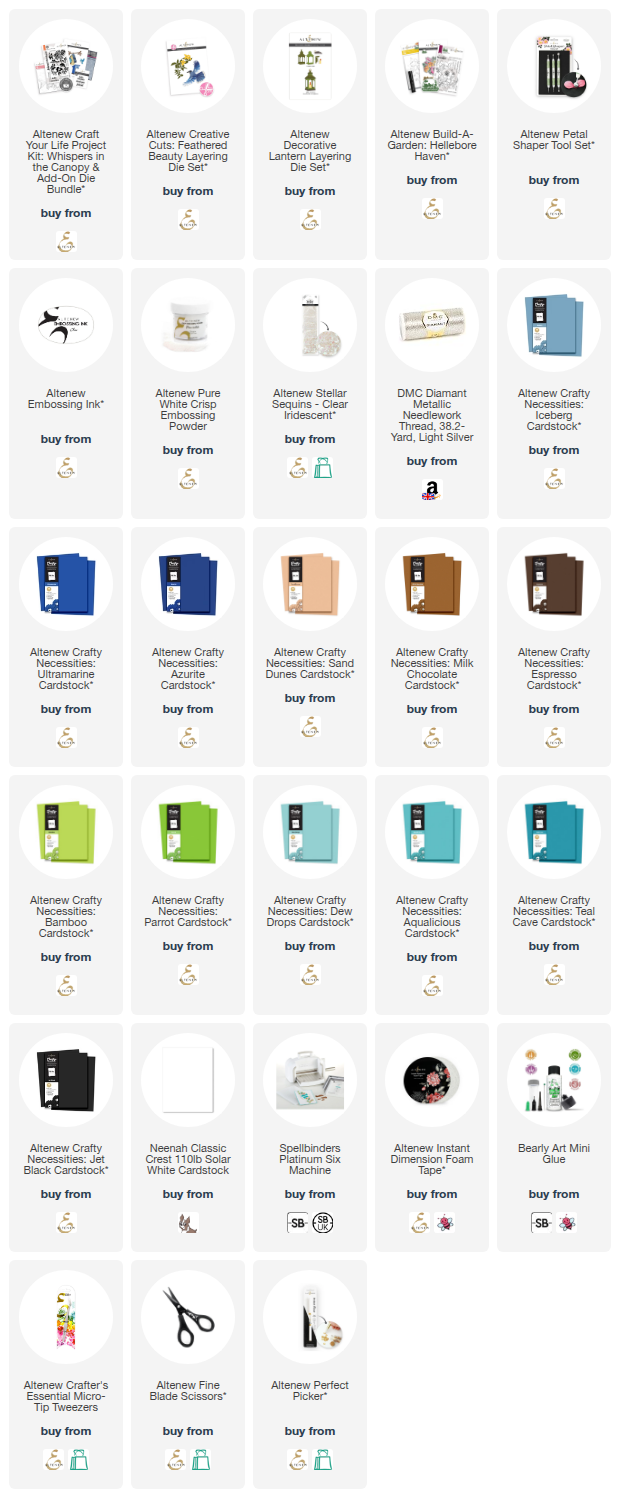
My first card uses the Altenew Craft Your Life Project Kit: Whispers in the Canopy. This fabulous kit includes a stamp set, die set, embossing folder and stencils (there is an optional add-on die set too for the sentiments). I focussed on the die set for today.
I started off by die cutting the birds from the set from Altenew Crafty Necessities: Iceberg, Ultramarine, Azurite and Jet Black Cardstock. The pieces were layered up and adhered using liquid glue. I then die cut the bird house from Altenew Crafty Necessities: Sand Dunes, Milk Chocolate and Espresso Cardstock. Again, the pieces were layered up and adhered using liquid glue.
I die cut the stem and leaves from the set from Altenew Crafty Necessities: Bamboo Cardstock. I used the branch piece as a stem but in hindsight, I should have cut it from brown cardstock and made it a branch! Never mind! I added the top piece of the bird house (the hanging part) around the stem/branch and then adhered them to a black US A2 sized card base with liquid glue, followed by the leaves.
I then adhered the bird house on top using Altenew Instant Dimension Foam Tape, followed by the birds. I stamped a sentiment from the kit stamp set onto black cardstock using Altenew Embossing Ink. I applied Altenew Pure White Crisp Embossing Powder and heat set. It was cut into a strip and adhered to the card with more foam tape. To finish, I embellished with Altenew Clear Iridescent Stellar Sequins.
FEATHERED BEAUTY + SHAPER TOOL SET
For my second card, I used Altenew Creative Cuts: Feathered Beauty. The set creates a large bird as well as some foliage and flowers. I die cut the bird from Altenew Crafty Necessities: Iceberg, Ultramarine, Azurite and Jet Black Cardstock. I die cut the ends of the wings from white cardstock. The pieces were adhered together using liquid glue.
I then used the new Altenew Petal Shaper Tool Set to add some dimension to the wings. I placed the bird on the foam mat and then using one of the stylus tools, ran it over the wings to help shape them. This tool set is perfect for flowers but as you can see, works for other things too!
The bird was adhered to a US A2 sized black card base (I will need to create a customised envelope for this card to fit into but I loved having the bird overlap the side of the card base!) using Altenew Instant Dimension Foam Tape.
I then stamped a sentiment from the Altenew Craft Your Life Project Kit: Whispers in the Canopy Stamp Set onto black cardstock using Altenew Embossing Ink. I applied Altenew Pure White Crisp Embossing Powder and heat set. It was cut into strips and adhered to the card using foam tape. To finish, I embellished with Altenew Clear Iridescent Stellar Sequins.
DECORATIVE LANTERN
My last card for today uses the new Altenew Decorative Lantern Layering Die Set combined with the Altenew Craft Your Life Project Kit: Whispers in the Canopy. I die cut the lantern from Altenew Crafty Necessities: Ultramarine and Azurite Cardstock. It was assembled and adhered using liquid glue. There is a candle that you can add to the lantern but I left it off for this card.
I die cut the leaves from the CYL project kit from Altenew Crafty Necessities: Bamboo and Parrot Cardstock. They were adhered first to a 4.25" x 5.5" card panel using liquid glue. I then tied thread through the top of the lantern and adhered it to the panel using foam tape, adhering the thread behind the panel with tape. I then adhered the panel to a US A2 sized black card base.
I tied a bow at the top of the lantern and then created the bird. I die cut him from Altenew Crafty Necessities: Dew Drops, Aqualicious, Teal Cave and Jet Black Cardstock. The pieces were adhered together using liquid glue and then adhered to the card using a combination of liquid glue and foam tape. I stamped and heat embossed a sentiment from Altenew Build-A-Garden: Hellebore Haven onto black cardstock, cut it into a strip and adhered it to the card. To finish I embellished with Altenew Clear Iridescent Stellar Sequins.
BLOG HOP:
As mentioned, this post is part of a blog hop. Please click on the other participants links below to visit their blogs.
GIVEAWAY:
$300 in total prizes! To celebrate this release, Altenew is giving
away a $100 gift certificate to 1 lucky winner and a $50 gift certificate to 4
winners! Please leave a comment on the Altenew Blog and/or each designer’s blog post on the blog hop list below by
December 18th for a chance to win. Altenew will draw 5 random winners from the
comments left on each stop of this blog hop and announce the winners on the Altenew's Blog Hop Post on December 20th, 2025. The winner
of the $100 gift certificate will be chosen from comments left on the Altenew
blog.
SUPPLIES:
Here are the links to
what I have used on the projects. Affiliate
links are used on some products. This means that if you make a purchase after
clicking on my link, I receive a small commission with no extra cost to you. I
truly appreciate your support when using these links. Please click on the logo below
the product to shop at your favourite store. All products were personally
purchased except marked with an asterisk (*) which were kindly sent to me to
use. You can read my full disclosure here.
I love using black card bases as I feel that, especially colourful die cuts, really pop from them. The downside, however, is that when taking photos, they never look that clean. I can assure you that in real-life, you cannot see those little specs of white on them! Thank you so much for stopping by today, I really do appreciate it. I hope you have a great weekend! Take care!


.jpg)
.jpg)