
Hello there and welcome to the second of the blog hops to celebrate the Altenew Just Imagine Release. Today I have two cards to share with you using the Gracious Peonies stamp, stencils and die. This is such a gorgeous set! Please see below for more information on the blog hop and giveaway.
PLEASE
NOTE: This post contains affiliate links. Please see below for my full
disclosure.

For my first card, I started off by stamping the large image from the Altenew Gracious Peonies Stamp Set on to white cardstock using Altenew Permanent Black Crisp Dye Ink. I placed the Altenew Gracious Peonies Layering Stencils on top, one by one, and added ink blending to colour the image.
I used Altenew Rose Petal Crisp Dye Ink Mini Cube Set for the petals and Altenew Green Valley Crisp Dye Ink Mini Cube Set for the leaves.

The image was cut out using the Altenew Gracious Peonies Die. I took a US white A2 sized card base and added a small amount of ink blending to it with the same Rose Petal inks. I then adhered the image on top using Altenew Instant Dimension Foam Tape, cutting off the excess with scissors.
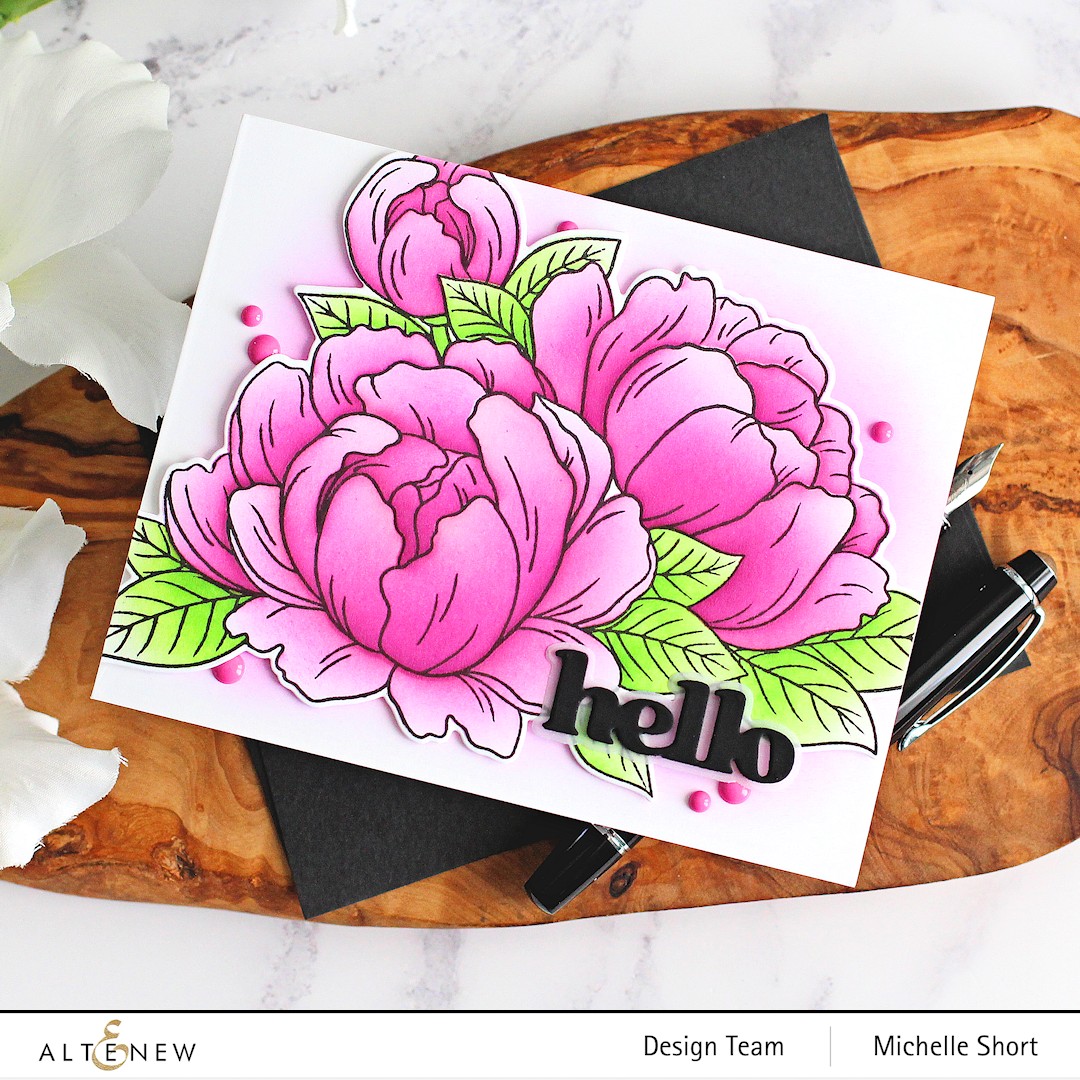
I took the Altenew Versatile Greetings Die Set and die cut the hello word three times (stacking them one on top of each other for dimension) from black cardstock and the shadow from Altenew Vellum Translucent Paper. The word was adhered to the shadow and then added to the card. To finish off, I added a few enamel dots (from an older Altenew Our Family set).
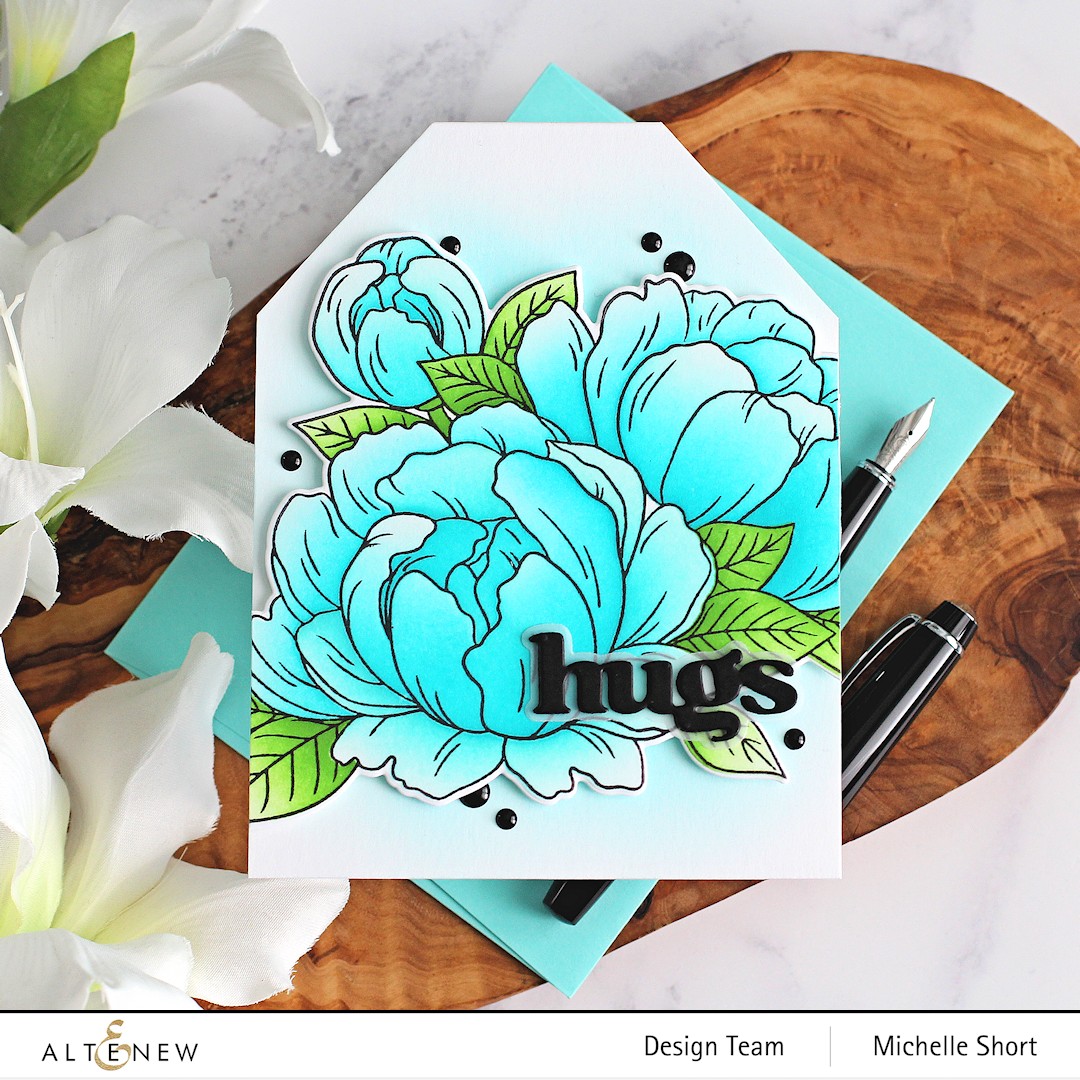
My next card uses the same design but in a different card size format. The Altenew Gracious Peonies Stamp Set was stamped with Altenew Permanent Black Crisp Dye Ink, but this time, it was coloured/ink blended using Altenew Sweet Dreams Crisp Dye Ink Mini Cube Set for the petals and Altenew Green Valley Crisp Dye Ink Mini Cube Set for the leaves.

For the card base, I took a US sized A2 card base and cut off one corner using a guillotine. Using the piece that I cut off as a guide, I then flipped it over and marked where to cut the other corner so that they would be match. I then cut that off too. This is a great way to create a tag with no measuring! In this case, I created card but if you wanted an actual tag, you could simply die cut or punch a hole in the middle.

I cut the hugs word from the Altenew Versatile Greetings Die Set the same way as the first card and then finished off with Altenew Essential Black & White Enamel Dots. You can see how I made the card in the video below.
VIDEO:
Here is the video showing how I made the tag shaped card:
If you are viewing this blog post via email subscription, you can watch the video HERE on YouTube.
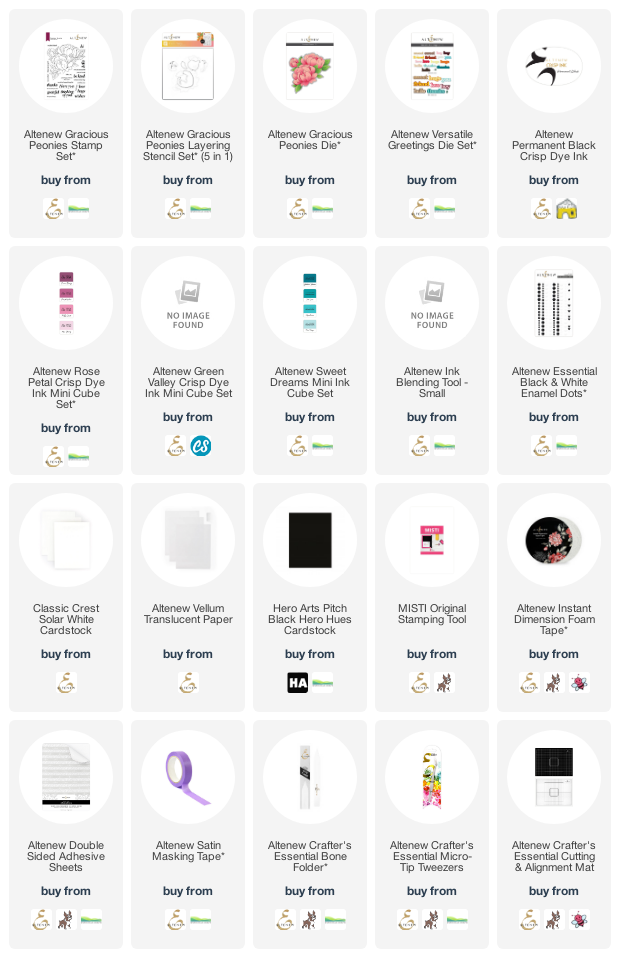
SUPPLIES:
Here are the links to what I have used on the projects. Affiliate links are used on some products. This means that if you make a purchase after clicking on my link, I receive a small commission with no extra cost to you. I truly appreciate your support when using these links. Please click on the logo below the product to shop at your favourite store. All products were personally purchased except those from Clearly Besotted, Hero Arts or those marked with an asterisk (*) which were kindly sent to me to use. You can read my full disclosure here.
BLOG HOP:

As mentioned, this post is part of a fun, inspiration filled blog hop with prizes. For the hop, you should have arrived here from Lilith Eeckels. Next on the hop is Annemarie Caister. If you get lost along the way, or want to start the hop from the beginning, please head over to the Altenew Blog.
GIVEAWAY:
$300
in total prizes! To celebrate this release, Altenew is giving away a $50 gift
certificate to 2 lucky winners and a $25 gift certificate to 8 winners! Please
leave a comment on the Altenew Card Blog
and/or each designer’s blog post on the blog hop list below by 3rd November 2022 for a
chance to win.
Altenew will
draw 10 random winners from the comments left on each stop of this blog hop and
announce the winners on the Altenew Winners Page on 4th November 2022.
I really love both colour combinations for the flowers - the traditional pinks and also the aquas. Which is your favourite? Thank you so much for stopping by today, I really do appreciate it. I hope you have a great time on the rest of the hop and a wonderful rest of the day too! Take care!
Oh my goodness, these colors are so beautiful.
ReplyDeleteSo pretty! I love how the colors pop even more against the bit of black.
ReplyDeleteI love the bright colors on your cards- very pretty!
ReplyDeleteBeautiful inspiration! Both cards are stunning! I love the vibrancy of the colours you have used - that set is gorgeous. I have to say though the tag shaped card has won me over - I really love how that looks - as you say, its a bit different to a normal A2 but it also holds the image so well. It's hard not to want to buy everything you use haha! Loved the video and nice to see you back creating on your own channel xx
ReplyDelete
ReplyDeleteHi Michelle, your cards are beautiful. I love the Gracious Peonies in blue. That makes the card so unique and your shaped card tag is amazing. I just love that idea. I appreciate you link how to make the tag. Thanks for sharing these cards. I am looking forward to your next Hop!
Beautiful cards .. the colors are so vibrant and cheerful. Thank you for sharing with us.
ReplyDeleteYour cards are very pretty & I’m loving this release 😍
ReplyDeleteSuch gorgeous cards! Love the colors.
ReplyDeleteThanks for sharing.
Love these gorgeous peonies! Beautiful colors for your lovely cards!
ReplyDelete