
Hello there and happy weekend to you! Today I have two cards to share with you using the Spellbinders The Right Words Collection by Becca Feeken. As the name suggests, this collection is all about words/sentiments that will work perfectly on their own or combined with lots of other sets.
PLEASE
NOTE: This post contains affiliate links. Please see below for my full
disclosure.

Along with the word dies, both sets that I am using today have a banner/tag shape included in the set. There is a separate hole die so that you can make the shape into a tag or bookmark but for my cards, I used them as a place to add my sentiment to.

I started my first card by die cutting the shape piece from the Spellbinders Happy Occasions Etched Dies from white cardstock. I then die cut the 'happy' and 'birthday' three times each from Spellbinders Chamomile Cardstock. They were adhered one on top of another and then on to the shape piece, which was cut down to create a banner.

I then die cut the flowers and foliage from the Spellbinders Wreath Builder Etched Dies using Spellbinders Peridot and Rainforest Cardstock for the leaves and Pink Sand, Wild Berry, Chamomile and Beeswax for the flowers and centres. They were adhered together with Bearly Art Glue and then adhered to an A2 white card base, using the banner piece as a reference for placement.

The wreath pieces are a bit longer originally but I cut a few down to create single stem pieces. The banner was then adhered on top with thin foam tape. To finish off, I added Spellbinders Pink Color Essentials Gems.

My next card uses the same design as the first but with different sets. I again die cut the shape piece first from the Spellbinders Merry Everything Etched Dies and cut it down in to a banner. I die cut the 'happy' 'mother's' and 'day' three times each from Spellbinders Chamomile Cardstock and adhered them one on top of another on the banner piece.

I die cut flowers and stems from Spellbinders Be Bold Blooms Etched Dies using Spellbinders Peridot and Rainforest Cardstock for the foliage and Purple Mist and Lilac Blossom for the flowers. They were adhered together and then adhered to an A2 white card base with Bearly Art Glue.
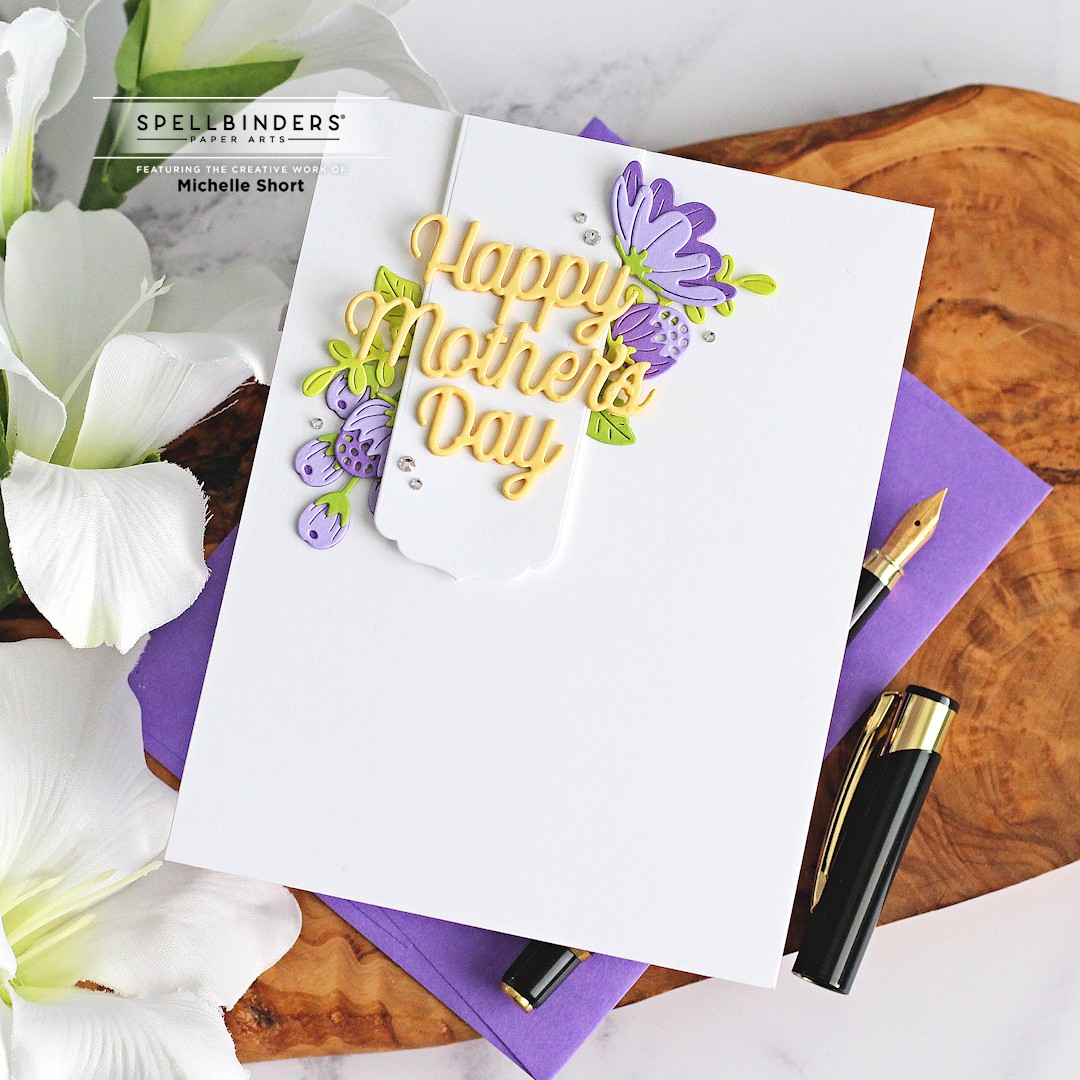
The banner piece was adhered on top with thin foam tape. To finish off, I added Spellbinders Silver Mix Color Essentials Gems. Very CAS cards but I like how they turned out!
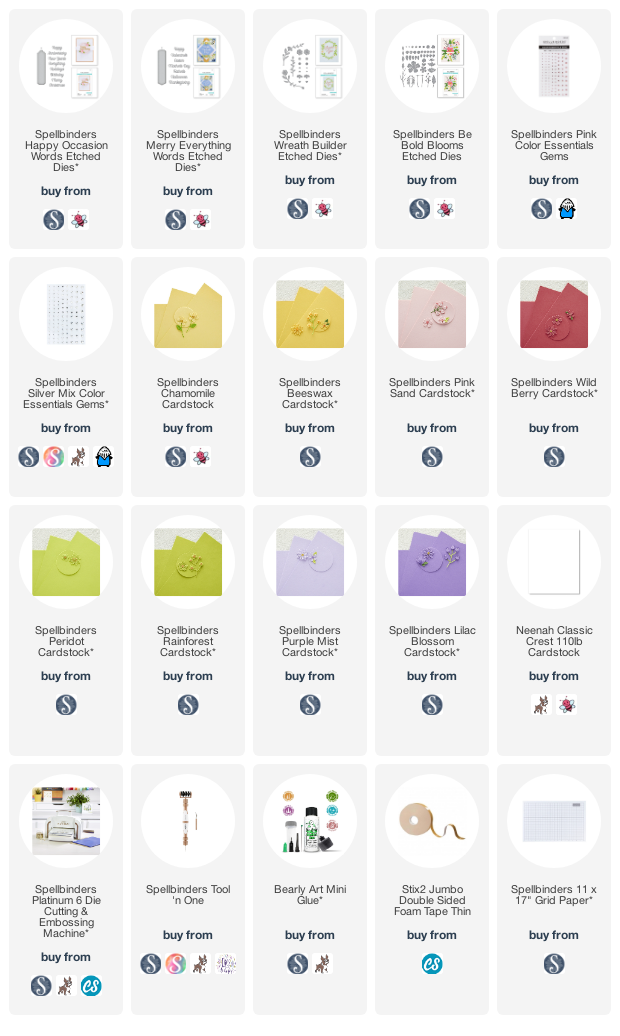
SUPPLIES:
Here are the links to
what I have used on the project. Affiliate
links are used on some products. This means that if you make a purchase after
clicking on my link, I receive a small commission with no extra cost to you. I
truly appreciate your support when using these links. Please click on the logo below
the product to shop at your favourite store. All products were personally
purchased except those from Clearly Besotted, Hero Arts or those marked with an
asterisk (*) which were kindly sent to me to use. You can read my full
disclosure here.
These sets will work so well with lots of other sets that I have. I really like the size of them too! Thank you so much for stopping by to see me today, I really do appreciate it. I hope you have a wonderful weekend!
Absolutely stunning cards!!!
ReplyDeleteBeautiful cards Michelle! I love the little tag element at the top of each, a great way to focus the eyes to the greeting and the beautiful flowers peeking out from behind! You've used my favorite floral and the wreath builder floral set is on my list!! Fabulous cards as always xx
ReplyDeleteso beautiful
ReplyDelete