Hello there, today I have a card and video to share with you where I am creating an eclipse look with 3D embossing folders. I have done this technique with stamps and dies but I have never tried it with embossing folders ... spoiler alert! I love it!
PLEASE
NOTE: This post contains affiliate links. Please see below for my full
disclosure.
I added the background panel on to an A2 white card base with tape runner. I then cut the tag a further four times from white cardstock and adhered them on on top of another for dimension. They were added on to the card and then the embossed tag on top. I added twine through the top and tied in a bow. I die cut the thanks sentiment from the die set in the
Altenew Craft Your Life Seasonal Blooms Project Kit from white cardstock with
Altenew Double-Sided Adhesive Sheet on the back.
Here is the video showing how I made the card:
If you are viewing this blog post via email subscription, you can watch the video HERE on YouTube.
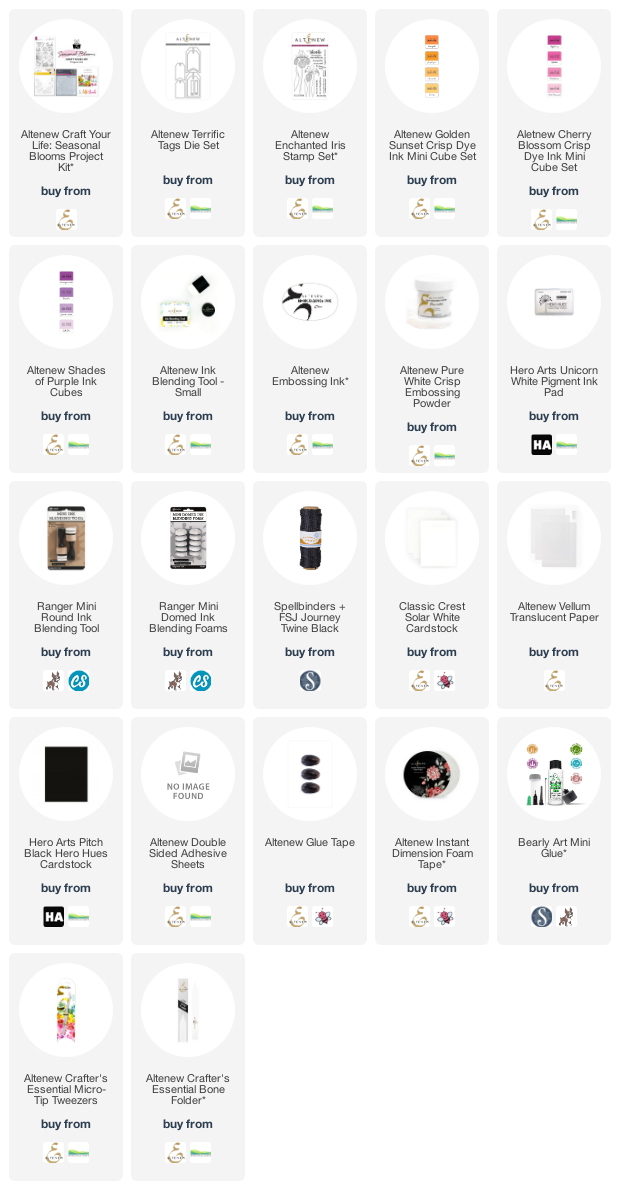
SUPPLIES:
Here are the links to
what I have used on the project. Affiliate
links are used on some products. This means that if you make a purchase after
clicking on my link, I receive a small commission with no extra cost to you. I
truly appreciate your support when using these links. Please click on the logo below
the product to shop at your favourite store. All products were personally
purchased except those from Clearly Besotted, Hero Arts or those marked with an
asterisk (*) which were kindly sent to me to use. You can read my full
disclosure here.
I really loved this technique and I am definitely going to try it again! Thanks so much for stopping by today, I really do appreciate it. I hope you have a wonderful day and a great weekend!


This is very pretty! Never saw it done this way! Thank you for sharing the video!!!! It turned out beautiful!!!
ReplyDeleteBeautiful card and a technique I simply must try! So clever! And a brilliant video too! Xx
ReplyDelete