
Hello there, I was over on the Altenew YouTube channel last week sharing how to add vellum to tags. I thought that I would share it over here on my blog and channel too. It's no secret that it is difficult to adhere vellum without the adhesive showing. I have shared this before but it is worth sharing again I thought!
PLEASE
NOTE: This post contains affiliate links. Please see below for my full
disclosure.

For my tag, I started of by die cutting white cardstock twice using the Altenew Terrific Tags Dies. One for the front of the tag and one for the back. With the one for the front, I added ink blending to it using an Altenew Small Ink Blending Tool. I used Altenew Sugarplums Crisp Dye Inks and added all four colours from the collection, starting with the lightest at the top, moving down to the darkest at the bottom.

I then took it to my Splat Box and spritzed Altenew Iridescent Shimmer Ink Spray on top. I then let it sit to dry. I took the image from the Altenew Bouquet of Love Stamp Set and stamped it on to Altenew Vellum Translucent Paper with Altenew Embossing Ink. I applied Altenew Pure White Crisp Embossing Powder and heat set.

I added a sheet of Altenew Double-sided Adhesive Sheet to the back and then ran it through my die cutting machine with the Altenew Bouquet of Love Die Set. I removed the backing from the adhesive sheet and adhered the image to the tag, cutting the excess off at the bottom and sides, apart from one leaf that I left intact. For that I added anti-static powder to the back to remove the stickiness.

The sentiment was stamped on to black cardstock with Altenew Embossing Ink and Altenew Pure White Crisp Embossing Ink applied. I heat set it and cut it in to a strip before adhering to the tag with Altenew Instant Dimension Foam Tape. To finish off, I added the other tag to the back (so that the back was clean), twine through the top of the tag and Iridescent Bubbles to the front of the tag.
VIDEO:
Here is the video showing how I made the tag:
If you are viewing this blog post via email subscription, you can watch the video HERE on YouTube.
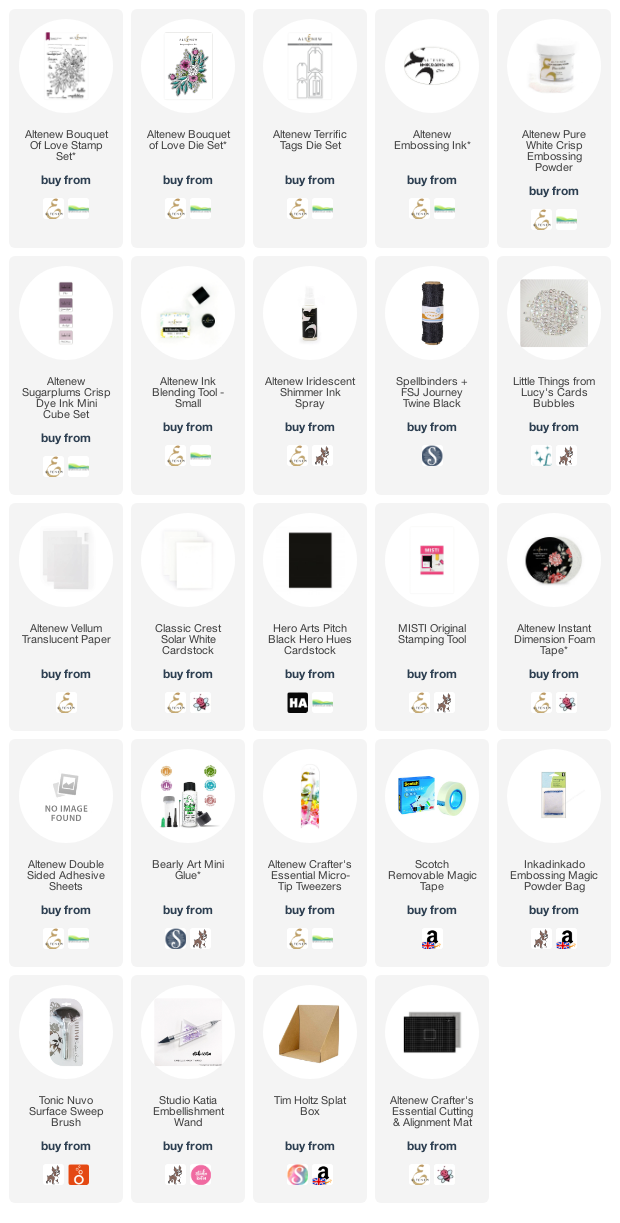
SUPPLIES:
Here are the links to
what I have used on the project. Affiliate
links are used on some products. This means that if you make a purchase after
clicking on my link, I receive a small commission with no extra cost to you. I
truly appreciate your support when using these links. Please click on the logo below
the product to shop at your favourite store. All products were personally
purchased except those from Clearly Besotted, Hero Arts or those marked with an
asterisk (*) which were kindly sent to me to use. You can read my full
disclosure here.
As I say in the video, it is really where there is no adhesive that the adhesive shows. If there is adhesive covering the entire piece, you cannot actually see it and it looks like the texture of the vellum. I love adhering vellum with adhesive sheet! Thanks so much for stopping by to see me today, I really do appreciate it. I hope you have a wonderful day!
Michelle, your tag and card are so elegant! Thank you for the wonderful video and the tip on adhering vellum without the glue showing.
ReplyDelete