
Hello there, if you saw my announcement a little while ago, you will know that I am excited to have joined the Altenew Card Design Team, as well as the Video Inspiration Team. My first official DT video went up on their channel a few days ago so I can now share it over here on my blog and YouTube channel too :)

For my first tag and card, I am sharing how to you can add quick and easy colouring to stamped images using stencils and ink blending. I still love colouring but it is nice occasionally to not colour stamped images and colour them with ink blending, which is a lot quicker!

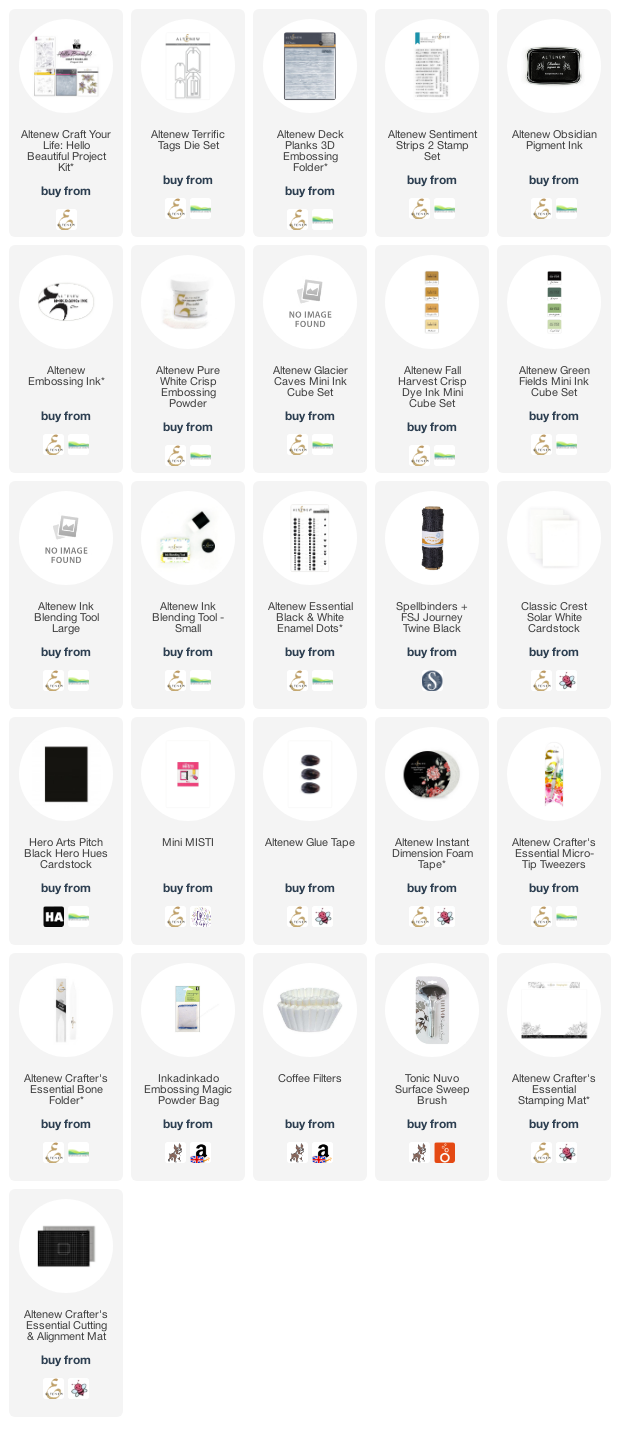
I started off my tag by die cutting an Altenew Terrific Tag Die from Classic Crest 110lb Solar White Cardstock. I then ran it through my die cutting machine with the Altenew Deck Planks 3D Embossing Folder. To bring out the woodgrain texture a little more, I blended on Altenew Glacier Caves Crisp Dye Ink to the bottom of the tag, blending up to white at the top.

I took the image from the Altenew Craft Your Life Hello Beautiful Project Kit stamp set and stamped it on to white cardstock with Altenew Obsidian Pigment Ink. I then used the Simple Coloring Stencils from the kit to colour the flowers. I used Small Ink Blending Brushes and more Glacier Caves Inks, plus Altenew Fall Harvest Crisp Dye Inks for the flower centres and Altenew Green Fields Crisp Dye Inks for the leaves. The image was then die cut out using the coordinating dies.

I also die cut the image another two times from white cardstock so that I could stack it up for dimension. I then added it on to the tag, followed by the sentiment, using Altenew Instant Dimension Foam Tape. I added twine through the top of the tag and then embellished with a few Altenew Essential Black & White Enamel Dots.

Since I know that tags aren't for everyone. I thought that I would show how to incorporate the tag on to a card. I took an A2 white card base and blended ink at the bottom of it, using the same Caribbean Sky Ink that I used on the tag. I made sure to bring the ink blending on the card to the same height as the tag.

I adhered the tag on top with foam tape and then added a few more enamel dots popped behind the tag. This, as well as the ink blending, brings the tag and card together, I think.
VIDEO:
If you are viewing this post via email subscription, you can watch the video HERE on YouTube.
SUPPLIES:
Here are the links to
what I have used on the projects. Affiliate
links are used on some products. This means that if you make a purchase after
clicking on my link, I receive a small commission with no extra cost to you. I
truly appreciate your support when using these links. Please click on the logo below
the product to shop at your favourite store. All products were personally
purchased except those from Clearly Besotted, Hero Arts or those marked with an
asterisk (*) which were kindly sent to me to use. You can read my full
disclosure here.
Thank you so much for stopping by today, I really do appreciate. I hope that you enjoy my new series, Terrific Tags with Michelle and if you have any requests for techniques you would like to see me use on tags, I would love to hear your thoughts. Have a wonderful day!
The tag and card are absolutely beautiful Michelle. Just so so pretty with those soft light colours. I love that you didn't use all the stencil layering options, it creates such a beautiful feel. Fantastic video too, and once again, huge congratulations on joining Altenew xx
ReplyDelete