
Hello there, I am delighted to be back guesting over on the Sunny Studio Blog today. When
I saw the latest release, I fell in love with everything! What an amazing
release! I had to narrow down what I wanted to use, so for today’s cards, I am
using the fabulous Cupcake Shape Dies, Chloe Alphabet Dies and Looking Sharp.
Perfect for Birthday cards, which is what I am sharing with you today.

My first card uses the
fabulous Sunny Studio Cupcake Shape Dies. I started off my card by die cutting the cupcake base card
twice from white cardstock, as well as the frosting, candle and sprinkles. I
then cut the cake and the cupcake wrapper from a kraft cardstock. Using Copic
Markers, I coloured the elements to add texture, depth and shading (the colours that I used are listed below the supplies area). I also
added highlights with a white gel pen.

Although you can adhere the
elements directly to the cupcake card base (or leave it off, if you want to add
the cupcake to a traditional card base), I decided to piece the elements
together first and add tape to the back to hold them in place. I then added
foam tape and adhered the pieces, as one, to the cupcake card base. I took the
back portion of the card base and made a score line a quarter of the way down.
I adhered this piece to the back of the front base, so that the card can stand
up and open easily.

I took the sentiment from the Sunny Studio Looking Sharp Stamp Set, masked it off so that only ‘birthday’ would stamp and
stamped it on to white cardstock with black ink. I coloured the piece with a
matching Copic Marker (V12) that I used on the cupcake and cut it in to a strip. It
was added to the card with foam tape. I took the Sunny Studio Chloe Alphabet Dies and cut
them from white cardstock, as well as Tonic Crystal Glitter Cardstock. The letters for
‘wishes’ were layered up so that the glitter letter was adhered to the white
cardstock one (for extra dimension) and then added them to the card.

My next card uses the Sunny Looking Sharp Stamp Set. This is another really fun set! I love that the set has faces that
you can stamp on to the cacti. You can stamp them on the cactus themselves, on
to the pots like I have or not at all. So versatile! I started off my card by
stamping three of the cacti on to white cardstock with black ink. I also
stamped the party hat and bow.

They were coloured with Copic Markers and die
cut out using the Sunny Studio Looking Sharp Dies. I set them aside while I worked on my
background. I took an A2 white card base and masked off the edges. Using ink blending brushes, I blended on Tim Holtz Black Soot Distress Ink at the bottom and Peacock Feathers at the top. I removed the masks and then stamped the sentiment from the set at the top, using more black ink.

The cacti were adhered with foam tape at the bottom. I felt like the scene was
missing something, so I took the balloon image from the Sunny Studios Oceans of Joy Stamp Set and
stamped, coloured and die cut it. I drew a line from the cactus with a Copic Multiliner and then adhered the balloon on top with foam tape. To finish off, I
added white gel pen highlights.
SUPPLIES:
Here are the links to
what I have used on the project. Affiliate
links are used on some products. This means that if you make a purchase after
clicking on my link, I receive a small commission with no extra cost to you. I
truly appreciate your support when using these links. Please click on the logo below
the product to shop at your favourite store. All products were personally
purchased except those from Clearly Besotted, Hero Arts or those marked with an
asterisk (*) which were kindly sent to me to use. You can read my full
disclosure here.
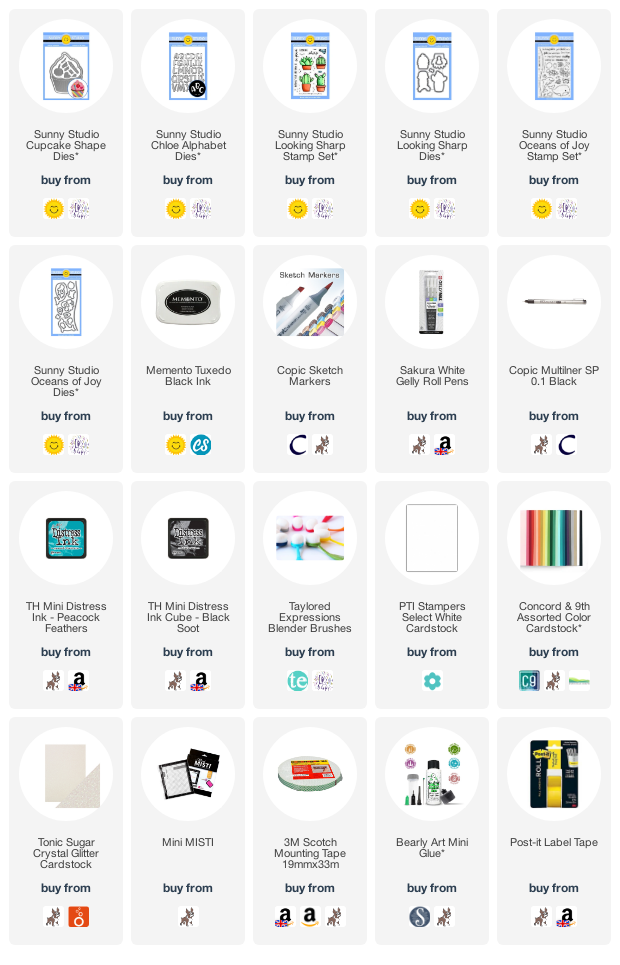
COPIC MARKERS: Cupcake wrapper - E59, E57, E55, E53, E51. Cupcake cake - E59, E57, E55. Cupcake frosting - V12, V01, V000, V0000. Sprinkles - V17, V15. Candle - V17, V15, V12, Y17, Y15, Y11. Left hand side cactus - G28, YG17, YG25, YG03, YG01, V17, V15, V12. Middle cactus - G28, YG67, YG63, G82. Right cactus - G28, G17, G09, YG09, YG07, YG01, V17, V15, V12. Pots & party hat - BG49, BG15, BG13, BG11. Balloon - V17, V15, V12.
That cupcake frosting looks so yummy ... good enough to eat! ;) Although I coloured mine with markers, I think it would look great ink blended or cut from patterned paper too. This die does fit in to a an A2 sized envelope, as long as you place the candle low enough down. For more inspiration using the sets, please head over to the Sunny Studio Blog. Thank you so much for stopping by today, I really do appreciate it. I hope you have a wonderful weekend!
They are both beautiful Michelle! I loved how you coloured the frosting on the cupcake, and the little extra details you added to the wrapper are perfect. It's a great die in that you can create a cupcake shaped card or just add the cake onto an A2. Very versatile. The adorable cacti card is lovely, the addition of the balloon really bought the little scene together. Fantastic cards - your colouring is fabulous on both ❤
ReplyDeleteYour cards are so beautiful! I am in awe at how 3D the cupcake card looks. You added many details, which made it look extraordinary and delicious. Your creations are lovely!
ReplyDeleteYour cards are so beautiful! You added a lot of details to the cupcake that made it look even more realistic and 3D. Thank you for sharing your lovely work!
ReplyDeletesuch fun cards!!
ReplyDelete