
Hello there, today I have three projects to share with you that use metallics in a clean and simple way. Although I do really like metallics, I sometimes think that they can overwhelm a project so I like to add them to enhance a project, rather than take over!

I am using elements from the Spellbinders Warm Holiday Wishes Project Kit which is now sold out but you can purchase all the elements separately from the kit. You will just not receive the extra elements - cardstock, embellishments etc.
MINI PLAID HOLIDAY CARDS

For my first project, I am using the Spellbinders Kaleidoscope Plaid Etched Dies. These stack up to create a lovely plaid pattern that can be used for Christmas projects or all year round, I think. I started off by die cutting the plaid layers from various shades of cardstock. I used green, red and gold mirror card for one. I used two shades of purple and brush silver cardstock for another and then last but not least, two shades of blue cardstock plus gold brush cardstock for the last one.

The different layers were adhered one on top of another and added to mini cards (3 7/8" x 2.5" and scored at 1 7/8"). For the sentiments, I used the Spellbinders To You and Yours Stamp Set and stamped the sentiments separately to cut in to strips. I used FSJ Black Licorice True Color Fusion Ink Pad for the red/green/gold one. White Embossing Powder on black cardstock for the purple and silver one and Gold Embossing Powder for the blue and gold one.
ORNAMENT BORDER

For my second project, I wanted to use the Spellbinders Christmas Ornament Border Etched Dies for a card. This set of dies cuts the ornaments out as one element, or you can cut the ornaments from a panel of cardstock too and you can layer them up in different ways. I cut the ornament piece from FSJ Huckleberry Fusion Cardstock and the solid layer from vellum. I added FSJ Huckleberry Fusion True Color Fusion Ink Pad on to the bottom of the ornaments for some added dimension and then adhered it on to the vellum piece.

They were added to an A2 white card base that I had foiled using the Spellbinders Essential Glimmer Rectangles Glimmer Hot Foil Plates using Spellbinders Champagne Foil. I then cut the toppers for the ornaments from FSJ Gold Mirror Cardstock and adhered them on top. To finish off, I stamped the sentiment from the Spellbinders To You and Yours Stamp Set using FSJ Huckleberry Fusion True Color Fusion Ink and cut it in to strip. It was added to the card with foam squares. I then added small bows from Black Licorice Twine through the tops of the ornaments.
LAYERED CHRISTMAS TREE TAG

For my last project, I thought it would be fun to create a tag that could also be used as an ornament. I cut the Spellbinders Kaleidoscope Christmas Tree Etched Dies from three shades of green cardstock. They were layered up one on top of another and then the star topper cut from FSJ Gold Mirror Cardstock. I cut this twice to have one for the front and back of the tag, adhered them together and adhered it to the top of the tree.

I cut another of the most solid layers of the tree and placed this on the back of the tag. This made sure that the back was finished too. I stamped the sentiment from the Spellbinders To You and Yours Stamp Set on to FSJ Candy Apple Cardstock using FSJ Clear Pigment Ink. I applied White Embossing Powder and heat set. It was then cut in to a circle with a Spellbinders Nestabilities Standard Circle Die. I cut another blank one to add to the back too. To finish off, I added gold thread through the top.
VIDEO:
Here is the video showing how I made the projects:
If you are viewing this blog post via email subscription, you can watch the video HERE on YouTube.
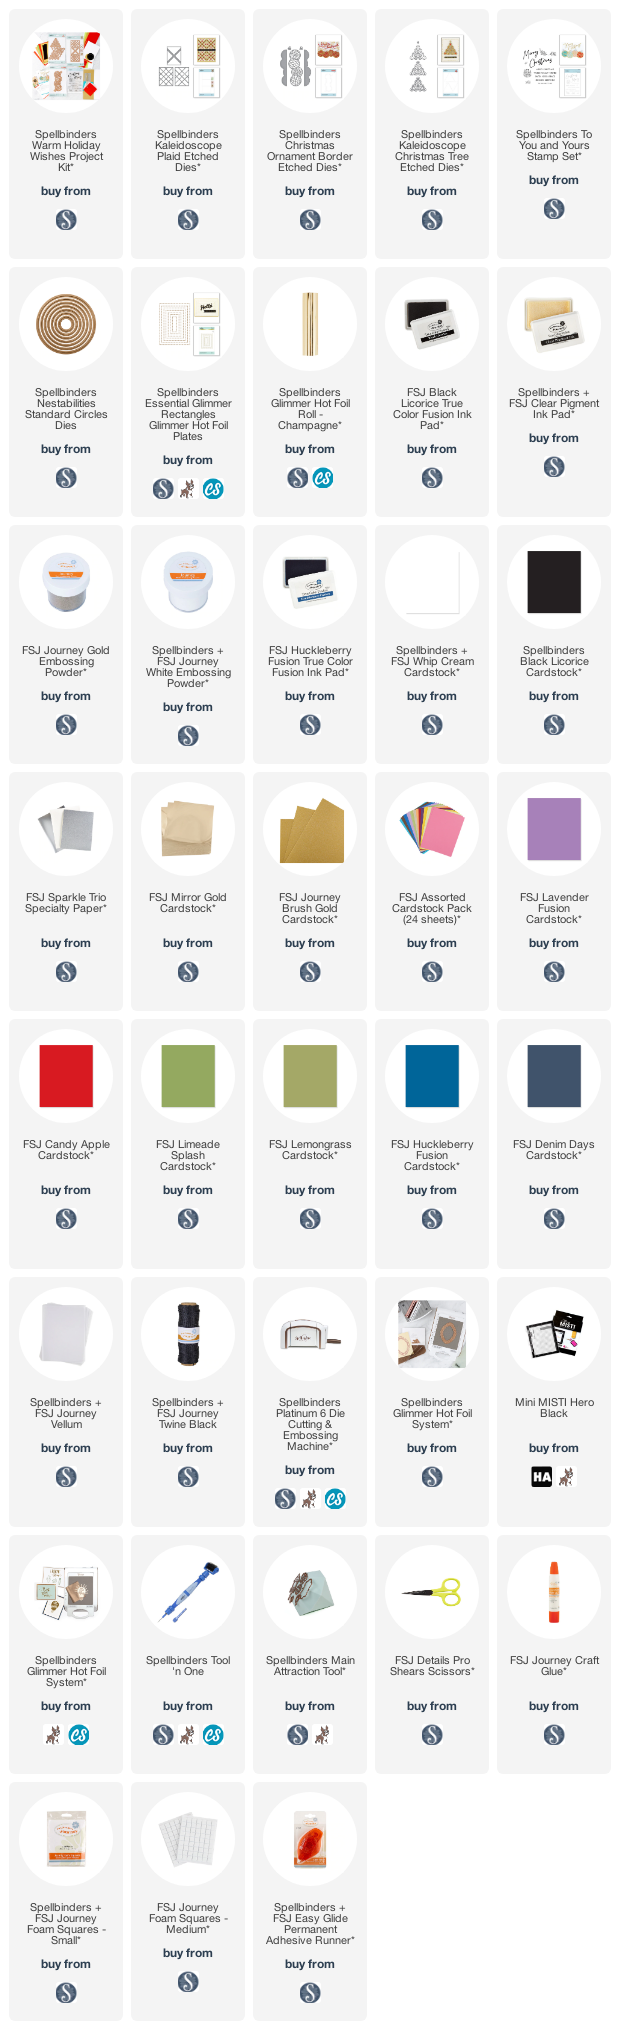
SUPPLIES:
Here are the links to what I have used on the projects. Affiliate links are used on some products. This means that if you make
a purchase after clicking on my link, I receive a small commission with no
extra cost to you. I truly appreciate your support when using these links.
Please click on the logo below the product to shop at your favourite store. All
products were personally purchased except those from Clearly Besotted, Hero
Arts or those marked with an asterisk (*) which were kindly sent to me to use.
You can read my full disclosure here.
Do you like using metallics on your projects? Although I used mainly gold in my projects today, I am definitely more of a silver or rose gold fan. Are you team silver or team gold? Thank you so much for stopping by to see me today. I really do appreciate it. I hope you are well and have a lovely day!
These dies look great and your cards are so lovely michelle! Xx
ReplyDelete