
Hello there, have you seen the November Large Die Of The Month Kit from Spellbinders? Spellbinders kindly sent me one to play with and let me tell you, it is wonderful! It is perfect for little treats and gifts, which I love creating at Christmas time.

I started off by creating a card. I took a layer of white cardstock and die cut the inside tree image from this to create a window. I then took a panel of watercolour paper and blended blue Distress Inks on to it. I used Salty Ocean, Blueprint Sketch, Faded Jeans, Chipped Sapphire and a little Black Soot at the bottom. I then spritzed this first with Shimmer Spray and then splattered on some drops of Perfect Pearls solution (I added gold Perfect Pearls with water and splattered on with a paintbrush).
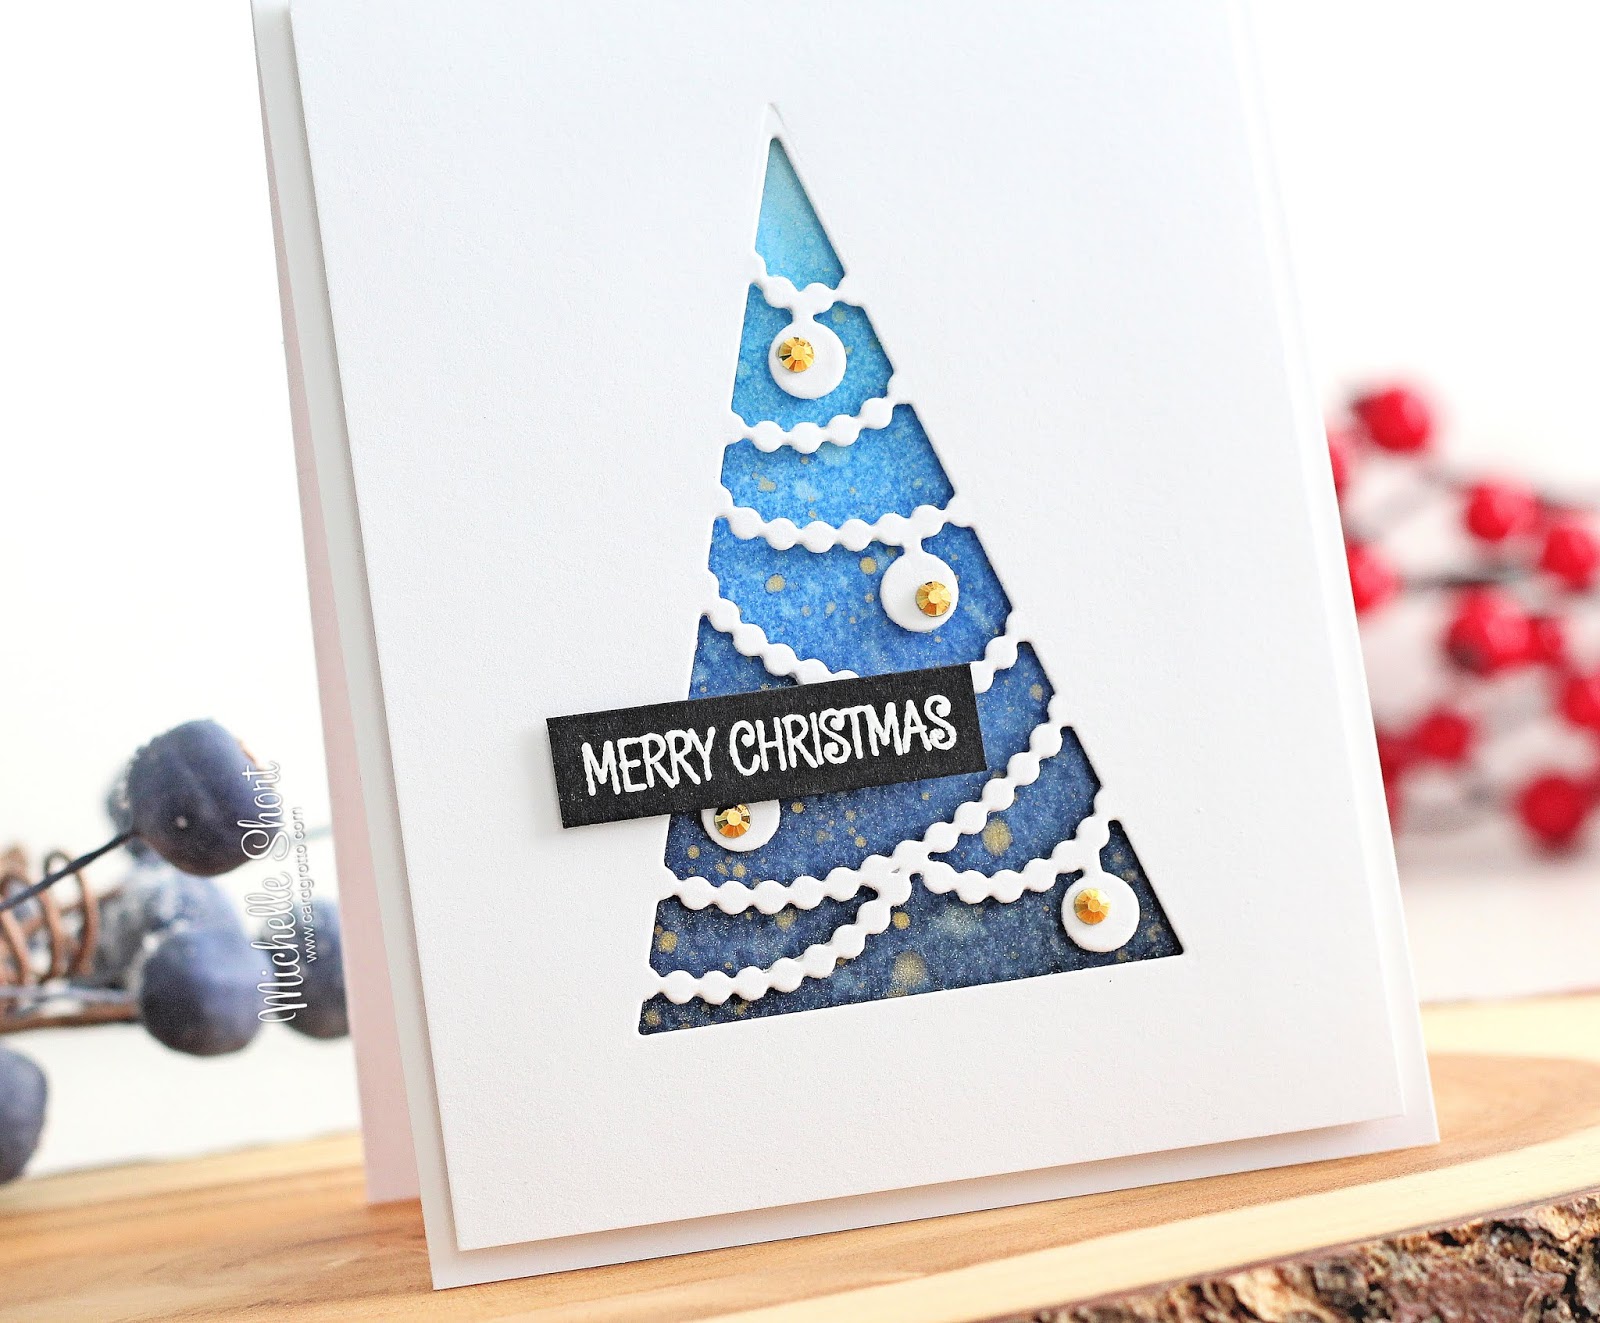
The piece was set aside to dry and then added to a white A2 card base with tape runner. I applied foam tape to the back of the tree aperture panel and then added this on to the card base. I took the sentiment from the Clearly Besotted Just Saying stamp set and stamped this on to black cardstock with Versamark Ink. I applied white embossing powder and heat set. This was then added to the card with thin foam tape. To finish off, I added a few Gold Crystals to the ornaments on the tree.

My next project uses the dies that create the little box. It is so cute! I cut the box pieces with blue cardstock and then assembled, using 1/8" scor tape. Before adhering together completely, I added a strip of gold glitter paper to the front piece and cut off the sides to fit. I stamped the sentiment from the Clearly Besotted Hippo Christmas stamp set on to white cardstock with Memento Tuxedo Black Ink. I then cut this with the smallest of the label dies in the kit. This was added to the front of the box with foam tape. You could add any small items inside the box, I added a chocolate. I thought they would be good to add to the Christmas dinner table but you could also use them as advents and add numbers to the outside with the dies included in the kit.

Last but not least, I created a pyramid shaped gift box. There is a large tree/triangle shaped die in the kit that you can cut twice to enclose the little box that I shared above. I decided to cut it four times to create a little pyramid instead. I cut the die four times from vellum and attached them at the bottom using tape runner. I scored the stars at the top with a stylus tool so that I could fold them in half to make it easier to close the pyramid. I also cut a small hole in each of the stars to thread floss through.

I cut two squares from blue cardstock. I adhered one to the outside bottom of the pyramid and one in the inside of the pyramid. I cut the tree layer from blue cardstock that has Stick It adhesive on the back and added this to the front panel (I cut the ornaments off this time). I then stamped the Clearly Besotted sentiment again and die cut with the smaller label die. I also die cut the larger label die from gold glitter cardstock and added these to the front of the pyramid with foam tape. To finish off, I added a gold Lindt bear inside and tied up the pyramid with blue thread.
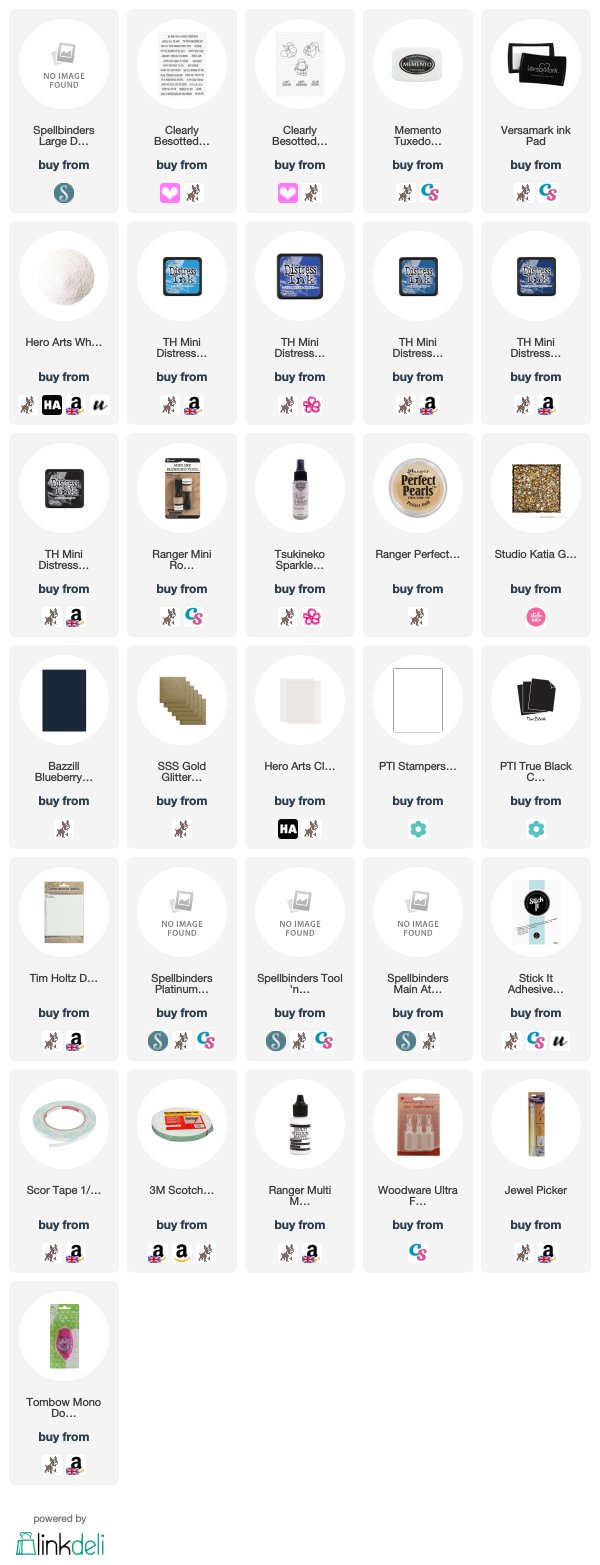
SUPPLIES:
Here are the links to what I have used on the projects. Affiliate links are used on some products. This means that if you make
a purchase after clicking on my link, I receive a small commission with no
extra cost to you. I truly appreciate your support when using these links.
Please click on the logo below the product to shop at your favourite store. Products
marked with an asterisk (*) were kindly sent to me to use.
I had a lot of fun making these! For more information on how to put together the boxes, please take a look at this video from Spellbinders. Thank you so much for visiting me today. I hope you have a great day!
Such a fun and fabulous die, and I absolutely love your card! It's gorgeous!
ReplyDeleteFabulous tree O ( sorry had to ) of Christmas makes that all co ordinate beautifully. Liking all especially the box with chocolates inside, you could pop your tree gift bag on the base on the table also together for meal time gift & chocolate. Thank you for so much great inspiration.
ReplyDeleteGorgeous card and
ReplyDeletea fun gift box!
Carla from Utah
Beautiful Christmas projects Michelle. Lovely use of the dies! xx
ReplyDeleteVery cool card and box!!
ReplyDeleteWhat FAB ideas yet again Michelle. Im loving them both as usual lol. Xx
ReplyDeleteLove the card, but particularly like the little box. That would be absolutely perfect for a little set of advent boxes. Love the blues behind the die cut tree. Perfect for a bit of mass production xx
ReplyDelete