
Hello there, today I am sharing a look at using alcohol inks in four different ways, combining backgrounds with the new Spellbinders May 2018 Small Die Of The Month Kit. As you may be aware, I have really been enjoying using alcohol inks. Although I have shared lots of cards using them, I have had requests to use them more in videos, so what better way than sharing four different ways to use them. These are not ground-breaking by any means, but I hope you will enjoy!

In case you haven't worked with alcohol inks before, there are some precautions that you may want to take. You do need to use these in a well-ventilated area. In my case, I have the window open that is next to my desk. You may also want to protect your workspace. I cover my desk with an old sheet. This does not look pretty but believe me, when you have spent hours cleaning up spots of alcohol ink from all over your desk, it is worth it! ;)

I also wear gloves when using alcohol inks. This is definitely not necessary (unless your skin reacts to them) but I do find that when cleaning my hands with alcohol, it dries them up quite a lot so I try and avoid that where I can. I also use a craft sheet as my surface. This is not advisable as it does damage it. It will stain it and you cannot get those stains off. I have an old craft sheet that I used for at least 5 years before using it with alcohol inks and now I just use that sheet for alcohol inks only, so it doesn't bother me too much but a glass mat is probably more advisable.
ALCOHOL INK WITH FOIL
So let's get into the yummy backgrounds! My first one uses alcohol inks with foil. Often with alcohol inks, a lot of people avoid getting the build up of alcohol inks where it goes sticky. This time, we can use that to our advantage and add foil.

The foil sticks to any of those sticky areas without having to add additional adhesive. This way, I feel that it gives the background a more organic look as the foil is added to places at random. For this card, I used Aquamarine, Stonewashed, Sailboat Blue, Eggplant and Indigo alcohol inks on Yupo paper. I added on some droplets of Alcohol ink Blending Solution and then applied Silver Deco Foil. I used a mini brayer to make sure that the foil stuck to the alcohol ink and then lifted off.

I set the piece aside to dry for a little while and then used a soft brush to brush away any of the excess foil. I really like the look of the silver with the blues. The background was cut down added to an A2 white card base with tape runner. I then cut the celebrate die from the Spellbinders Small Die Of The Month Kit from white cardstock, added foam tape behind and added this to the card.
ALCOHOL INK WITH MIXATIVES
My next card uses alcohol inks with mixatives. I applied Cool Peri, Pink Sherbet, Raspberry, Purple Twilight and Amethyst alcohol inks to Yupo paper. I then applied a good amount of Alcohol Ink Blending Solution to this, to mix and blend the colours together.

I then took small drops of the Silver Mixative and added these to the panel. I dropped on Alcohol Ink Blending Solution and using a spritzing tool, pushed the colour around. This disperses the mixative and helps it combine with the colours of alcohol ink. I thought this background looked a little like marble (if marble was pink and purple!).

The panel was cut down and added to a white A2 card base with tape runner. I then cut a panel of white cardstock using the thank you die from the Spellbinders Small Die Of The Month Kit. This was added to the card with foam tape.
ALCOHOL INK WITH STENCILS
My next way of using alcohol inks, is with stencils. It is a great way to create more interest and add patterns to alcohol ink backgrounds. For this background, I applied a good coating of Alcohol Ink Blending Solution to the Yupo paper first (this helps to blend the colours and move them easier). I then applied Aqua, Pool and Mermaid alcohol inks and moved them around with a spritzing tool. The piece was then set aside to dry for about 10 minutes.

Once dry, I placed the CraftStash Flourish stencil on top. I added some Alcohol ink Blending Solution to an ink blending tool (with foam on the bottom) and smooshed this on to the stencil. This erases some of the alcohol ink and lightens some up. This will work better with some stencils/patterns than others and also some colours of alcohol ink. I really like the effect though.

The panel was cut down and added to a small white 4-Bar notecard (3.5" x 4 7/8"). I die cut the smile die from the Spellbinders Small Die Of the Month Kit on to a panel of white cardstock and added this to the card with foam tape.
INK SMOOSHING WITH ALCOHOL INKS
My final way of using alcohol inks is to use the ink smooshing method. I tend to use this when I want a more soft, blended look. I think it is perfect for ombre looks like sunsets or maybe an ocean.

For this piece, I applied Lemonade, Honeycomb, Peach Bellini, Valencia and Watermelon alcohol inks to my craft sheet. I then applied Alcohol Ink Blending Solution. The paper was dipped or smooshed into the ink and then lifted up.

When the piece dried, the colours blended even more and created a nice sunset look. The panel was cut down and added to a white 4" x 4" card base. I die cut the hello die from the Spellbinders Small Die Of The Month Kit from white cardstock and added this panel to the card with foam tape.
VIDEO:
Here is the video showing how I made all of the backgrounds:
SUPPLIES:
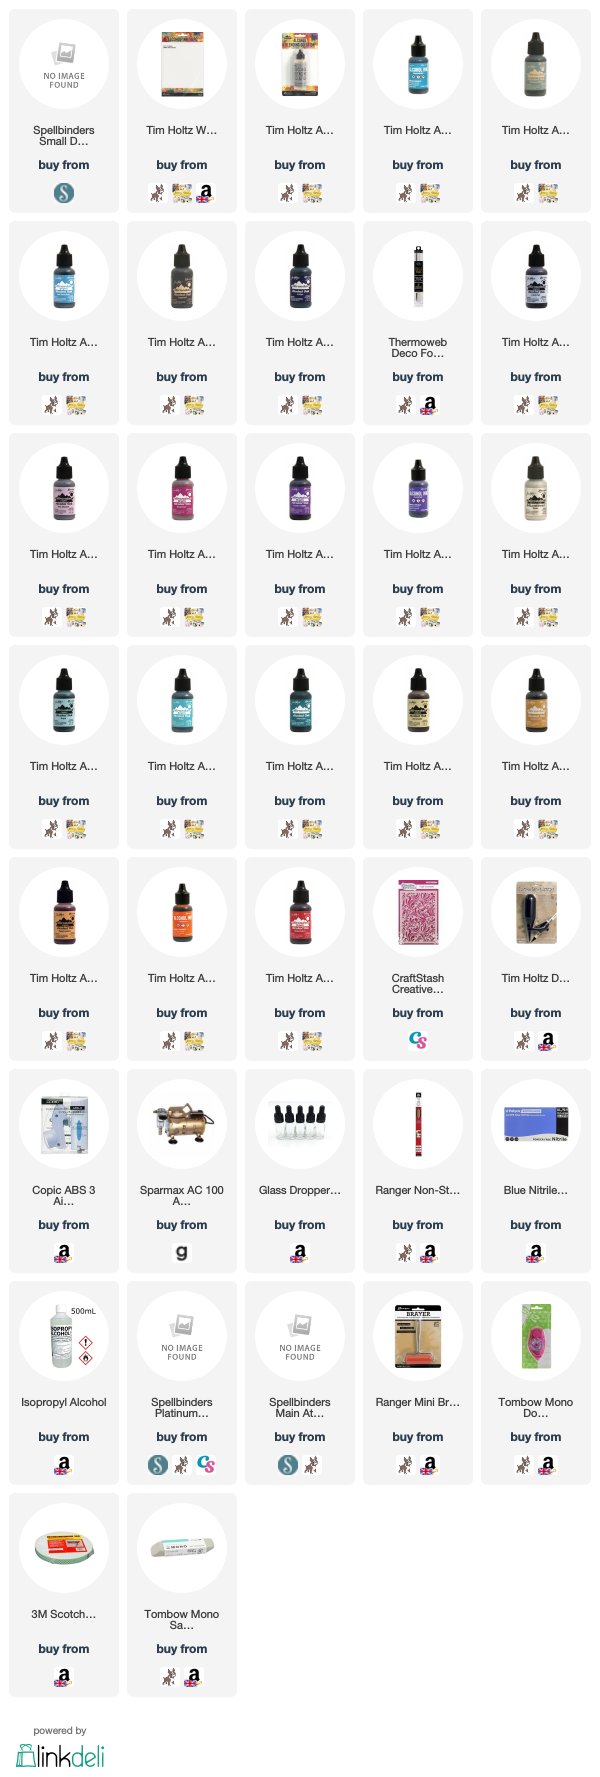
Here are the links to what I have used on the cards and in the video. Affiliate links are used on some products. This means that if you make a purchase after clicking on my link, I receive a small commission with no extra cost to you. I truly appreciate your support when using these links. Please click on the logo below the product to shop at your favourite store. Products marked with an asterisk (*) were kindly sent to me to use.
I really like how these cards came out. I think the alcohol ink backgrounds work really well with the white panels on top. I apologise for the long post but I hope you like the cards! Thank you so much for visiting me today, I hope you have a fabulous day!
These are gorgeous Michelle! My favourite is the blues with the foil, wow! I always enjoy your videos, thank you for sharing the process. Cheers, Dott :)
ReplyDeleteBeautiful cards and a fantastic video Michelle - thank you so much for pulling this together for us, it must have taken ages to do. Loved all your cards, especially the stencil one. Enabler! Lisa xx
ReplyDeleteI'm new to the alcohol ink products so this may seem like a silly question, but I see the blending solution in the supplies list but what's the isopropyl alcohol used for?
ReplyDelete