Hello there, today I have a Christmas card to share using the Spellbinders Stitched Starfilled Background from the Stitched Bright Collection, which released back in August. I really like Spellbinders stitching dies, they add something extra to a special card.
PLEASE
NOTE: This post contains affiliate links. Please see below for my full
disclosure.

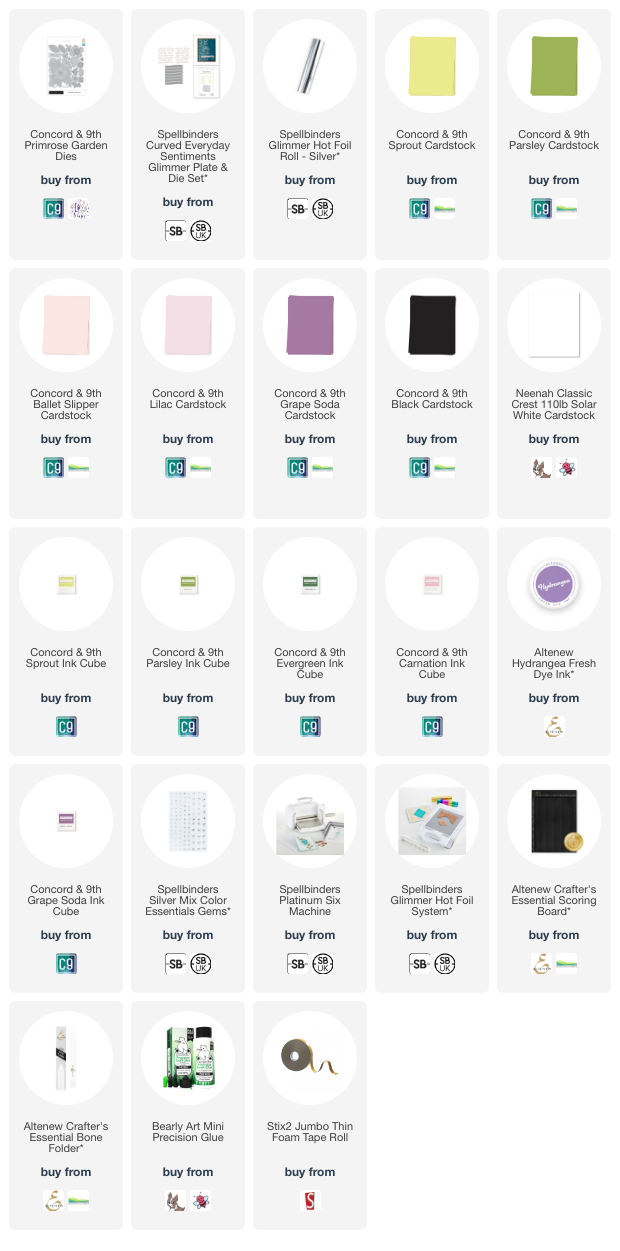
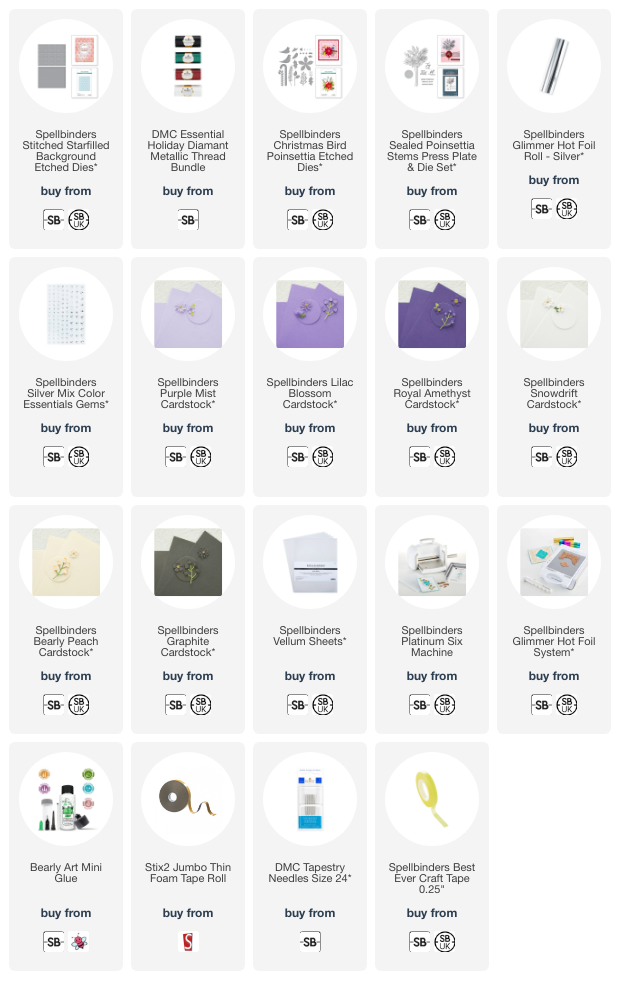
I started off by die cutting the Spellbinders Stitched Starfilled Background Etched Dies from Spellbinders Purple Mist Cardstock twice. I adhered the two pieces together (for extra stability whilst stitching) and then got to work stitching! I love that Spellbinders stitching dies give indentations in the cardstock of where to stitch, I find it really helpful to just follow the lines!

I used a blunt ended needle and DMC White Diamant Metallic Thread. The thread was secured at the back with Spellbinders Best Ever Craft Tape and then the panel was adhered to a US A2 sized card base made from more Purple Mist Cardstock.

I die cut the Spellbinders Bird and Poinsettia Etched Dies from various shades of Spellbinders Cardstock - Snowdrift, Bearly Peach, Graphite and Royal Amethyst for the bird and hat, Lilac Blossom for the poinsettia, and snowdrift and vellum for the foliage. I adhered the foliage to the card first, followed by the poinsettia.

I hot foiled the sentiment from the Spellbinders Sealed Poinsettia Stems Press Plate & Die Set onto white cardstock using Spellbinders Silver Foil and the Glimmer Hot Foil System. It was cut into a strip and adhered to the card using thin foam tape, followed by the bird. To finish, I embellished with Spellbinders Silver Mix Color Essentials Gems.
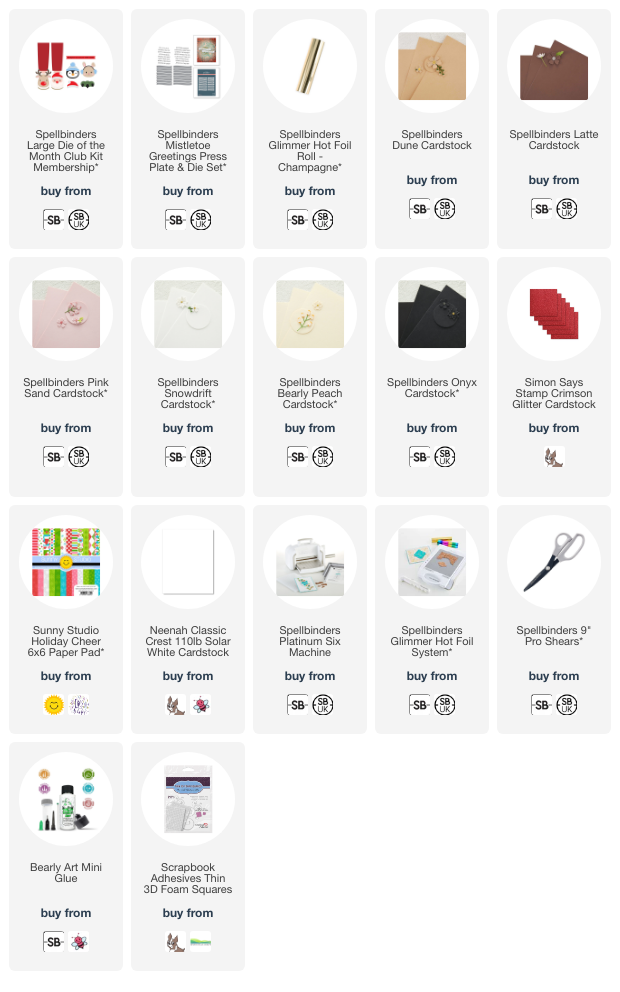
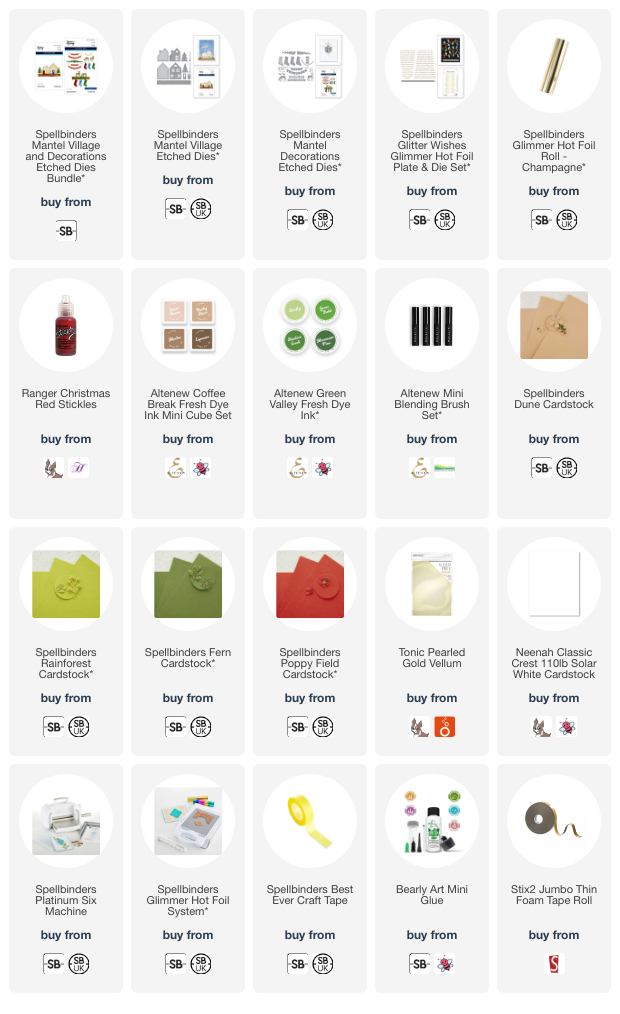
SUPPLIES:
Here are the links to
what I have used on the project. Affiliate
links are used on some products. This means that if you make a purchase after
clicking on my link, I receive a small commission with no extra cost to you. I
truly appreciate your support when using these links. Please click on the logo below
the product to shop at your favourite store. All products were personally
purchased except those from Clearly Besotted, Hero Arts or those marked with an
asterisk (*) which were kindly sent to me to use. You can read my full
disclosure here.
This design would work well in so many different colour combinations. I think I will try and do a traditional red colour one too! Thank you so much for stopping by today, I really do appreciate it. I hope you have a wonderful day!