Hello there, I hope you are well. Today I have a tag to share using the Stitched Petal Bloom dies from Spellbinders. This set creates a huge flower with lots of petals. I didn't realise initially that it is aimed for scrapbooking (hence the size of it!) but you can just use the inside pieces of the flower and leaves too, which makes for a smaller project more suited to cards and tags.
PLEASE
NOTE: This post contains affiliate links. Please see below for my full
disclosure.
I added ink blending to the stitched pieces with Altenew Fresh Dye Inks, focussing the colour around the edges of the die cuts. For extra stability whilst stitching, I cut the flower and centre again from the same cardstock and adhered them together (so that they are two layers thick). This helps to prevent bending of the cardstock when sewing. I then grabbed my blunt ended needle and DMC Floss and started stitching.
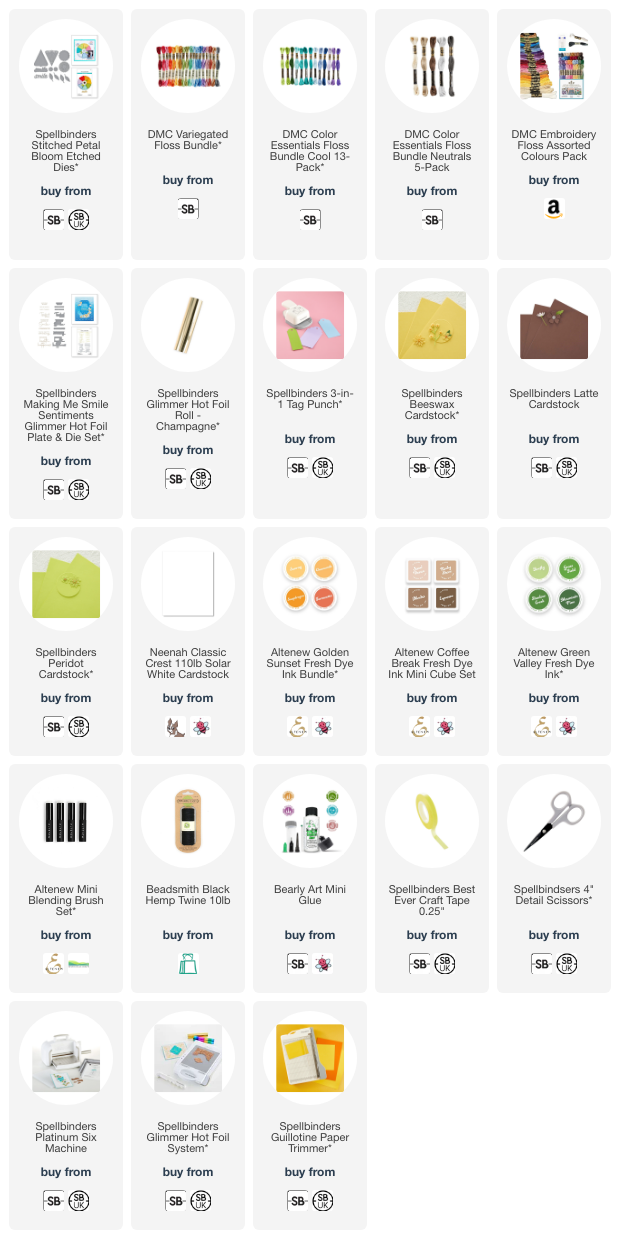
SUPPLIES:
Here are the links to
what I have used on the project. Affiliate
links are used on some products. This means that if you make a purchase after
clicking on my link, I receive a small commission with no extra cost to you. I
truly appreciate your support when using these links. Please click on the logo below
the product to shop at your favourite store. All products were personally
purchased except those from Clearly Besotted, Hero Arts or those marked with an
asterisk (*) which were kindly sent to me to use. You can read my full
disclosure here.
I am hoping that I may get a chance to make the full flower and frame it to use it as a home decor piece. It does look really pretty in the previews on the Spellbinders site! I love that you can use different elements from the set though to suit your needs. Thank you so much for stopping by today, I really appreciate it. I hope you have a wonderful day!


Like you, I didn't realise the size of this set! But a genius idea of turning it into a sunflower! The variegated stitching works so well on it. Helps to define the petals. It also looks great on a tag. Why did I not think of any of this?! It looks gorgeous!
ReplyDelete