16 September 2022

Reverse Confetti | September 2022 Release

Hello there, today I have a card and tag to share with you using products from the Reverse Confetti September 2022 Release, which is out today! 

PLEASE NOTE: This post contains affiliate links. Please see below for my full disclosure.


I am using the new Poinsettia set, along with the Christmas Card Greetings set, for both my card and tag today. I had a lot of fun colouring in these florals/foliage. They have a modern feel to them and pack a big impact! 


I started off my card by stamping the poinsettia, holly branch (with berries) and foliage from the Reverse Confetti Poinsettia Stamp Set on to white cardstock using Memento Tuxedo Black Ink. 

I then coloured them using Copic Markers (the colours that I used are listed below the supplies list for reference) before die cutting out with the Reverse Confetti Poinsettia Confetti Cuts. 


I then look the Reverse Confetti Along the Dotted Line Cover Plate and die cut it form a panel of white cardstock. It was cut into a smaller panel and then the holly branch and foliage adhered on top with liquid glue. 

The poinsettia was adhered on top with thin foam tape. The panel was then adhered to a US A2 sized white card base with more thin foam tape. 


I took the sentiment from the Reverse Confetti Christmas Card Greetings Stamp Set and stamped it on to black cardstock with Veramark Ink. I applied white embossing powder and heat set. It was cut into a strip and adhered to the card. To finish off, I added a few Little Things from Lucy's Cards Iridescent Jewels.

If you have followed me for a while, you will know that I cannot resist a coordinating tag! While I was stamping the Reverse Confetti Poinsettia Stamp Set, I stamped double and coloured them in the same way and die cut out. 


I die cut another panel using the Reverse Confetti Along the Dotted Line Cover Plate and then further die cut it using the Reverse Confetti Lovely Tag Confetti Cuts. 

I cut the holly leaves from the branch using scissors (fussy cut around the berries), so that I could have individual ones. They, along with the other foliage, were adhered to the tag with liquid glue. 
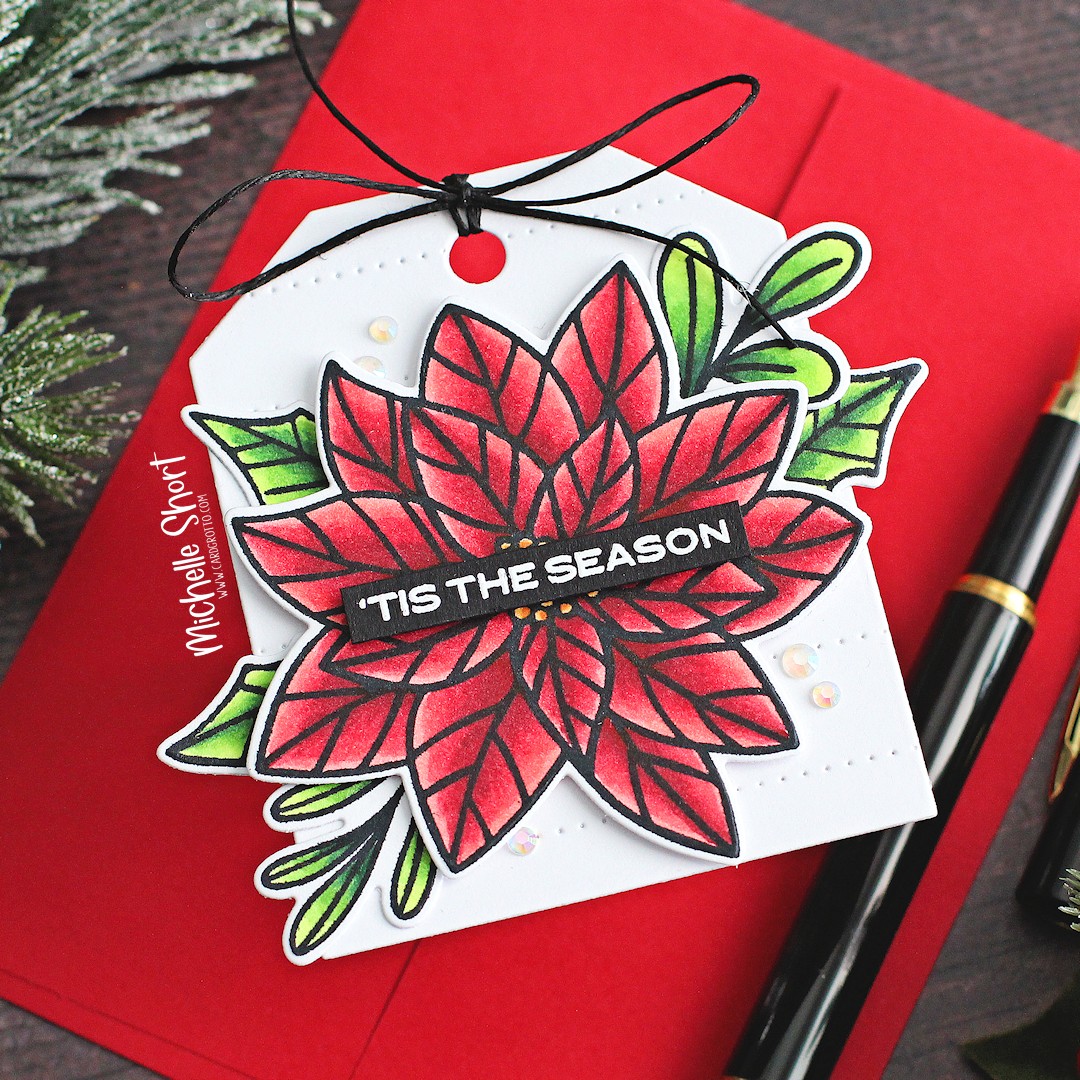

The poinsettia was then adhered on top with thin foam tape, followed by the sentiment from the Reverse Confetti Christmas Card Greetings Stamp Set, which was also white heat embossed on to black cardstock. I finished off by adding twine through the tag and tying in a bow as well as embellishing with jewels. 

SUPPLIES:


Here are the links to what I have used on the projects. Affiliate links are used on some products. This means that if you make a purchase after clicking on my link, I receive a small commission with no extra cost to you. I truly appreciate your support when using these links. Please click on the logo below the product to shop at your favourite store. All products were personally purchased except those from Clearly Besotted, Hero Arts or those marked with an asterisk (*) which were kindly sent to me to use. You can read my full disclosure here.
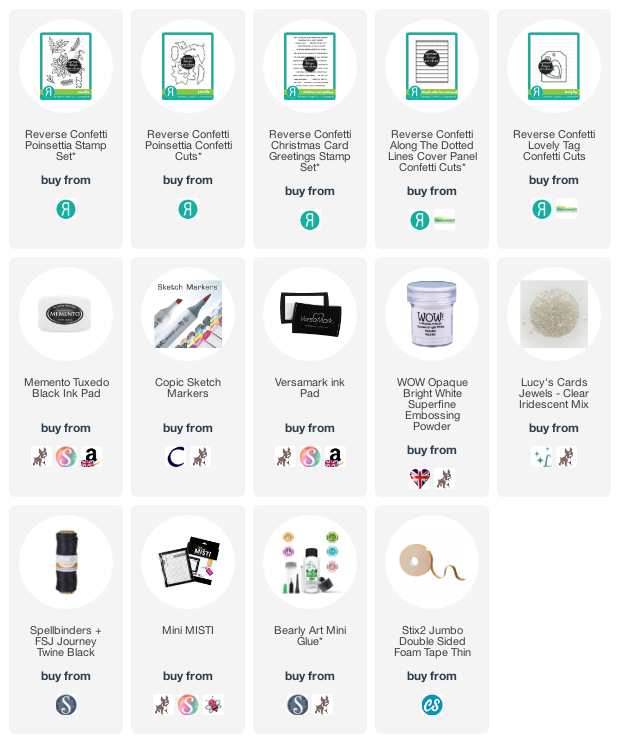

COPIC MARKERS: Poinsettia and berries - R89, R39, R37, R35, R32. Foliage and holly - G29, YG17, YG23, YG01. 

INSTAGRAM HOP:

Usually there would be a blog hop celebrating the new release but this month, we are celebrating over on Instagram. You can start the hop on the Reverse Confetti Instagram Page. You can see my page/feed here. 

Thank you so much for stopping by today, I really do appreciate it. I hope you have a wondaful day!

15 September 2022

Alex Syberia Designs Kickstarter Blog Hop

Hello there, I am delighted to be joining Alex Syberia Designs for the launch of their very first physical products through their Kickstarter Campaign. There are lots of stamps, dies and stencils in a variety of designs and style, so something for everyone! 

This post is part of a fabulous, inspirational blog hop with prizes. I will share more on that below as well as the campaign itself. 

PLEASE NOTE: This post contains affiliate links. Please see below for my full disclosure.


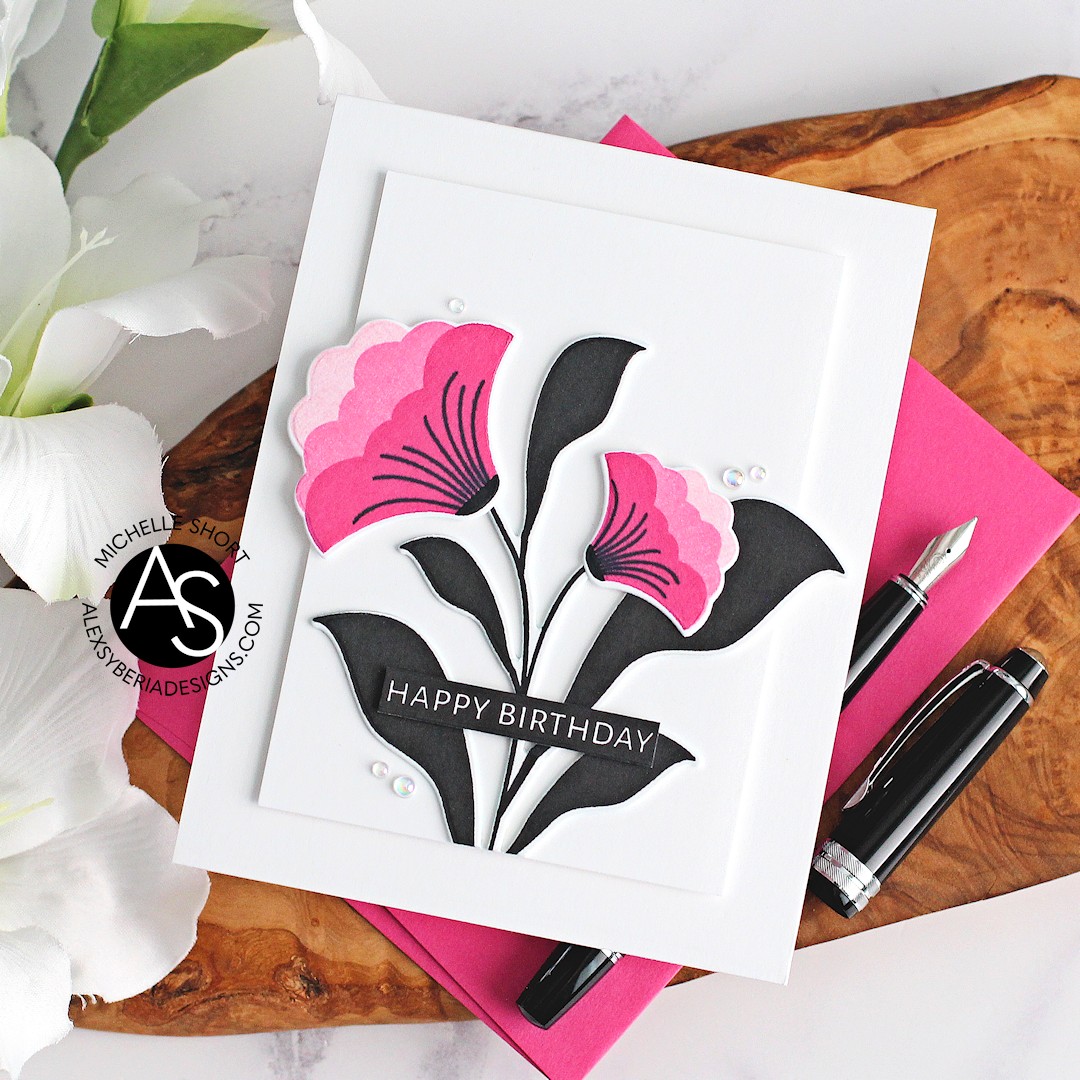
For my cards today, I am using the Alex Syberia Designs For You Stamp Set. This is such a pretty set with a modern graphic feel to it. The two cards are very similar as you can see with just a few changes between them.


For the first card, I started off by stamping the leaves from the For You Set on to white cardstock using Versafine Clair Nocturne Ink. I stamped the outline layer first and then the solid layer on top. They were then die cut out using the coordinating dies. 


On to more white cardstock, I stamped the flower heads using Altenew Cherry Blossom Crisp Dye Inks. The final layer was stamped with more Versafine Nocturne Clair Ink. These were then die cut out too. 

I stamped the sentiment from the set using the Versafine Nocturne Clair Ink as well and cut it in to a strip. 


I die cut the leaves another two times from white cardstock and stacked them behind the stamped one for dimension. I took a panel of white cardstock and adhered the leaves on top. It was then in turn adhered to an US A2 sized white card base with thin foam tape. 

The flower heads and sentiment were then adhered with thin foam tape. To finish off, I added a few Little Things from Lucy's Cards Bubbles. 


For my second card, I took a panel of white cardstock and stamped the solid parts of the leaves first, using the same Versafine Clair Nocturne Ink. I then stamped the outline on top. This means that the outline is visible on this card, whereas it wasn't on the first one. 

The flower heads were stamped with Concord & 9th Aqua Sky, Oceanside and Peacock Inks before die cutting with the Alex Syberia Designs For You Dies. 


The panel was adhered on to a US A2 sized white card base with thin foam tape. The flower heads were then adhered on top, with more thin foam tape. 

The sentiment from the set was stamped on to black cardstock using Versamark Ink. I applied white embossing powder and heat set. It was added to the card with thin foam tape. To finish off, I added Little Things from Lucy's Cards Bubbles.

SUPPLIES:


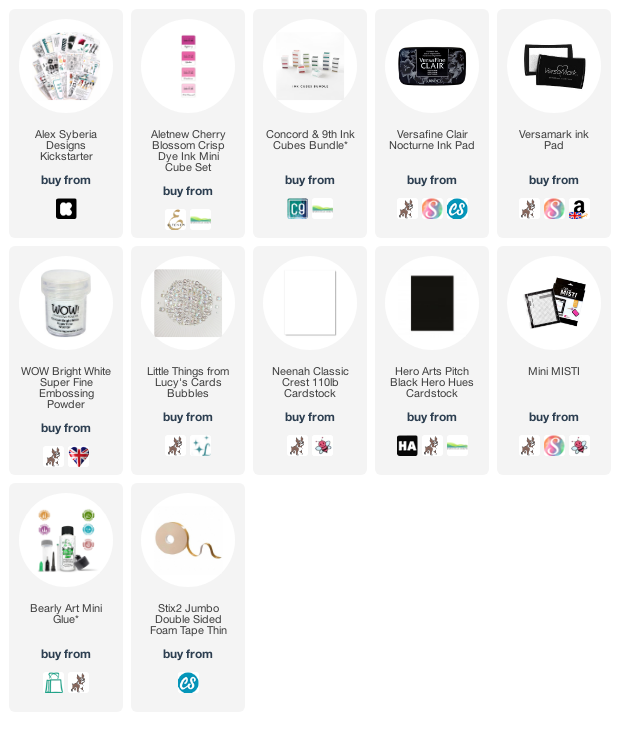
Here are the links to what I have used on the projects. Affiliate links are used on some products. This means that if you make a purchase after clicking on my link, I receive a small commission with no extra cost to you. I truly appreciate your support when using these links. Please click on the logo below the product to shop at your favourite store. All products were personally purchased except those from Clearly Besotted, Hero Arts or those marked with an asterisk (*) which were kindly sent to me to use. You can read my full disclosure here.


KICKSTARTER CAMPAIGN:

Today, we are celebrating the launch of Alex Syberia Designs' very first collection of physical products through their Kickstarter Campaign! With clear stamps, dies and stencils, there's something for everyone to love!

To have a look at all of the designs in detail (including videos!), the exclusive offers they have for you, and see how you can support them, make sure you check their Kickstarter Campaign Page.

Their Kickstarter Campaign, full of incredible discounts for you, will run from the 15th September to the 16th October 2022.  

This great milestone called for some big celebrations! Throughout the duration of the Kickstarter Campaign, Alex Syberia Designs will be hosting 4 hops:

  • 15 September 2022 - Hop 1: Blog hop (that's today!)
  • 23 September 2022 - Hop 2: Instagram hop
  • 5 October 2022 - Hop 3: Blog hop
  • 13 October 2022 - Hop 4: Instagram hop

BLOG HOP:


Here are all of the designers taking part in the hop today:

Michelle Short - you are here!

GIVEAWAY:


Alex Syberia Designs are giving away some fantastic prizes; their full September Release and two of their gorgeous Floral Bundle or Critter Bundle to choose from. There are also amazing companies and crafty friends who are celebrating with us. Here's the complete list of awesome prizes:

That's a total of 15 prizes for 15 lucky winners! To be in with a chance to win one of these amazing prizes all you have to do is play along with each of the four hops! Alex Syberia Designs will draw winners from those entrants that have played along the hops by 16th October 2022. 

Our first hop is a blog hop and it couldn't be easier to enter. All you have to do is leave a comment on this blog post as well as those of the other amazing designers in this hop. 

Winners will be announced on the Alex Syberia Designs blog on the 23rd October 2022.

I will have more projects to share with you using the Alex Syberia Designs release over the next month. In the meantime, I hope you will check out their Kickstarter Campaign. Thank you so much for stopping by today, I really do appreciate it. I hope you have a lovely time on the rest of the hop and a great day! Take care! 

Hero Arts | Thinking of You Sunflowers

Hello there, I am over on the Hero Arts Blog today, sharing a card using the Foliage & Flowers Fancy Dies. These can be used in lots of different ways - you can use them separately like I have or you can layer them up. They also work for lots of different seasons too! 

PLEASE NOTE: This post contains affiliate links. Please see below for my full disclosure.


I die cut the Hero Arts Foliage & Flowers Fancy Dies from white cardstock and using Ink Blending Brushes, blended on Hero Arts Core Inks in Dandelion and Butter Bar for the flowers, Caramel and Cup O' Joe for the centres and Kiwi, Green Apple and Fresh Lawn for the leaves. 


The sentiment is from Hero Arts Message Strips Stamp & Cut XL. It was white heat embossed on black cardstock and cut into a strip. The flowers, foliage and sentiment were adhered to a white card base (with scoring lines) with Precision Glue and foam tape. 

SUPPLIES:


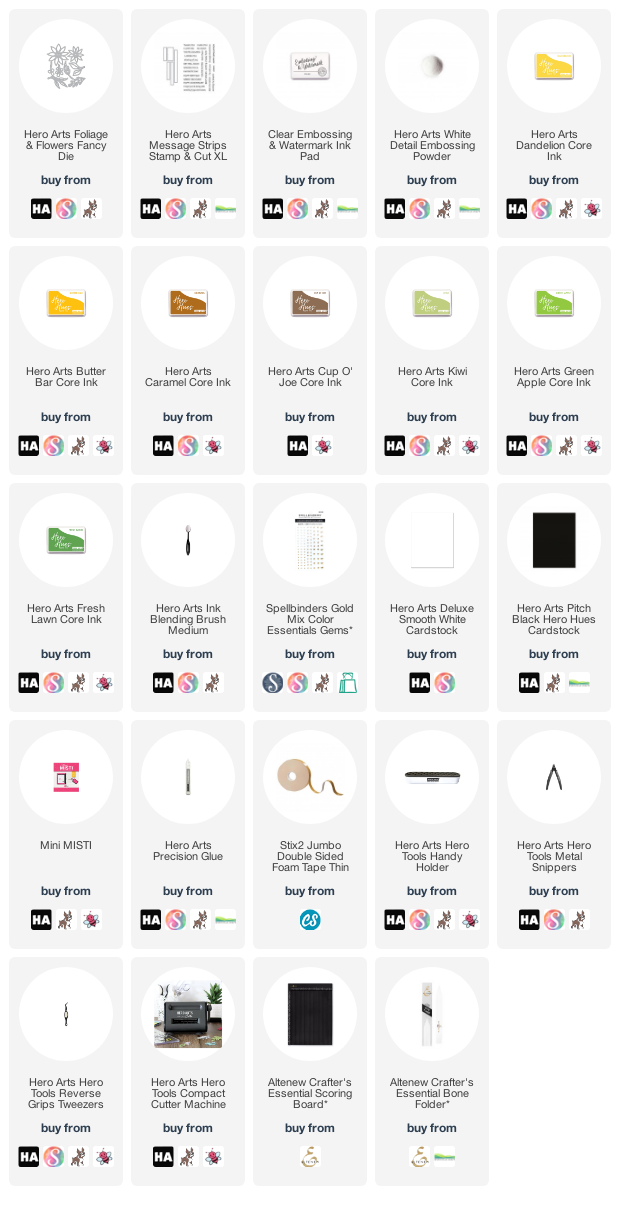
Here are the links to what I have used on the project. Affiliate links are used on some products. This means that if you make a purchase after clicking on my link, I receive a small commission with no extra cost to you. I truly appreciate your support when using these links. Please click on the logo below the product to shop at your favourite store. All products were personally purchased except those from Clearly Besotted, Hero Arts or those marked with an asterisk (*) which were kindly sent to me to use. You can read my full disclosure here.


For the full details on how I made the card, please head over to the Hero Arts Blog Post. Thank you so much for stopping by, I really do appreciate it. I hope you have a great day! 

14 September 2022

Spellbinders | Sugarplum Tweets

Hello there, today I have a card to share with you using new products from the Spellbinders Christmas Flourish Collection by Becca Feeken. This is a wonderful collection with lots of flourishes and ornate details and I fell in love with these cute birds! 

PLEASE NOTE: This post contains affiliate links. Please see below for my full disclosure.


I started off my card by die cutting the Spellbinders Sugarplum Tweets Etched Dies from Spellbinders Cardstock in Pink Sand, Wild Berry and Chamomile (for the beaks). They were assembled and adhered using Bearly Art Glue. 

I then die cut the hat from Snowdrift and Waterfall cardstock. I cut the white parts off the hat and adhered them to the aqua one. I then die cut the holly from Rainforest cardstock and the berries from Wild Berry cardstock and adhered them to the birds. 


I took a panel of white cardstock and ran it through my Platinum 6 machine to emboss the Spellbinders Holly Flourish Embossing Folder. The panel was adhered to a US A2 sized white card base using thin foam tape. 

The birds were then adhered on top. I used more thin foam tape but adhered the tail of the one on the right flat with liquid glue. 


I took the sentiment from the Spellbinders Mini Christmas Sentiment Strips Glimmer Hot Foil & Die Set and foiled it on to Wild Berry cardstock using Spellbinders Champagne Glimmer Hot Foil Roll. It was cut into a strip and adhered below the birds. 

To finish off, I added a few Spellbinders Gold Mix Color Essentials Gems and black pearls for the bird's eyes. 

SUPPLIES:


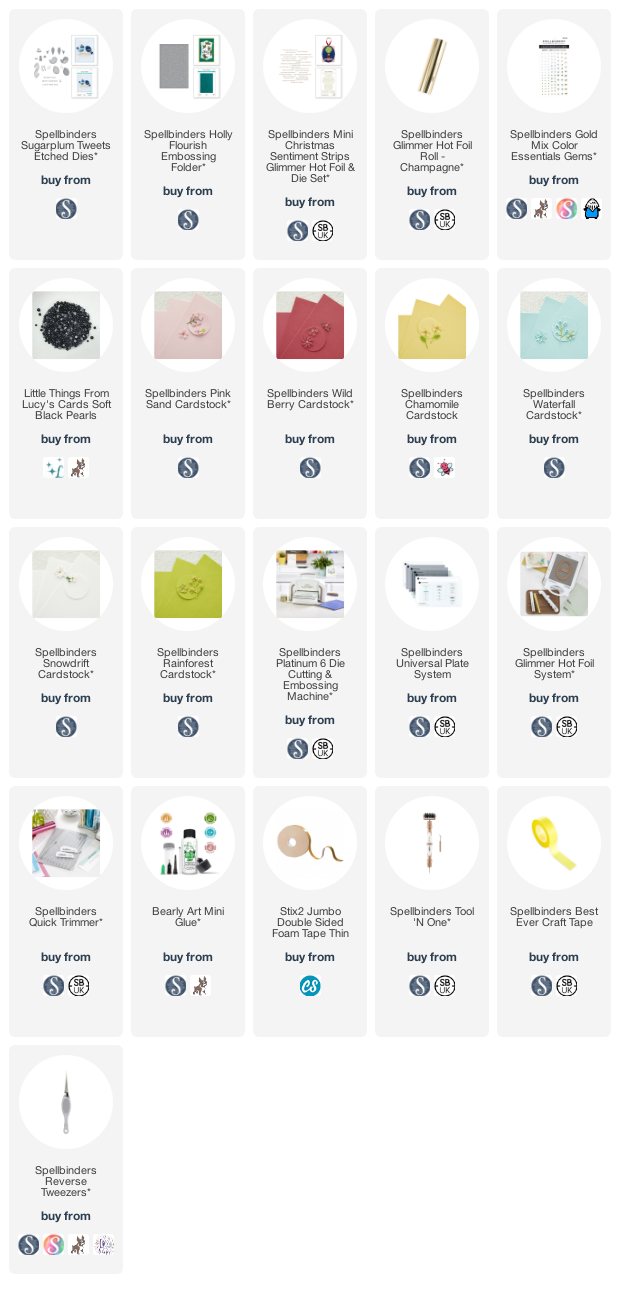
Here are the links to what I have used on the project. Affiliate links are used on some products. This means that if you make a purchase after clicking on my link, I receive a small commission with no extra cost to you. I truly appreciate your support when using these links. Please click on the logo below the product to shop at your favourite store. All products were personally purchased except those from Clearly Besotted, Hero Arts or those marked with an asterisk (*) which were kindly sent to me to use. You can read my full disclosure here.


There are lots of other wonderful collections releasing from Spellbinders today too. I will be sharing more projects later in the month with some of the other collections. Thank you so much for stopping by today, I really do appreciate it. I hope you have a wonderful day! 

12 September 2022

Altenew | September 2022 Marvelous Monthly Series Release Blog Hop + Giveaway

Hello there and welcome to Altenew's September 2022 Marvelous Monthly Series Blog Hop! Releasing today is Build-A-Garden: Pristine Peonies, Craft-A-Flower: Tulip Full Bloom, Craft Your Life Project Kit: Floral Acanthus, Mini Delight: Creative Cookies and Paint-A-Flower: Hibiscus. 

PLEASE NOTE: This post contains affiliate links. Please see below for my full disclosure.


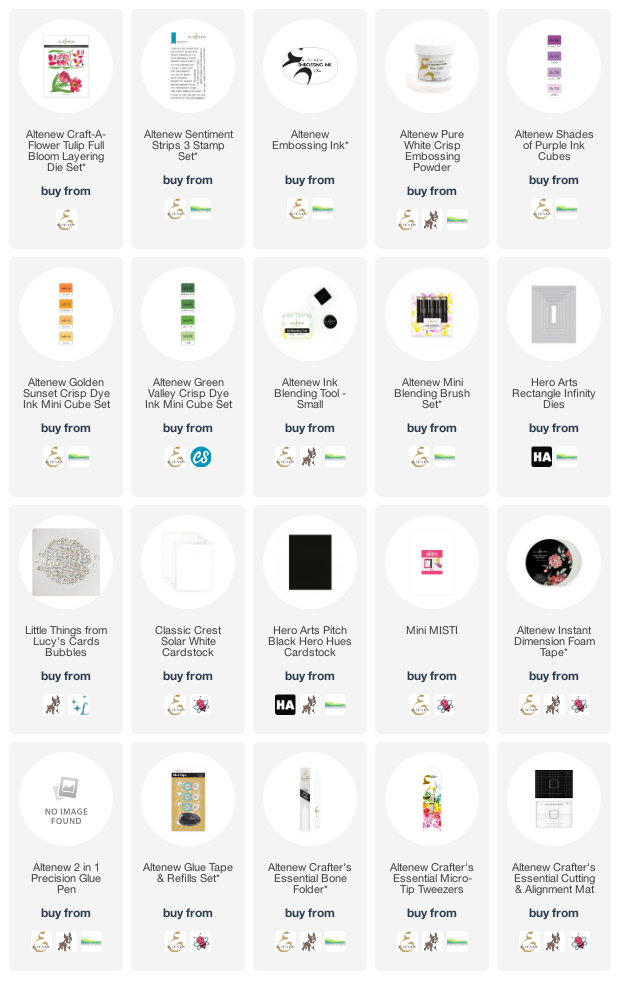
My card today features the beautiful Altenew Craft-A-Flower: Tulip Full Bloom Layering Die Set, which was die cut using white cardstock. Using Altenew Small and Mini Ink Blending Brushes, I blended on Altenew Shades of Purple Crisp Dye Inks for the flowers, with Altenew Gold Sunset Crisp Dye Inks used for the centre of the flower. 


The stems and leaves are blended with Altenew Green Valley Crisp Dye Inks. They flowers were assembled and adhered using Altenew 2 in 1 Precsion Glue Pen. 

I took a panel of white cardstock and embossed two rectangle dies on to it before adhering it to a US A2 sized white card base with glue tape. 


The leaves and stems were adhered on top with glue, followed by the flowers using Altenew Instant Dimension Foam Tape. 

I stamped the sentiment from Altenew Sentiment Strips 3 Stamp Set on to black cardstock using Altenew Embossing Ink. I applied Altenew Pure White Crisp Embossing Powder and heat set. It was cut into a strip and adhered to the card with more foam tape. To finish off, I added a few Bubbles embellishments. 

SUPPLIES:


Here are the links to what I have used on the project. Affiliate links are used on some products. This means that if you make a purchase after clicking on my link, I receive a small commission with no extra cost to you. I truly appreciate your support when using these links. Please click on the logo below the product to shop at your favourite store. All products were personally purchased except those from Clearly Besotted, Hero Arts or those marked with an asterisk (*) which were kindly sent to me to use. You can read my full disclosure here.


BLOG HOP:


For the hop, you should have arrived here from the fantastic Berina Rajakumar. Next on the hop is the fabulous Emily Midgett. If you get lost along the way, or want to start the hop from the beginning, please head over to the Altenew Blog. 

GIVEAWAY:

$300 in total prizes! To celebrate this release, Altenew is giving away a $50 gift certificate to 2 lucky winners and a $25 gift certificate to 8 winners! Please leave a comment on the Altenew Card Blog and/or each designer’s blog post on the blog hop list below by 18th September 2022 for a chance to win. Altenew will draw 10 random winners from the comments left on each stop of this blog hop and announce the winners on the Altenew Winners Page on 19th September 2022.


Thank you so much for stopping by today, I really do appreciate it. I hope you have a great time on the rest of the hop and a wonderful day! 

9 September 2022

Spellbinders | Handmade Gift Tags

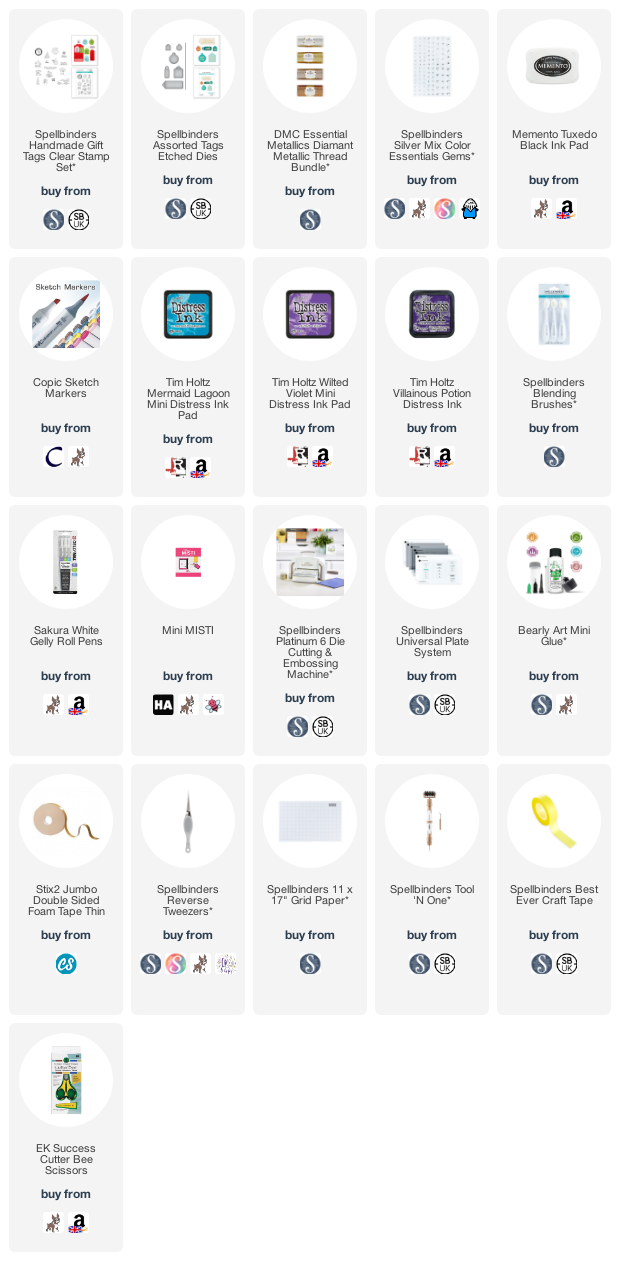
Hello there, today I have three tiny tags to share with you using the Spellbinders Handmade Gift Tags Stamp Set. This set coordinates with the Assorted Tags Dies so you can stamp the images and then simply die cut them out using the tag dies. A lot of the images in the set also work on their own too. Although I did add them to tags, I fussy cut them out, so they could be added to anything!

PLEASE NOTE: This post contains affiliate links. Please see below for my full disclosure.


I made three tags - one simply stamping, colouring and then die cutting out with the tag and the other two, I fussy cut the images out so that I could add a little background to the tags. These tags are tiny - only about 1.25" across! I often need tiny tags though to add to gift bags or smaller sized gifts, so they are perfect for me!


My first tag, although the simplest, is actually my favourite! I simply stamped the bear image from the Spellbinders Handmade Gift Tags Stamp Set on to white cardstock using Memento Tuxedo Black Ink. I coloured it using Copic Markers and then die cut it out using the Spellbinders Assorted Tags Etched Dies. To finish off, I added a little Spellbinders Silver Mix Color Essentials Gem to the hanging star. 


My next tag uses the gnome from the set, which was stamped on to white cardstock with Memento Tuxedo Black Ink and coloured with Copic Markers. I then fussy cut it out with scissors. I die cut another tag from white cardstock and masked off the bottom for a snowbank. 

Using Blending Brushes, I blended on Distress Inks in Mermaid Lagoon, Wilted Violet and Villainous Potion. The gnome was adhered on top with thin foam tape. I then added white gel pen dots for snow. 


My last tag was made in the same way as the gnome tag, but I used the circular tag again. I used Mermaid Lagoon and Wilted Violet Distress Inks and kept it a bit lighter. The snowman was stamped, coloured with Copics and fussy cut out. I adhered him to the tag with thin foam tape and added white gel pen snow. 

All three tags were finished off with silver thread tied through the top and tied in a bow. 

SUPPLIES:


Here are the links to what I have used on the projects. Affiliate links are used on some products. This means that if you make a purchase after clicking on my link, I receive a small commission with no extra cost to you. I truly appreciate your support when using these links. Please click on the logo below the product to shop at your favourite store. All products were personally purchased except those from Clearly Besotted, Hero Arts or those marked with an asterisk (*) which were kindly sent to me to use. You can read my full disclosure here.


COPIC MARKERS: Bear - E53, E51, E50. Sky - V25, V22, V20, B000, B0000. Gnome - E13, E11, E00, E000. Beard - C3, C1, C00. Hat - B01, B00, B000. Gift - V25, V22, V20. Snowman - BG11, BG10, BG000/YR12. Gloves and hat - V22, B000. 

The Assorted Tags Dies work well with lots of other Spellbinders sets too for sentiments. There are also some fun sentiments in the Handmade Gift tags set as well. Thank you so much for stopping by to see me today, I really do appreciate it. I hope you have a lovely day! 

8 September 2022

Spellbinders | Happy Fall

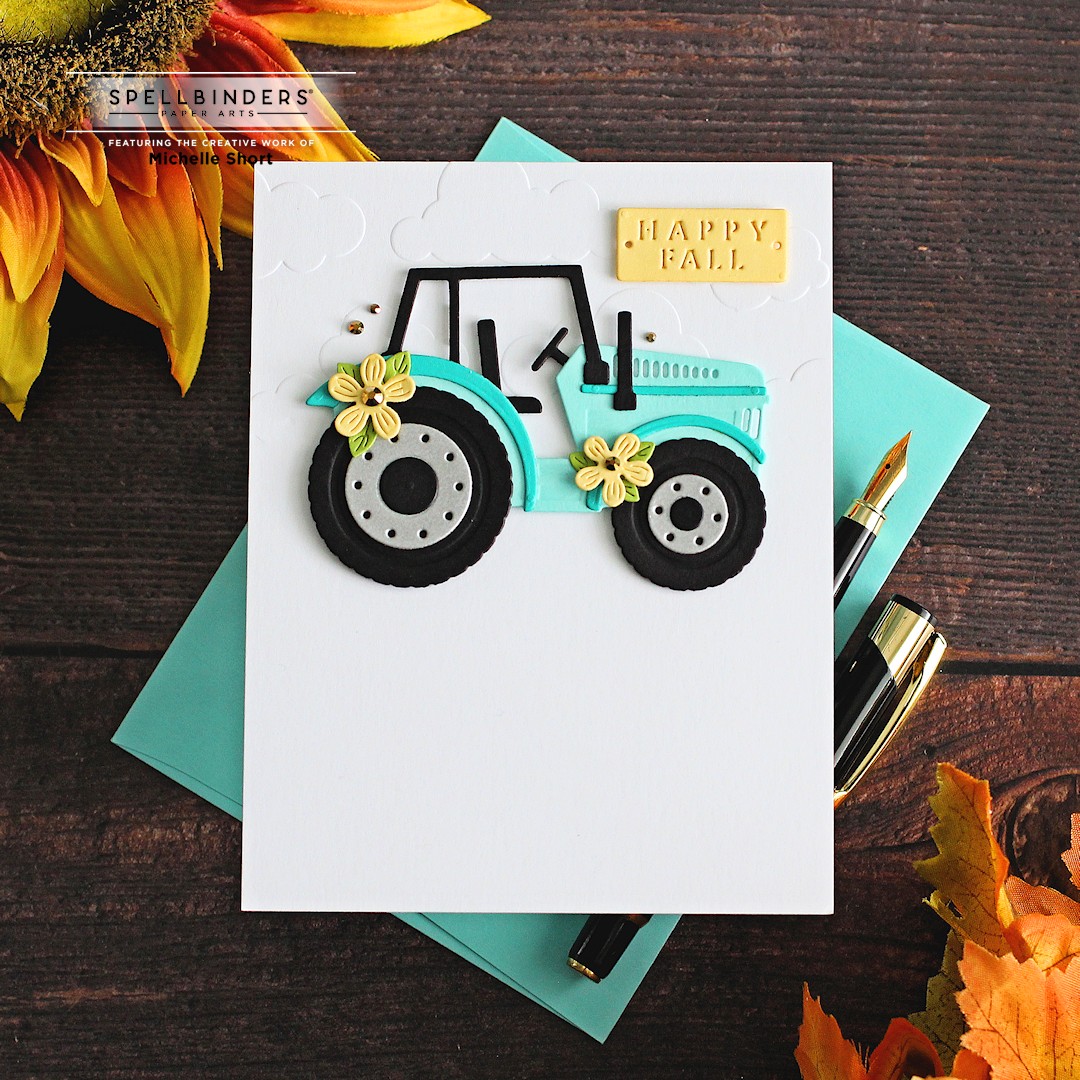
Hello there, today I have a card to share with you using the Spellbinders September 2022 Large Die of the Month Club Kit. This month's kit is the 'Thankful Tractor'. There is a tractor, a wagon/trailer, two pumpkins, corn, flowers, leaves and two signs. So, lots to create scenes with but you can also use the elements individually as well. 

PLEASE NOTE: This post contains affiliate links. Please see below for my full disclosure.


I started off by die cutting the tractor from the Spellbinders September 2022 Large Die of the Month Club Kit. I cut the main body from Spellbinders Waterfall, Teal Topaz and Onyx Cardstock. I cut the wheel elements from Spellbinders Brushed Silver Cardstock. The tractor was assembled and adhered using Bearly Art Glue. 

I took a panel of white cardstock and partially ran it through my Platinum 6 with the Spellbinders Head in the Clouds Embossing Folder, to add some clouds to the sky. 

It was adhered to a US A2 sized white card base with tape runner adhesive. The tractor was then adhered on top with thin foam tape. 

I die cut the sign (which would go on the trailer/wagon) from Spellbinders Chamomile Cardstock and adhered that with more thin foam tape. 

I also die cut the flowers from Chamomile Cardstock, as well as the leaves from Spellbinders Rainforest Cardstock. The flowers and leaves were adhered to the tractor with Bearly Art Glue and thin foam tape. 

To finish off, I added a few Spellbinders Gold Mix Color Essentials Gems. 

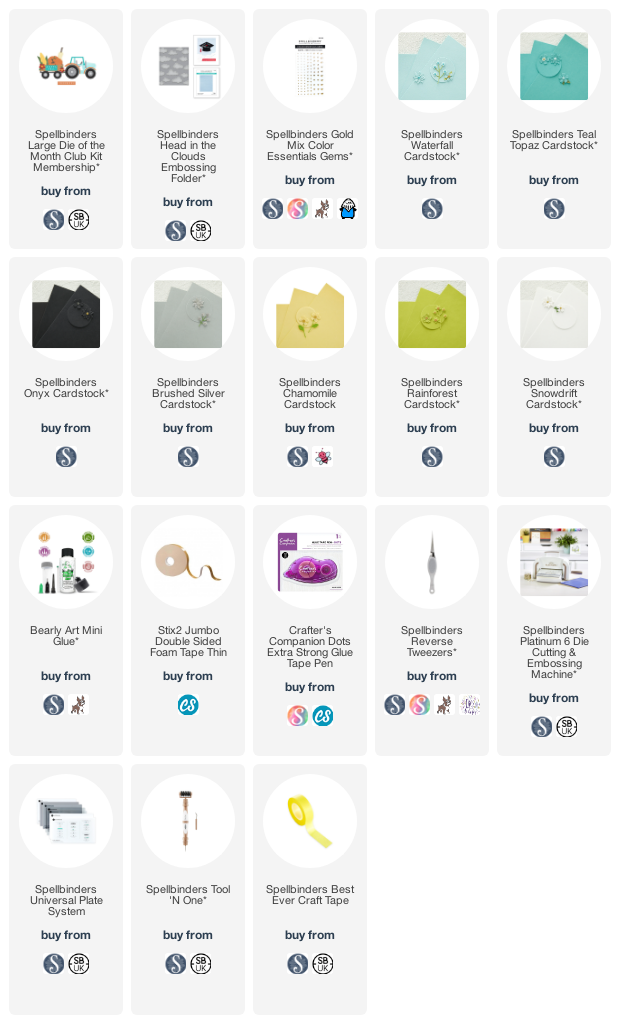
SUPPLIES:


Here are the links to what I have used on the project. Affiliate links are used on some products. This means that if you make a purchase after clicking on my link, I receive a small commission with no extra cost to you. I truly appreciate your support when using these links. Please click on the logo below the product to shop at your favourite store. All products were personally purchased except those from Clearly Besotted, Hero Arts or those marked with an asterisk (*) which were kindly sent to me to use. You can read my full disclosure here.


SPELLBINDERS CLUB KITS

I hope that you will check out the Spellbinders Club Kits. It is a wonderful monthly subscription where you receive the kit each month. Designers like myself share inspiration using the kit at the beginning of the month to show you lots of different ways that you can use it. 

There are also lots of other club kits too, like the Small Die of the Month and Stamp & Clear Die of the Month (plus lots more!), so there is something for everyone! If you do subscribe, you will get other benefits from Spellbinders too. Please see here for more information. You can also buy older kits here too. 

If you do want to get hold of this month's kit, you would need to subscribe by 28th August 2022 to receive it. Subscribers can cancel their membership at any time. 

Thank you so much for stopping by today, I really do appreciate it. Wishing you a wonderful day!

6 September 2022

Hero Arts | My Monthly Hero September 2022 Release Blog Hop + Giveaway

Hello there and welcome to the Hero Arts September 2022 My Monthly Hero Release Blog Hop + Giveaway. Both the kit and add-ons are now available in store to purchase. The release this month is called 'Fall Bouquet' and features lots of beautiful fall/autumnal flowers and foliage. I have two cards to share with you today - one using the main kit and the other with one of the add-on products. 

PLEASE NOTE: This post contains affiliate links. Please see below for my full disclosure.


I already shared one card using the main kit, which you can see here. For my card today, I wanted to share a completely different way of using it which involves no colouring but still lots of colour!


I die cut it using the coordinating Frame Cut in the kit and then set it aside to work on my card base. 


I first cut strips of Hero Arts Cardstock in Canary, Papaya, Pumpkin, Cherry and Cranberry and adhered them to a US A2 sized white card base with Hero Arts Precision Glue. The excess was then cut off of the sides using scissors. 


I stamped the sentiment from the kit stamp set on to Hero Arts Pitch Black Cardstock using Hero Arts Clear Embossing & Watermark Ink, applied Hero Arts White Embossing Powder and heat set. It was die cut in to a strip and adhered to the vellum image using foam tape. 

I then added tape runner adhesive on the back of the vellum piece, behind where the sentiment strip is, as well as tiny dots of Precision Glue, just over the thicker areas of the embossing. It was then adhered to the card. 


My second card uses the beautiful Hero Arts Artichoke Arrangement Stamp & Die Bundle. I had never really come across artichokes being used in floral arrangements before, so I Googled it and oh my goodness! some of the bouquets are stunning! I saw some artichokes that were mainly purple, with just a tiny bit of green, so I coloured mine like that on the image. 

I stamped the image using Hero Arts Intens-ified Black Ink. Once the image was coloured with Copic Markers, it was die cut using the coordinating Frame Cut. 


I took a panel of white cardstock and masked off the outside edges. Using Hero Arts Ink Blending Brushes, I blended Hero Arts Reactive Inks inside. I used Thistle, Grape Slush and Purple Galaxy. 

The panel was then adhered to a US A2 sized white card base with tape runner adhesive. The artichoke arrangement was adhered on top with thin foam tape. 


I stamped the sentiment from the set on to Hero Arts Pitch Black Cardstock using Hero Arts Clear Embossing & Watermark Ink. I applied Hero Arts White Embossing Powder and heat set. I then fussy cut it out using scissors before adhering it to the card using more thin foam tape. 

SUPPLIES:


Here are the links to what I have used on the projects. Affiliate links are used on some products. This means that if you make a purchase after clicking on my link, I receive a small commission with no extra cost to you. I truly appreciate your support when using these links. Please click on the logo below the product to shop at your favourite store. All products were personally purchased except those from Clearly Besotted, Hero Arts or those marked with an asterisk (*) which were kindly sent to me to use. You can read my full disclosure here.


MY MONTHLY HERO KIT:


Autumn is a whisper in the air, with hints of cooler weather, falling leaves, and rich colors. Our September My Monthly Hero release takes an elegant path into fall, featuring a gorgeous vase of fall blooms as the focal point for your cards and projects. There’s also a fun new element this month - rub-ons! Use them for quick and easy cards; the coordinating die in the kit perfectly cuts out the rub-on floral arrangement as well as the stamped images. Or try the rub-ons on any smooth surface. The kit is rounded out with a gorgeous new cling stamp, metallic floss and the perfect neutral cardstocks for stamping your autumn-inspired creations.

KIT CONTENTS:

4" x 6" Clear Stamp Set
6 Coordinating Frame Cuts
Rub-On Transfer Sheet
6" x 6" Cling Background Stamp
2 Sheets of Sand & Antique Ivory Cardstock (5.5" x 8.5")
Rose Gold Metallic Floss

The Hero Arts September 2022 My Monthly Hero Kit is valued at $70 but you can get it for $34.99 (approximately £28 depending on exchange rate, not including VAT/customs charges). The kits are exclusive to the Hero Arts store and often sell out quickly, so you can subscribe here, so that you never miss a kit. Kits begin shipping 9th September 2022.

ADD-ONS:

There are lots of add-on products released each month. These work alongside the kit, or work on their own too. These can be purchased from Hero Arts when you order a kit, on their own or from your favourite Hero Arts retailer (these are not exclusive and are restocked if sold out). Here is a look at them:

BLOG HOP:

This post is part of a fun, inspirational blog hop with prizes. For the hop, you should have arrived here from the fabulous Lydia. Next on the hop is the fantastic Mindy. If you get lost along the way, or want to start the hop from the beginning, please head over to the Hero Arts Blog. 

GIVEAWAY:

Hero Arts are giving away a $50 gift card drawn from the comments left across all of the stops in the hop. Enter by 11th September 2022 at 11.59pm PT. The winner will be announced the following week on the Hero Arts Blog.

Thank you so much for stopping by today, I really do appreciate it. I hope you have a lovely time on the rest of the hop and a great rest of the day too! Take care. 
End of code