13 June 2022

Spellbinders | Stitched Mum

Hello there, I hope you are all well and had a good weekend. Today I have a card to share with you using the Spellbinders Stitched Alphabet Etched Dies. I shared a card last month using the set, which you can see here. I really love these dies because they make a big impact on a card. You can use them with stitching or without and I think both ways look great! Today I have a card that I made for my mum. 

PLEASE NOTE: This post contains affiliate links. Please see below for my full disclosure.


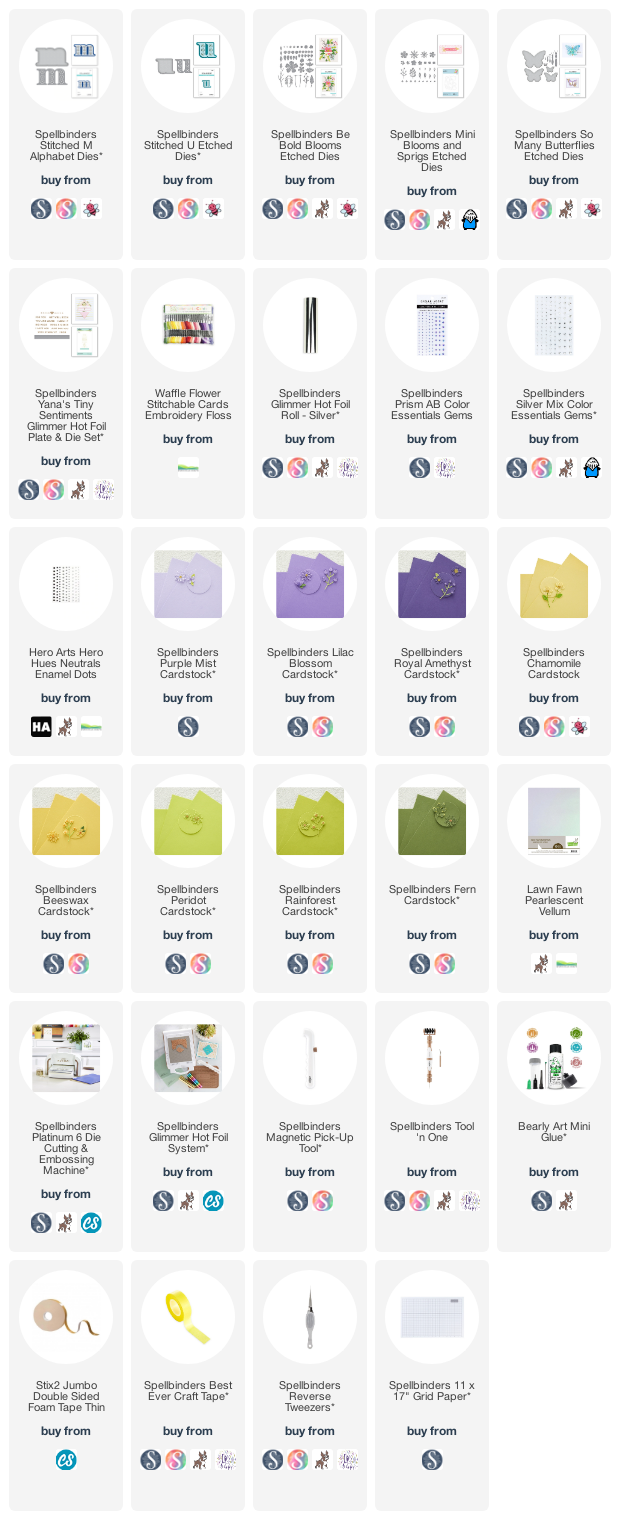
I started off by die cutting the Spellbinders Stitched M Etched Dies twice. Two each of the stitching part in white cardstock and two each of the shadow part in Spellbinders Lilac Blossom Cardstock. I then cut the Spellbinders Stitched U Etched Dies in the same cardstock. Using lilac thread, I stitched the white pieces and then adhered the white layers to the shadow pieces with thin foam tape. 


The letters were adhered to a 5" x 7" white card base with more thin foam tape. I then decorated with flowers and butterflies. I mainly used the Spellbinders Be Bold Blooms Etched Dies for most of the flowers and foliage, cutting the stems and leaves from Spellbinders Peridot, Rainforest and Fern Cardstock and the flowers from Spellbinders Purple Mist and Royal Amethyst Cardstock. They were arranged around the letters and adhered with Bearly Art Glue, but a couple were adhered with foam tape too. 


The yellow flowers were die cut using the Spellbinders Mini Blooms & Sprigs Etched Dies and Spellbinders Chamomile Cardstock. The purple flower centres were cut from Spellbinders Chamomile and Beeswax Cardstock. I then die cut the smallest of the Spellbinders So Many Butterflies Etched Dies from pearlescent vellum and adhered them too. The sentiment, from Yana's Tiny Sentiments Glimmer Hot Foil Plate & Die Set was foiled on to Lilac Blossom Cardstock with Spellbinders Silver Foil. It was cut in to a strip and added to the card with foam tape. To finish off, I added Spellbinders Prism AB and Silver Color Essentials Gems.

SUPPLIES:


Here are the links to what I have used on the project. Affiliate links are used on some products. This means that if you make a purchase after clicking on my link, I receive a small commission with no extra cost to you. I truly appreciate your support when using these links. Please click on the logo below the product to shop at your favourite store. All products were personally purchased except those from Clearly Besotted, Hero Arts or those marked with an asterisk (*) which were kindly sent to me to use. You can read my full disclosure here.

These dies are so versatile, you can spell anything you want but can also just use one letter on it's own as the start of a word, for example, or as an initial/s for the recipient. Thank you so much for stopping by today, I really do appreciate it. I hope you have a wonderful day! 

12 June 2022

Altenew | June 2022 Marvelous Monthly Series Release Blog Hop + Giveaway

Hello there and welcome to Alenew's June 2022 Marvelous Monthly Series Release Blog Hop! This month we are doing something a little different and releasing the monthly subscriptions all on one day. 

Releasing today is Build-A-Garden Nature's Magic, Craft-A-Flower Cape Marguerite, Craft Your Life Silk Art Project Kit, Mini Delight Hooray! and Paint-A-Flower Flowering Dogwood. So there is definitely something for everyone! Please see below for more information on the hop. 

PLEASE NOTE: This post contains affiliate links. Please see below for my full disclosure.


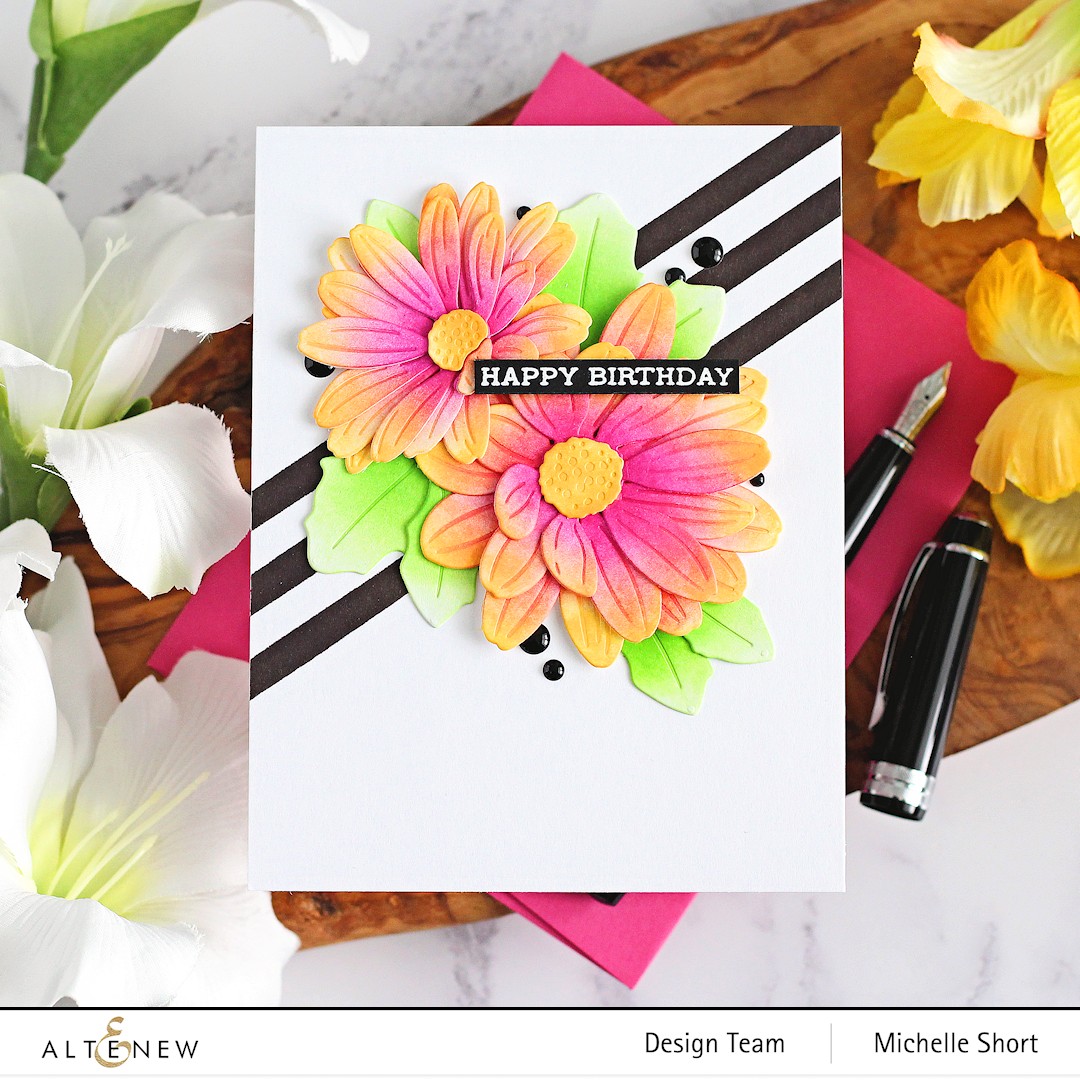
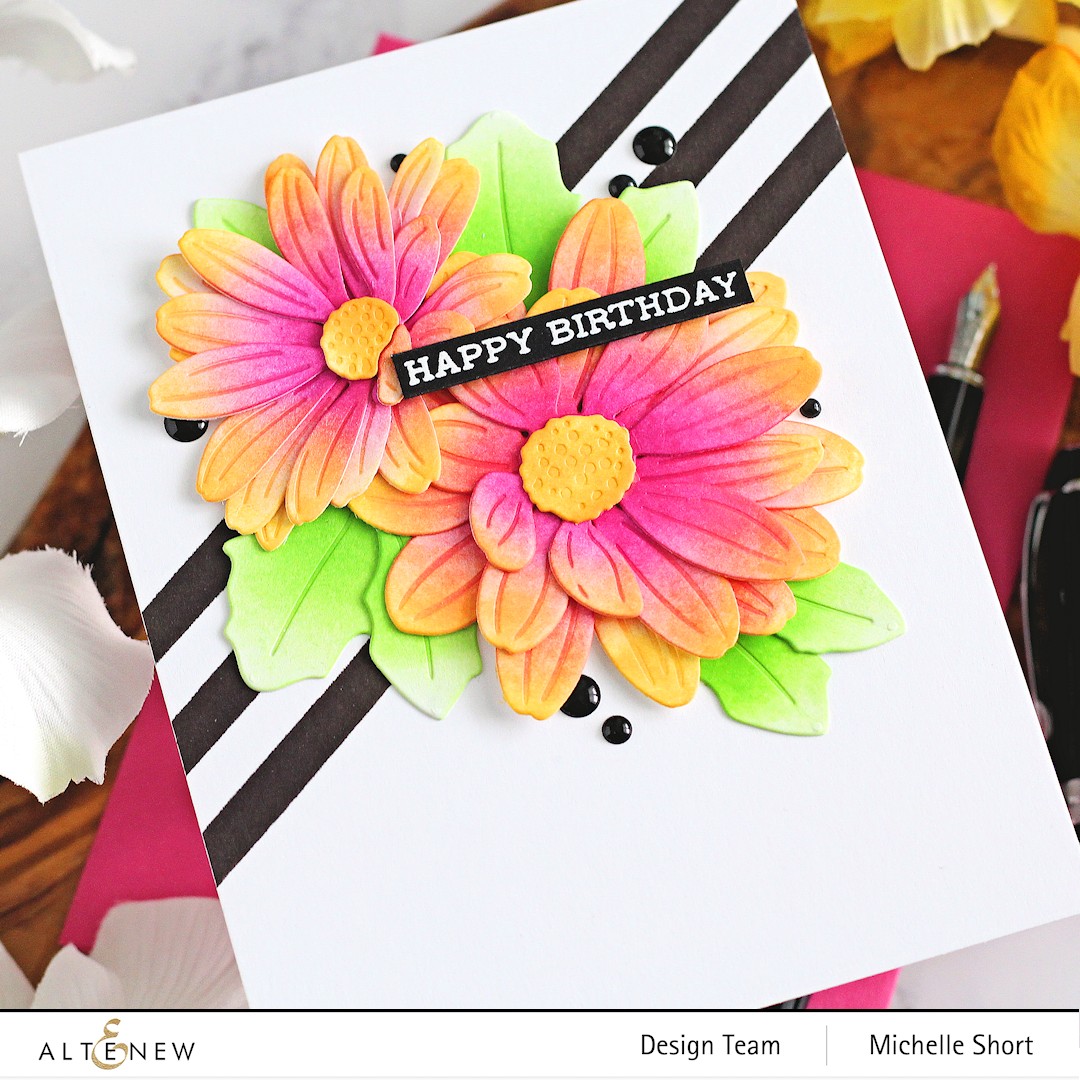
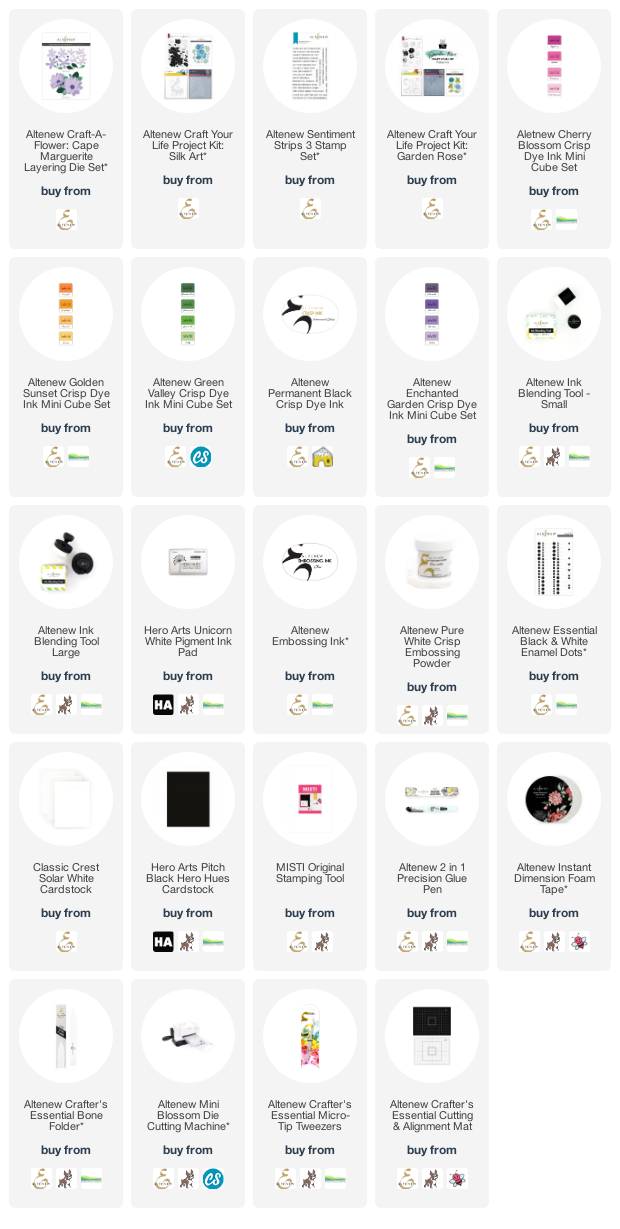
My first card uses the Altenew Craft-A-Flower Cape Marguerite Layering Die Set. I started off by die cutting the flower petals, centres and leaves from white cardstock. I then added ink blending to them using Altenew Small Ink Blending Tools. For the petals, I used Rubellite and Razzleberry from Altenew Cherry Blossom Crisp Dye Inks and Chamomile and Sunset from Altenew Golden Sunset Crisp Dye Inks. I also used the later two for the flower centres. 


For the leaves, I used Altenew Green Valley Crisp Dye Inks. They were assembled and adhered using Altenew 2 in 1 Precision Glue Pen and set as aside. I took an A2 white card base and placed the stencil from the Altenew Craft Your Life Garden Rose Project Kit on top. Using another blending tool, I blended on Altenew Permanent Black Ink in to the lines.


The stencil was removed and the flowers and leaves added on top. I took the sentiment from Altenew Sentiment Strips 3 Stamp Set and stamped it on to black cardstock with Altenew Embossing Ink. I applied Altenew Pure White Crisp Embossing Powder and heat set. It was cut in to a strip and added to the card with Altenew Instant Dimension Foam Tape. To finish off, I added Altenew Essential Black & White Enamel Dots (just the black ones). 


My next card uses the new beautiful Altenew Craft Your Life Project Kit: Silk Art. I first added ink blending to a panel of cardstock using Altenew Enchanted Garden Crisp Dye Inks using an Altenew Large Ink Blending Tool. I then ran the panel through my die cutting machine with the Silk Art 3D Embossing Folder. 


I added white pigment ink to the raised areas, which really makes the embossing pop! The panel was adhered to an A2 white card base with Altenew Instant Dimension Foam Tape. The sentiment from the kit stamp set was stamped on to black cardstock with Altenew Embossing Ink. I applied Altenew Pure White Crisp Embossing Powder and heat set. It was cut in to a strip and added to the card with more foam tape. 

SUPPLIES:


Here are the links to what I have used on the project. Affiliate links are used on some products. This means that if you make a purchase after clicking on my link, I receive a small commission with no extra cost to you. I truly appreciate your support when using these links. Please click on the logo below the product to shop at your favourite store. All products were personally purchased except those from Clearly Besotted, Hero Arts or those marked with an asterisk (*) which were kindly sent to me to use. You can read my full disclosure here.


BLOG HOP:


As mentioned, this blog post is part of  a fun, inspirational blog hop with prizes (see below for those!). For the hop, you should have arrived here from the amazing Cheryl Espie. Next on the hop is the fabulous Mindy Eggen. If you get lost along the way, or want to start the hop from the beginning, please head over to the Altenew Blog

GIVEAWAY:

$300 in total prizes! To celebrate this release, Altenew is giving away a $50 gift certificate to 2 lucky winners and a $25 gift certificate to 8 winners! Please leave a comment on the Altenew Card Blog and/or each designer’s blog post on the blog hop list below by 18th June 2022 for a chance to win. Altenew will draw 10 random winners from the comments left on each stop of this blog hop and announce the winners on the Altenew Winners Page on 20th June 2022.

Thank you so much for stopping by today, I really do appreciate it. I hope you enjoy the rest of the hop and have a fabulous rest of the weekend too. Take care! 

6 June 2022

Hero Arts | My Monthly Hero June 2022 Release Blog Hop + Giveaway

Hello there and welcome as we celebrate the release of the Hero Arts June 2022 My Monthly Hero Kit. The theme this month is mermaids, the ocean and all underwater goodness! I have already shared one card using the main kit, which you can see here. Today I have another project to share with the main kit, plus a project with an add-on set too. This post is part of a fun, inspiration filled blog hop with prizes. Please see below for more details. 

PLEASE NOTE: This post contains affiliate links. Please see below for my full disclosure.


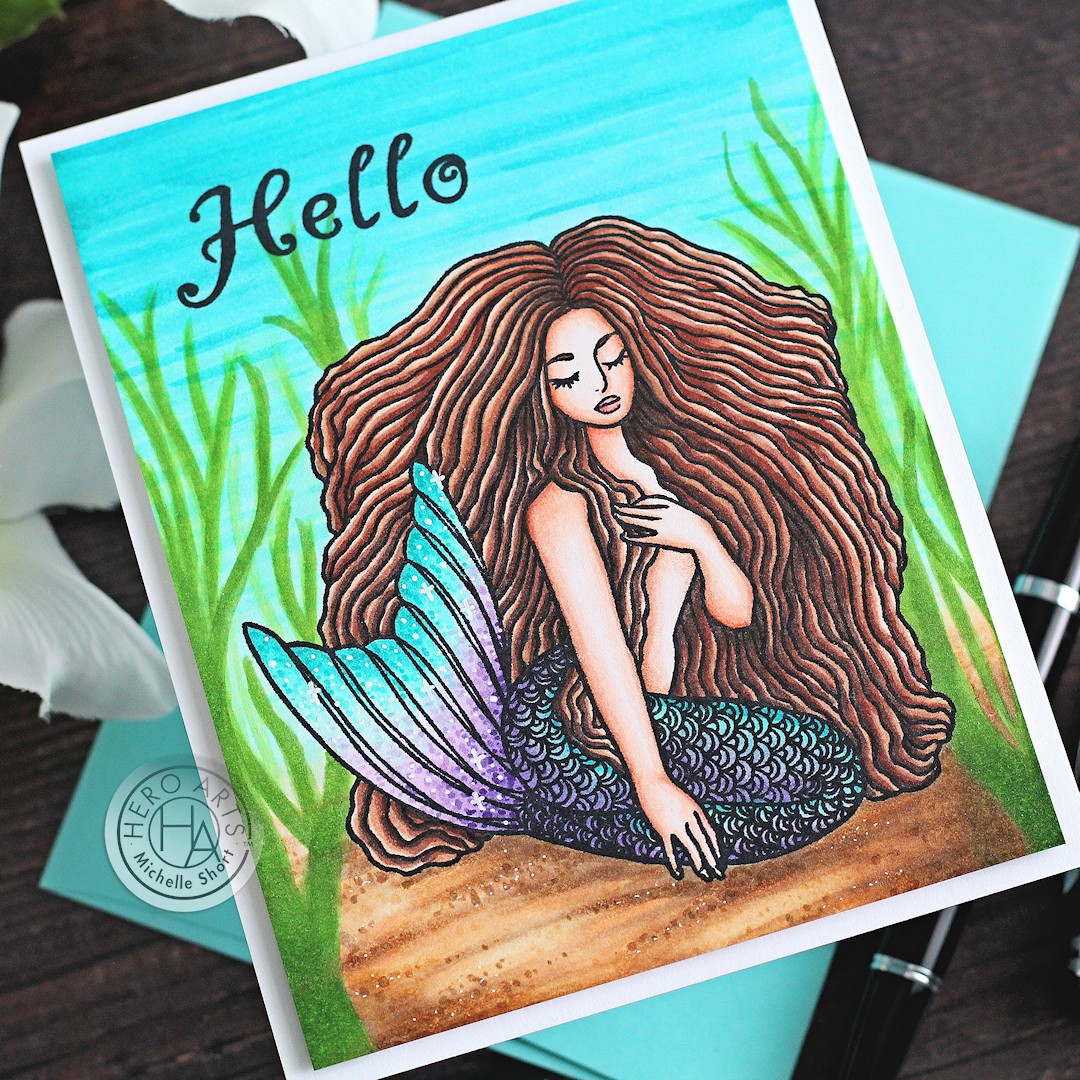
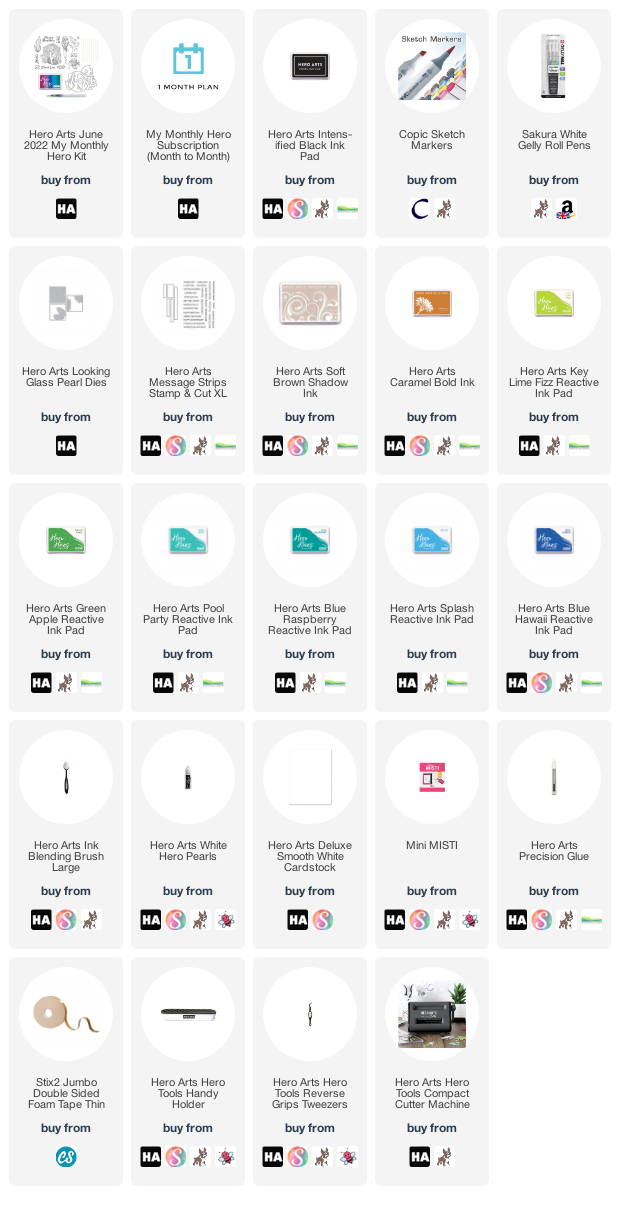
I started my card by stamping the mermaid from the Hero Arts June 2022 My Monthly Hero Kit stamp set on to white cardstock with Hero Arts Intens-ified Black Ink. I then coloured her using Copic Markers. 


I had originally planned to die cut her out but decided at the last minute to colour the panel instead. If I was colouring a background, I would usually do that first and then colour the main image but this time, I did it the other way around. I coloured the sea/ocean (inspired by Marker Geek) and then added in the seaweed. 


The sentiment from the set was stamped in the top left hand corner and then the panel adhered to an A2 white card base with foam tape. To finish off, I added a few white gel pen sparkles and dots on her tail fin. 


My next card uses the new add-on set Looking Glass Pearl. As with all of the Looking Glass dies, it features three windows that you can cut in to cardstock and when you layer them up, they look like a looking glass 3D image - so cool! I die cut each layer from white cardstock and then coloured them using ink blending. 


For the bottom sand layer, I used Hero Arts Soft Brown Shadow Ink, followed by Hero Arts Caramel Bold Ink. I then added in some dots with Copic Markers for added interest. For the seaweed on this layer and the next, I used Hero Arts Key Lime Fizz, Green Apple, Pool Party and Blue Raspberry Reactive Inks. For the last layer, I used more Soft Brown for the outer shell of the oyster, followed by Copic Markers for the inside. 


I die cut another of the oyster pieces and added Hero Arts White Hero Pearls to the pearl. Once dry, I cut it out and added it inside the shell. The panels were layered up with thin foam tape and added to a card base which I added ink blending with Hero Arts Splash and Blue Hawaii Reactive Inks for the water. The sentiment was stamped below from Hero Arts Message Strips Stamp & Cut XL


SUPPLIES:


Here are the links to what I have used on the projects. Affiliate links are used on some products. This means that if you make a purchase after clicking on my link, I receive a small commission with no extra cost to you. I truly appreciate your support when using these links. Please click on the logo below the product to shop at your favourite store. All products were personally purchased except those from Clearly Besotted, Hero Arts or those marked with an asterisk (*) which were kindly sent to me to use. You can read my full disclosure here.


MY MONTHLY HERO KIT:


Head under the sea with our June My Monthly Hero release. A beautiful mermaid greets you, with hair flowing and tail shimmering. She's accompanied by a colorful fish and jelly, with seagrass and coral surrounding her. Pearls are an accent to this kit, with an image, messages, and embellishments uniting the theme. The kit is rounded out with a Reactive Ink palette and brush, perfect for watercoloring the images or creating gorgeous underwater backgrounds.

KIT CONTENTS:

6" x 8" Clear Stamp Set
8 Coordinating Frame Cuts
Mermaid Reactive Ink Palette
Self Adhesive Pearl Gems
Water Flow Brush

The Hero Arts June 2022 My Monthly Hero Kit is valued at $72 but you can get it for $34.99 (approximately £28 depending on exchange rate, not including VAT/customs charges). The kits are exclusive to the Hero Arts store and often sell out quickly, so you can subscribe here, so that you never miss a kit. Kits begin shipping 10th June 2022.

ADD-ONS:

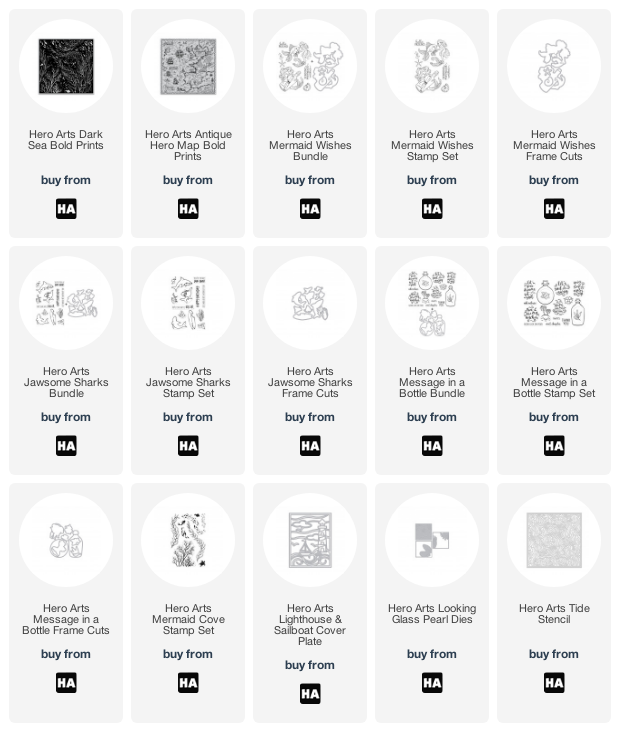
There are lots of add-on products released each month. These work alongside the kit, or work on their own too. These can be purchased from Hero Arts when you order a kit, on their own or from your favourite Hero Arts retailer (these are not exclusive and are restocked if sold out). Here is a look at them:

BLOG HOP:

As mentioned, this post is part of a fun, inspiration filled blog hop with prizes. For the hop, you should have arrived here from the wonderful Maria Willis. Next on the hop is the fabulous Mindy Eggen. If you get lost along the way, or want to start the hop from the beginning, please head over to the Hero Arts Blog.

GIVEAWAY:

Hero Arts are giving away a $50 gift card drawn from the comments left across all of the stops in the hop. Enter by 12th June 2022 at 11.59pm PT. The winner will be announced the following week on the Hero Arts Blog.

Thanks so much for stopping by today. I really do appreciate it. I hope you have a lovely time on the rest of the hop and a great rest of the day. Take care!

4 June 2022

Spellbinders | Paisley Dreams

Hello there, today I have a tag to share with you using the Spellbinders June 2022 Large Die of the Month Club Kit. This month is called 'Paisley Dreams' and features a beautiful paisley pattern with swirls, flowers and decorative flourishes. I actually didn't use the base layer on project, I decided to use the paisley and flowers separately. That's what I love about the kits, you can use them in different ways! 

PLEASE NOTE: This post contains affiliate links. Please see below for my full disclosure.


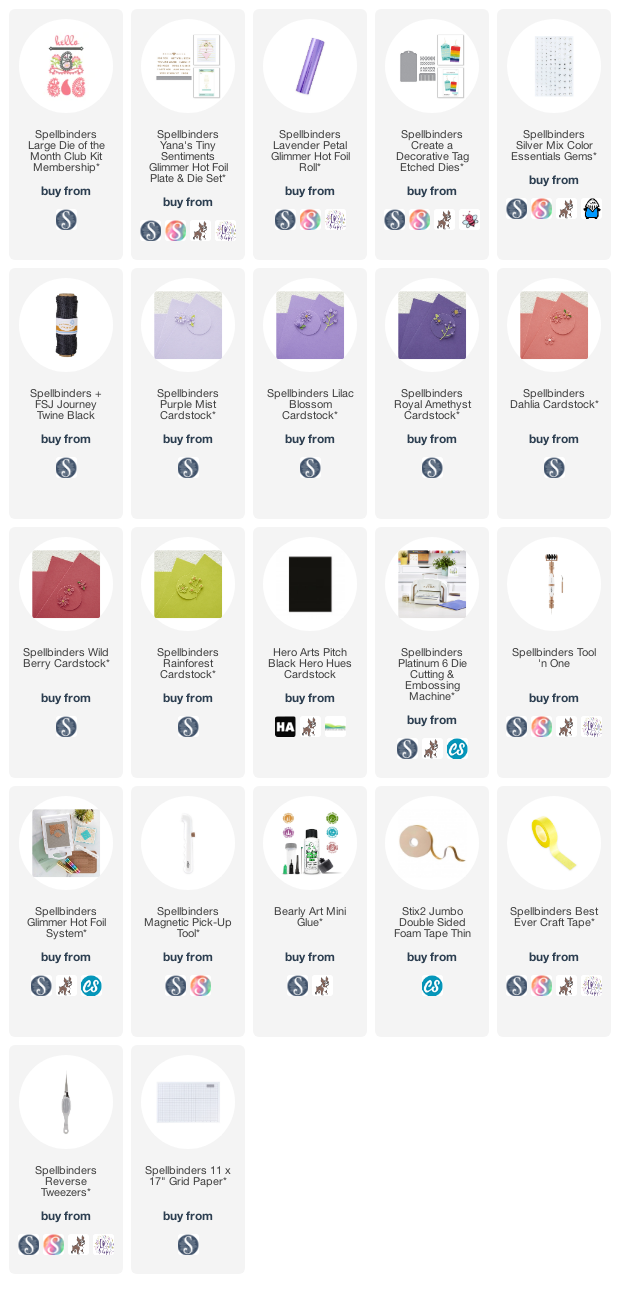
I started off by die cutting the paisley from the Spellbinders June 2022 Large Die of the Month Club Kit from Spellbinders cardstock in Purple Mist, Lilac Blossom and Royal Amethyst. The pieces were layered up using Bearly Art Glue. I then die cut the flowers from Spellbinders Dahlia and Wild Berry Cardstock. The stems were cut from Spellbinders Rainforest Cardstock


I took the tag from Spellbinders Create a Decorative Tag and die cut it from black cardstock. The flowers and paisley were then added on top using more Bearly art Glue. The sentiment, from Spellbinders Yana's Tiny Sentiments, was foiled on to black cardstock with Spellbinders Lavender Petal Foil


It was cut in to a strip and added to the tag with thin foam tape. I added Journey Black Twine through the top of the tag and tied in a bow. To finish, I added a few Spellbinders Silver Mix Color Essential Gems

SUPPLIES:


Here are the links to what I have used on the project. Affiliate links are used on some products. This means that if you make a purchase after clicking on my link, I receive a small commission with no extra cost to you. I truly appreciate your support when using these links. Please click on the logo below the product to shop at your favourite store. All products were personally purchased except those from Clearly Besotted, Hero Arts or those marked with an asterisk (*) which were kindly sent to me to use. You can read my full disclosure here.


SPELLBINDERS CLUB KITS

I hope that you will check out the Spellbinders Club Kits. It is a wonderful monthly subscription where you receive the kit each month. Designers like myself share inspiration using the kit at the beginning of the month to show you lots of different ways that you can use it. 

There are also lots of other club kits too, like the Small Die of the Month, Embossing Folder of the Month and Stamp & Clear Die of the Month (plus lots more!), so there is something for everyone! If you do subscribe, you will get other benefits from Spellbinders too. Please see here for more information. You can also buy older kits here too. 

If you do want to get hold of this month's kit, you would need to subscribe by 28th June 2022 to receive it. Subscribers can cancel their membership at any time. 

UK SUBSCRIBERS

GREAT NEWS! If you are in the UK, Spellbinders will now ship the kits directly from here in the UK for Club Kit Subscribers (Club Kits only). That means reduced shipping costs and no extra fees! If you have been putting off subscribing to the kits because of this, now is the time to do it! 

Thank you so much for stopping by today, I really do appreciate it. Wishing you a lovely day and a great weekend!

3 June 2022

Altenew | June 2022 Today is the Day Collection Release Blog Hop + Giveaway

Hello there, today sees the release of the new Today is the Day collection from Altenew. This is a fabulous release with something for everyone, I think! I was instantly drawn to the Ethereal Roses, they are so lifelike and beautiful, I had to ink them up! This post is part of  a fun, inspiration filled blog hop with prizes. Please see below for more details. 

PLEASE NOTE: This post contains affiliate links. Please see below for my full disclosure.


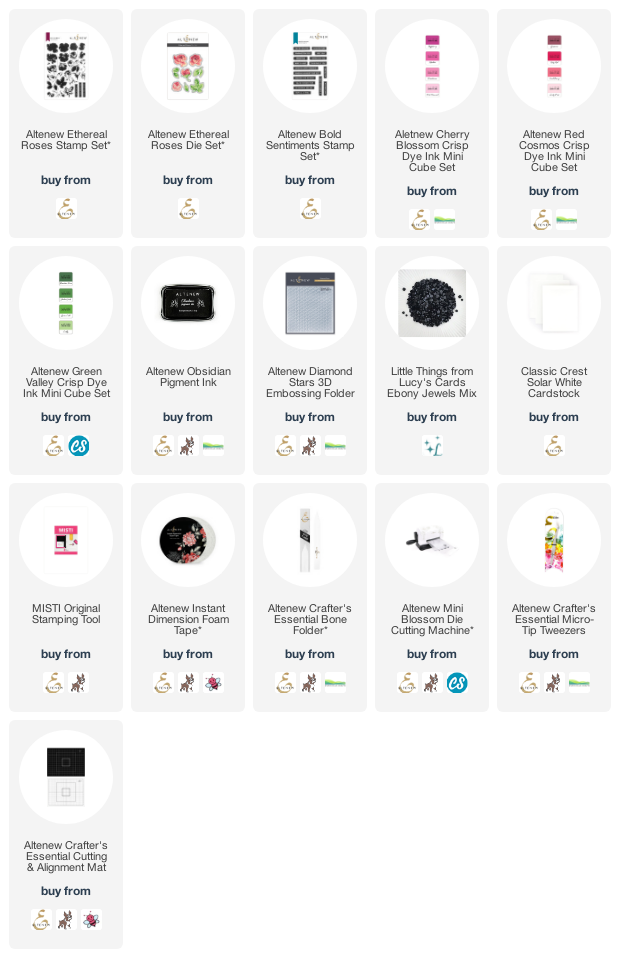
I started off my card by stamping the new Altenew Ethereal Roses Stamp Set on to white cardstock. I used Altenew Cherry Blossom Crisp Dye Inks for the main part of the roses (all four shades) and then Grapevine from the Altenew Red Cosmos Crisp Dye Inks set for the centres. The leaves were stamped with Altenew Green Valley Crisp Dye Inks


They were then die cut out using the Altenew Ethereal Roses Die Set and set aside while I worked on the background. I took a panel of white cardstock and ran it through my die cutting machine using the Altenew Diamond Stars 3D Embossing Folder. It was adhered to an A2 white card base with Altenew Instant Dimension Foam Tape. I then added the leaves and flowers on top with more foam tape. 


I took the sentiment from the new Altenew Bold Sentiments Stamp Set (this is new this month too and will definitely become a favourite of mine!) and stamped it on to white cardstock with Altenew Obsidian Pigment Ink. It was then cut in to a strip and added to the card. To finish off, I added a few black jewels. 

SUPPLIES:


Here are the links to what I have used on the project. Affiliate links are used on some products. This means that if you make a purchase after clicking on my link, I receive a small commission with no extra cost to you. I truly appreciate your support when using these links. Please click on the logo below the product to shop at your favourite store. All products were personally purchased except those from Clearly Besotted, Hero Arts or those marked with an asterisk (*) which were kindly sent to me to use. You can read my full disclosure here.


BLOG HOP:


As mentioned, this post is part of a fun, inspiration filled blog hop (see below for prizes!). For the hop, you should have arrived here from the amazing Tenia Nelson. Next on the hop is the fabulous Natasha Davies. If you get lost along the way, or want to start the hop from the beginning, please head over to the Altenew Blog

FREE GIFTS:

GIVEAWAY:

$300 in total prizes! To celebrate this release, Altenew is giving away a $50 gift certificate to 2 lucky winners and a $25 gift certificate to 8 winners! Please leave a comment on the Altenew Card Blog and/or each designer’s blog post on the blog hop list below by 9th June 2022 for a chance to win. Altenew will draw 10 random winners from the comments left on each stop of this blog hop and announce the winners on the Altenew Winners Page on 11th June 2022.

Thank you so much for stopping by today, I really do appreciate it. I will hope that you will check out the release and have a wonderful time on the rest of the hop. Wishing you a great day and a fantastic weekend! 

Hero Arts | June 2022 My Monthly Hero Countdown to Creativity

Hello there and welcome to the Hero Arts My Monthly Hero June 2022 Countdown to Creativity. For the next few days, we will be sharing sneak peeks using the new My Monthly Hero Kit. Release day is Monday, 6th June 2022. This month is all about mermaids and the ocean and I know it is going to be very popular! 

PLEASE NOTE: This post contains affiliate links. Please see below for my full disclosure.


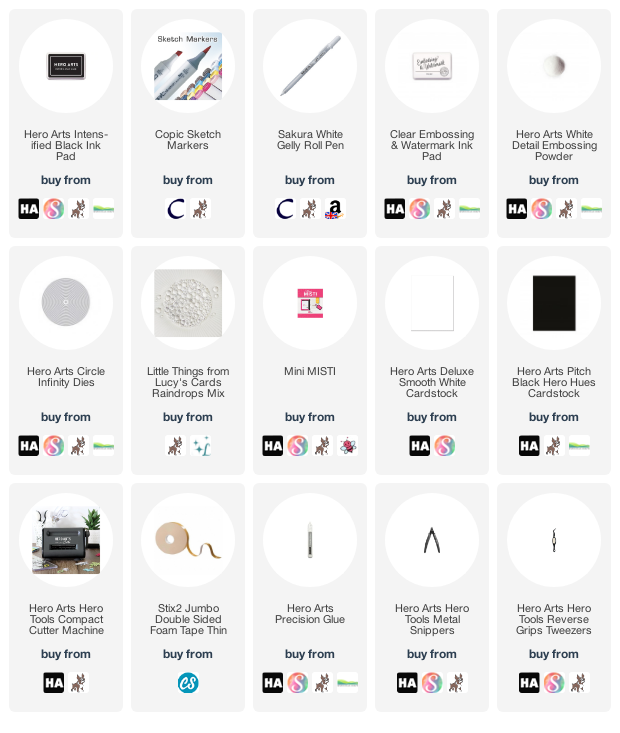
For my card today, I am using the clear stamp set that comes in the kit. I started off by stamping the fish from the set on to white cardstock with Hero Arts Intens-ified Black Ink. I then coloured it with Copic Markers (although I did not use it on my card, I took inspiration for the colours from the Mermaid Palette Ink Pad that you get in the kit). I then die cut it out using the coordinating die. 


I die cut three Hero Arts Nesting Circle Infinity Dies circles from white cardstock - two larger for the card base and one smaller for the panel. I added Copic Marker colouring to the smaller one, creating an ocean, adding in some hand-drawn seaweed. If you didn't want to freehand draw it, there is a couple of seaweed stamps in the set. The two larger circles were adhered together at the top to create a circle card base (and a small amount cut off the bottom so that it stands up) and the panel added on top with thin foam tape. 


The fish was added on top with more thin foam tape. I stamped the sentiment from the set on to Hero Hues Pitch Black Cardstock with Hero Arts Clear Embossing & Watermark Ink. I applied Hero Arts White Detail Embossing Powder and heat set. It was cut in to a strip before adhering to the card with more foam tape. To finish off, I added a few Raindrops and then white gel pen highlights. 

SUPPLIES:


Here are the links to what I have used on the project. Affiliate links are used on some products. This means that if you make a purchase after clicking on my link, I receive a small commission with no extra cost to you. I truly appreciate your support when using these links. Please click on the logo below the product to shop at your favourite store. All products were personally purchased except those from Clearly Besotted, Hero Arts or those marked with an asterisk (*) which were kindly sent to me to use. You can read my full disclosure here.


This is such a fun kit! I will have another card to share using it (and the gorgeous mermaid!) on Monday. In the mean-time, please head over to the Hero Arts Blog for more inspiration and be sure to leave a comment over there too, for a chance to win a kit! Thank you so much for stopping by today. I will be back shortly with another post but wishing you a great day!

1 June 2022

VIDEO | Clearly Besotted June 2022 Release Preview

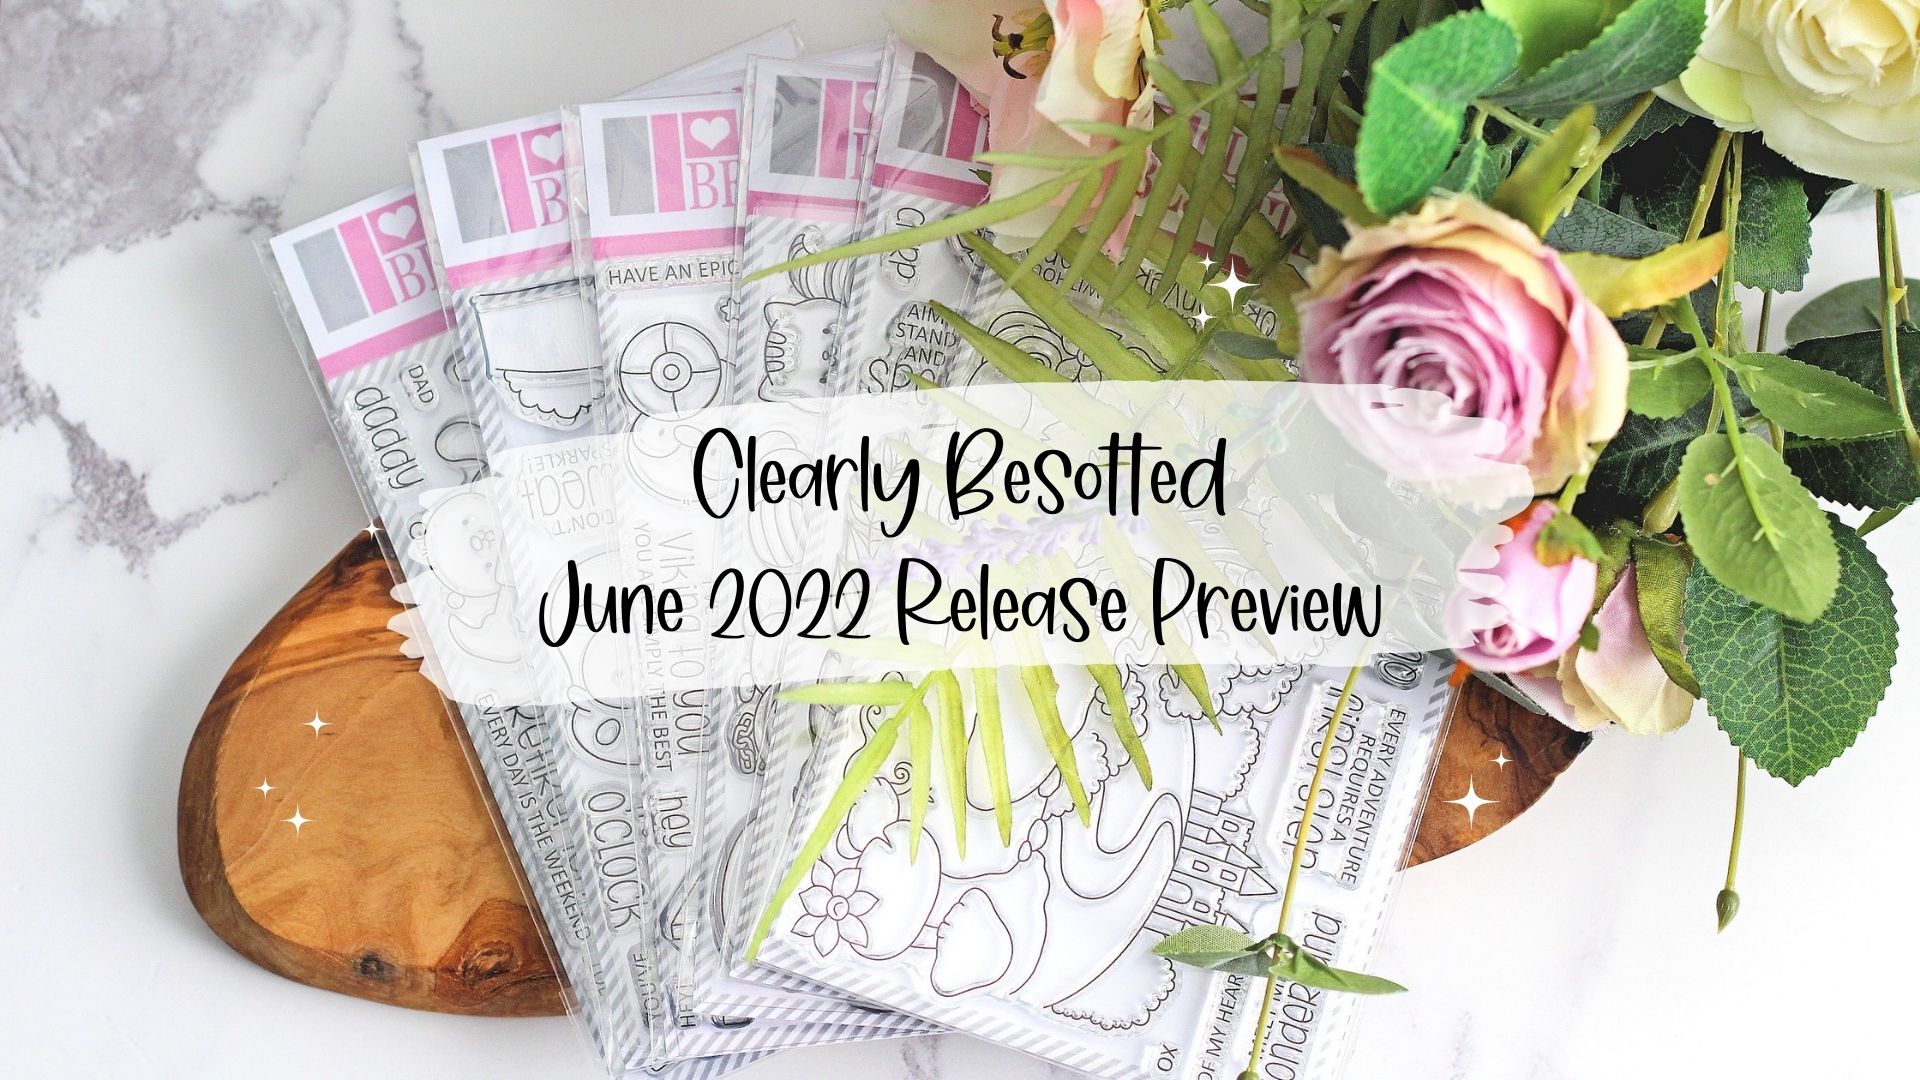
Hello there and happy Clearly Besotted release day! I am back today to share a look at the Clearly Besotted June 2022 release. There are six new sets releasing today, two with the same theme and the rest all different, so hopefully something for everyone - gym bunnies, Vikings, DIY enthusiasts, jungle critters and Alice in Wonderland fans. 

PLEASE NOTE: This post contains affiliate links. Please see below for my full disclosure.


The six new sets release tonight at 8pm BST (UK time). You can purchase them as a bundle, exclusively from Clearly Besotted. The bundle contains all six sets plus a sentiment stamp set, a stencil and 6 sheets of patterned paper. If you buy the bundle, you also receive a 15% saving if purchasing the sets separately. Here is a look at the bundle:


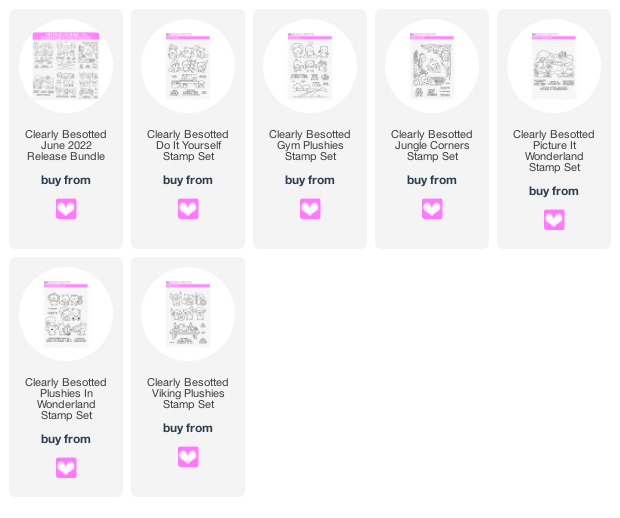
You can also purchase the sets separately from the Clearly Besotted Shop (UK based), Simon Says Stamp (US based), Butterfly Reflections Ink (US based), Artcreatiu (based in Spain), Cloud9 Crafts (Netherlands), Card Nouveau (Belgium) and Kreativbunt (Germany). Here is a look at all of the sets up close and a recap of my projects:


If you are viewing this blog post via email subscription, you can watch the video HERE on YouTube. 

SUPPLIES:


Here are the links to what I have shared in the video. Affiliate links are used on some products. This means that if you make a purchase after clicking on my link, I receive a small commission with no extra cost to you. I truly appreciate your support when using these links. Please click on the logo below the product to shop at your favourite store. All products were personally purchased except those from Clearly Besotted, Hero Arts or those marked with an asterisk (*) which were kindly sent to me to use. You can read my full disclosure here.


What do you think of the release? I think it is super cute and as always, had a lot of fun creating my samples. For more inspiration using the new sets, please head over to the Clearly Besotted Blog and my amazing teamie Keren. We also have our wonderful resident guests with us this month - Francine and Alberto, so please do check out what they have been up to as well. Thank you so much for stopping by today. I hope you have a wonderful day! 

31 May 2022

Clearly Besotted Teasers | Viking Plushies

Hello there and welcome to day four of the Clearly Besotted June 2022 Teasers. Just one more sleep to go before the sets release tomorrow at 8pm BST. I have one last teaser to share with you today using the new Viking Plushies set. This is such a fun set that is wonderful for lots of different occasions. 

PLEASE NOTE: This post contains affiliate links. Please see below for my full disclosure.


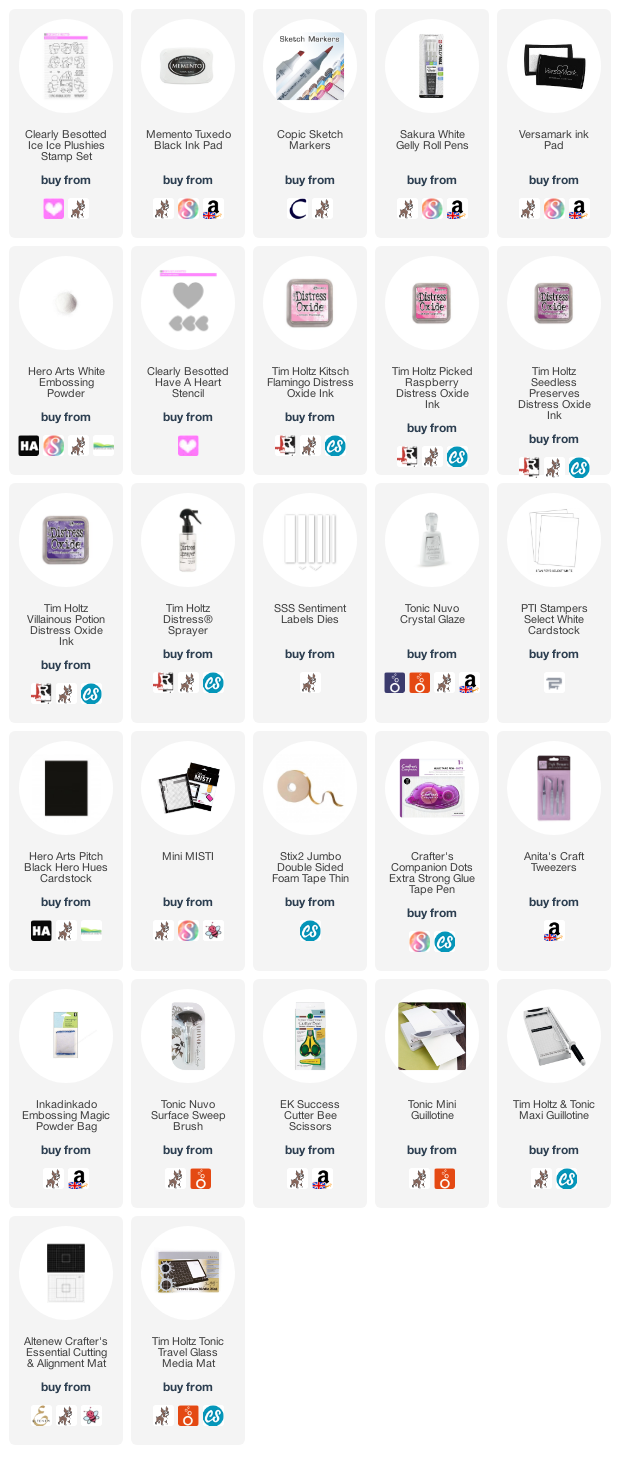
I started off my card by stamping the penguin Viking from the Clearly Besotted Viking Plushies Stamp Set on to white cardstock with Memento Tuxedo Black Ink. I added in lines where the different colours would be on the penguin (between the darker areas and his face and tummy) with a black Copic Multiliner.


I also stamped three hearts - one from the new Plushies In Wonderland Stamp Set twice (which I shared on day one) and the other from Ice Ice Plushies Stamp Set. They were all coloured with Copic Markers (the colours that I used are listed below the supplies area) and fussy cut out with scissors.  I then took a panel of white cardstock and placed the Clearly Besotted Have A Heart Stencil on top and then using Ink Blending Brushes, blended Tim Holtz Distress Oxide Inks inside the heart. 


I used (top to bottom) Kitsch Flamingo, Picked Raspberry, Seedless Preserves and Villainous Potion. I splattered on some water, removed the stencil and set it aside to dry. Once dry, I adhered the panel to an A2 white card base with tape runner and then added the sentiment, penguin and hearts on top with thin foam tape. To finish off, I added Tonic Nuvo Crystal Glaze to the hearts and a couple of white gel pen highlights to the penguin. 

SUPPLIES:


Here are the links to what I have used on the project. Affiliate links are used on some products. This means that if you make a purchase after clicking on my link, I receive a small commission with no extra cost to you. I truly appreciate your support when using these links. Please click on the logo below the product to shop at your favourite store. All products were personally purchased except those from Clearly Besotted, Hero Arts or those marked with an asterisk (*) which were kindly sent to me to use. You can read my full disclosure here.


COPIC MARKERS: penguin - BV29, BV25, BV23, C3, C1, Y11, Y000, YR27, Y17, Y15. Hat - C8, C5, C3, C1/E44, E43, E2, E41. Hearts - V09, V17, V15, V12. 

This really is a fun set with lots of other Viking characters in it too and sentiments for lots of different occasions. There is also a table of food that they can feast from as well! For more inspiration using the new sets, please head over to the Clearly Besotted Blog, my amazing teamie Keren and our fabulous resident guests Francine and Alberto. Thank you so much for stopping by today, I very much appreciate it. I hope you have a great rest of the day! Take care!

30 May 2022

Clearly Besotted Teasers | Gym Plushies

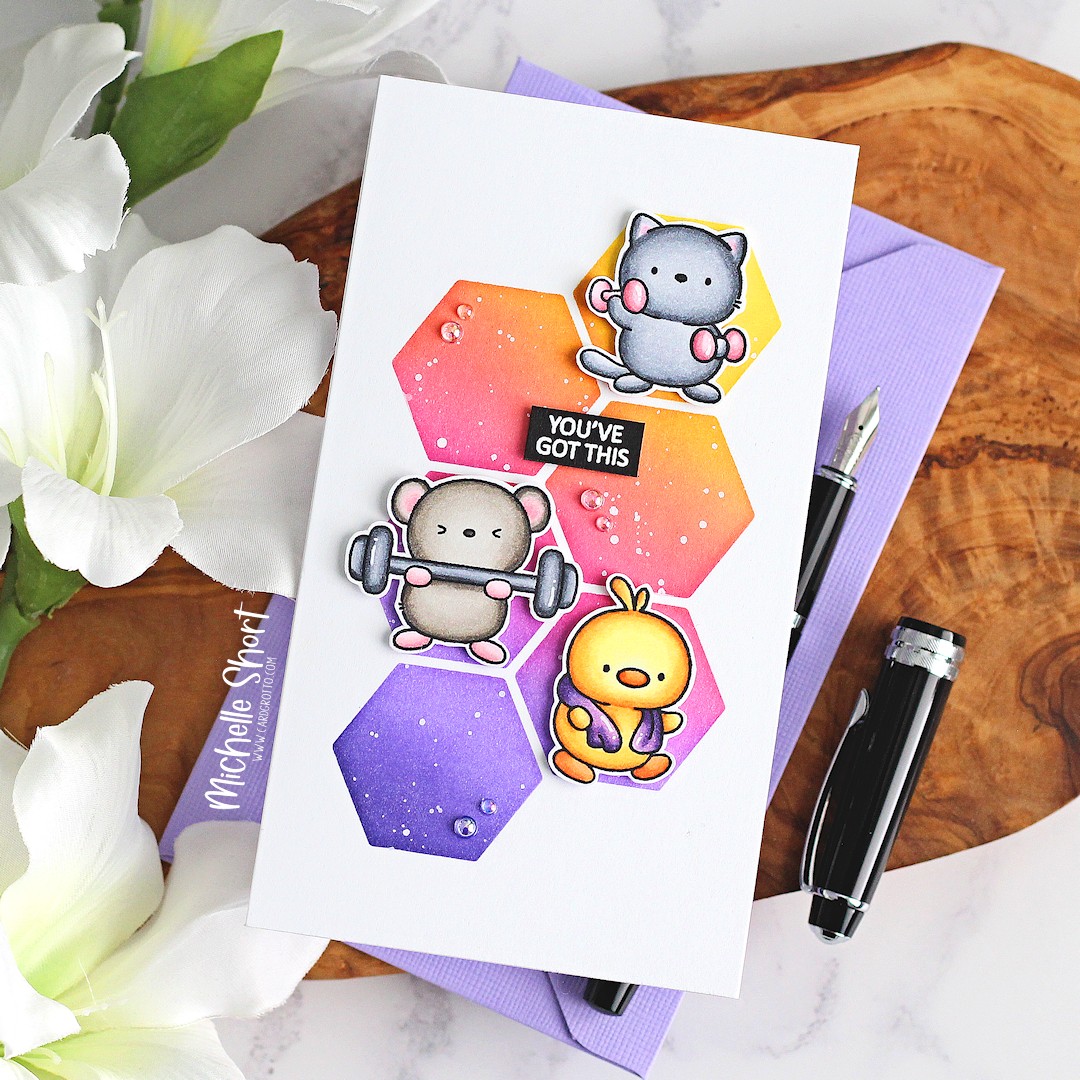
Hello there and welcome to day three of the Clearly Besotted June 2022 Teasers. Not long to wait now, the release will hit the shops on Wednesday 1st June 2022 at 8pm BST. We hope that you are enjoying the teasers so far! Today I am using the super cute Gym Plushies set. This fun set features lots of critters exercising, a park backdrop and fun sentiments. 

PLEASE NOTE: This post contains affiliate links. Please see below for my full disclosure.


I started off my card by stamping the mouse, duck and cat from the Clearly Besotted Gym Plushies Stamp Set on to white cardstock with Memento Tuxedo Black Ink. I coloured them with Copic Markers (the colours that I used are listed below the supplies list for reference) and fussy cut them out with scissors. 


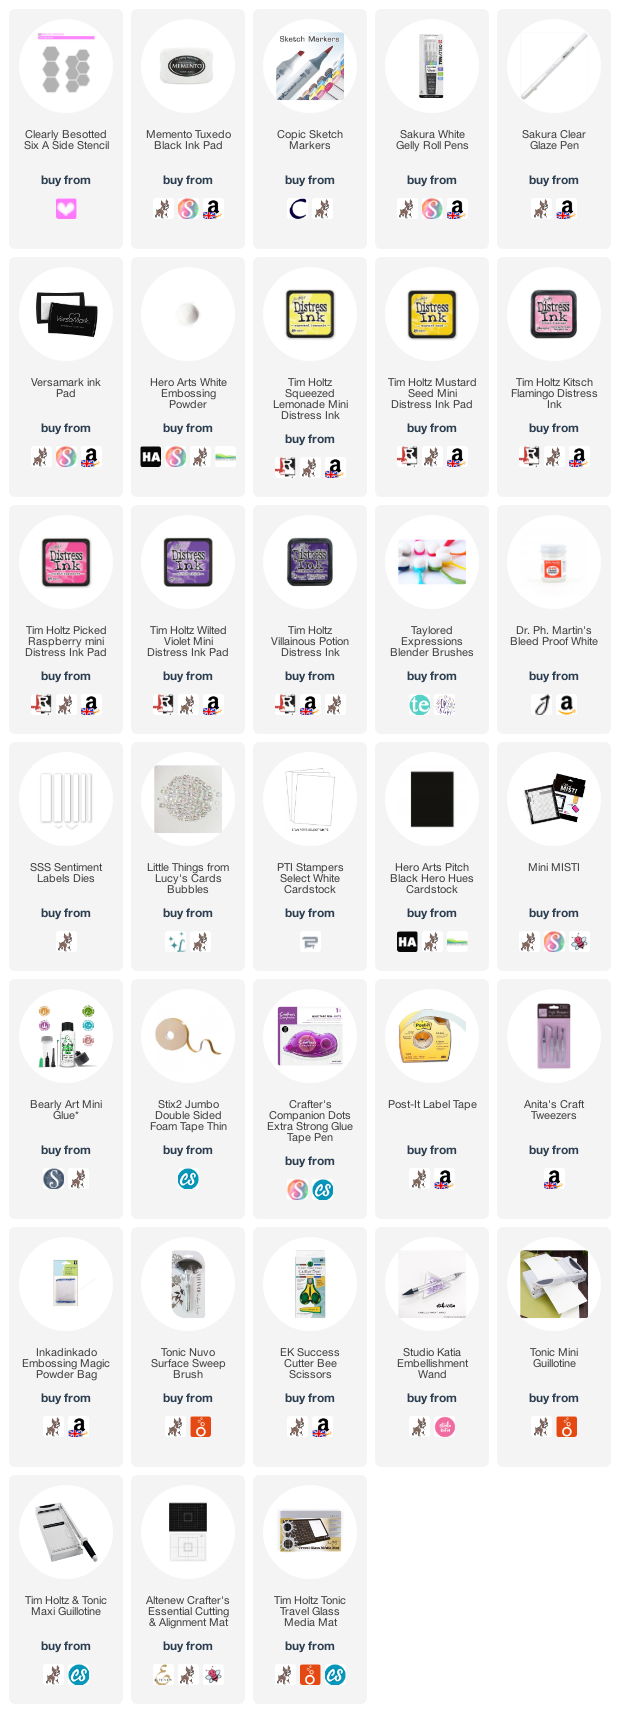
I took a panel of white cardstock and placed the Clearly Besotted Six A Side Stencil on top, securing in place with Post-It Tape. I then added ink blending with blending brushes inside the hexagons. I used Tim Holtz Distress Inks in Squeezed Lemonade, Mustard Seed, Kitsch Flamingo, Picked Raspberry, Wilted Violet and Villainous Potion. With the stencil still in place, I splattered on Dr. Ph. Martin's Bleed Proof White on top. I removed the stencil and set it aside to dry. 


Once dry, the panel was adhered to a 3.5" x 6" white card base with tape runner adhesive. The plushies were adhered on top with thin foam tape. The sentiment from the set was stamped on to black cardstock with Versamark Ink. I applied White Detail Embossing Powder and heat set. It was cut in to a strip and added to the card with more foam tape. To finish off, I added white gel pen highlight to the images, glaze pen to their noses and then to embellish I added Lucy's Cards Bubbles

SUPPLIES:


Here are the links to what I have used on the project. Affiliate links are used on some products. This means that if you make a purchase after clicking on my link, I receive a small commission with no extra cost to you. I truly appreciate your support when using these links. Please click on the logo below the product to shop at your favourite store. All products were personally purchased except those from Clearly Besotted, Hero Arts or those marked with an asterisk (*) which were kindly sent to me to use. You can read my full disclosure here.


COPIC MARKERS: Cat - C7, C6, C5, C4, C3, C1/RV34, RV32, RV10. Mouse - W7, W5, W3, W1/RV34, RV32, RV10/C8, C6, C4, C3. Duck - YR27, Y17, Y15, Y11/YR18, YR15, YR12/V09, V17, V15, V12. 

Such a fun set! For more inspiration using the new sets, please head over to the Clearly Besotted Blog, my amazing teamie Keren and our fabulous resident guests Francine and Alberto. thank you so much for stopping by, I very much appreciate it. Wishing you a fantastic day and I will see you tomorrow for day four! 

29 May 2022

Clearly Besotted Teasers | Jungle Corners

Hello there and welcome to day two of the Clearly Besotted June 2022 Teasers. Today I am using the super cute Jungle Corners set. This is such a fun set! As the name suggests, the set features two corner images - one that I have used today and another with an adorable monkey in it. It also features a separate image plus lots of fun sentiments. 

PLEASE NOTE: This post contains affiliate links. Please see below for my full disclosure.


I started off my card by stamping the bottom corner from the Clearly Besotted Jungle Corners Stamp Set on to white cardstock with Memento Tuxedo Black Ink. I coloured it with Copic Markers (the colours that I used are listed below the supplies area for reference) and then fussy cut it out with scissors before setting it aside.


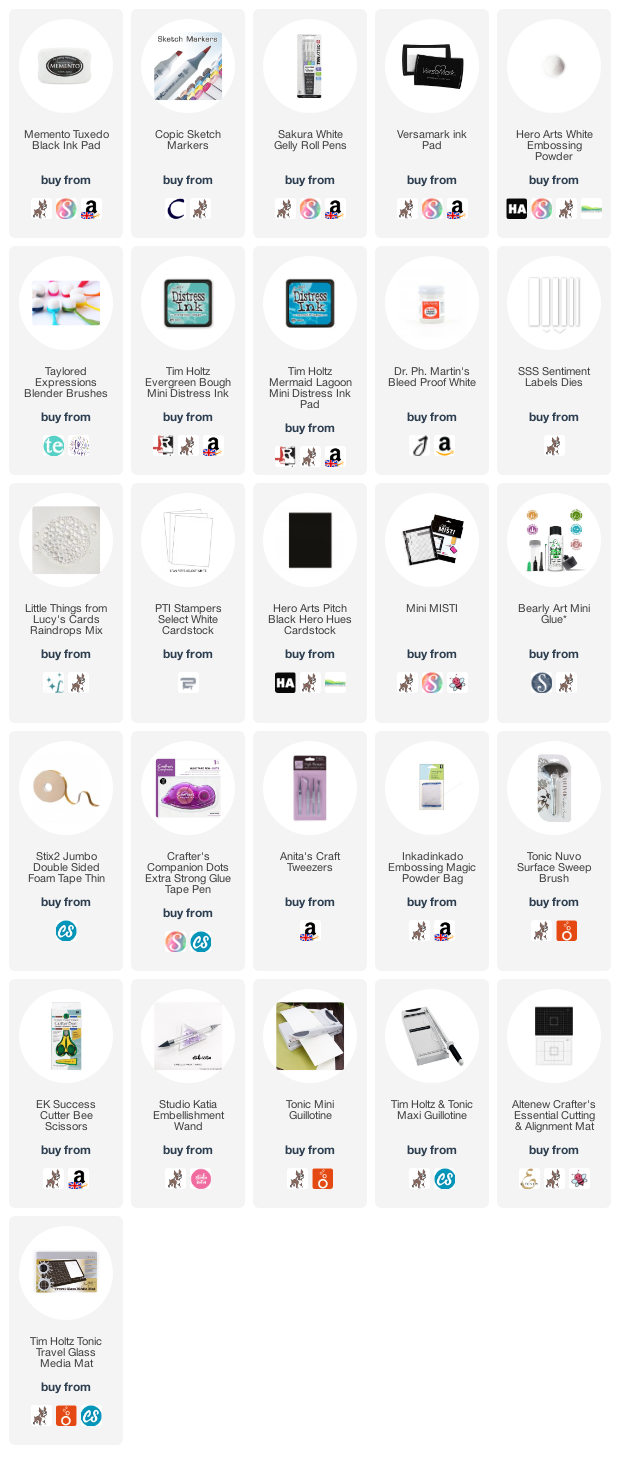
For the background, I took a panel of white cardstock and added ink blending to it with ink blending brushes. I used Tim Holtz Evergreen Bough and Mermaid Lagoon Distress Inks. I then splattered it with Dr. Ph. Martin's Bleed Proof White and set it aside to dry. Once dry, the panel was adhered flat to an A2 white card base with tape runner. 


The image piece was adhered on top with thin foam tape. I took the sentiment from the set and stamped it on to black cardstock with Versamark Ink. I applied White Detail Embossing Powder and heat set. It was cut in to a strip and added to the card with more thin foam tape. To finish off, I added a few Lucy's Cards Raindrops and then white gel pen highlights to the images.  

SUPPLIES:


Here are the links to what I have used on the project. Affiliate links are used on some products. This means that if you make a purchase after clicking on my link, I receive a small commission with no extra cost to you. I truly appreciate your support when using these links. Please click on the logo below the product to shop at your favourite store. All products were personally purchased except those from Clearly Besotted, Hero Arts or those marked with an asterisk (*) which were kindly sent to me to use. You can read my full disclosure here.


COPIC MARKERS: Leaves - G29, YG17, YG23, YG01/G28, G46, G43/BG78, BG75, BG72, BG70. Giraffe - YR27, YR24, YR31/E39, E99, E97/E18, E39. Lion - E25, E23, E21, YR31, YR30/E49, E39, E37, E35. 

These images are so cute and perfect for lots of different occasions, I think! For more inspiration using the new release, please head over to the Clearly Besotted Blog, Keren, Alberto and Francine. Thanks so much for stopping by today, I really appreciate it. Wishing you a great rest of the weekend! 
End of code