4 June 2021

Clearly Besotted Teasers | Thanks a Bunch

Hello there and welcome to day four of the Clearly Besotted June 2021 Teasers. Only one more sleep until you can get your hands on these adorable sets! For my card today, I am using the super cute Flower Friends set. If you follow me on Instagram, you would have already seen this little guy! He has lots of friends too as well as his adorable bee friends!

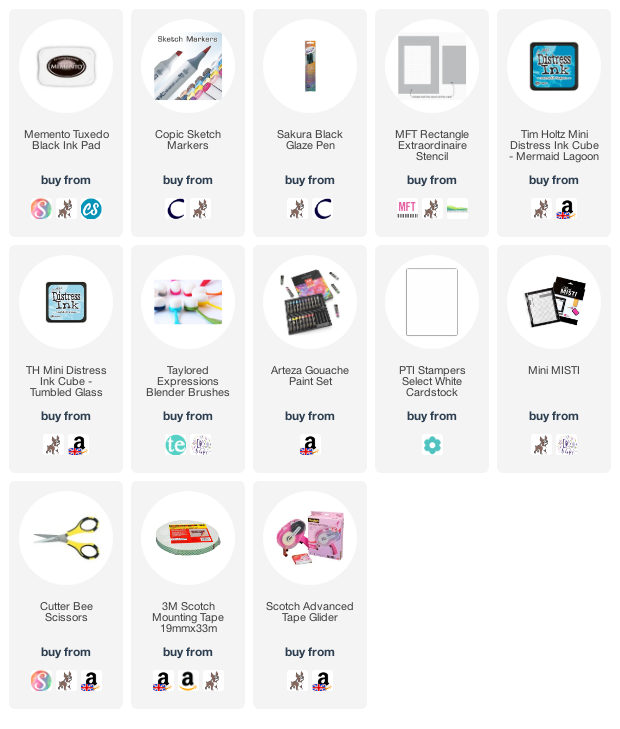
I started off my card by taking a panel of white cardstock and placing the MFT Rectangle Extraordinaire Stencil on top, keeping it in place with memo tape. Using blending brushes, I blended on Tim Holtz Distress Inks in Tumbled Glass and Mermaid Lagoon. Blending down to white at the bottom of the rectangle. I then splattered on Arteza Titanium White and Sky Blue Gouache on top before removing the stencil. 

Whilst the panel was drying, I stamped one of the hippos and the bees from the Clearly Besotted Flower Friends Stamp Set on to white cardstock with Memento Tuxedo Black Ink. I coloured them with Copic Markers (the colours that I used are listed below the supplies area) and fussy cut them out with scissors. 

The sentiment from the set was stamped on to the panel and then the panel adhered flat to an A2 white card base with tape runner. The hippo and bees were added on top with foam tape. To finish off, I added Black Glaze pen to the hippo's eyes. 

SUPPLIES:


Here are the links to what I have used on the project. Affiliate links are used on some products. This means that if you make a purchase after clicking on my link, I receive a small commission with no extra cost to you. I truly appreciate your support when using these links. Please click on the logo below the product to shop at your favourite store. All products were personally purchased except those from Clearly Besotted, Hero Arts or those marked with an asterisk (*) which were kindly sent to me to use. You can read my full disclosure here.

COPIC MARKERS: Hippo - W7, W5, W3, W1. Flowers - V09, V17, V15, V12, V01/G29, YG17, YG25, YG03, YG01. Bees - Y17, Y15, Y11, B01, B00, B000. 

These hippos are just adorable! I love them so much and these ones with flowers are perfect for lots of different occasions. How cute are those tiny bees too! This set also coordinates with the Flower Friends Additions set, which I shared earlier in the week. For more inspiration using the new sets, please head over to the Clearly Besotted BlogKeren and Lisa and our guests AlbertoFrancineKeeway and Kitty. Thank you so much for stopping by today. I hope you are well and still keeping safe. I will be back later with another blog post but until then, I hope you have a great day! 

3 June 2021

Clearly Besotted Teasers | Have a Great Day

Hello there and welcome to day three of the Clearly Besotted June 2021 Teasers. Release day is Saturday 5th June so not too long to wait now! For my card today, I am using the new Balloon Bunch Bugs set. If you are familiar with the other Balloon Bunch sets, these sets feature critters and balloons that you can combine to have the critters flying in the sky. I didn't use the balloons on my card today though. 

I started off my card by taking a panel of white cardstock and stamping the pond image from the Clearly Besotted Balloon Bunch Bugs Stamp Set in the middle towards the top. I coloured it using Copic Markers, adding dots for the sky and ground/grass. The colours that I used are listed below the supplies area. 

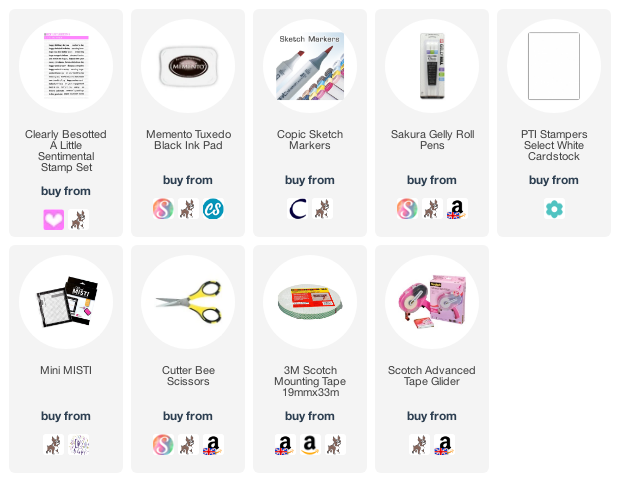
I took a separate piece of white cardstock and stamped the frog and bee images on to it with Memento Tuxedo Black Ink. They were coloured with Copic Markers and fussy cut out with scissors. I took the sentiment from the Clearly Besotted A Little Sentimental Stamp Set and stamped it below the pond with more black ink.

I adhered the panel to an A2 white card base with tape runner and then added the frog and bee on top with foam tape. To finish off, I added white gel pen highlights to the images. 

SUPPLIES:


Here are the links to what I have used on the project. Affiliate links are used on some products. This means that if you make a purchase after clicking on my link, I receive a small commission with no extra cost to you. I truly appreciate your support when using these links. Please click on the logo below the product to shop at your favourite store. All products were personally purchased except those from Clearly Besotted, Hero Arts or those marked with an asterisk (*) which were kindly sent to me to use. You can read my full disclosure here.


COPIC MARKERS: Frog - G29, YG17, YG09, YG07, YG05, YG01. Bee - YR27, Y17, Y15, Y13, Y11, B01, B00, B000. Grass/reeds/lily pads - G29, YG17, YG25, YG03, YG01. Lily pad flower - RV66, RV55, RV52. Bulrushes - E57, E55, E53, E51. Water - BG13, BG11, BG10. Sky - B02, B01, B00, B000. 

As mentioned, the set is meant to have the bugs (there are lots of different ones in the set) flying on the balloons but as you can see, they work really well on their own too. For more inspiration using the new sets, please head over to the Clearly Besotted BlogKeren and Lisa and our guests AlbertoFrancineKeeway and Kitty. Thank you so much for stopping by today, I hope you have a great day! 

2 June 2021

Spellbinders | Colorblock Landscape + Circle of Sunshine

*This is my second post of the day, please see below for my Clearly Besotted Teaser*

Hello there, I am back today to share two tags with you using the new Spellbinders June 2021 Small Die of the Month Club Kit and the Clear Stamp of the Month Club Kit. Although these both work well separately, they also work really well together, so I have used both on my projects today. 


The Spellbinders June 2021 Small Die of the Month Club this month is called Colorblock Landscape and as you will see, it is just that! The kit consists of six dies - a landscape that has several layers that inlay with each other, a round image (that works perfectly as a sun), a triangle piece (that works perfectly as sun rays but that can be used in other ways too), two leaves and a cactus. For my tags today, I thought that I would create a desert landscape as well as a sea/sunset one. 


For the sea and sunset one, I started off by die cutting the landscape panel several times from various shades of cardstock - blues/aqua for the ocean and pink, orange and yellows for the sunset. I took a panel of white cardstock and adhered the sea/ocean pieces first. I didn't use the piece that looks more like mountains/trees. I then adhered the sunset pieces above it. I used Bearly Art Glue for this so that I had a little bit of wiggle room. I die cut two of the pieces on the sunset with the circle die so that I could inlay the sun inside. I then ran the piece through my die cutting machine with a tag die. 


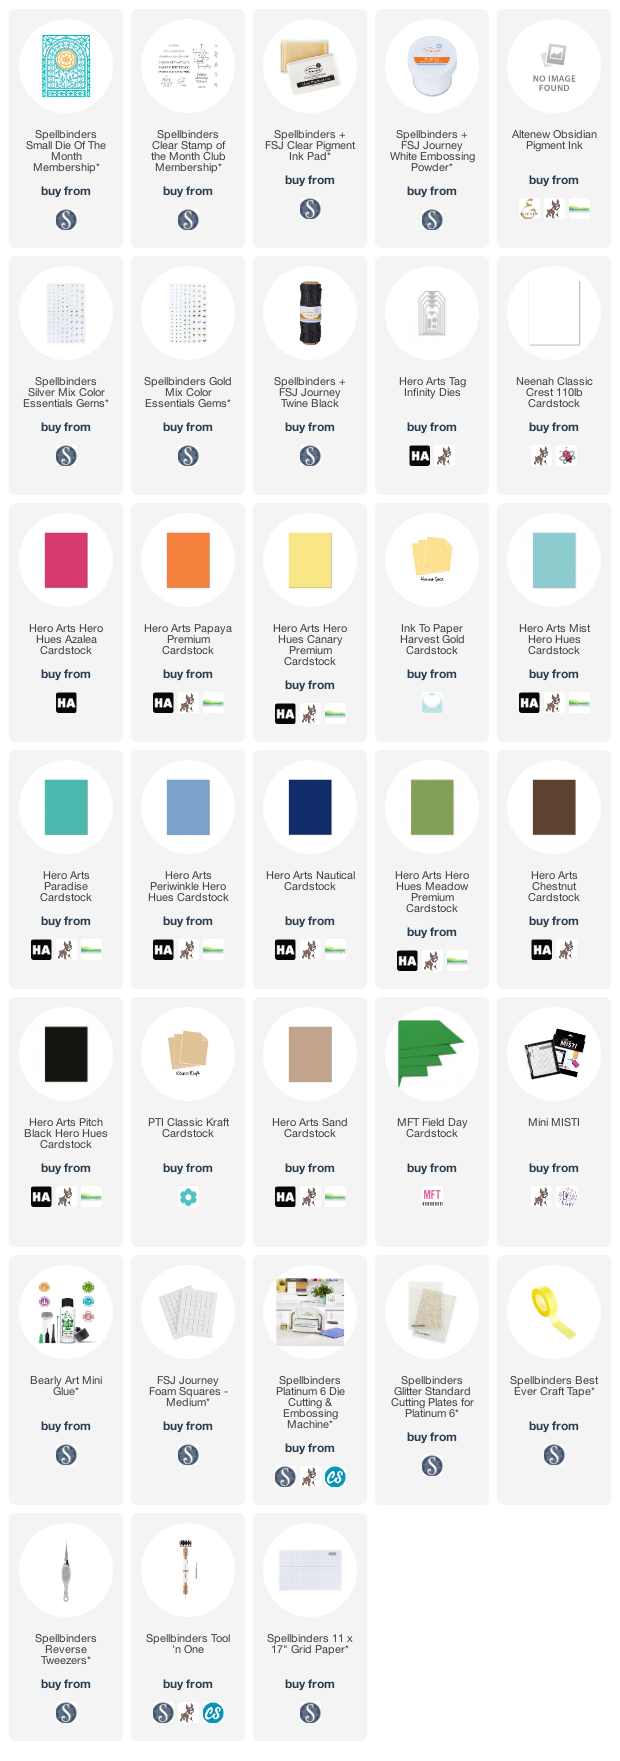
I took the Spellbinders June 2021 Clear Stamp of the Month Club Kit, which is called Circle of Sunshine, and stamped the birds from it on to the tag with black ink. I then took the sentiment and stamped it on to black cardstock with FSJ Clear Pigment Ink. I applied FSJ White Embossing Powder, heat set and cut it in to a strip. It was added to the tag with foam squares. To finish off, I added a few Spellbinders Silver Mix Color Essential Gems around the sentiment and tied FSJ Journey Black Twine through the top. 


For the next tag, I wanted to create a desert scene but I thought it might look nice for one of the layers to be a lake too. I die cut the landscape die from the Spellbinders June 2021 Small Die of the Month Club Kit from green, browns/kraft and blue cardstock. I started at the bottom with the sand parts, followed by the lake and then with the trees part (which I think also look like mountains), I die cut the circle from it so that I could place the sun there. It would probably look better to have the sun peaking out from behind the trees but I wanted to stamp the sentiment on to it so I needed the full round shape. I then adhered the tree piece on top before die cutting the panel with the same tag die. 


I die cut the sun from yellow cardstock three times. On to one of them, I stamped the sentiment from the Spellbinders June 2021 Clear Stamp of the Month Club Kit on to it with black ink. I layered them up and adhered them to the tag. I then die cut the cactus four times from green and layered them up so that each one was two layers thick. They were adhered down on top of the sand. To finish off, I added FSJ Journey Black Twine through the top of the tag and Spellbinders Gold Mix Color Essential Gems

SUPPLIES:


Here are the links to what I have used on the project. Affiliate links are used on some products. This means that if you make a purchase after clicking on my link, I receive a small commission with no extra cost to you. I truly appreciate your support when using these links. Please click on the logo below the product to shop at your favourite store. All products were personally purchased except those from Clearly Besotted, Hero Arts or those marked with an asterisk (*) which were kindly sent to me to use. You can read my full disclosure here.


I hope that you will check out the Spellbinders Small Die of the Month Club Kit. It is a wonderful monthly subscription where you receive the kit each month. Designers like myself share inspiration using the kit at the beginning of the month to show you lots of different ways that you can use it. There are also lots of other club kits too, like the Clear Stamp of the Month, which I also used today, so there is something for everyone! If you do subscribe, you will get other benefits from Spellbinders too. Please see here for more information. You can also buy older kits here too.

I had a lot of fun with this kit! I also made a card that I will share later in the month. Thank you so much for joining me today. I hope you have a great rest of the day. Take care! 

Clearly Besotted Teasers | You Grow Girl!

Hello there and welcome to day two of the Clearly Besotted June 2021 Teasers. For my card today, I am using two new sets - Flower Friends Additions (which works well with a set that I will be sharing later in the week) and I Dig You - a great set for gardeners with lots of cute critters and fun sentiments. 

I started off my card by taking a panel of white cardstock and stamped the Clearly Besotted Flower Friends Additions Stamp Set on to the top half of it with Memento Tuxedo Black Ink.  The stamp is the whole image, so no masking required :) The flowers were coloured with Copic Markers (the colours that I used are listed below the supplies area). 

I then took the koala from the Clearly Besotted I Dig You Stamp Set and stamped it on to a separate piece of white cardstock with more black ink. He was coloured with Copic Markers and fussy cut out. The background panel was adhered flat to an A2 white card base with tape runner and the koala added on top with foam tape. 

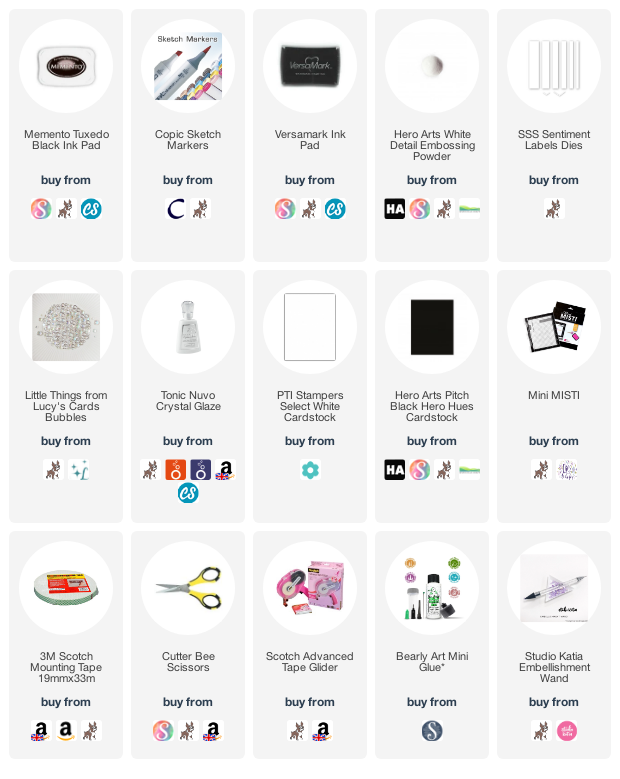
I took the sentiment from the Clearly Besotted I Dig You Stamp Set and stamped it on to black cardstock with Versamark Ink. I applied white embossing powder and set. It was cut in to a strip and added to the card with more foam tape. To finish off, I added a few Lucy's Bubbles and Tonic Nuvo Crystal Glaze to the koala's nose. 

SUPPLIES:


Here are the links to what I have used on the project. Affiliate links are used on some products. This means that if you make a purchase after clicking on my link, I receive a small commission with no extra cost to you. I truly appreciate your support when using these links. Please click on the logo below the product to shop at your favourite store. All products were personally purchased except those from Clearly Besotted, Hero Arts or those marked with an asterisk (*) which were kindly sent to me to use. You can read my full disclosure here.


COPIC MARKERS: Koala - W7, W5, W4, W3, W1, W8. Watering can - BG49, BG15, BG13, BG11. Leaves/stems - G29, YG17, YG25, YG01. Flowers - V09, V17, V15, V12, V01/RV66, RV55, RV52/BG49, BG15, BG13, BG11/Y17, Y13. 

Although the Flower Friends Additions works perfectly with the gardening theme, I think it would really well with lots of different critters too! For more inspiration using the new sets, please head over to the Clearly Besotted BlogKeren and Lisa and our guests AlbertoFrancineKeeway and Kitty. Thank you so much for stopping by to see me today. I will be back in a little while with another post. Until then, have a great day! 

1 June 2021

Altenew | Build-A-Flower Tree Peony Release Blog Hop + Giveaway

Hello there, I am delighted to be joining Altenew today to celebrate the release of the new Build-A-Flower: Tree Peony Stamp & Die Set. This is such a beautiful set! We are celebrating with a fun blog hop. More details on that below. 


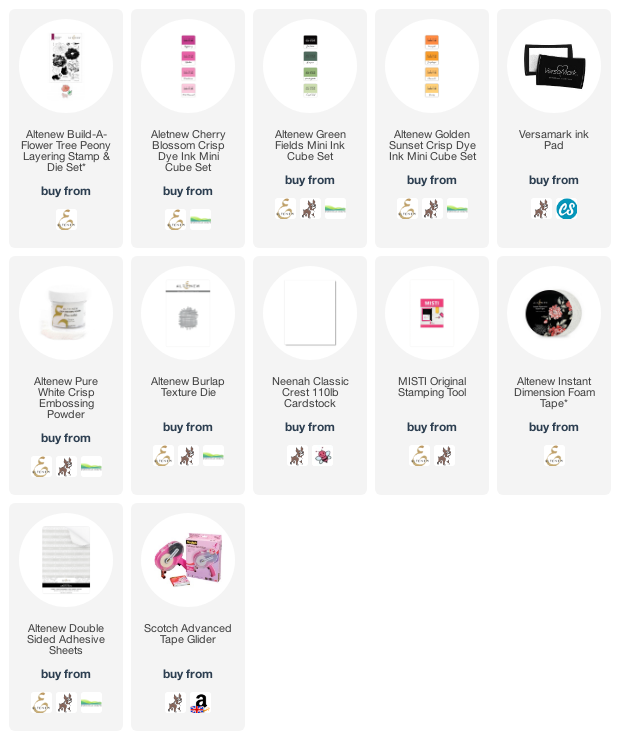
For my card, I started off by stamping the peony from the Altenew Build-A-Flower: Tree Peony Stamp & Die Set on to white cardstock. I used the black ink from the Altenew Green Fields Crisp Dye Ink Set, followed by the Altenew Cherry Blossom Crisp Dye Ink Set for the petals and Altenew Golden Sunset Crisp Dye Inks for the centre. 


I used Altenew Green Fields Crisp Dye Inks for the leaves. They were then cut out with the coordinating dies.  I took a piece of white cardstock and placed Altenew Double Sided Adhesive Sheet on the back, I then die cut the piece using the Altenew Burlap Texture Die. This was adhered to an A2 white card base.


The leaves were added on top with tape runner and the flower with Altenew Instant Dimension Foam Tape. I took the sentiment from the set and stamped it on to black cardstock with Versamark Ink. I applied Altenew Pure White Crisp Embossing Powder and heat set. It was cut in to a strip and added to the card with more foam tape. 

SUPPLIES:


Here are the links to what I have used on the project. Affiliate links are used on some products. This means that if you make a purchase after clicking on my link, I receive a small commission with no extra cost to you. I truly appreciate your support when using these links. Please click on the logo below the product to shop at your favourite store. All products were personally purchased except those from Clearly Besotted, Hero Arts or those marked with an asterisk (*) which were kindly sent to me to use. You can read my full disclosure here.


BLOG HOP:


As mentioned, this blog post is part of a fun, inspiration filled blog hop. For the hop, you should have arrived here from Amanda Baldwin. Next on the hop is Colleen Balija. If you get lost along the way, you can start the hop over on the Altenew Blog where you will find links to all the participants in the hop. 

GIVEAWAY:

$200 in total prizes! To celebrate this release, Altenew is giving away a $50 gift certificate to 2 lucky winners and a $20 gift certificate to 5 winners! Please leave a comment on the AltenewCard Blog and/or each designer’s blog post on the blog hop list below by 7th June 2021 for a chance to win. Altenew will draw 7 random winners from the comments left on each stop of this blog hop and announce the winners on the Altenew Winners Page on 9th June 2021.


Thank you so much for stopping by today, I really do appreciate it. I hope you have a great rest of the day!

Clearly Besotted Teasers | Birthday Fun

Hello there and welcome to day one of the Clearly Besotted June 2021 Teasers. Release day is Saturday 5th June and from now until then, we will be sharing teasers using the new sets. For my card today, I am using the new Fairground Friends set. This set is so fun! It has a background/scene image plus lots of critters at the fairground, as well as fun sentiments. 


I started off my card by stamping the fairground image from the Clearly Besotted Fairground Friends Stamp Set on to a panel of white cardstock using Memento Tuxedo Black Ink. I then made a mask for this from masking paper and placed it over the top. I also added a piece of memo tape below to mask off the bottom section of the card. 


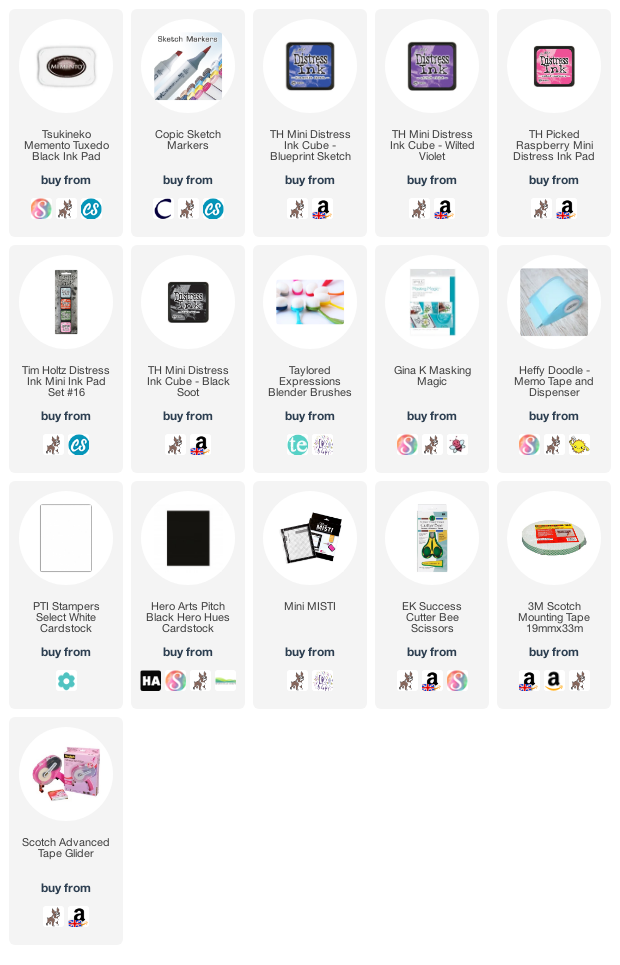
Using blending brushes, I blended on Tim Holtz Distress Inks in Kitsch Flamingo, Picked Raspberry, Wilted Violet and Blueprint Sketch. Keeping the mask in place, but moving the memo tape so that it was above the images, I blended Black Soot Distress Ink below. The mask was removed and the images coloured with Copic Markers (the colours I used are listed below the supplies area). 


I took the sentiment from the set and stamped it below the image to the right hand side. I then stamped the bear with the balloon image from the set on to a separate piece of cardstock, coloured him in with Copics and fussy cut him out with scissors. The panel was adhered flat to an A2 white card base with tape runner. I then added the bear to the card with foam tape. 

SUPPLIES:


Here are the links to what I have used on the project. Affiliate links are used on some products. This means that if you make a purchase after clicking on my link, I receive a small commission with no extra cost to you. I truly appreciate your support when using these links. Please click on the logo below the product to shop at your favourite store. All products were personally purchased except those from Clearly Besotted, Hero Arts or those marked with an asterisk (*) which were kindly sent to me to use. You can read my full disclosure here.


COPIC MARKERS: Bear - E59, E57, E55, E53, E51, R12, R00. Balloon - V17, V15, V12, V01. Candy floss cart - R89, R39, R37, R35/R32, R21, R30, R000/BG49, BG15, BG13, BG11. Hot Dog cart - R89, R39, R37, R35/Y17, Y15, Y13, Y11/E55, E53, E51, E07. Popcorn cart - R89, R39, R37, R35/R14, R30/C3, C1, C00/Y28, Y26, Y32, Y21. Cart wheels - C8, C5, C3, C1. Bush/hedge - G29, YG17, YG25, YG01. Big wheel - BG49, BG15, BG13, BG11. Merry Go Round - B06, B04, B01/C3, C01/E55, E53, E51. 

The balloon does cut out a lot of the background image, which is a shame, I think that bear is super cute, though! For more inspiration using the new sets, please head over to the Clearly Besotted Blog, Keren and Lisa and our guests Alberto, Francine, Keeway and Kitty. Thank you so much for stopping by today, I will be back later with another blog post. In the mean time, I hope you have a great day! 
28 May 2021

Tonic Stamp Club | Shoot for the Stars Blog Hop + Giveaway

Hello there, I am delighted to be joining Tonic Studios today to celebrate the release of this month's Stamp Club bundle - Shoot for the Stars. If you haven't heard of Stamp Club, this is not a subscription but a monthly bundle release of a stamp set and dies that is exclusive to Tonic Studios and inspired by Maria Willis


As mentioned, the bundle this month is called Shoot for the Stars. If you have been following along with Stamp Club, you will know that they released a bundle called Shoot for the Moon previously. This set works perfectly with that set and great news! That set is coming back with this release, so if you missed it before, you have another chance to get it! You can see my cards using that bundle here. As you will see though, you can combine this set with other bundles too, even if you wouldn't necessarily think that they would go together! 


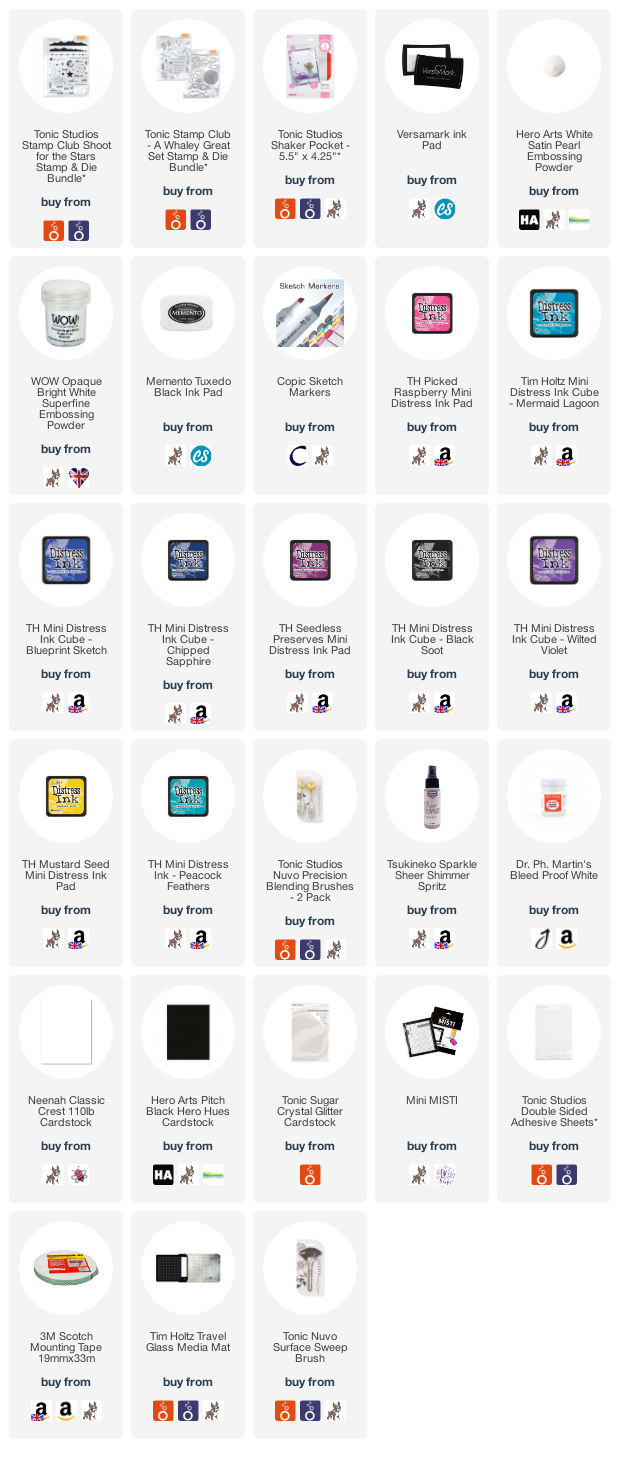
For my first card, I did something a bit odd and combined this month's Stamp Club with last month's. I started off by creating the background. I took a panel of white cardstock and blended on Tim Holtz Distress Inks in Picked Raspberry, Mermaid Lagoon, Blueprint Sketch, Chipped Sapphire, Seedless Preserves and Black Soot using blending brushes. I let the panel dry completely. 


I took the sparkle like star stamps from the Tonic Studios Stamp Club Shoot for the Stars Stamp & Die Bundle stamp set and stamped them repeatedly across the top half of the panel using Versamark ink. I applied Hero Arts Stain Pearl Embossing Powder and heat set. I then spritzed the panel with Sparkle Sheer Shimmer Spritz and set it aside to dry again. 


I took the whale from the Tonic Studios Stamp Club A Whaley Great Set Stamp & Die Bundle and stamped it on to white cardstock with Memento Tuxedo Black Ink. I coloured it with Copic Markers and splattered on a little more of the shimmer spray.  The sentiment from the set was stamped on to black cardstock with Versamark Ink. I applied White Embossing Powder, heat set it and cut it in to a strip. The panel was adhered to an A2 white card base and the whale and sentiment added on top with foam tape. 


My next card uses the dies from the bundle for a full shaker card. I started off by creating the background. I took a panel of white cardstock and blended on Tim Holtz Distress Inks in Picked Raspberry, Wilted Violet, Peacock Feathers, Mustard Seed, Chipped Sapphire and Black Soot. I then spritzed it with Sparkle Sheer Shimmer Spritz and then splattered on Dr. Ph. Martin's Bleed Proof White Paint for the stars. 


Whilst the panel was drying, I die cut a few of the stars from the Tonic Studios Stamp Club Shoot for the Stars Stamp & Die Bundle from black cardstock to use as my shaker elements. I then die cut the wish word three times - twice from white cardstock and once from Tonic Studios Sugar Crystal Glitter Cardstock with Tonic Studios Double Sided Adhesive Sheet on the back. They were adhered together one on top of another. I then stamped the sentiment (piecing different sentiments together) on to black cardstock with Versamark Ink. I applied White Embossing Powder and heat set. It was cut in to a strip. 


I took one of the new Tonic Studios Shaker Pockets and placed the stars on what would be the inside. I then placed the panel inked side down and folded the sides of the pocket around to the back and adhered down (they have adhesive already on them). These pockets are great because they are an easy way to create a full shaker card! The shaker panel was then adhered flat to an A2 black card base with tape runner. I die cut the mountain die from more black cardstock and adhered that on top of the shaker. The sentiment was adhered down and then the sentiment strip added below with thin foam tape. 

SUPPLIES:


Here are the links to what I have used on the project. Affiliate links are used on some products. This means that if you make a purchase after clicking on my link, I receive a small commission with no extra cost to you. I truly appreciate your support when using these links. Please click on the logo below the product to shop at your favourite store. All products were personally purchased except those from Clearly Besotted, Hero Arts or those marked with an asterisk (*) which were kindly sent to me to use. You can read my full disclosure here.


BLOG HOP:


Here is the full list of participants in the hop today:

Michelle Short - you are here!

GIVEAWAY:

Tonic Studios are giving away the Shoot for the Stars Bundle plus a £50/$50 gift certificate to the Tonic Studios Store (either UK or USA) to one lucky winner. To enter, leave a comment on every blog in the hop by 2nd June 2021 at 11.59pm PST/07.59am BST. The winner will announced by tonic on the 4th June 2021. Good luck!

For the whale card, I debated whether to put it on a galaxy background or not. If you Google 'whale in galaxy' some stunning images show up. I thought though, that with the card I made, it could either be interpreted as a whale in the sky or in the sea (with the stars being sparkles/reflections in the water). The ocean is not usually pink but I'm sure it could be with a little imagination! Thank you so much for stopping by today. Next on the hop is the amazing Jessica! Have a great rest of the day! 

27 May 2021

Spellbinders | Sweet Street

Hello there, today I have two cards to share with you using the Spellbinders Sweet Street Collection by Tina Smith. This is such a fun collection that is perfect for birthdays and all different types of celebrations. A lot of the sets are interactive but as you will see with one of my cards, you don't have to use that element if you don't want to. 


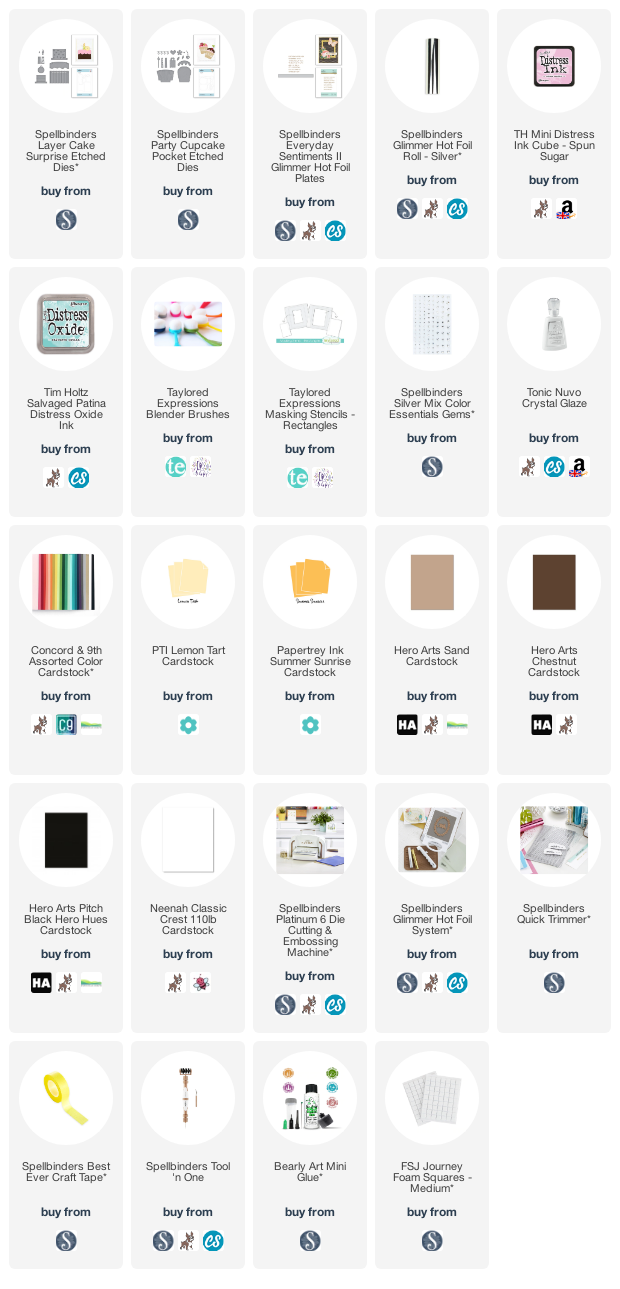
My first card uses the Spellbinders Layer Cake Surprise Etched Dies. I started off by die cutting the elements from various shades of cardstock - C9 Ballet Slippers and Honeysuckle for the main cake, as well as the chocolate frosting from Hero Arts Chestnut Cardstock. The candle was cut from the same pink cardstock as the cake plus C9 Buttercup and PTI Summer Sunrise for the flame. The pieces of the cake connect inside each other so that you can pull them up behind the base layer of the cake when you pull on the candle. 


The frosting of the cake was adhered with small amounts of Barely Art Glue just along the bottom and sides so that it doesn't stick to the cake layers behind. I did make the candle and flame three layers thick so that it gave it some more stability. For the card base, I placed the Taylored Expressions Rectangle Masking Stencil on to an A2 white card base and blended Tim Holtz Spun Sugar Distress Ink inside. The mask was removed and the cake adhered on top.


I added small pieces of foam tape to the very bottom of the cake and sides so that I could adhere it to the card but the cake pieces still move. The flowers are from the Spellbinders Party Cupcake Pocket Etched Dies (see below). The sentiment, from the Spellbinders Everyday Sentiments II Glimmer Hot Foil Plate Set was foiled on to black cardstock with Silver Foil. It was cut out and added to the cake with foam tape. 


My next card uses the Spellbinders Party Cupcake Pocket Etched Dies. These dies work so that you can lift the cupcake out from the wrapper but for my card today, I didn't use that part. I started off by die cutting the elements form various shades of cardstock - the cupcake from Hero Arts Sand Cardstock, the frosting from Hero Arts Chestnut Cardstock, the wrapper from Hero Arts Paradise Cardstock, candle from C9 Ballet Slippers Cardstock and flame from C9 Buttercup Cardstock. They were all adhered together using Barely Art Glue


I took a white A2 card base and using the same masking stencil as the first card, blended on Tim Holtz Salvaged Patina Distress Oxide Ink. The cupcake was then added on top with foam squares. I took the flower from the set and cut it from C9 Ballet Slippers and Honeysuckle Cardstock. The leaves are from C9 Sprout Cardstock. The pieces were adhered to the cupcake with more glue. 


The sentiment from the Spellbinders Everyday Sentiments II Glimmer Hot Foil Plate Set was foiled on to black cardstock with Silver Foil. It was cut in to strips and added to the card with more foam squares. To finish off, I added Crystal Glaze to the frosting and also the flame. I also added Spellbinders Silver Mix Color Essentials Gems to both cards. 

SUPPLIES:


Here are the links to what I have used on the project. Affiliate links are used on some products. This means that if you make a purchase after clicking on my link, I receive a small commission with no extra cost to you. I truly appreciate your support when using these links. Please click on the logo below the product to shop at your favourite store. All products were personally purchased except those from Clearly Besotted, Hero Arts or those marked with an asterisk (*) which were kindly sent to me to use. You can read my full disclosure here.


I don't make a huge amount of interactive cards but when I do, I like dies like these as they are simple to put together. I don't have a stamp that says pull otherwise I would have added a little tag to the candle on the first card, so instead, I will write in the card to say pull the candle! Thank you so much for stopping by today. I hope you are well and staying safe still. Take care! 

20 May 2021

Hero Arts Summer 2021 Release Blog Hop + Giveaway

Hello there, today we are celebrating the Hero Arts Summer 2021 Release. This release is wonderful and features lots of new stamps and dies, stencils and tools. We are celebrating with a fun blog hop, more details on that below. For my cards today, I wanted to use two of the new Looking Glass Dies. These dies are wonderful as they create a looking glass effect, hence the name. You can use them in different ways to create a 3D window scene. You can use one layer, two layers or all three. Or you can mix and match the different sets as well!


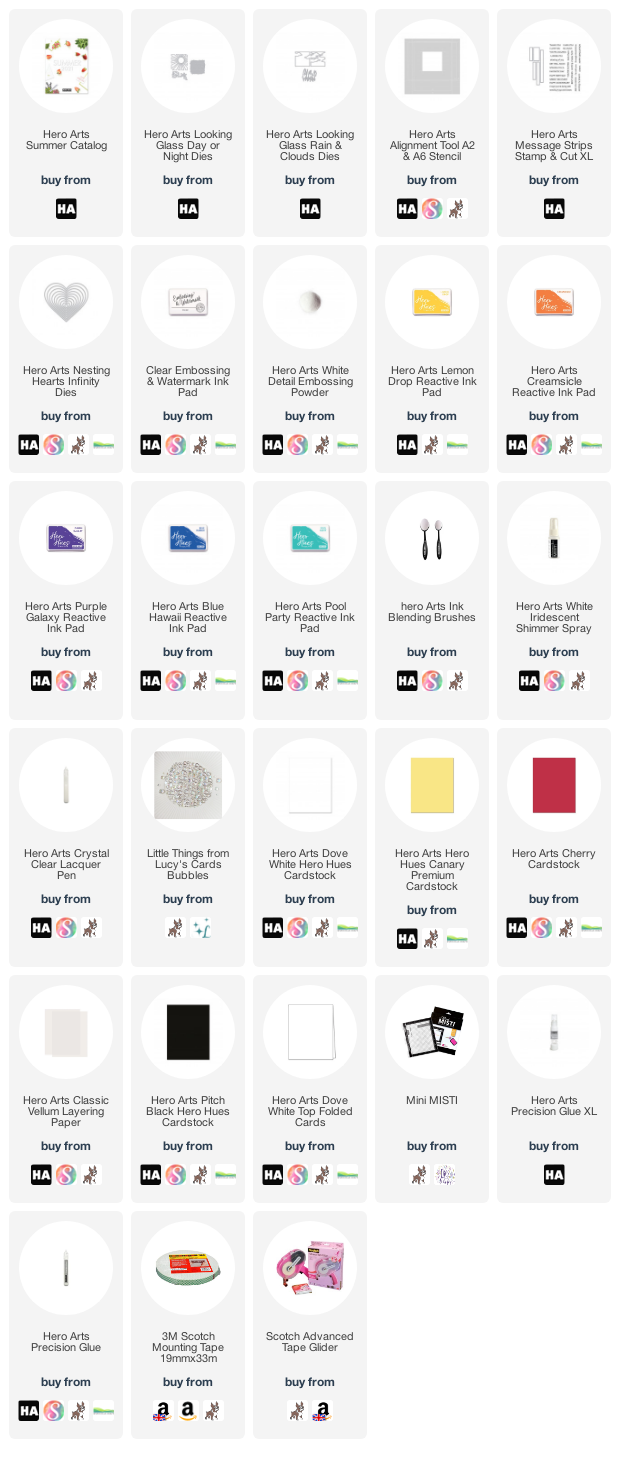
For my first card, I have used the new Looking Glass Day or Night plus the Rain & Clouds Looking Glass Dies. I started off by die cutting the front panel of a top folding A2 card base with the sun rays die from the Hero Arts Looking Glass Day or Night Dies. I did this so that the card front would have some open areas, so you could look directly through the card itself but you could add acetate on the back or just do it as a layer. 


I then took a panel of Hero Hues Canary Cardstock and cut the same die from that. You can use the Hero Arts Alignment Tool Stencil to help with lining things up. Once die cut, I took Hero Arts Lemon Drop and Creamsicle Reactive Inks and blended this on to the sun with Ink Blending Brushes. This layer was then adhered directly on to the front of the card base, lining it up with the one already cut, using Hero Arts Precision Glue (which now comes in an XL version too). 


I then took a panel of white cardstock and cut the top cloud die from the Hero Arts Looking Glass Rain & Clouds Dies so it lined up with the window. This layer was adhered to the card with foam tape. I took the sentiment from the new Hero Arts Message Strips Stamp & Cut XL and stamped it on to Hero Hues Pitch Black Cardstock with Hero Arts Clear Embossing & Watermark Ink. I applied Hero Arts White Detail Embossing Powder and heat set. 


It was cut out using the coordinating die and then adhered on top with foam tape. I cut another of the strips (without a stamped sentiment) and adhered it to the inside of the card so that the foam tape would not be seen on the inside. To finish off, I die cut the smallest heart from the Hero Arts Nesting Hearts Infinity Dies from Hero Hues Cherry Cardstock. It was adhered to the sun and then I added a layer of Hero Arts Crystal Clear Lacquer Pen on top. 


My second card uses the Looking Glass Rain & Clouds dies on it's own. I started off by die cutting the top layer of the clouds from the Hero Arts Looking Glass Rain & Clouds Dies from a panel of white cardstock. I then cut the second layer from Hero Arts Classic Vellum Layering Paper. I took a top folding white card base and masked off the edges. 


Using Hero Arts Ink Blending Brushes, I blended Purple Galaxy, Blue Hawaii and Pool Party Reactive Inks. I then spritzed it with Hero Arts White Iridescent Shimmer Mist before removing the masking tape. Once dry, I adhered the vellum layer flat to the card base and then added the white panel on top with foam tape. 


I took another sentiment from the Hero Arts Message Strips Stamp & Cut XL and stamped it on to Hero Hues Pitch Black Cardstock with Hero Arts Clear Embossing & Watermark Ink. I applied Hero Arts White Detail Embossing Powder and heat set. It was then cut in to a strip with the coordinating die. It was adhered on top with foam tape. To finish off, I added a few Bubbles. 

SUPPLIES:


Here are the links to what I have used on the project. Affiliate links are used on some products. This means that if you make a purchase after clicking on my link, I receive a small commission with no extra cost to you. I truly appreciate your support when using these links. Please click on the logo below the product to shop at your favourite store. All products were personally purchased except those from Clearly Besotted, Hero Arts or those marked with an asterisk (*) which were kindly sent to me to use. You can read my full disclosure here.


BLOG HOP:


As mentioned, this post is part of a fun, inspiration filled blog hop. Here are all the participants in the hop today:


Special Guests:

GIVEAWAY:

Hero Arts are giving away three $50 gift cards to the Hero Store, drawn from all of the comments left across all of the stops in the hop. Enter by 30th May 2021 at 11.59pm PT. The winner will be announced on the Hero Arts Blog the following week. Good Luck!

Thank you so much for stopping by today, I really appreciate it. I hope you will check out the rest of the release and have fun on the rest of the hop! Have a great rest of the day! 
End of code